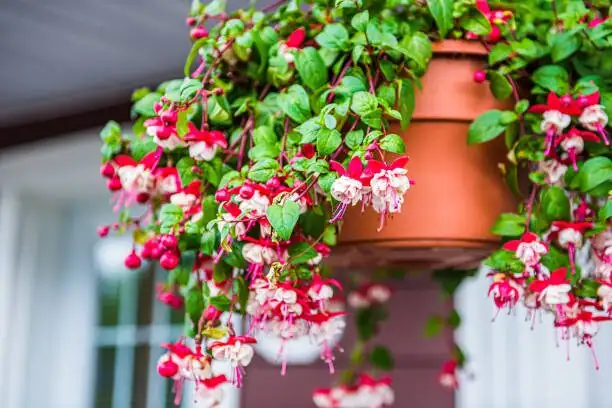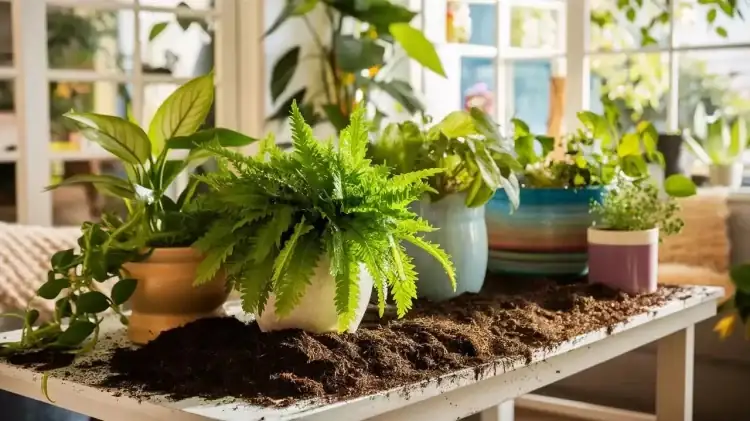
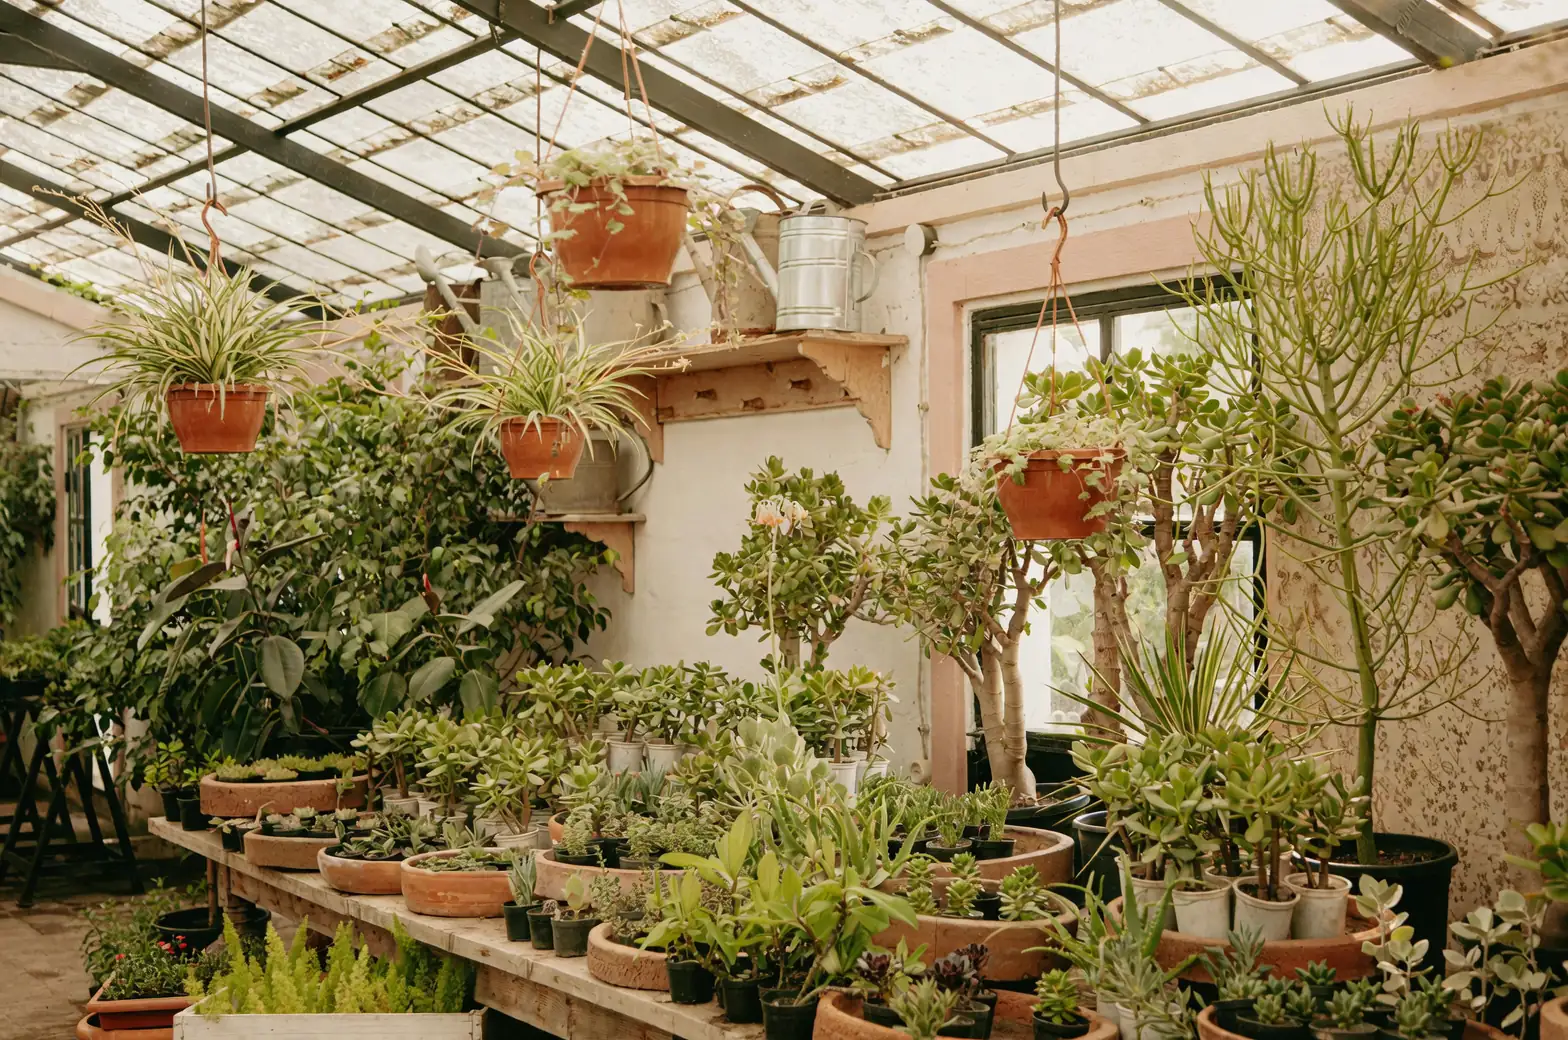
Navigating the world of indoor gardening can be a delightful yet challenging adventure. One of the trickiest hurdles for plant enthusiasts is ensuring proper drainage in non-porous containers. Whether you’re working with sleek glass, durable plastic, or stylish metal pots, the absence of natural breathability can pose a significant challenge. But fear not! With a few clever tricks and tips, you can transform any non-porous planter into a thriving home for your green friends.
Why Drainage Matters
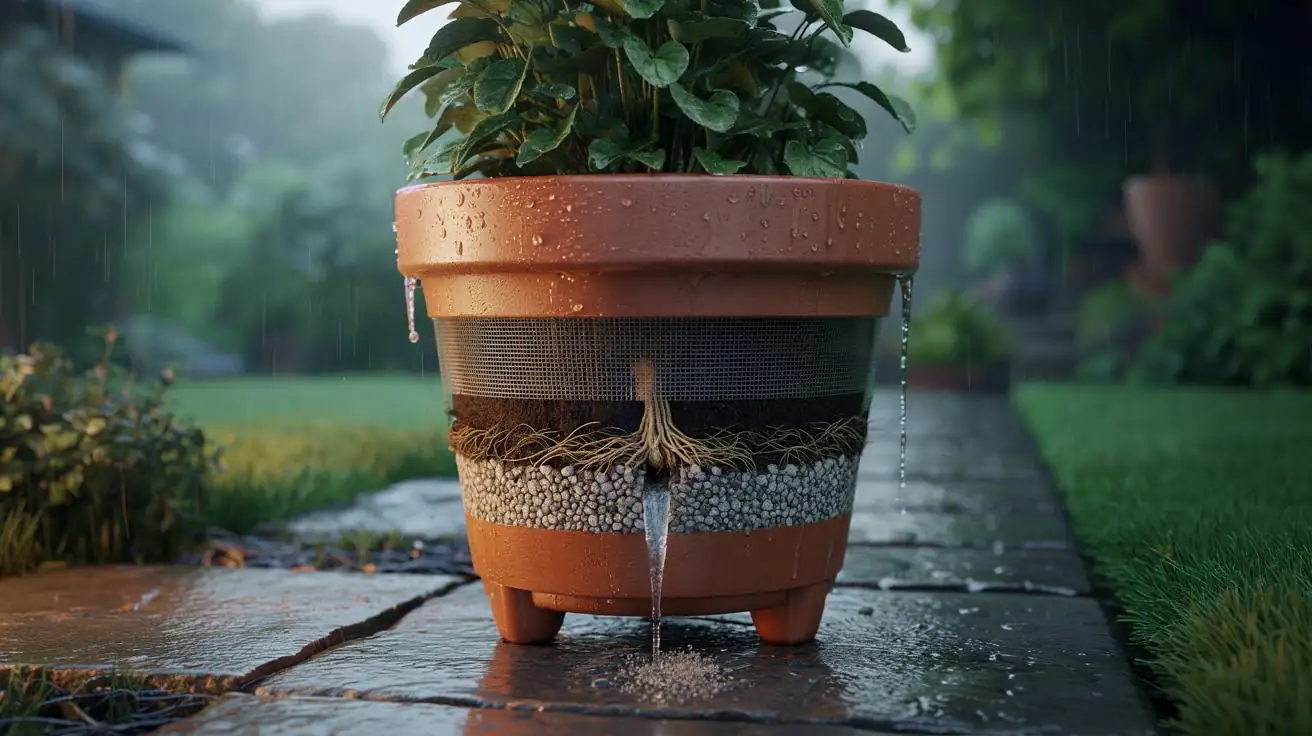
Before diving into solutions, it’s crucial to understand why drainage is so important. Most plants dislike sitting in waterlogged soil because it can lead to root rot—a condition that’s tricky to bounce back from. Drainage holes allow excess water to escape, ensuring that roots get the air they need and remain healthy. Without them, water can stagnate, suffocating the roots and causing decay.
Clever Solutions for Improved Drainage
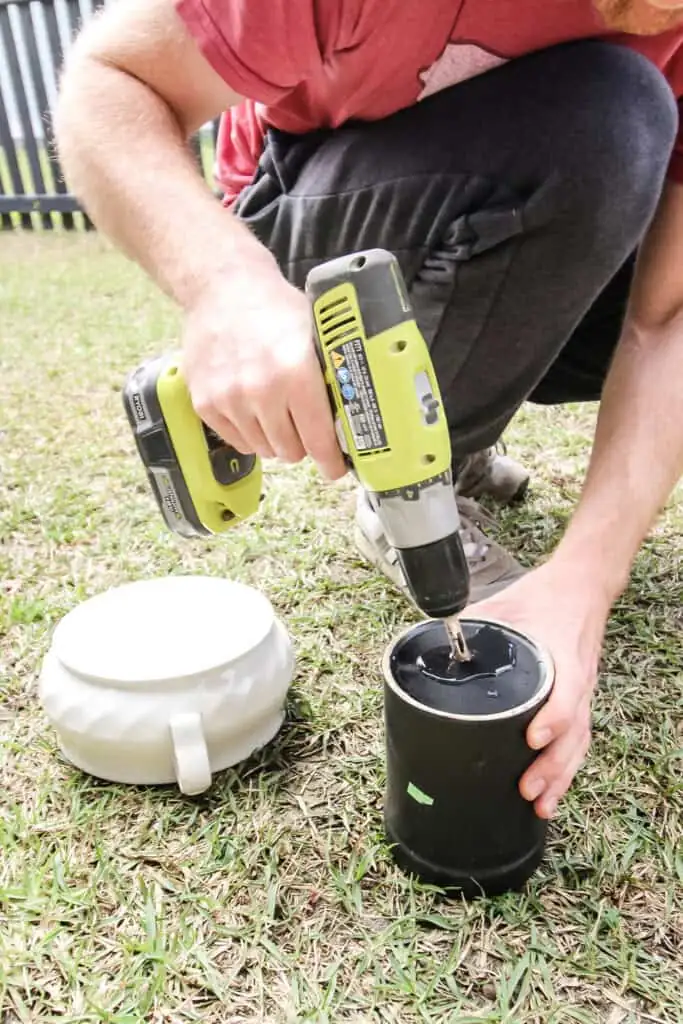
1. Drill for Success
If your non-porous pot allows, consider drilling drainage holes at the bottom. This method is most straightforward and effective. For materials like plastic or resin, use a standard drill with a bit suitable for the material. For glass or ceramic, a specialized drill bit is necessary to prevent cracks. Always ensure holes are evenly spaced to promote uniform drying.
2. The Double Potting Technique
Double potting is a brilliant workaround if drilling isn’t an option. Place your plant in a smaller pot with drainage holes, and then slip it into the decorative, non-porous container. This way, you can easily remove the inner pot to drain excess water after watering.
3. Layer It Up
Create a drainage layer at the bottom of your pot using materials like gravel, pebbles, or activated charcoal. This layer helps water move away from the roots. While not foolproof—roots can eventually reach this layer and sit in water—it’s a helpful addition for many indoor scenarios.
4. Use Specialized Inserts
Products like “Better Than Rocks” provide an aerated base, improving water flow and preventing soil compaction. Lay this material at the bottom of the planter to create a buffer between the water and your plant’s roots. It’s lightweight, reusable, and ideal for non-porous containers.
Common Pitfalls and How to Avoid Them
- Overwatering: Without drainage, it’s easy to overwater. Always check soil moisture before watering. Stick your finger about an inch into the soil; if it feels dry, it’s time to water.
- Attached Saucers: Be cautious with pots that have permanently attached saucers. They can trap water, leading to root rot. Opt for pots with removable saucers to easily discard excess water.
- Heavy-Handed Watering: Pour water slowly and evenly, allowing the soil to absorb it. This technique helps prevent pooling at the bottom.
Final Thoughts
With a little creativity and the right tools, you can make any non-porous planter a thriving environment for your plants. Whether you’re drilling new holes, using a double potting system, or layering with drainage materials, these solutions will keep your plants happy and healthy. Enjoy your indoor garden without the worry of root rot, and watch your plants flourish in their stylish, non-porous homes!