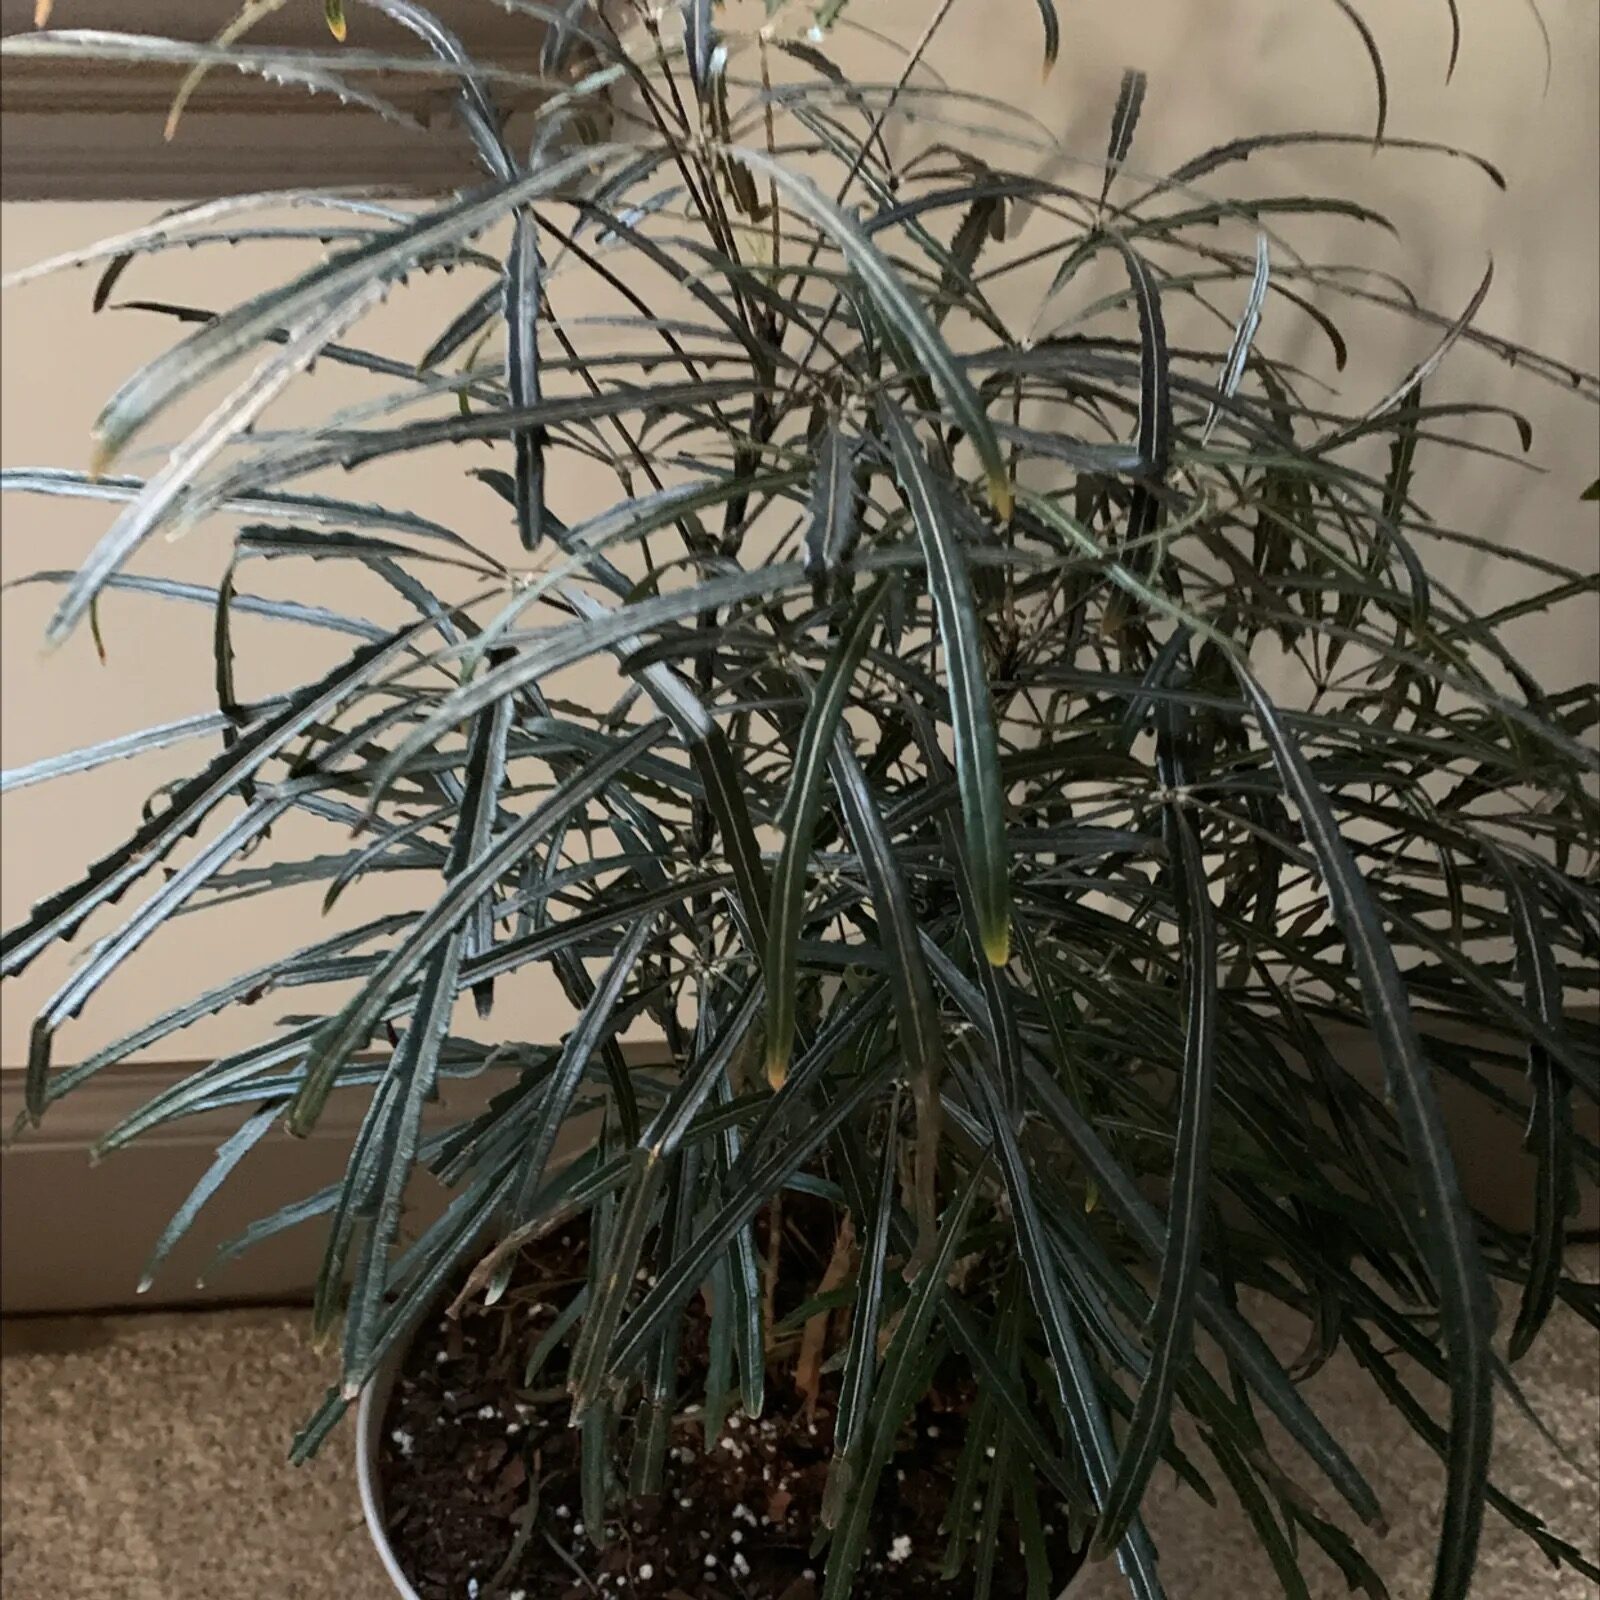
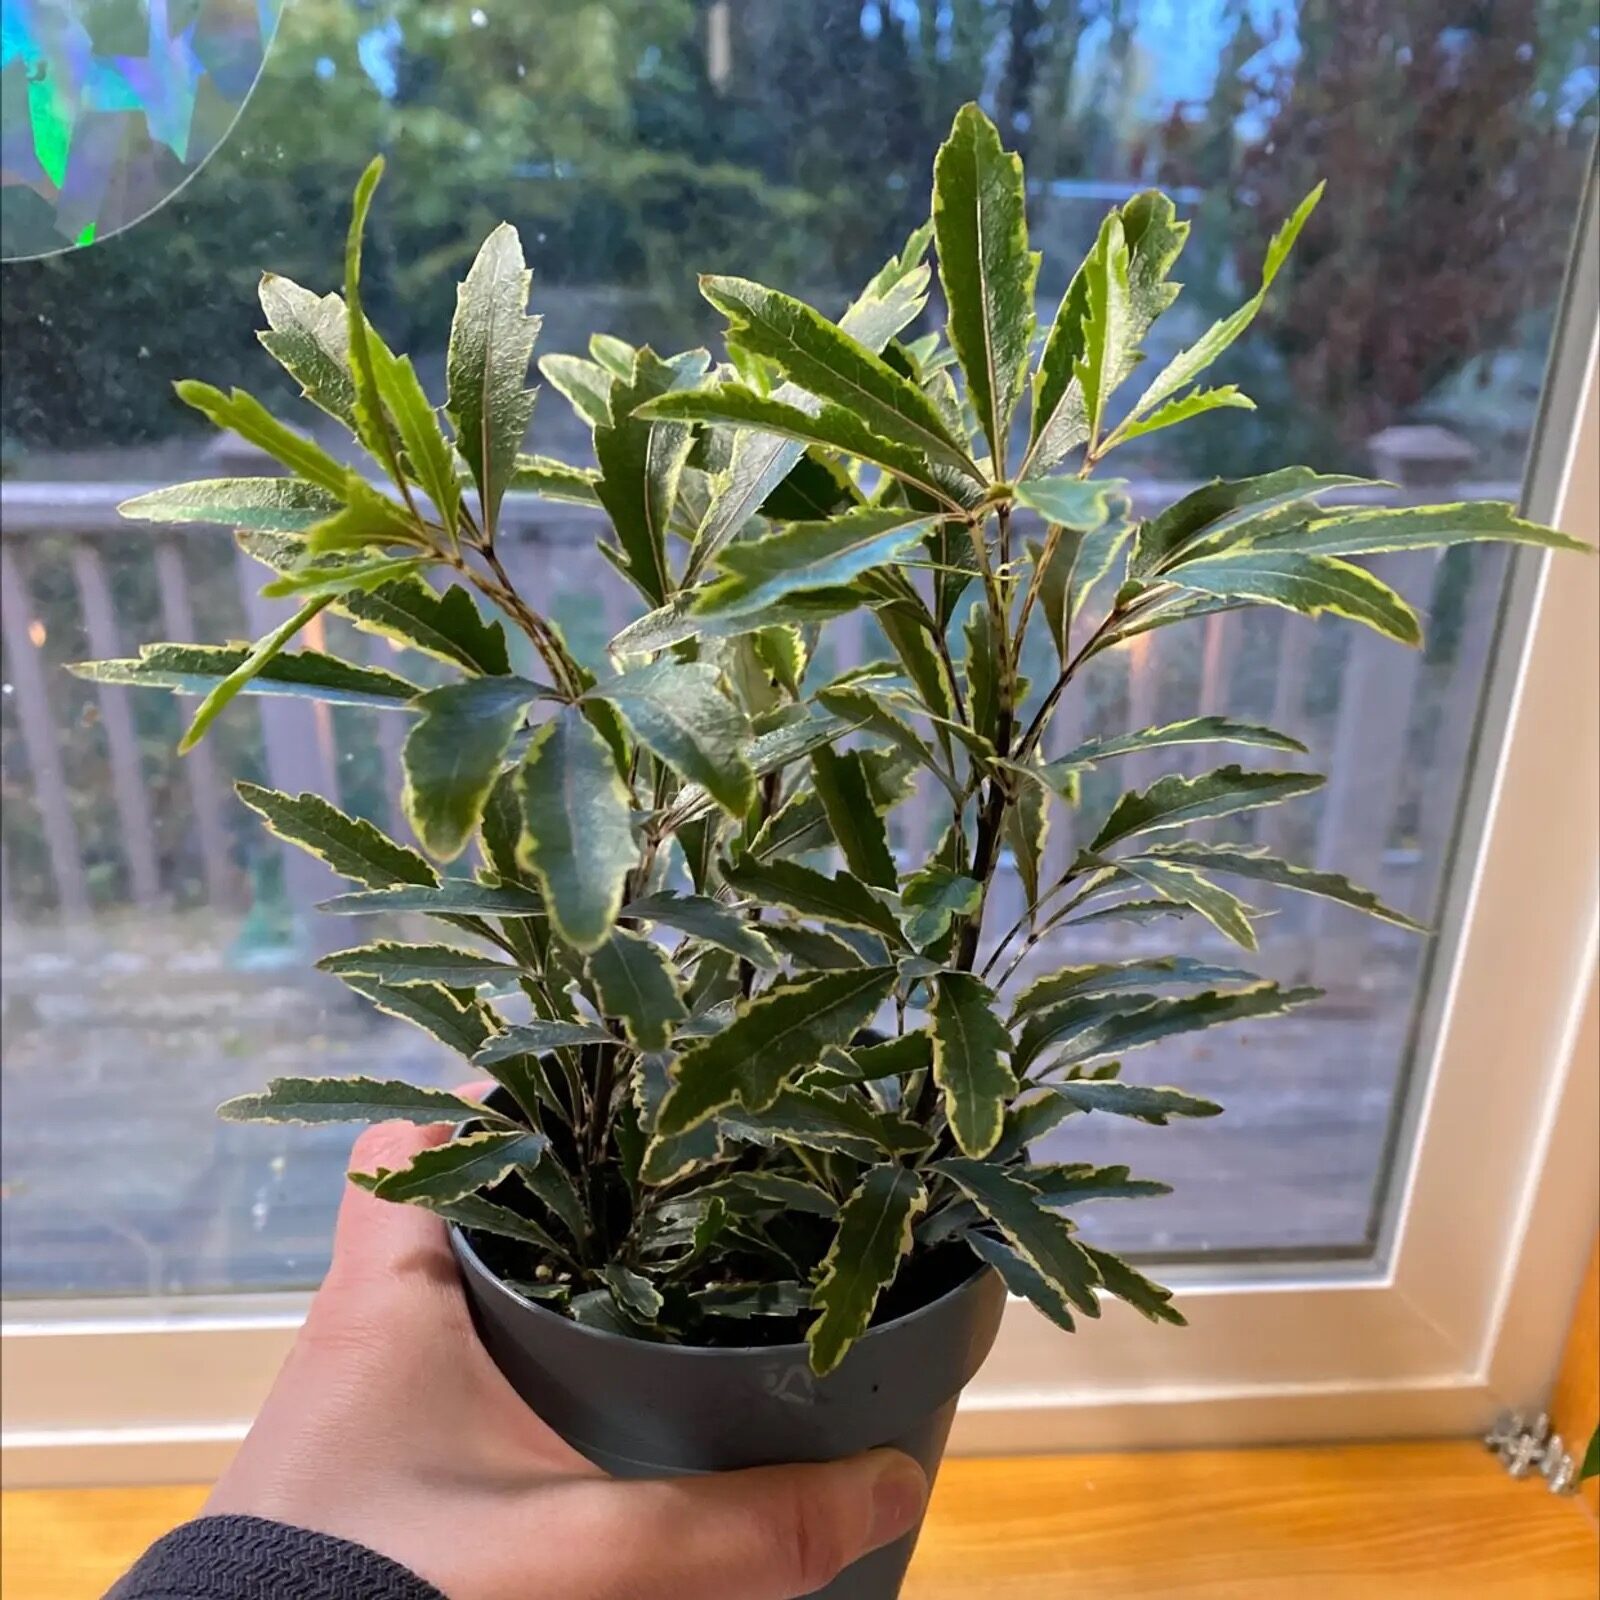
If you’ve fallen for the feathery, finely cut leaves of False Aralia (Polyscias elegantissima) and want more of that airy elegance, this is your propagation playbook. We’ll focus on fast, reliable stem cuttings with dialed-in timings and temps, then round it out with seed and air-layer options. Ready to turn one beauty into a collection?
Quick propagation specs (at a glance)
- Best season: spring (early summer also good)
- Cuttings: 10–12 cm (4–5 in) semi-ripe tip cuttings
- Medium: very free-draining (coarse sand or a similar airy mix)
- Temperature: hold at about 25°C (77°F)
- Humidity: high, under a dome/propagator
- Rooting time: typically 3–4 weeks
- Also possible: water-rooting, air layering, and seed
- Seed: sow fresh or in spring; germinate at 19–24°C (66–75°F); sprouts often in 3–4 weeks; transplant at ~10 cm (4 in) tall
Before you start: set up for success
- Pick the right parent: Choose a warm, actively growing False Aralia with sturdy stems and healthy, glossy foliage. Avoid plants stressed by cold drafts or harsh sun.
- Sanitize everything: Use sharp, clean pruners and disinfect them to minimize infection risk.
- Prepare the environment:
- Light: bright, filtered light (no intense midday rays). Outdoors in warm climates, about 70% shade in summer.
- Warmth: aim for a steady 25°C (77°F) in your propagation zone.
- Humidity: high under a clear dome or bag; ventilate daily to prevent fungal issues.
- Mix matters: Root into coarse sand or another very free-draining medium. A shallow, well-vented tray or small pots work well.
The gold standard: 10–12 cm semi-ripe tip cuttings
Semi-ripe means the current season’s growth that’s firmed up slightly—not soft and floppy, not fully woody.
Step 1: Take the cutting
- Snip a 10–12 cm (4–5 in) tip cutting just below a node.
- Remove lower leaves to expose 2–3 nodes; keep a modest “leaf engine” at the top for photosynthesis.
Step 2: Prep and (optionally) prime
- Lightly trim any overly large top leaflets by half to reduce moisture loss.
- Optional: dip the cut end in a rooting hormone. Not essential, but often helpful.
Step 3: Plant into a free-draining medium
- Use straight coarse sand or an ultra-airy blend (for example, coarse sand/perlite with a pinch of peat or leaf mold for slight moisture retention).
- Insert cuttings so at least one node is buried. Firm gently for good stem-to-medium contact.
Step 4: Dome, warmth, and bright shade
- Cover with a humidity dome or a clear bag supported by stakes so foliage doesn’t touch the plastic.
- Maintain ~25°C (77°F). Bottom warmth helps consistency.
- Provide bright, indirect light. Avoid direct sun on the dome.
Step 5: Daily care and moisture management
- Keep the medium just lightly moist—never sodden.
- Vent the dome daily to refresh air and reduce fungal risk.
- Watch for steady turgor (upright, non-wilting leaves) as an early good sign.
Step 6: Rooting timeline and the first “tug test”
- Expect root initiation in about 3–4 weeks.
- Gently test: a slight, resilient resistance usually means roots have formed.
Step 7: Potting up and aftercare
- Move rooted cuttings into a small pot of well-drained potting mix (peat- or leaf-mold-based with coarse sand).
- Light: keep bright and filtered.
- Water: keep slightly and evenly moist—avoid swingy wet–dry cycles.
- Feeding: once you see fresh new leaves, begin light feeding monthly during the growing season.
- Shape: once established, pinch or lightly prune to encourage that lush, full silhouette.
Alternate routes to new plants
Water-rooting cuttings
- Take a prepared tip cutting and place the lower nodes in clean water.
- Keep in bright, indirect light and change water regularly.
- Pot up into a free-draining mix as soon as roots form; maintain high humidity while the cutting transitions from water to soil.
Air layering (great for leggy, taller plants)

- Choose a healthy, semi-ripe section on an upright stem.
- Make a shallow cut or remove a narrow ring of bark just below a node.
- Optional: apply rooting hormone to the exposed area.
- Wrap the wound with moist sphagnum moss, then cover with plastic wrap and secure both ends; block light with foil if desired.
- Keep moss evenly moist and the plant warm. After roots visibly fill the moss (often several weeks to a couple of months), cut below the rooted section and pot it up.
Seed propagation (patient, but rewarding)
- Use fresh seed where possible; sow immediately or in spring.
- Temperature: 19–24°C (66–75°F) for germination.
- Medium: fine, free-draining seed mix; keep lightly moist.
- Expect sprouting in about 3–4 weeks.
- Light: bright, indirect light; avoid scorching.
- Transplant once seedlings reach ~10 cm (4 in) tall, then grow on warm and bright.
Your propagation calendar (with temps and light cues)
- Spring
- Take 10–12 cm semi-ripe tip cuttings; root at ~25°C with high humidity.
- Sow seed at 19–24°C.
- Repot established plants as needed.
- Indoors, east-facing light works beautifully.
- Early summer
- Continue cuttings; air-layer leggy canes.
- For fuller mother plants, prune stems back by about one-third, and repeat after new shoots appear to encourage branching.
- Summer
- Provide ~70% shade if outdoors; maintain warmth and humidity for rooting cuttings.
- Keep air moving and avoid waterlogged media.
- Autumn
- Harden off rooted plants; maintain bright, filtered light.
- Winter
- Keep plants above 13–15°C (55–59°F); reduce watering; stop feeding.
- Move to the brightest indoor spot available.
Troubleshooting and pro tips
- Wilting under the dome
- Too hot or too wet. Vent more, reduce direct exposure, and ensure the medium drains fast.
- Blackened stem base or mushy nodes
- Classic overwatering/poor aeration. Start over in a coarser medium and sanitize tools and containers.
- Leaf drop on mother plant or cuttings
- Often from cold drafts, harsh sun, or erratic watering. Keep warmth steady and light filtered; water evenly.
- Slow or no rooting
- Re-check temperature (target ~25°C), refresh the cutting batch with slightly firmer semi-ripe tips, and improve aeration in the medium.
- Pests
- Watch for scale and aphids. Treat early with insecticidal soap or horticultural oil and repeat as needed.
- Fungal leaf spots
- Remove affected leaves, ventilate the dome daily, avoid wetting foliage late in the day, and improve airflow.
Care cheatsheet for new plants
- Light: bright, filtered; avoid harsh direct sun.
- Temperature: ideal 20–30°C (68–86°F); above 13°C (55°F) in winter.
- Humidity: enjoys ~60%+ if possible.
- Water: keep the mix slightly and evenly moist in active growth; a touch drier in winter.
- Feeding: monthly during the growing season; stop in winter.
- Pruning: light shaping on young plants; harder reductions tolerated on older, tall plants.
Safety note
Toxicity isn’t consistently confirmed across major references, so treat False Aralia as potentially irritating if chewed. Keep it away from pets and children, and wash hands after pruning.
Why we love propagating False Aralia
Native to Madagascar and part of the Araliaceae (ginseng) family, Polyscias elegantissima brings a calm, tropical vibe without needing full sun. In some regions it’s considered a good-luck foliage plant—symbolically tied to prosperity and a thriving home. Think of that as cultural meaning rather than a botanical guarantee; the real “luck” comes from creating the right conditions and multiplying a plant you love.
With 10–12 cm semi-ripe cuttings, a warm 25°C rooting zone, and high humidity, you can expect new roots in about 3–4 weeks. Add air layering for leggy canes and seed for the patient grower, and you’ve got a complete propagation toolkit for turning one elegant plant into many.