If you’ve ever balked at the cost of new potting soil, you’re not alone. Fortunately, you can give your old potting soil a new lease on life with some simple steps. Whether you’re a seasoned gardener or just starting out with houseplants, learning how to sterilize and rejuvenate potting soil can save you money and keep your plants thriving.
Why Bother with Old Potting Soil?
Used potting soil might seem like a lost cause, but it’s actually a goldmine waiting to be tapped. Over time, plants deplete the soil’s nutrients, and it can become compacted or infested with pests and diseases. But with a bit of care, you can transform it back into a prime growing medium.
Step 1: Sterilize to Eliminate Pests and Diseases
Before rejuvenating your soil, it’s crucial to sterilize it. This removes harmful microorganisms and insect larvae that could harm your plants.
Solarization: The Sun-Powered Sterilizer
Solarization is a simple and eco-friendly method. Place the soil into black plastic bags or 5-gallon buckets with lids. Leave these in a sunny spot for four to six weeks. The intense heat will kill off pests and pathogens, preparing the soil for reuse.
Pro Tip: This method works best during the hottest months when sunlight is most intense.

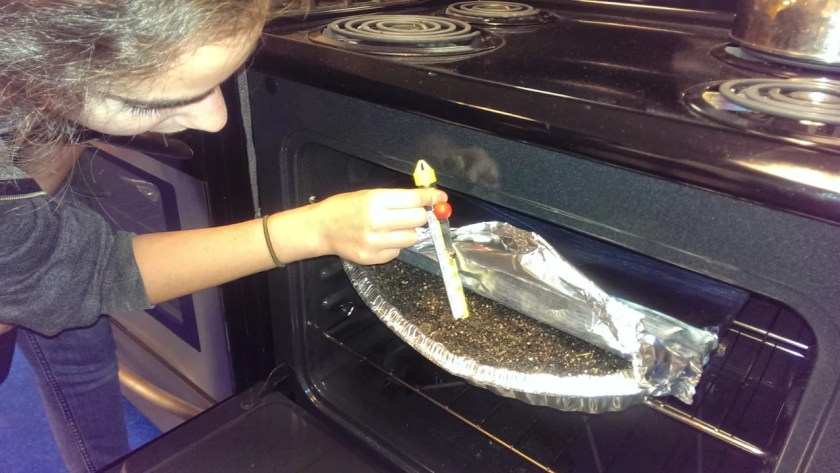
Oven and Microwave Methods
If the sun’s not an option, or you’re looking for a quicker fix, try sterilizing the soil in your oven or microwave. Spread the soil no more than 4 inches deep in an oven-safe pan, cover it with foil, and bake at 180°F for 30 minutes. Alternatively, microwave moistened soil in a ventilated container for about 90 seconds.
Caution: Avoid temperatures above 200°F to prevent releasing toxins and remember that both methods can create a strong earthy odor.
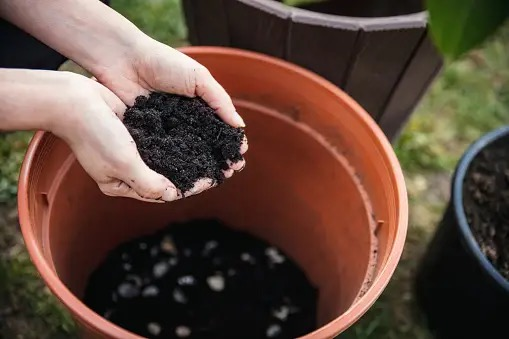
Step 2: Rejuvenate with Nutrient Boosts
Once sterilized, it’s time to refresh your soil’s nutrient content. Plants have likely used up most of the nutrients, so replenishing them is vital for healthy growth.
Mix and Match
Combine your sterilized old soil with fresh potting soil in equal parts. This not only revives the nutrient content but also helps maintain soil structure, keeping it airy and well-draining.
Add Compost and Fertilizer
Enhance the soil with compost, using one part compost for every three to four parts of potting soil. Add slow-release fertilizer pellets to gradually feed your plants over time. Be careful not to overdo it with compost, as too much can lead to compaction.
Step 3: Clean Your Containers
Don’t let contaminated containers undo your hard work. Sterilize pots and tools by soaking them in a 10% bleach solution (one part bleach to nine parts water) for 30 minutes. Rinse thoroughly and let them dry before use.
Final Thoughts: Rotate Your Crops
For those using the soil for edible plants like tomatoes, consider planting different species the following season. This prevents the buildup of specific pests and diseases associated with certain plants.
By following these steps, you can turn your old potting soil into a nutrient-rich, pest-free medium ready to support new plant life. Not only will you be saving money, but you’ll also be giving your plants the best start possible. Happy gardening!