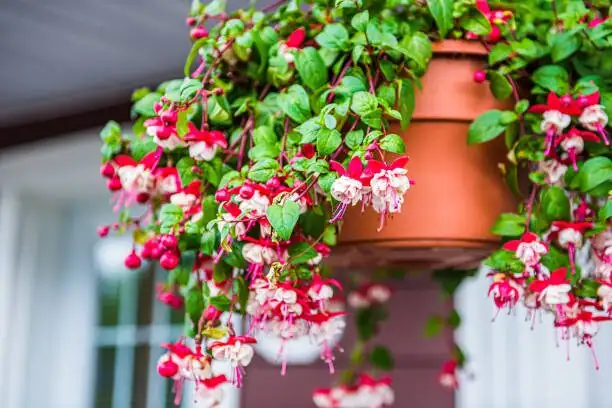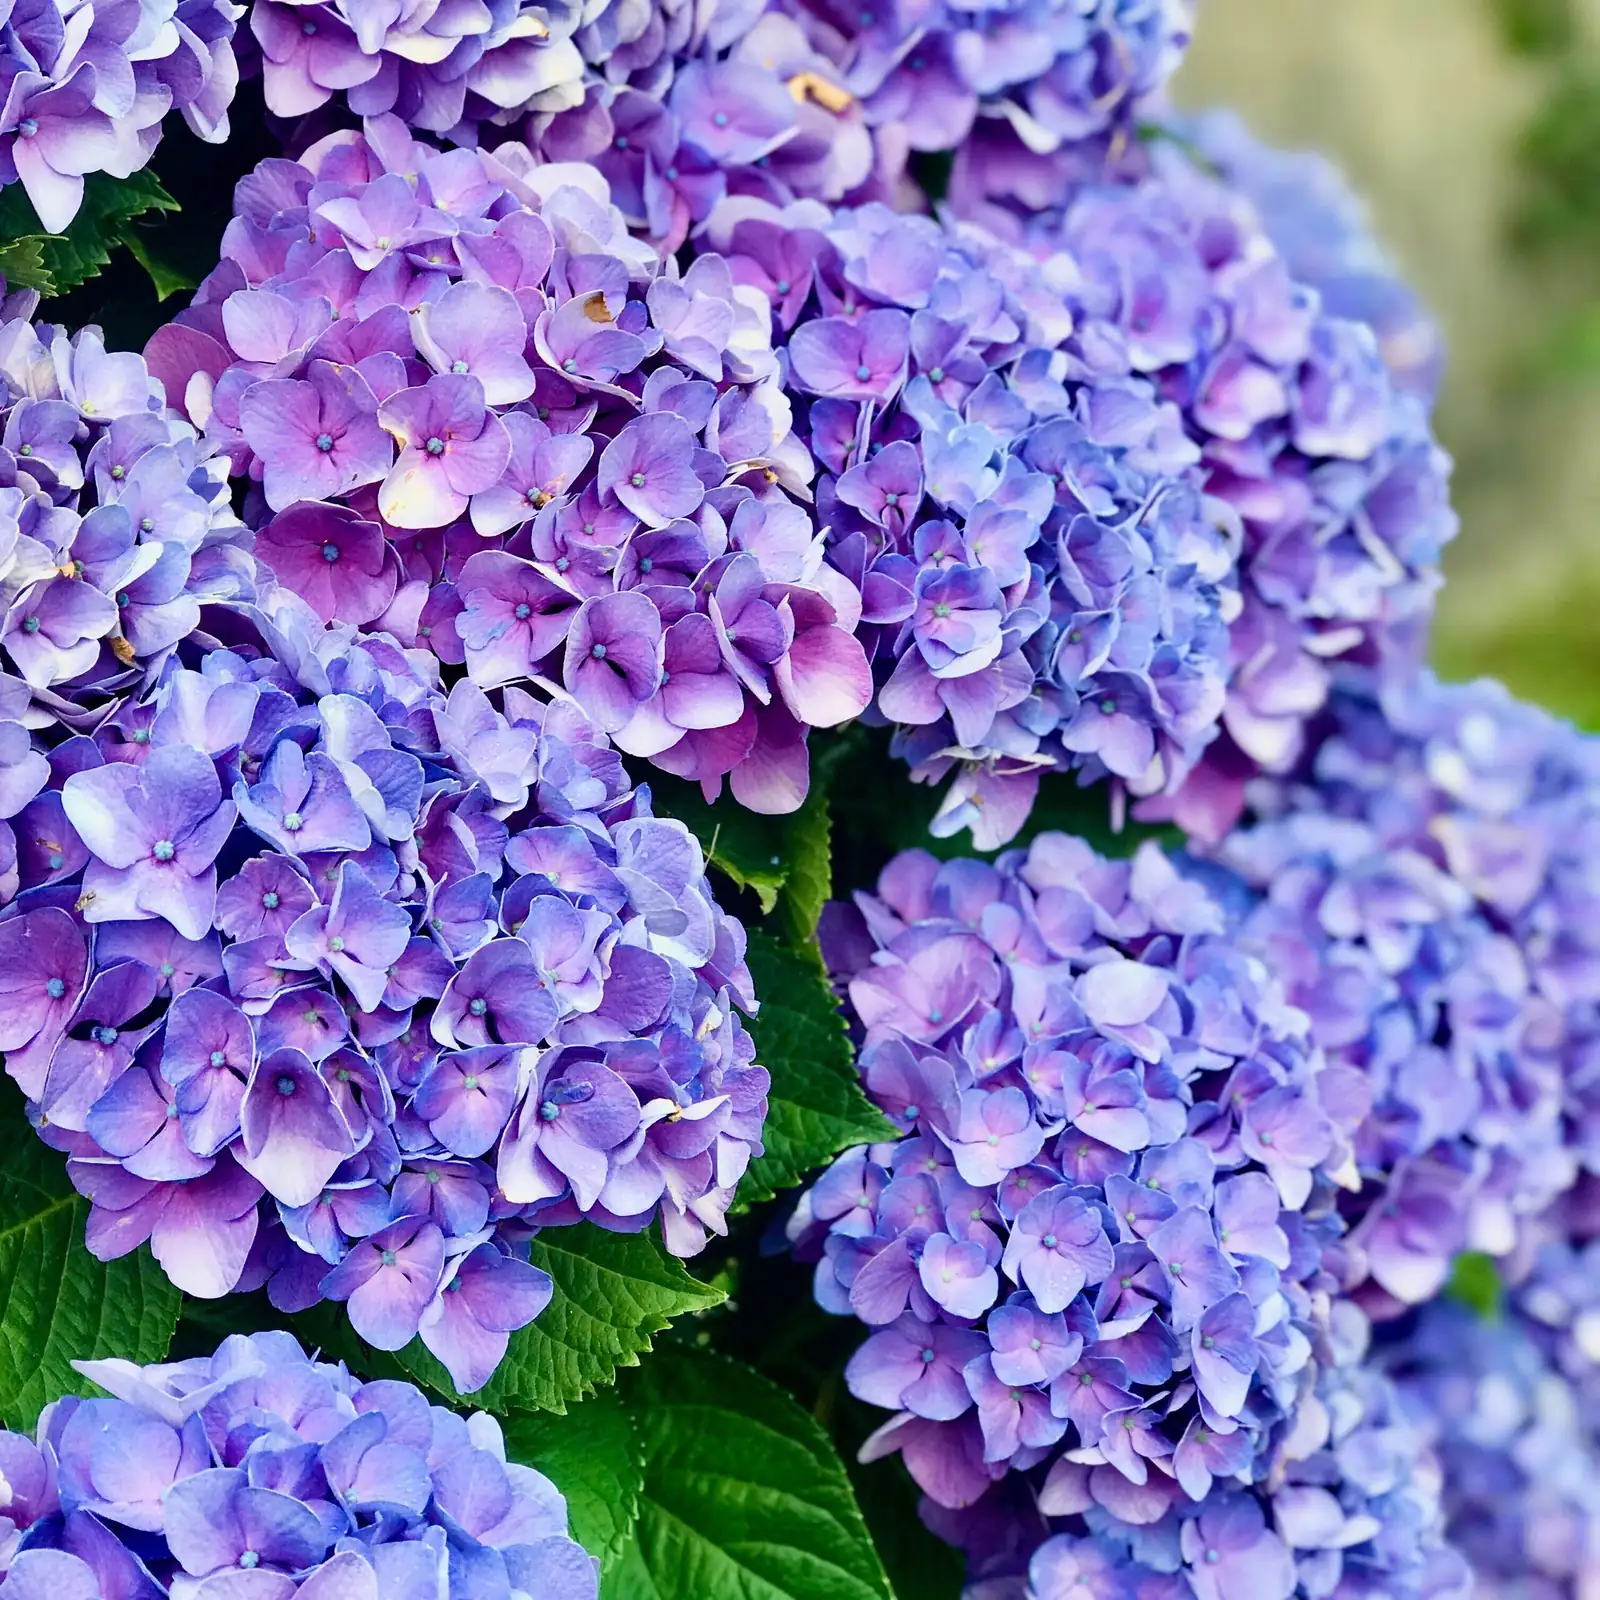
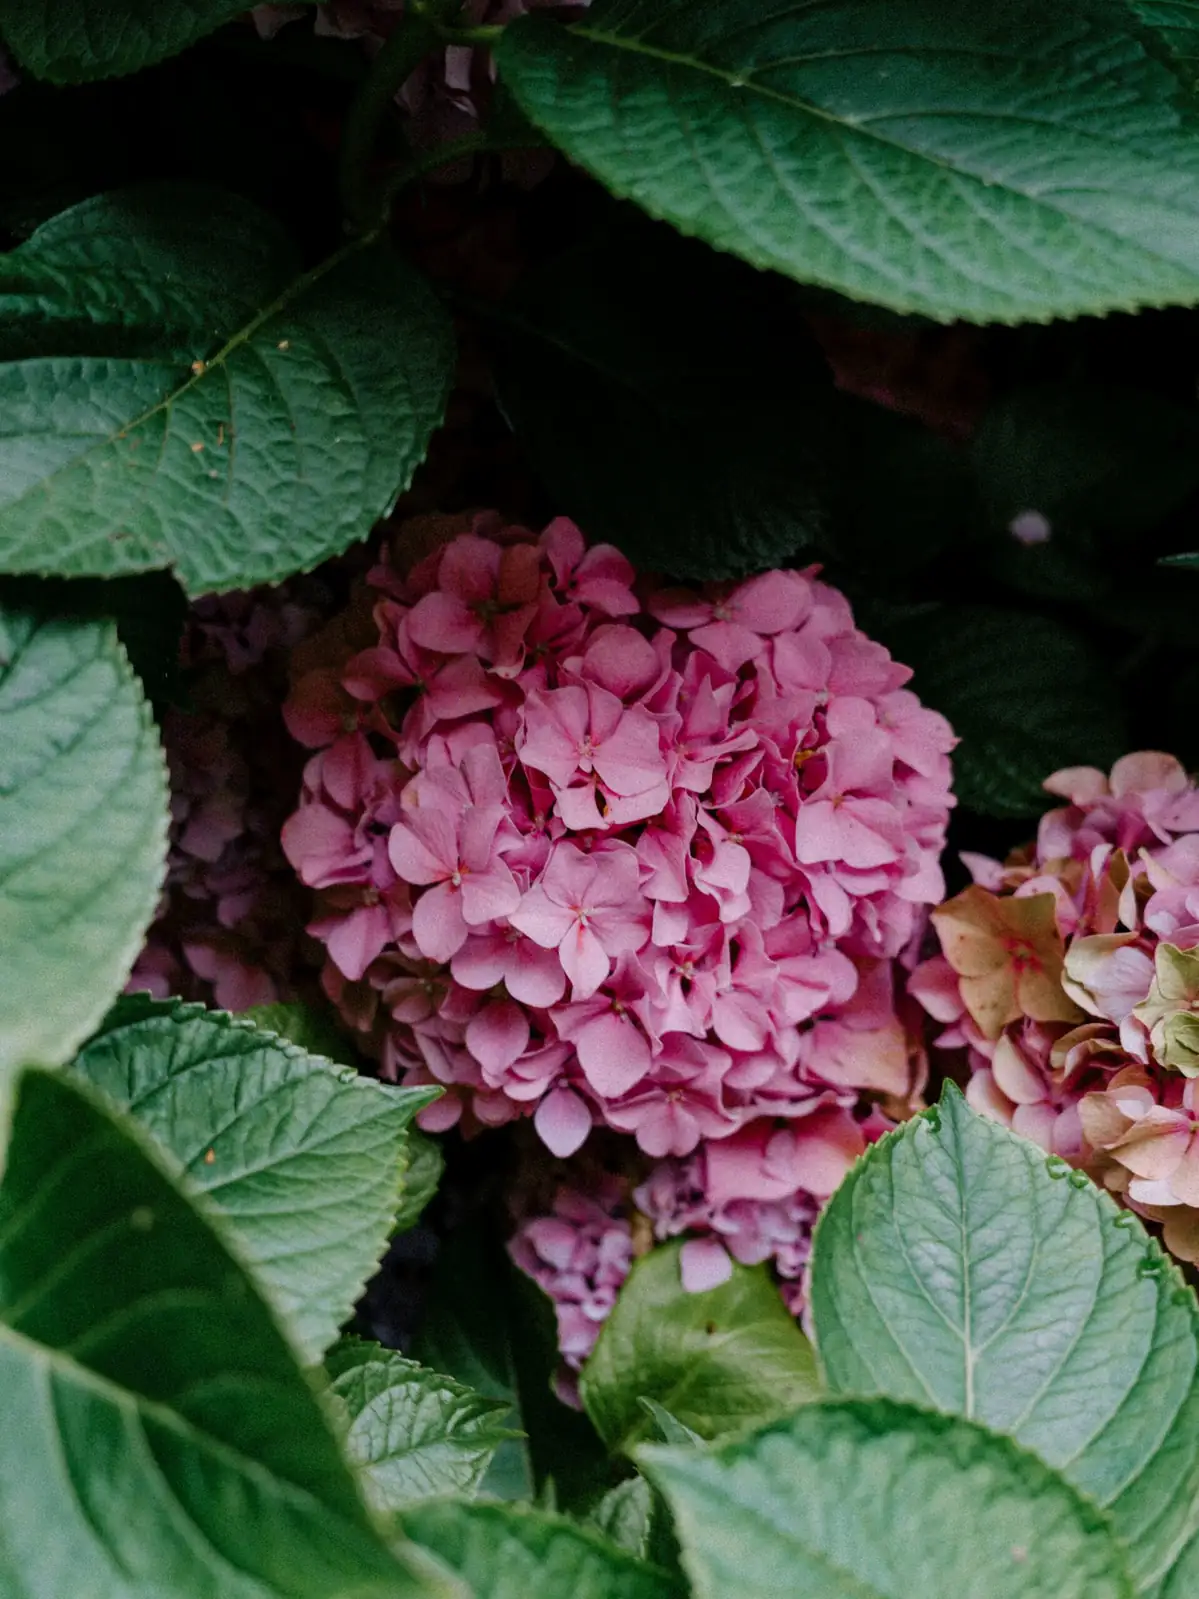
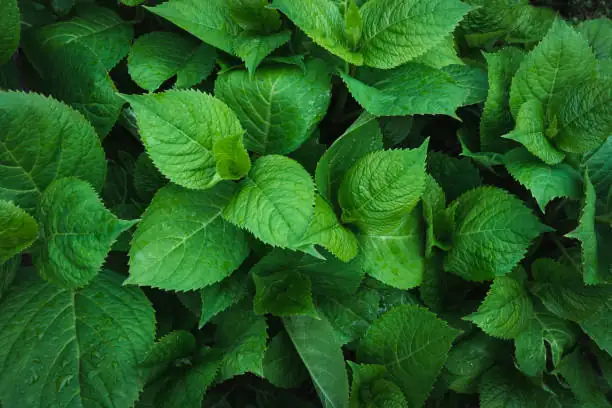
If you’ve ever wished you could copy‑paste that perfect blue mophead into three more corners of your garden, here’s your green‑thumb shortcut. Bigleaf hydrangea (Hydrangea macrophylla—aka mophead or lacecap, native to East Asia) is wonderfully clonal: softwood cuttings root fast, layering is nearly foolproof, and with a few savvy tweaks you can turn “meh” results into trays of healthy starts.
Below, a step‑by‑step for softwood cuttings (with timing, hormone, and humidity done right), layering tricks that work even if you’re “not a propagator,” and quick fixes for the most common rooting fails—so you can clone favorite mopheads with confidence.
First, the essentials for success
- Light: Bright, indirect light or morning sun with afternoon shade is ideal—especially while rooting.
- Temperature: Best growth around 18–28°C (64–82°F). Warm roots = faster roots.
- Humidity: Moderate to high; cuttings love a humid dome to prevent wilt.
- Soil/medium: Moist, well‑drained, organic‑rich mix. For cuttings, use an airy rooting medium (see below).
- Bloom colors: Many cultivars turn bluer in acidic soil with available aluminum; pink/red in more alkaline conditions.
- Hardiness: Most reliably flower in USDA Zones 6–9.
- Safety: Mildly toxic if ingested; keep away from pets and kids. Use care with rooting hormones.
Softwood cuttings, step by step
Hydrangea macrophylla is a classic for softwood cuttings. The trick is to catch stems at the “bend but snap” stage and keep humidity steady.
1) Timing and stem selection
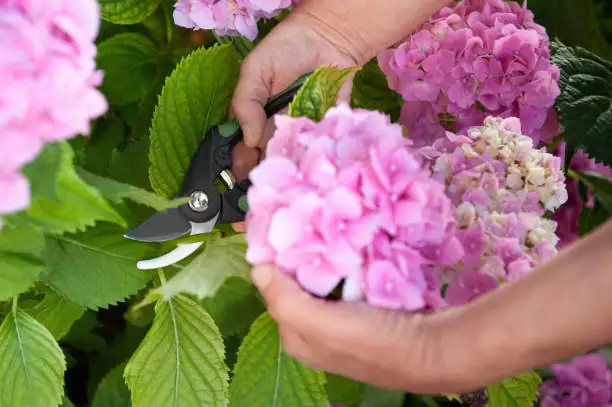
- When: Late spring to early summer is prime, typically May through mid‑July, and early morning is best.
- What to take: 12–15 cm (5–6 in) non‑flowering tips from the current season’s growth—stems should be firming but not woody.
- Hydration hack: Water the mother plant well the day before. Keep cut stems in a bag or cup of cool water while you work.
2) Tools and setup
- Sharp, sterilized pruners or knife
- Rooting hormone (powder or gel with IBA is ideal)
- Propagation tray or small pots
- Rooting medium: a light, fast‑draining blend such as 50–70% perlite with 30–50% peat/coco coir (or a seed‑starting mix cut with extra perlite)
- Dibble/pencil to make holes
- Clear humidity dome or a transparent storage bin; vent holes or adjustable vents are a plus
- Fine mister and room‑temperature water
- Optional: heat mat set around 21–24°C (70–75°F) for root‑zone warmth
3) Prepare the cuttings
- Cut just below a node (where leaves attach).
- Strip off the lower leaves to expose at least one node that will be buried.
- Reduce the two top leaves by half to cut water loss.
- Optional “pro move”: Lightly nick or scrape one side of the stem base to expose a sliver of cambium (a shallow wound encourages roots).
- Dip the base in rooting hormone and tap off the excess—more is not better.
4) Stick, water, and dome
- Pre‑moisten your medium until evenly damp but not sopping.
- Use the dibble to make planting holes; avoid scraping off the hormone.
- Insert so at least one node is under the surface; firm gently.
- Water to settle, then cover with a clear dome or bin. Aim for high humidity with a light film of condensation inside.
- Light and temp: Bright, indirect light (no hot midday sun); air 18–26°C (64–79°F). Warm roots speed things up.
5) Aftercare and timeline
- Vent the dome daily for a few minutes to refresh air and discourage fungus.
- Keep the medium evenly moist, not waterlogged. Bottom‑water if possible.
- Expect first roots in about 2–3 weeks under warm, humid conditions; cooler setups may take a bit longer.
- Test gently: a slight tug that resists = rooting.
- Wean off humidity over 3–5 days once rooted. Then pot up into a rich, well‑drained mix and grow on in morning sun/afternoon shade.
- Pinch the tip after potting up to encourage a fuller plant.
Note on water rooting: Hydrangea cuttings rarely root well in plain water compared with a proper medium. You’ll get sturdier, transplant‑ready roots much faster in an airy mix.
Layering tricks (near‑guaranteed clones)
Layering uses the plant’s own energy to make new roots while the stem is still attached—low risk, high reward.
Simple ground layering (fastest)
Best window: Early spring as buds swell through early summer.
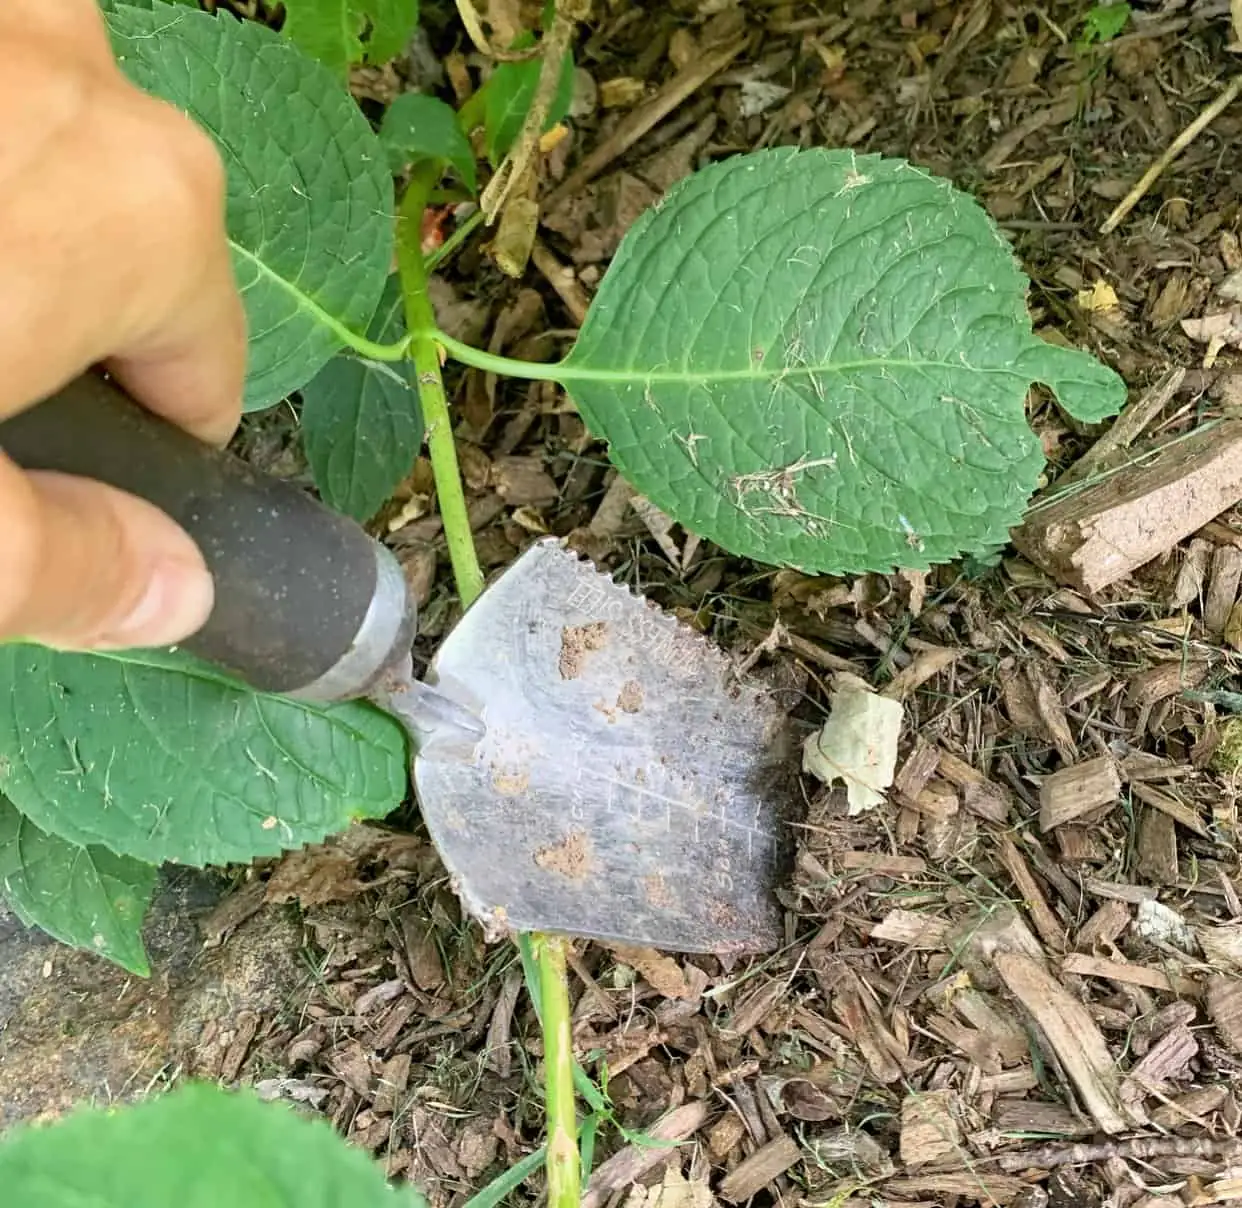
- Choose a flexible, low stem and lightly wound the underside just below a node.
- Dust the wound with rooting hormone (optional but helpful).
- Pin the wounded section to soil with a U‑shaped wire or twig and bury it 3–5 cm deep, leaving the tip above ground.
- Keep the area moist. Roots can form in about 30 days in warm conditions.
- Separate and transplant once well rooted—often late summer to early autumn.
Pot‑next‑to‑plant layering
- Set a small pot of mix beside the shrub.
- Bend a stem into the pot, notch/wound below a node, pin, cover with mix, and keep moist.
- You’ll have a potted, pre‑rooted clone to snip free when ready.
Serpentine layering (many clones from one stem)
- On a long, flexible stem, alternate buried nodes and exposed sections along a shallow trench.
- Each buried node can root and become its own plant over the season.
Tip: Label your layers; once the hydrangea leafs out, it’s easy to forget where you pinned them.
Quick fixes for common rooting fails
Hydrangea cuttings are forgiving, but these simple tweaks can save a tray:
- Cuttings collapse/wilt
- Likely causes: Large leaves, low humidity, hot sun, cut too late in the day.
- Fixes: Take cuttings early morning; halve the leaves; use a dome; provide bright, indirect light; keep root zone warm but air cool; mist the dome, not the leaves, to avoid drips.
- Blackened bases or “damping off”
- Likely causes: Soggy medium, poor airflow, contamination.
- Fixes: Use a very airy mix (more perlite); sterilize tools; water less often; vent the dome daily; remove any slimy stems; consider a fresh sterile medium.
- No roots after 4–5 weeks
- Likely causes: Cuttings taken from flowering or overly mature wood; cool soil; weak hormone.
- Fixes: Start over with soft, non‑flowering tips; add gentle wounding; refresh hormone; raise root‑zone to 21–24°C; brighten light (still indirect).
- Leaves yellowing, algae on top
- Likely causes: Waterlogged surface and low oxygen.
- Fixes: Top‑dress with a thin layer of coarse perlite; water from below; improve drainage; reduce frequency.
- Roots form, then stall
- Likely causes: Kept under the dome too long; nutrient starvation.
- Fixes: Wean humidity gradually once rooted; pot up; feed lightly with a balanced fertilizer at quarter strength; increase light without direct scorch.
- “I tried rooting in water…”
- Reality: Bigleaf hydrangeas rarely make robust water‑roots. Shift to a perlite‑rich medium early for better, transplant‑ready roots.
Potting up and first‑season care
- Pot size: Move rooted cuttings into 10–12 cm (4–5 in) pots.
- Mix: Organic‑rich but well drained (e.g., quality potting mix with added perlite).
- Light: Morning sun, afternoon shade is the sweet spot.
- Watering: Keep evenly moist—never bone dry, never swampy.
- Feeding: Light, balanced fertilizer through early summer; ease off by late summer so stems mature.
- Pinch once or twice to encourage branching.
- Overwinter: Protect young plants from hard freezes; buds are more cold‑sensitive than stems.
Mini “one‑tray propagation kit”
- Shallow flat or lidded clear storage bin (your humidity dome)
- 6‑pack inserts or small pots
- 60–70% perlite + 30–40% coco/peat mix
- Heat mat with thermostat
- Alcohol wipes, labels, pencil dibble, hormone, mister
Set, stick, dome, vent daily—done.
A quick note on symbolism (flower language)
Hydrangeas are often linked with gratitude, heartfelt emotion, and abundance—quite fitting for a shrub that offers billows of blooms. In Japan (where bigleaf hydrangea is beloved as ajisai), a famous story tells of an emperor offering blue hydrangeas as an apology, which helped associate blue mopheads with remorse and understanding. Pink tones are commonly tied to sincere affection; white to purity; purple to a wish for deeper understanding. Remember, the color you see can shift with soil chemistry—more acidic soils (with available aluminum) tend to turn many cultivars bluer, while more alkaline soils push toward pink/red—so the “message” sometimes changes with the dirt.
Final tips to clone like a pro
- Take non‑flowering softwood in early summer; 12–15 cm is the sweet spot.
- Use a very airy medium and a light touch with hormone.
- Keep the dome humid but not dripping; vent daily.
- Warm roots, cool tops, bright shade.
- In a hurry? Layering often gives you a transplant‑ready plant in about a month with almost no drama.
With these steps, you’ll multiply your favorite mopheads and lacecaps with ease—and fill your garden (and your friends’ gardens) with generous clusters for years to come.