

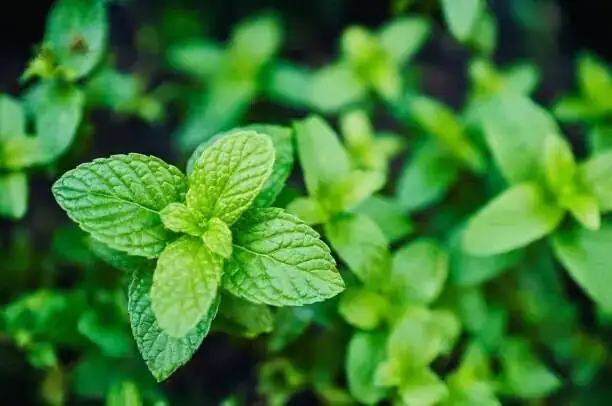
Peppermint, Mentha × piperita, might be the most obliging herb you’ll ever grow. It’s fast, fragrant, and forgiving—and propagation is where it truly shines. With a clean pair of snips and a well-timed plan, you can root tip cuttings in about two weeks, split clumps in spring or autumn, and coax tiny, light-loving seeds into sturdy starts. Here’s your hands-on, season-by-season game plan for vigorous, disease-free peppermint from day one.
Peppermint at a glance (to set you up for success)
- Botanical: Mentha × piperita (family Lamiaceae); a hybrid of watermint and spearmint
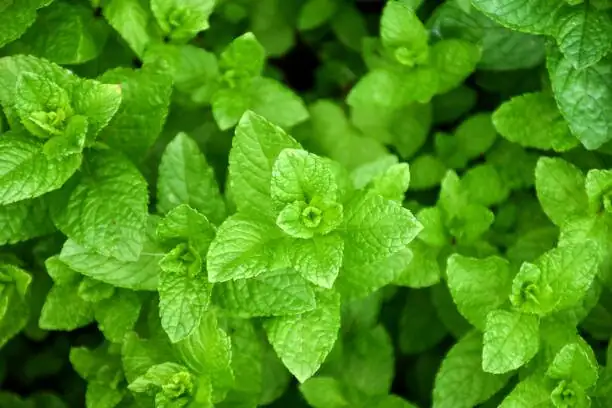
- Habit: Herbaceous perennial, clump-forming above ground but spreads strongly via underground rhizomes
- Size: Typically 30–90 cm tall; readily kept to 15–30 cm in containers with regular cutting
- Sun: Full sun to partial shade (brighter light = better flavor)
- Temperature: Thrives at 20–30°C; foliage is frost-tender but rhizomes usually survive to about −15°C
- Soil: Rich, moisture-retentive, well-drained; loam-based mix + compost, with perlite or sand
- Best containment: Pots or root barriers—peppermint loves to roam
- Bonus: Summer flowers are a bee-and-butterfly magnet; frequent harvest makes plants bushier
—
The propagation playbook: three reliable routes
1) Quick-root tip cuttings: two weeks to liftoff (May–July)
This is the speed run. Properly handled, peppermint cuttings typically root in about 14 days.
What to cut
- Choose a robust, non-flowering tip about 10 cm (4 in) long.
- Make a clean, angled cut just below a node; strip off the lower leaves.
Sanitation and prep
- Sterilize tools: Wipe pruners with 70% isopropyl alcohol or dip in a 1:9 bleach:water solution, rinse, and dry.
- Soak cuttings: Place stems in clean water for 1–2 hours to rehydrate.
- Medium: Use rinsed sharp sand, vermiculite, or a 1:1 perlite:vermiculite blend in disinfected trays or small pots with drainage.
Sticking and environment
- Insert cuttings so at least one node is buried; firm the medium lightly.
- Light: Bright, indirect light (avoid hot midday sun).
- Temperature: 20–30°C.
- Humidity: Maintain gentle humidity (a vented dome works); allow some airflow to prevent mildew.
- Water: Keep evenly moist; bottom-watering is ideal to avoid wetting foliage.
The two-week timeline
- Day 0: Stick cuttings; label by date/cultivar.
- Days 2–5: Check moisture daily; crack the dome for a few minutes if condensation drips.
- Days 7–10: Tug-test gently—slight resistance means root initials are forming.
- Days 12–14: Roots present; gradually increase ventilation to harden.
Potting on and aftercare
- Transplant to a fertile, loam-based potting mix amended with compost and perlite.
- A 12–15 cm (4.7–5.9 in) pot can hold about 3 young plants.
- Light: Move to brighter light over 3–5 days; full sun to partial shade thereafter.
- Pinch: When plants reach 15–20 cm (6–8 in), pinch tips to encourage branching.
- Feeding: During active growth, feed every 2 weeks; in summer you can feed weekly with a diluted, well-rotted liquid fertilizer.
- Water: Keep evenly moist—don’t let pots dry hard.
Pro tip: Skip hormones—peppermint roots eagerly without them when sanitation and moisture are right.
—
2) Division of rhizomes: spring or autumn for instant clumps
Division gives you robust plants fast, with near-zero guesswork.
Best windows
- Spring: April–May
- Autumn: Early November
How to divide
- Lift the clump and shake off old soil.
- Select thick, pale, sturdy rhizome sections with healthy buds; discard tired or dark, rotting pieces.
- Replant into fresh, fertile mix (pots) or improved garden soil; water in well.
Aftercare that prevents sulking
- Shade: Keep in partial shade for a week to recover.
- Water: Maintain consistently moist (not sodden) soil.
- Feed: About a week after potting, give a light feeding once; then resume a regular schedule during active growth.
- Containment: In beds, install root barriers; in pots, expect to repot or re-trim rhizomes annually (ideal around March).
—
3) Seed: light-sown and gently handled
Peppermint seeds are tiny and need light to germinate. Because Mentha × piperita is a hybrid, seedlings can vary—great for experimentation, but not for exact clonal flavor.

Sowing steps
- Medium: Fine-textured, sterile seed-starting mix; pre-moisten evenly.
- Surface-sow: Do not cover—just press seeds onto the surface.
- Water: Mist lightly, then use bottom-watering to avoid dislodging seeds.
- Light: Start in partial shade; move to brighter light after germination.
- Temperature: Aim for 20–24°C.
- Humidity: Use a vented dome to maintain moisture without drips.
Germination and pricking out
- Expect germination in roughly 1–3 weeks.
- Remove the dome gradually once most seedlings are up.
- Transplant at the two-true-leaf stage; pinch lightly once established for bushiness.
When to choose seed
- For large volumes of plants or breeding curiosity.
- For culinary uniformity, use cuttings or divisions.
—
Sanitation that makes the difference
- Tools: Disinfect blades between plants and before moving from older stock to new starts.
- Containers: Wash and sanitize pots/trays; let dry fully.
- Media: Use fresh, clean substrates; avoid reusing old, pathogen-laden mixes.
- Watering hygiene: Favor bottom-watering for cuttings and seedlings; avoid wetting foliage late in the day.
- Airflow: Provide gentle circulation to deter powdery mildew and gray mold.
- Quarantine: Keep new starts slightly apart from mature plants for two weeks to monitor health.
—
Aftercare for vigorous, flavorful growth
Light and placement
- Full sun to partial shade; balconies, sunny patios, or bright windowsills all work.
- Brighter light intensifies flavor; offer some midday protection in extreme heat.
Water and humidity
- Keep soil consistently moist during active growth.
- In hot, dry conditions, occasional misting reduces leaf stress.
- Winter: If growth slows, keep only slightly moist to prevent rhizome rot.
Feeding
- Incorporate compost or a base fertilizer at planting.
- During the growing season, feed every 2 weeks; in summer, weekly diluted feeds are welcome.
- Stop feeding when stems and leaves naturally begin to wither.
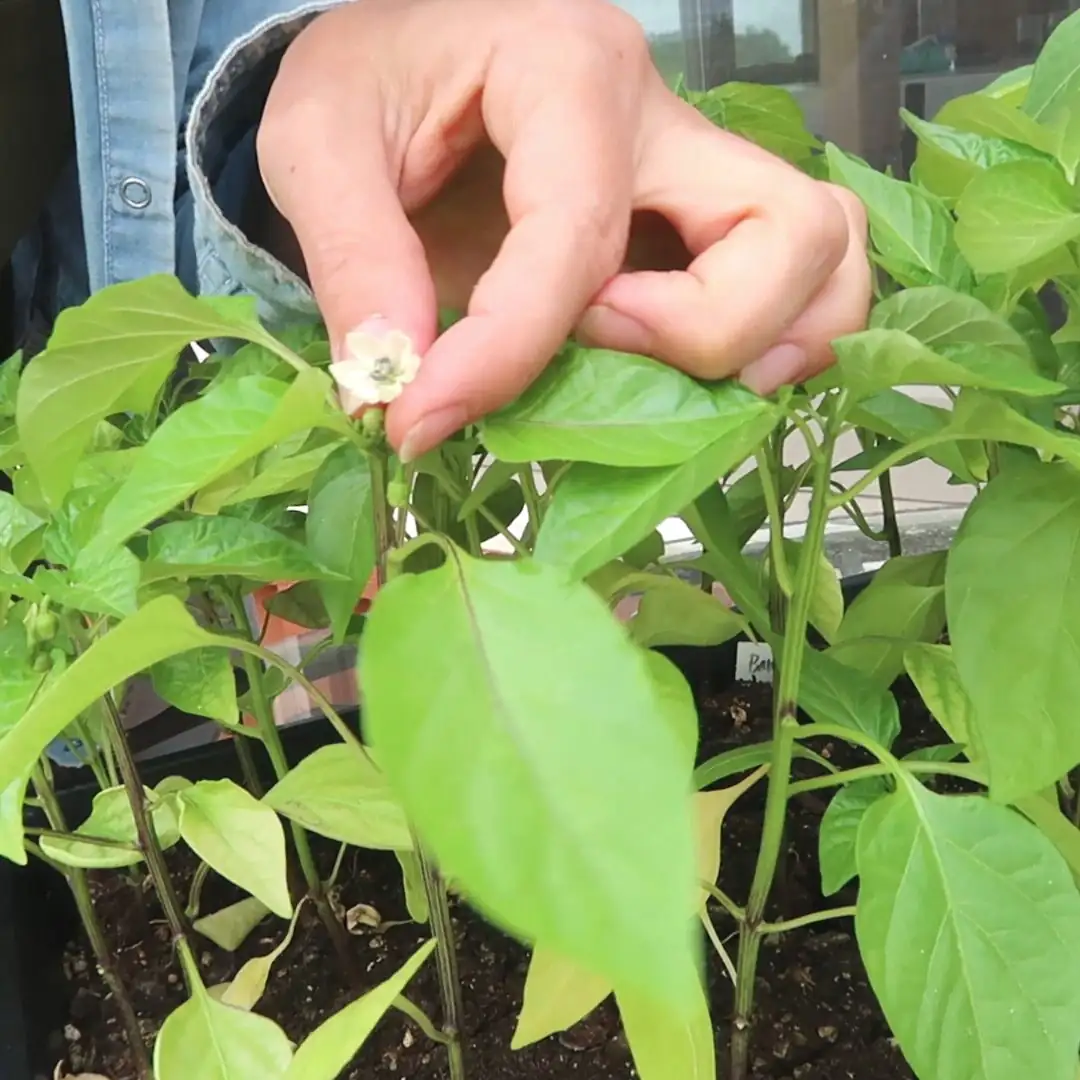
Pruning and harvest
- Start pinching at 15–20 cm to build a dense, leafy canopy.
- For cut-and-come-again harvests, cut stems back leaving about 10 cm (4 in); it resprouts readily and can often be cut 3–4 times once established.
Overwintering and hardiness
- Top growth may die back below 0°C, but rhizomes commonly survive to about −15°C.
- For indoor overwintering, a cool 10–12°C and restrained watering work well.
Containment
- Peppermint is a runner—use containers or install deep root barriers in beds to keep it from carpeting the garden.
—
Troubleshooting: fast fixes
- Wilting cuttings: Recut under water, raise humidity slightly, and keep medium evenly moist (not wet).
- Rotting bases: Reduce saturation; improve drainage; sanitize tools and containers.
- Damping-off in seedlings: Increase airflow, bottom-water, and avoid over-misting.
- Powdery mildew/gray mold: Thin crowded growth, boost airflow, and remove affected leaves promptly; avoid evening overhead watering.
- Rust/leaf spots or caterpillars: Remove damaged tissue; hand-pick pests; use locally approved controls only as needed and always follow the label.
—
A note on names (and buying smart)
- You’ll see “peppermint” sold alongside a crowd of mints; “garden mint” can be used loosely in markets and may refer to other species (often spearmint).
- Choose plants with a strong peppermint scent and fresh green leaves; avoid blackened stems, visible mildew, or severely root-bound pots.
—
Mini calendar for propagation and care
- March: Repot container plants; refresh soil; trim and keep only vigorous rhizomes. If crowded, divide into 2–3 pots. Light feed once after a week.
- April–May: Divide rhizomes outdoors; plant or pot up divisions.
- May–July: Take 10 cm tip cuttings; expect roots in about 2 weeks.
- Growing season: Keep evenly moist; feed every 2 weeks (weekly diluted in summer); pinch regularly.
- Summer: Enjoy bee-friendly flowers; harvest freely for peak flavor.
- Early November: Second window for division in mild climates; protect young divisions from early hard frosts.
- Winter: Water sparingly; keep only slightly moist if plants are still ticking along.
—
Safety, uses, and a little symbolism
- Culinary safety: Generally non-toxic when used as a kitchen herb. Concentrated peppermint essential oil can irritate skin and mucous membranes—keep out of reach of children and pets.
- Uses: Fresh or dried leaves for tea, desserts, sauces, and savory dishes; snip tender stems for muddled drinks. A simple home-style twist: simmer fresh leaves, strain, and stir the infusion into rice porridge for a gentle, cooling dish.
- Symbolism: Peppermint’s clean, cooling aroma has long been linked with freshness, clarity, and hospitality—think of it as a scented welcome mat for both guests and pollinators.
—
Why this works
You’re aligning peppermint’s natural rhythm with clean technique:
- Cuttings root fastest in warm, bright-not-blazing conditions.
- Divisions rebound when soils are cool but workable (spring and early autumn).
- Seeds need light, gentle moisture, and patience.
Combine that with strict sanitation, steady moisture, and early pinching, and you’ll have pots of lush, aromatic growth ready for constant harvesting—and enough clonal plants to share without letting this runner run wild.