


If you’ve ever looked up into a rainforest canopy and thought, “I want that energy in my living room,” mounted bromeliads are your ticket. Guzmania, Vriesea, Aechmea and their kin are natural epiphytes—tree-perchers that sip mist and rain, using wiry roots mostly to hold on. Mounting them on cork or driftwood doesn’t just look stunning; it recreates their airy, well-drained life high above the forest floor.
Below is your step-by-step blueprint—materials, wiring vs. ties, smart sphagnum use, watering rhythms, and airflow must-haves—to turn a single rosette into a living slice of canopy.
Why mount a bromeliad at all?
- It’s true to nature: Many ornamental bromeliads are epiphytic by habit, anchoring to bark and branches without stealing from a host.
- Better airflow, less rot: Mounted plants dry predictably between waterings.
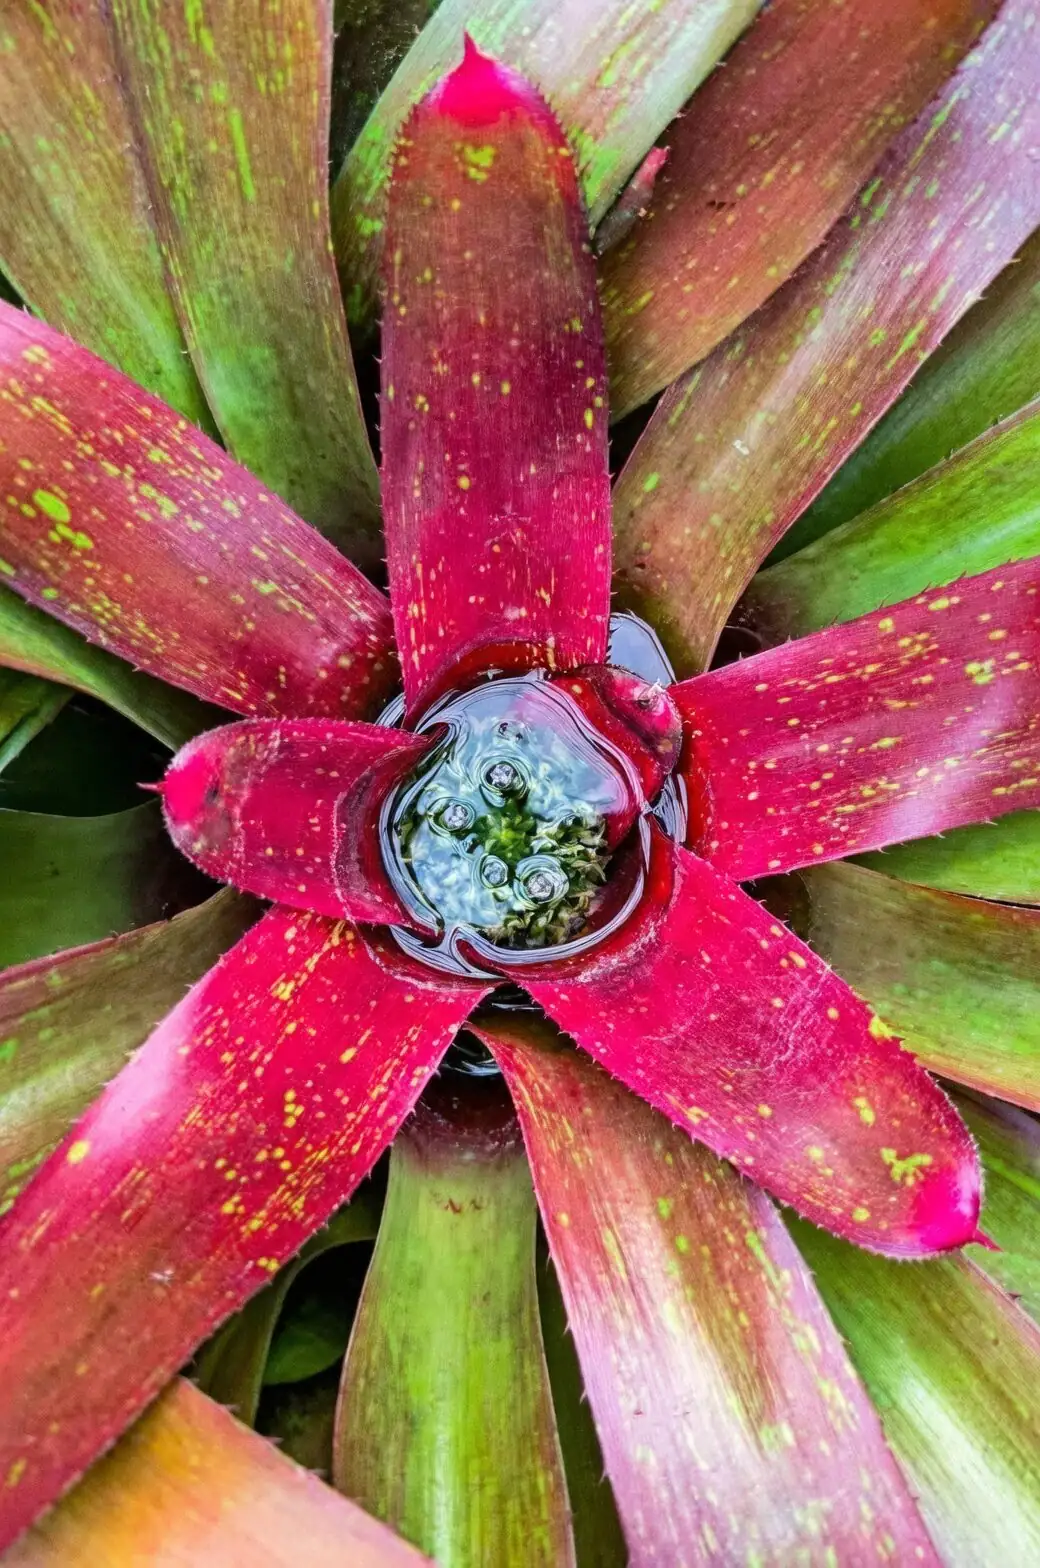
- Sculptural impact: A glowing “flower” (often colorful bracts) floats against bark like a tropical art piece for weeks to months.
- Easy offsets: Pups eventually clump to cloak the mount, turning one plant into a living tapestry.
Pick the right plant
- Choose a rosette with firm, upright leaves and clean, vivid bracts. Skip any with a soft base, blackened center, sour smell, sticky residue, or webbing.
- Size matters: Start with a pup or medium plant that isn’t top-heavy for the mount you’ve chosen.
- Expect the cycle: Many popular bromeliads are monocarpic—the mother rosette slowly declines after flowering, but usually produces pups to carry the torch.
The best mounting surfaces
- Top choices: Natural cork bark slabs, hardwood driftwood, aged grapevine, or tree fern plaques. Rough, long-lasting, and won’t turn mushy.
- Avoid: Soft/rotting wood and anything treated with chemicals.
- If using ocean-found driftwood: Soak it in fresh water, changing the water over a day or more, to leach out salt. Salt can dehydrate roots and delay attachment.
- Prep the surface: Brush off loose debris and rinse so you start clean.

Materials checklist
- Mount: Cork bark slab or driftwood (pre-soaked if salty)
- Long-fiber sphagnum moss (pre-moistened)
- Attachment options (choose one or combine):
- Plastic-coated garden wire (non-copper)
- Soft, stretchy plant ties or grafting tape
- Jute/hemp twine (biodegradable, gentler but short-lived)
- Nylon fishing line or clear polyester thread (discreet, check regularly so it doesn’t cut in)
- Small zip ties (pad contact points and loosen as needed)
- Scissors or snips
- Optional: Stainless screws and pre-drilled holes in cork for anchor points; felt/rubber pads to protect tissue
- Gloves (some Aechmea and cousins have mildly spiny leaf edges)
Wiring vs. ties: what to use and when
- Plastic-coated wire (non-copper)
- Pros: Secure, reusable, easy to fine-tune; great for heavier rosettes
- Cons: Must not bite into tissue; avoid copper, which can be problematic for plant tissue
- Stretchy plant ties/grafting tape
- Pros: Gentle, expands as the plant settles; great on delicate stems
- Cons: May degrade; replace as needed
- Fishing line
- Pros: Nearly invisible
- Cons: Can cut in if overtightened; inspect monthly and loosen/replace
- Jute/hemp twine
- Pros: Grippy, natural look; gentle on plant
- Cons: Breaks down faster; plan to re-secure after a few months
- Zip ties
- Pros: Quick and firm
- Cons: Can cinch too tight; pad under the tie and snip off promptly once roots anchor
Tip: A figure-eight wrap under the rosette (not across the central cup) locks plants snugly without crushing leaves. If your mount allows, pre-drill two small holes to thread wire/ties through for clean anchoring points.
Sphagnum moss, the smart way
Think of sphagnum as a humidity cushion—not soil.
- Pre-moisten and squeeze: It should be damp, not dripping.
- Use just a thin pad, roughly palm-sized, as a landing pad under the root zone. Too much moss can stay soggy and invite rot.
- Keep the neck/base of the rosette and the central cup free of moss. Never stuff moss into the cup.
- In arid homes, you can wrap a thin veil of moss around the root pad and lightly secure it. In humid rooms, use even less.
- Once roots grab (often in 2–6 months), thin or remove excess moss to improve airflow.
Step-by-step mounting
- Pre-soak and prep
- Soak driftwood if salty; rinse your cork/wood and let it drip dry.
- Moisten sphagnum and squeeze out excess.
- Groom the plant
- Remove dead leaves and any spent flower parts.
- Trim wiry roots to a few centimeters; this encourages fresh anchor roots.
- Test-fit the rosette
- Set the plant where it naturally sits snugly, angled slightly so the cup can be refreshed and drain easily.
- Place a thin sphagnum pad
- Only under the root zone; keep the rosette base exposed.
- Secure gently, firmly
- Use your chosen tie, making a figure-eight that crosses under the rosette. Add felt/rubber pads beneath the tie if needed.
- The plant should not wobble at all; even slight sway can prevent root attachment.
- Final check
- Ensure the central cup is unobstructed and upright enough to hold a small amount of clean water (for tank-forming types).
- Hang or stage
- Bright, filtered light; avoid harsh midday sun. A bright bathroom or kitchen with humidity is perfect.
Watering routines for mounted bromeliads
Mounted plants dry faster—and that’s good, if you match their rhythm.
- For tank-forming Guzmania, Vriesea, Aechmea
- Keep a small amount of clean water in the central cup and refresh it about weekly so it doesn’t stagnate.
- In cooler or low-light periods, reduce or empty the cup to lower rot risk.
- To refresh: Tilt the mount to pour out old water, then refill lightly. Flush the cup occasionally to prevent mineral buildup.
- For the root zone and moss pad
- Warm seasons, bright light: Thoroughly wet the moss pad 2–3 times per week. In very dry air, add light daily misting.
- Cooler/dimmer months: Water less—often once weekly is enough. Never keep the base soggy.
- Use room-temperature rainwater, distilled, or filtered water if you have hard water to avoid leaf spotting.
- Feeding, sparingly
- During active growth, apply a balanced fertilizer at about 1/4 strength every 4–6 weeks.
- You can mist-feed the leaves lightly or add a very small amount to the cup, then refresh the cup with clean water within a day. Overfeeding can dull bract color.
Signs you’ve got it right: Leaves are firm and glossy, bracts hold color, and the plant slowly produces pups at the base.
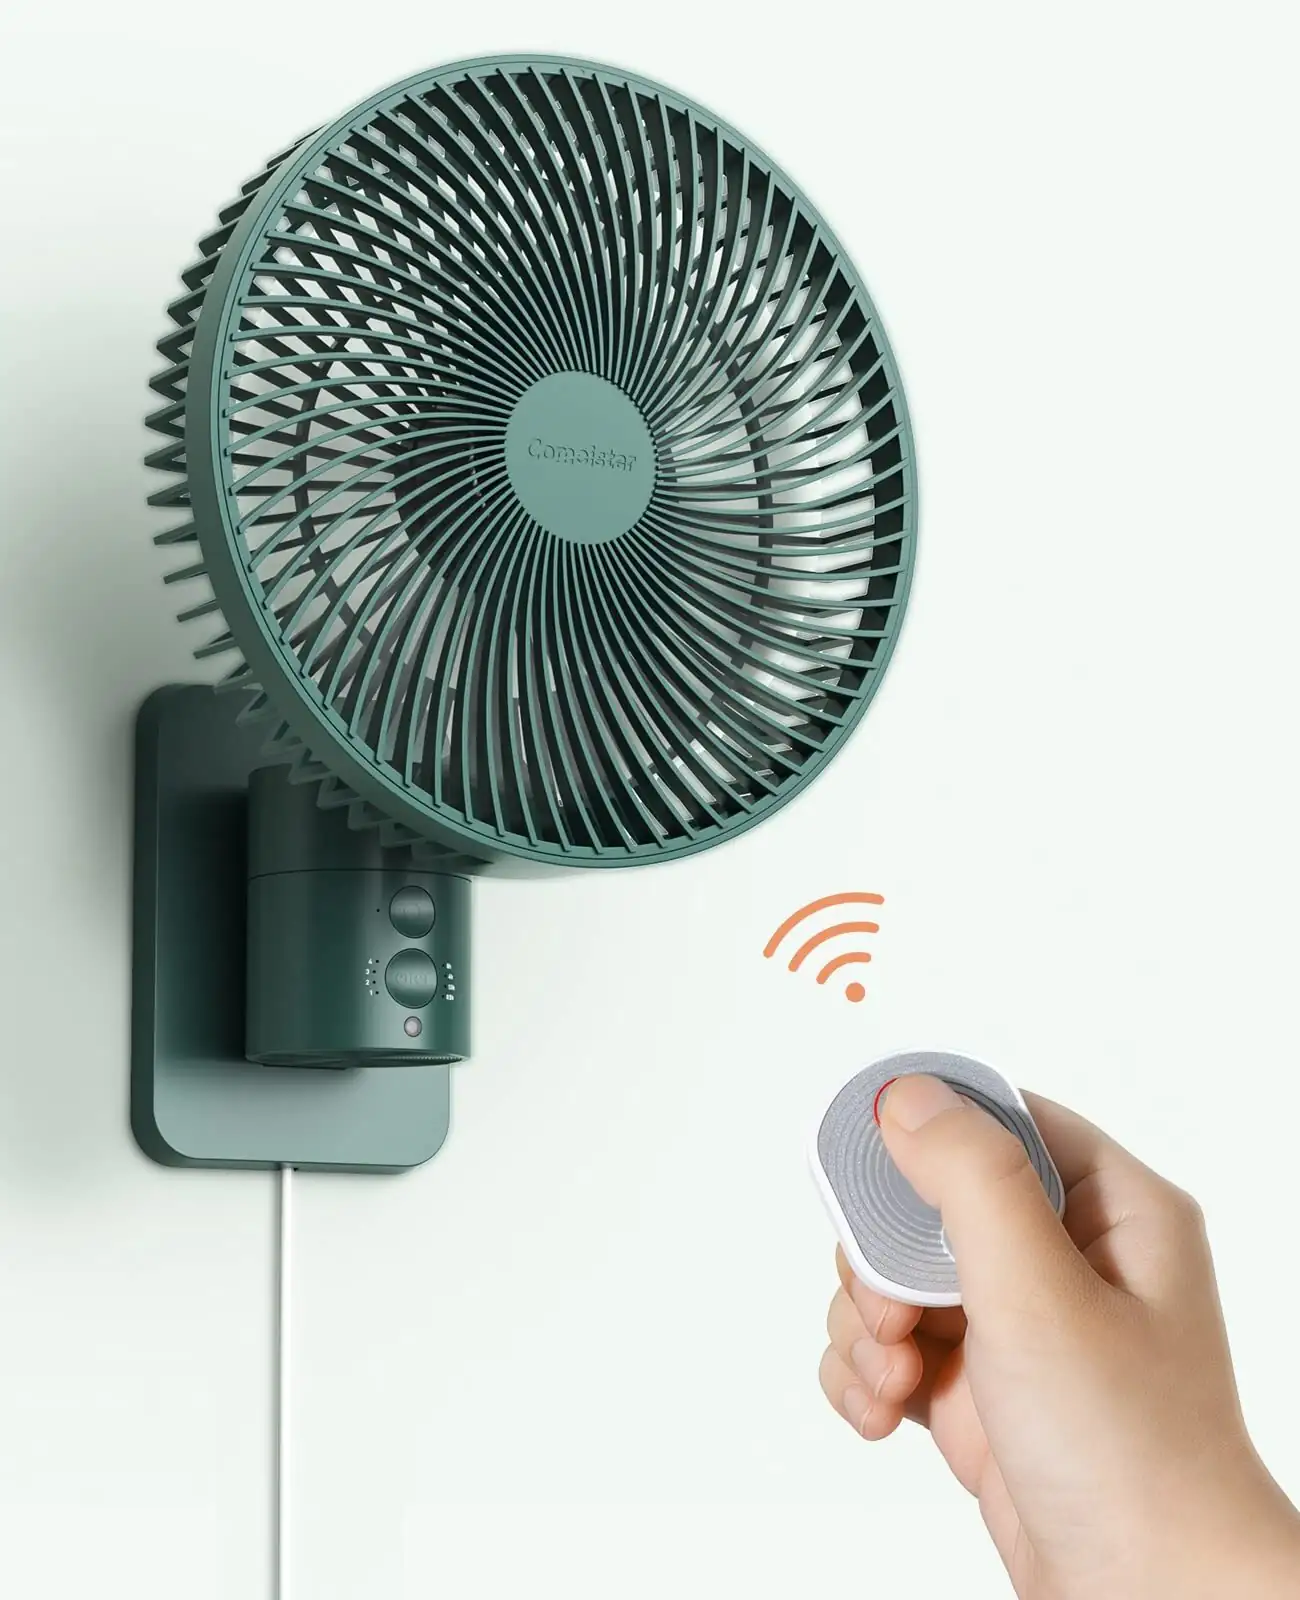
Airflow essentials (your canopy’s invisible superpower)
Bromeliads evolved for breezes. Air movement dries the leaf axils and moss pad predictably, discouraging rot.
- Aim for gentle air circulation, not a draft. An oscillating fan on low across the room is perfect.
- Keep humidity around 50–70% if possible; pair airflow with humidity for best leaf health.
- Avoid stagnant corners, sealed terrariums, or parking a plant right under a heater vent.
- Red flags: A sour smell in the cup, algae buildup, or a persistently wet base. Increase airflow and refresh the cup more frequently.
Light, temperature, and placement at a glance
- Light: Bright, indirect/filtered. Gentle morning sun is fine; avoid harsh midday beams that scorch leaves and fade bracts.
- Temperature: 18–28°C (64–82°F) is ideal. Protect from temperatures below 10°C (50°F) and from cold drafts.
- Placement: Near an east- or north-facing window, or set back from a bright south/west window behind a sheer curtain.
Aftercare: pups, pruning, and progress
- After the show: Once bracts fade, snip off the spent flower spike.
- Pups: Wait until pups are about 1/3–1/2 the size of the mother before gently cutting them free (if you want to remount or pot them). Or let them clump to cover the mount—beautiful on cork slabs.
- Attachment timeline: Expect new anchor roots in a few weeks, solid grip in 2–6 months. At that point, remove or loosen any constricting ties.
Troubleshooting quick guide
- Wrinkled or folding leaves: Underwatering or very low humidity. Increase soak frequency; mist lightly between soakings.
- Brown tips: Dry air or mineral buildup. Boost humidity; use softer water; trim tips if desired.
- Faded bracts: Too much sun or overfeeding. Provide filtered light; cut fertilizer back.
- Soft base/blackened center: Waterlogging or stagnant cup. Improve airflow, reduce watering, refresh/empty the cup more often in cool, dim conditions.
- Pests: Check leaf axils and the cup for mealybugs, scale, and spider mites. Isolate, then treat promptly; improved airflow and regular cup refreshes help prevent issues.
Safety
Bromeliads are generally considered non-toxic to people and pets. Some have spiny or toothed leaf edges—gloves make mounting and pruning more comfortable.
A note on “flower language” and symbolism
What many call the “flower” is a crown of colorful bracts that can glow for weeks to months, while the true flowers are smaller and short-lived. In modern décor, bromeliads have come to symbolize hospitality, vibrant energy, and tropical cheer—the kind of welcome you feel stepping into a breezy veranda. It’s less a centuries-old code and more a contemporary association born from their bold color and long-lasting display.
Your canopy, curated
Mounting bromeliads is equal parts craft and care: a firm tie, a whisper of sphagnum, rhythmic watering, and kind breezes. Do that, and your Guzmania, Vriesea, or Aechmea will repay you with living architecture and a color show that lingers—an eye-level canopy, right at home.