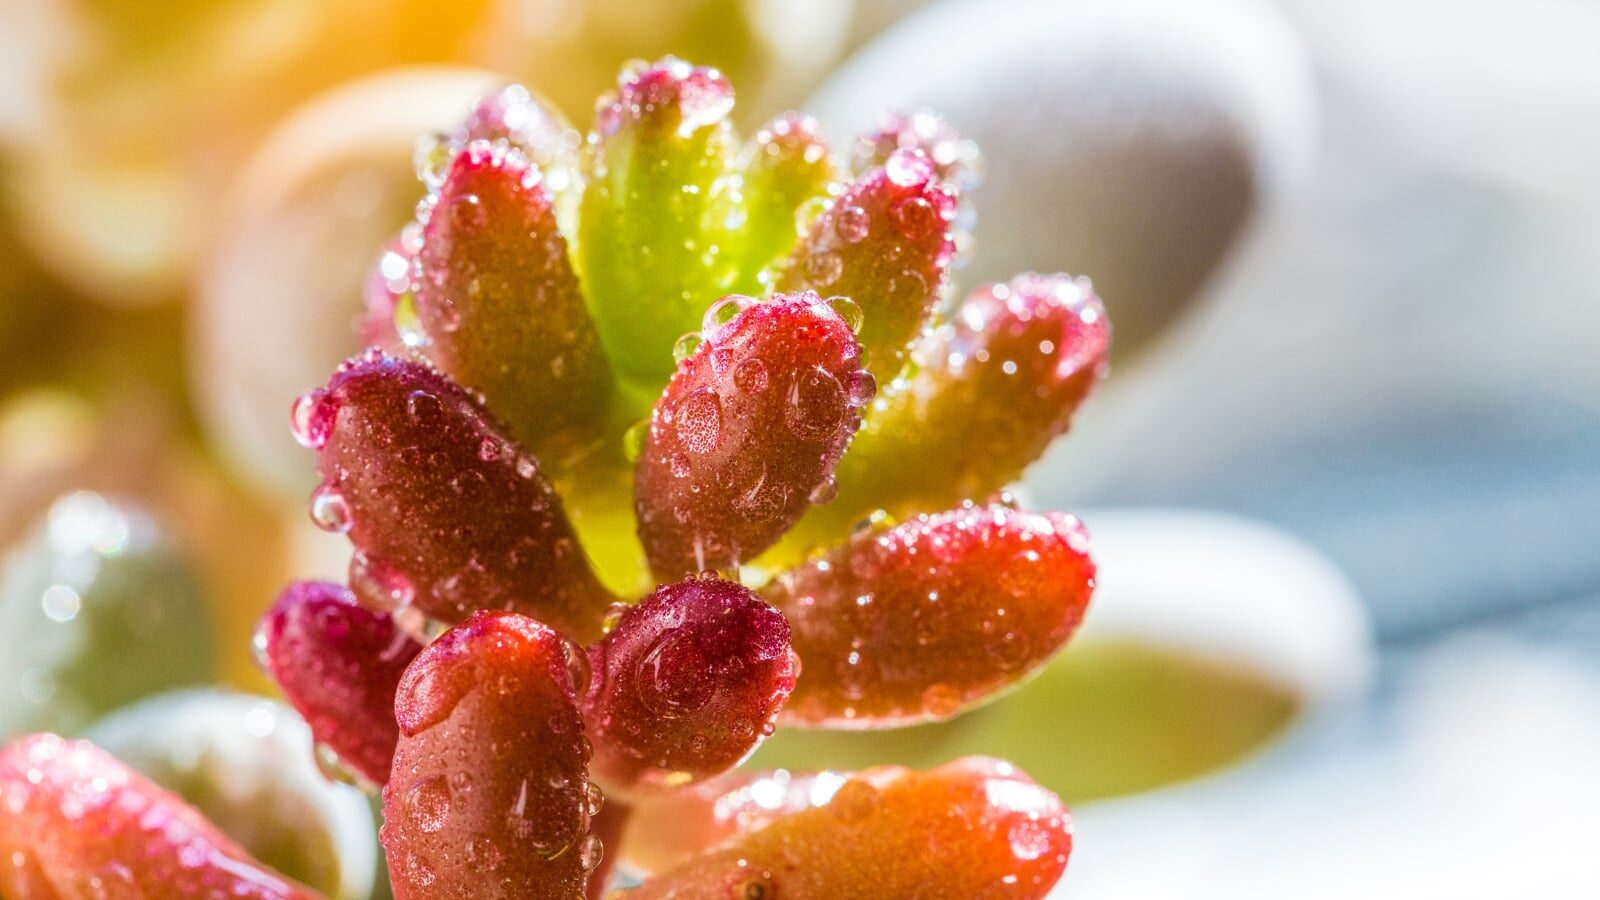
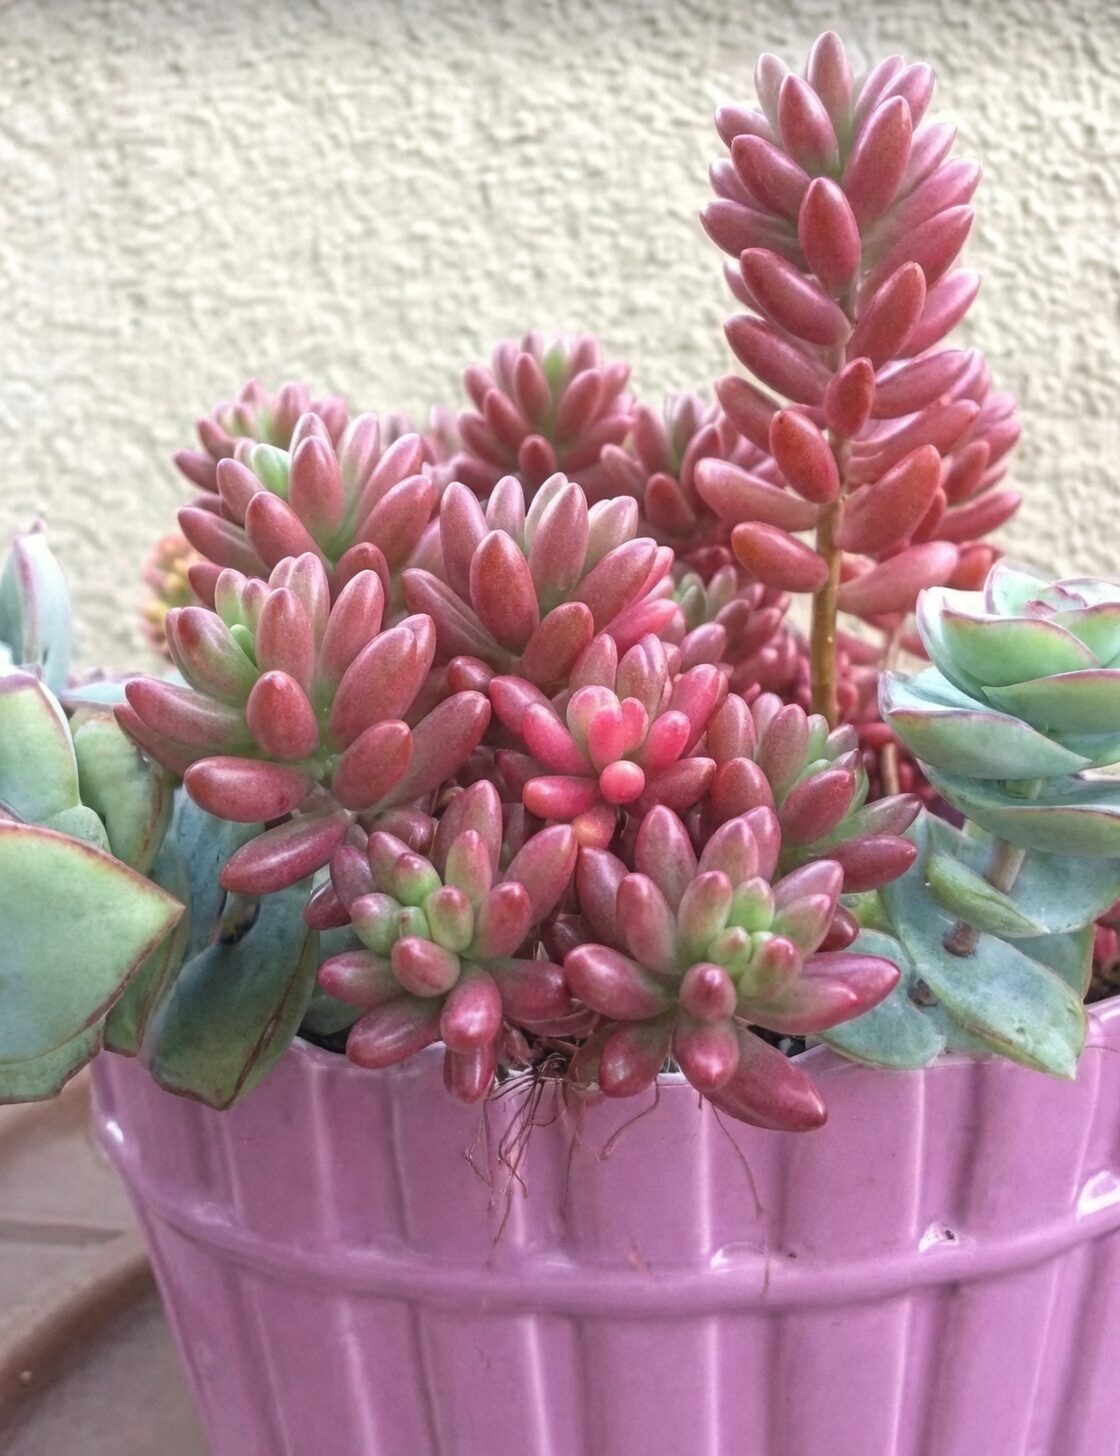
If you’ve ever wished your houseplant would blush, meet Sedum rubrotinctum—the Jelly Bean Plant that turns coppery red when it’s treated just right. This is your seasonal, practical blueprint for coaxing that gorgeous color while dodging the two big threats: sunburn and rot. Whether you grow it in a bright window or on a sunny balcony, you’ll have a resilient, dimple-cheeked succulent that looks like it’s been dipped in cinnamon.
Meet the plant
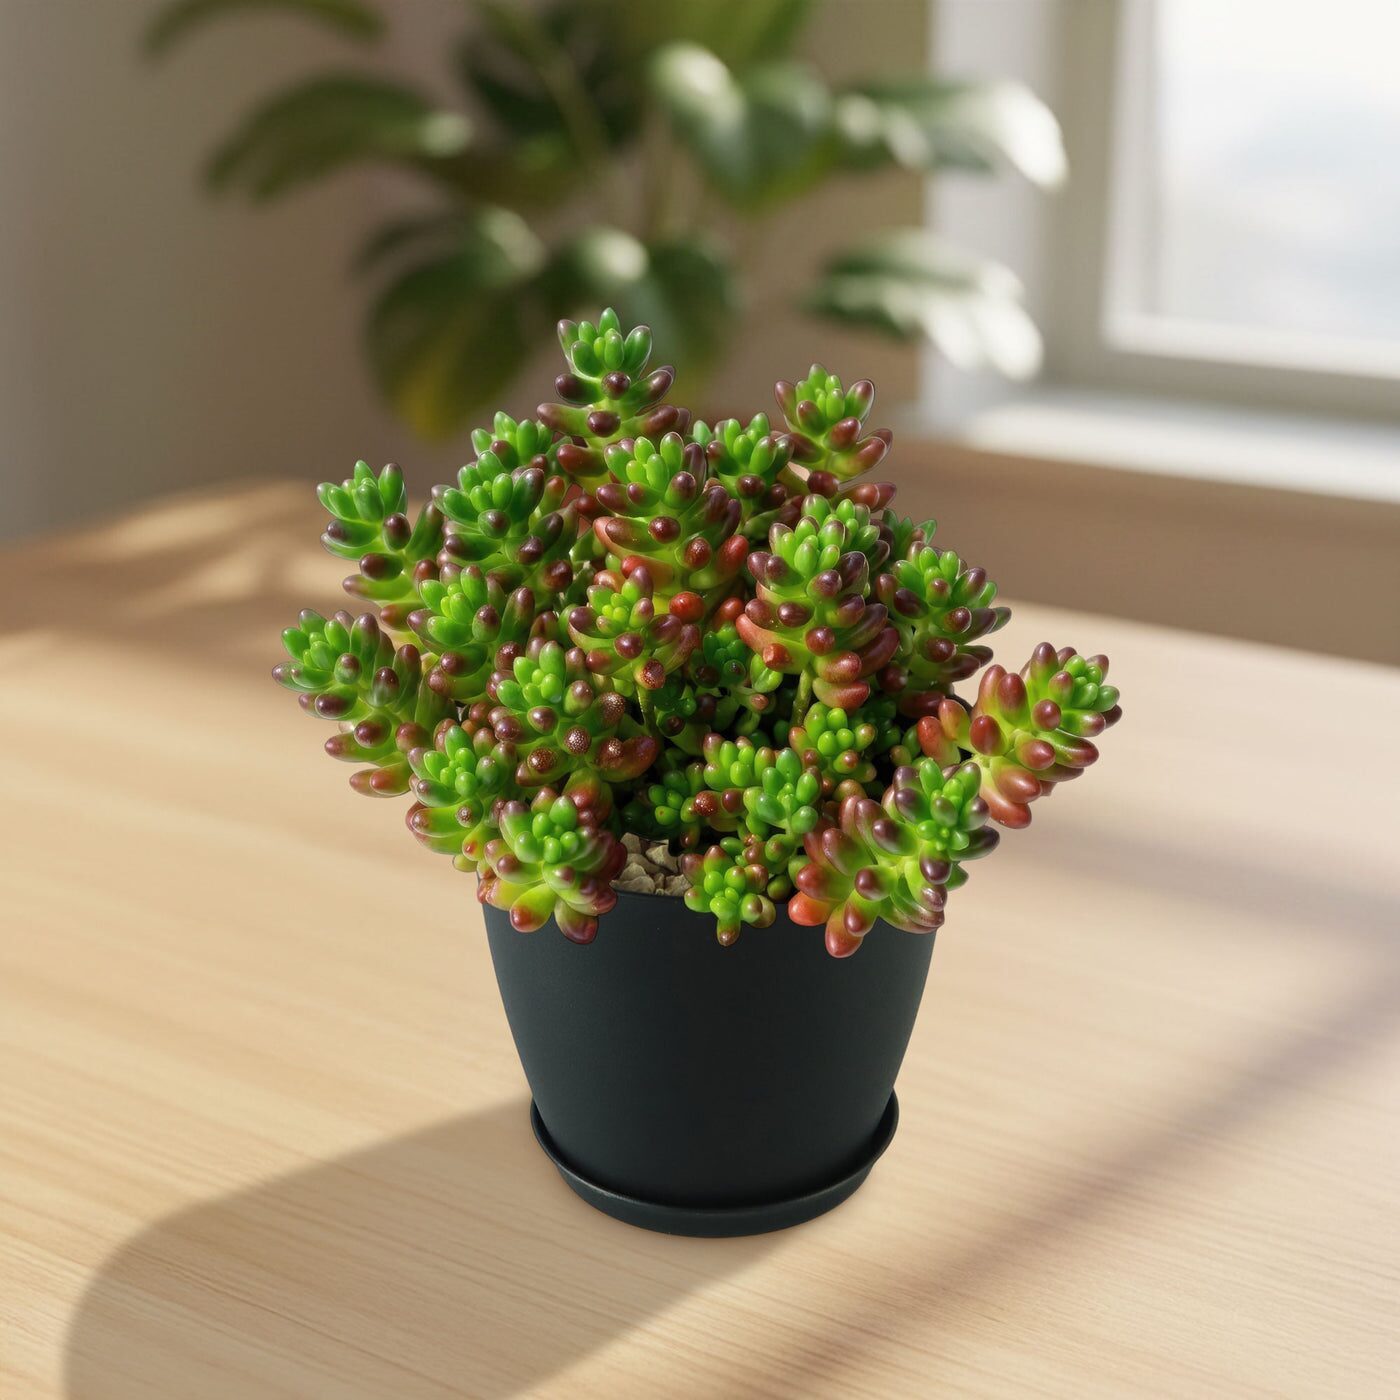
- Name: Sedum rubrotinctum (aka Jelly Bean Plant, Pork and Beans, Christmas Cheer Sedum)
- Origin: Mexico
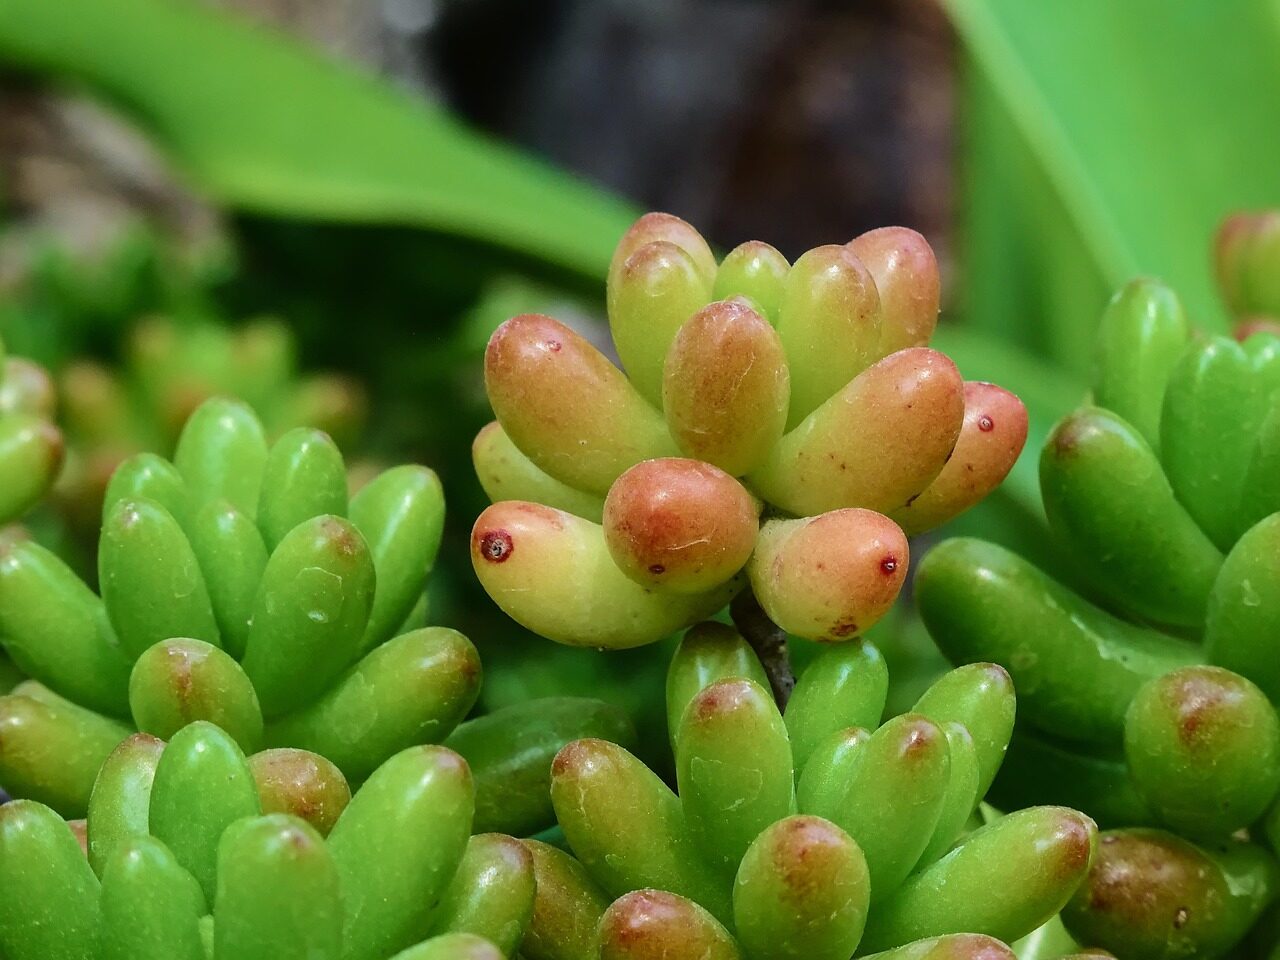
- Look: Plump, glossy, bean-shaped leaves packed along short stems; mid-green in softer light, coppery red to reddish-brown with stronger sun—especially when days are warm and nights are cooler
- Size and habit: Typically 10–20 cm tall; spreads 20–45 cm+ as it trails and sprawls with age
- Flowers: Small, starry yellow clusters, usually winter to spring (sporadic indoors)
- Personality: Tough, beginner-friendly, and famously easy to propagate from fallen leaves or small cuttings
Pro tip: The best red is a combo of plenty of light plus day–night temperature swings. Think warm, bright days and mildly cool nights—not frost.
The red-blush formula
Three dials control color and health:
1) Light intensity: Several hours of direct sun brings on the blush.
2) Temperature swing: Warm days + cooler nights intensify reds.
3) Drought rhythm: Letting soil dry well between thorough waterings keeps leaves firm and colors vibrant.
Turn these dials carefully to avoid sunburn and rot.
—
Light acclimation playbook (season by season)
Spring: Build color without burns
- Goal: Move from bright indirect light to several hours of direct sun.
- Indoors (south or west window):
- Week 1–2: Start with 30–60 minutes of early or late sun; the rest bright indirect.
- Week 3–4: Add 30–60 minutes each week. Rotate the pot weekly for even color and compact growth.
- Balcony/patio:
- Begin in bright shade with dappled morning sun.
- Step up to 3–5 hours of direct morning sun by late spring.
- Watch for sunburn: Bleached, crispy, or tan patches on the uppermost leaves mean you advanced too quickly. Pull back to bright shade for 5–7 days, then resume more slowly.
Summer: Maintain color, prevent scorch
- Behind glass, sun can be intense. Give light midday shade during very hot spells—especially in a west-facing window or on a heat-trapping balcony.
- Best exposure: Morning sun + bright shade in the afternoon. Outdoor plants love a breezy spot with excellent drainage.
- Ventilation matters: Stagnant, hot, humid air invites leaf spotting and fungal issues. Keep air moving and foliage dry.
Autumn: Peak blush season
- Cooler nights kick the red into high gear. Keep light strong—several hours of direct sun is ideal.
- If outdoors in a non-frost climate, this is prime coloring weather. Elsewhere, prepare to bring the plant in before nights approach 5°C (41°F).
Winter: Bright, dry, and safe from cold
- Place in the brightest window you have (usually south or west) and keep above 5°C (41°F).
- Light is precious now; a gentle, cool night still helps color if the plant stays warm by day.
- Water far less (details below). Flowering may start now and continue into spring.
—
Drought-style watering that resists rot
General rule: Water thoroughly, then wait until the mix has dried out well—almost completely—before watering again. Never keep the soil constantly moist.
- How to water:
- Soak the mix fully until water runs from the drainage holes.
- Let excess drain completely; don’t leave the pot sitting in a saucer of water.
- Use a moisture check: a dry wooden skewer or finger test down to the lower third of the pot. The plant prefers a fast dry-down.
- Seasonal rhythm (adjust for your light, pot size, and indoor climate):
- Spring: About every 2 weeks after a full dry-out.
- Summer: Much drier. Water lightly only after the mix is fully dry; protect from extreme heat so roots aren’t cooking in wet soil.
- Autumn: Moderate—often every 2 weeks after dry-down; strong light brings the best color.
- Winter: Roughly once a month (or less indoors). Keep the mix on the dry side.
- Red-blush booster, not breaker:
- Mild drought enhances color; overdoing it shrivels leaves and can stall growth. Aim for firm, turgid leaves with a vivid tip color—wrinkled and droopy means you waited too long.
- Rot red flags:
- Frequent leaf drop + wrinkling and a soft stem base = likely root/stem rot from excess moisture. Unpot, remove mushy tissue, let cuts callus, then replant in a fresh, gritty mix. Water sparingly until new roots form.
—
Soil, pot, and drainage: your anti-rot insurance
- Mix: Very fast-draining cactus/succulent blend. A reliable recipe is regular potting soil cut 1:1 with coarse sand/grit/perlite/pumice so water sheets through quickly.
- Pot: Always use a container with drainage holes. A 12–15 cm pot suits a typical plant; plant 3–5 cuttings together for an instant full mound.
- Bonus tips:
- Terracotta breathes and speeds dry-down; plastic holds moisture longer—adjust watering accordingly.
- A mineral top-dress (gravel) keeps leaves off damp soil and reduces spotting.
- Keep foliage dry; water the soil surface, not the leaves.
—
Indoors vs. sunny balcony: microclimate moves
Bright windows (houseplant mode)
- Best spots: South or west windows with several hours of direct sun; rotate weekly.
- Shield from magnified midday sun during heat waves by pulling back 30–60 cm or using a sheer curtain.
- Keep air moving and humidity low; avoid cold drafts on winter nights.
Balcony/patio (warm, dry climates)
- Light: Morning sun, light midday shade in high summer.
- Rain and drainage: Shelter from long, wet spells and use gritty mixes in pots that drain fast.
- Temperature: Ideal growth around 13–18°C (55–64°F). Protect from cold; never let it freeze and keep above about 5°C (41°F).
—
Your seasonal care calendar
Spring
- Increase direct sun gradually; resume thorough watering after dry-down.
- Fertilize lightly about once a month (diluted balanced or low-nitrogen cactus feed).
- Prune leggy stems; propagate cuttings easily.
Summer
- Provide midday shade in very hot conditions, especially behind glass.
- Keep on the dry side; water only after a complete dry-out.
- Maximize airflow; keep foliage dry.
Autumn
- Chase color: strong light plus cooler nights.
- Moderate watering after dry-down; continue light monthly feeding into early autumn.
- Great time to start new plants from leaves and tips.
Winter
- Brightest possible light; keep above 5°C (41°F) with good airflow.
- Reduce watering to roughly once a month or less indoors.
- Watch for yellow starry blooms from winter into spring.
—
Troubleshooting: crisp color, compact form
- Pale, stretched stems (etiolation): Not enough light. Move closer to a sunny window or increase direct sun gradually.
- Sunburn: Bleached, tan, or crispy patches on upper leaves after a hot, sudden light increase. Back off to bright shade, then re-acclimate slowly.
- Sudden leaf drop: Normal if bumped—leaves detach easily. Excessive drop with softness at the base signals rot—refresh soil, improve drainage, and water less often.
- Spots or rust-like marks: Often from humidity and stagnant air. Increase ventilation, keep leaves dry, and remove affected foliage.
- Pests: Aphids and scale show up occasionally. Treat early with insecticidal soap or horticultural oil; repeat as needed.
—
Propagation corner (it’s ridiculously easy)
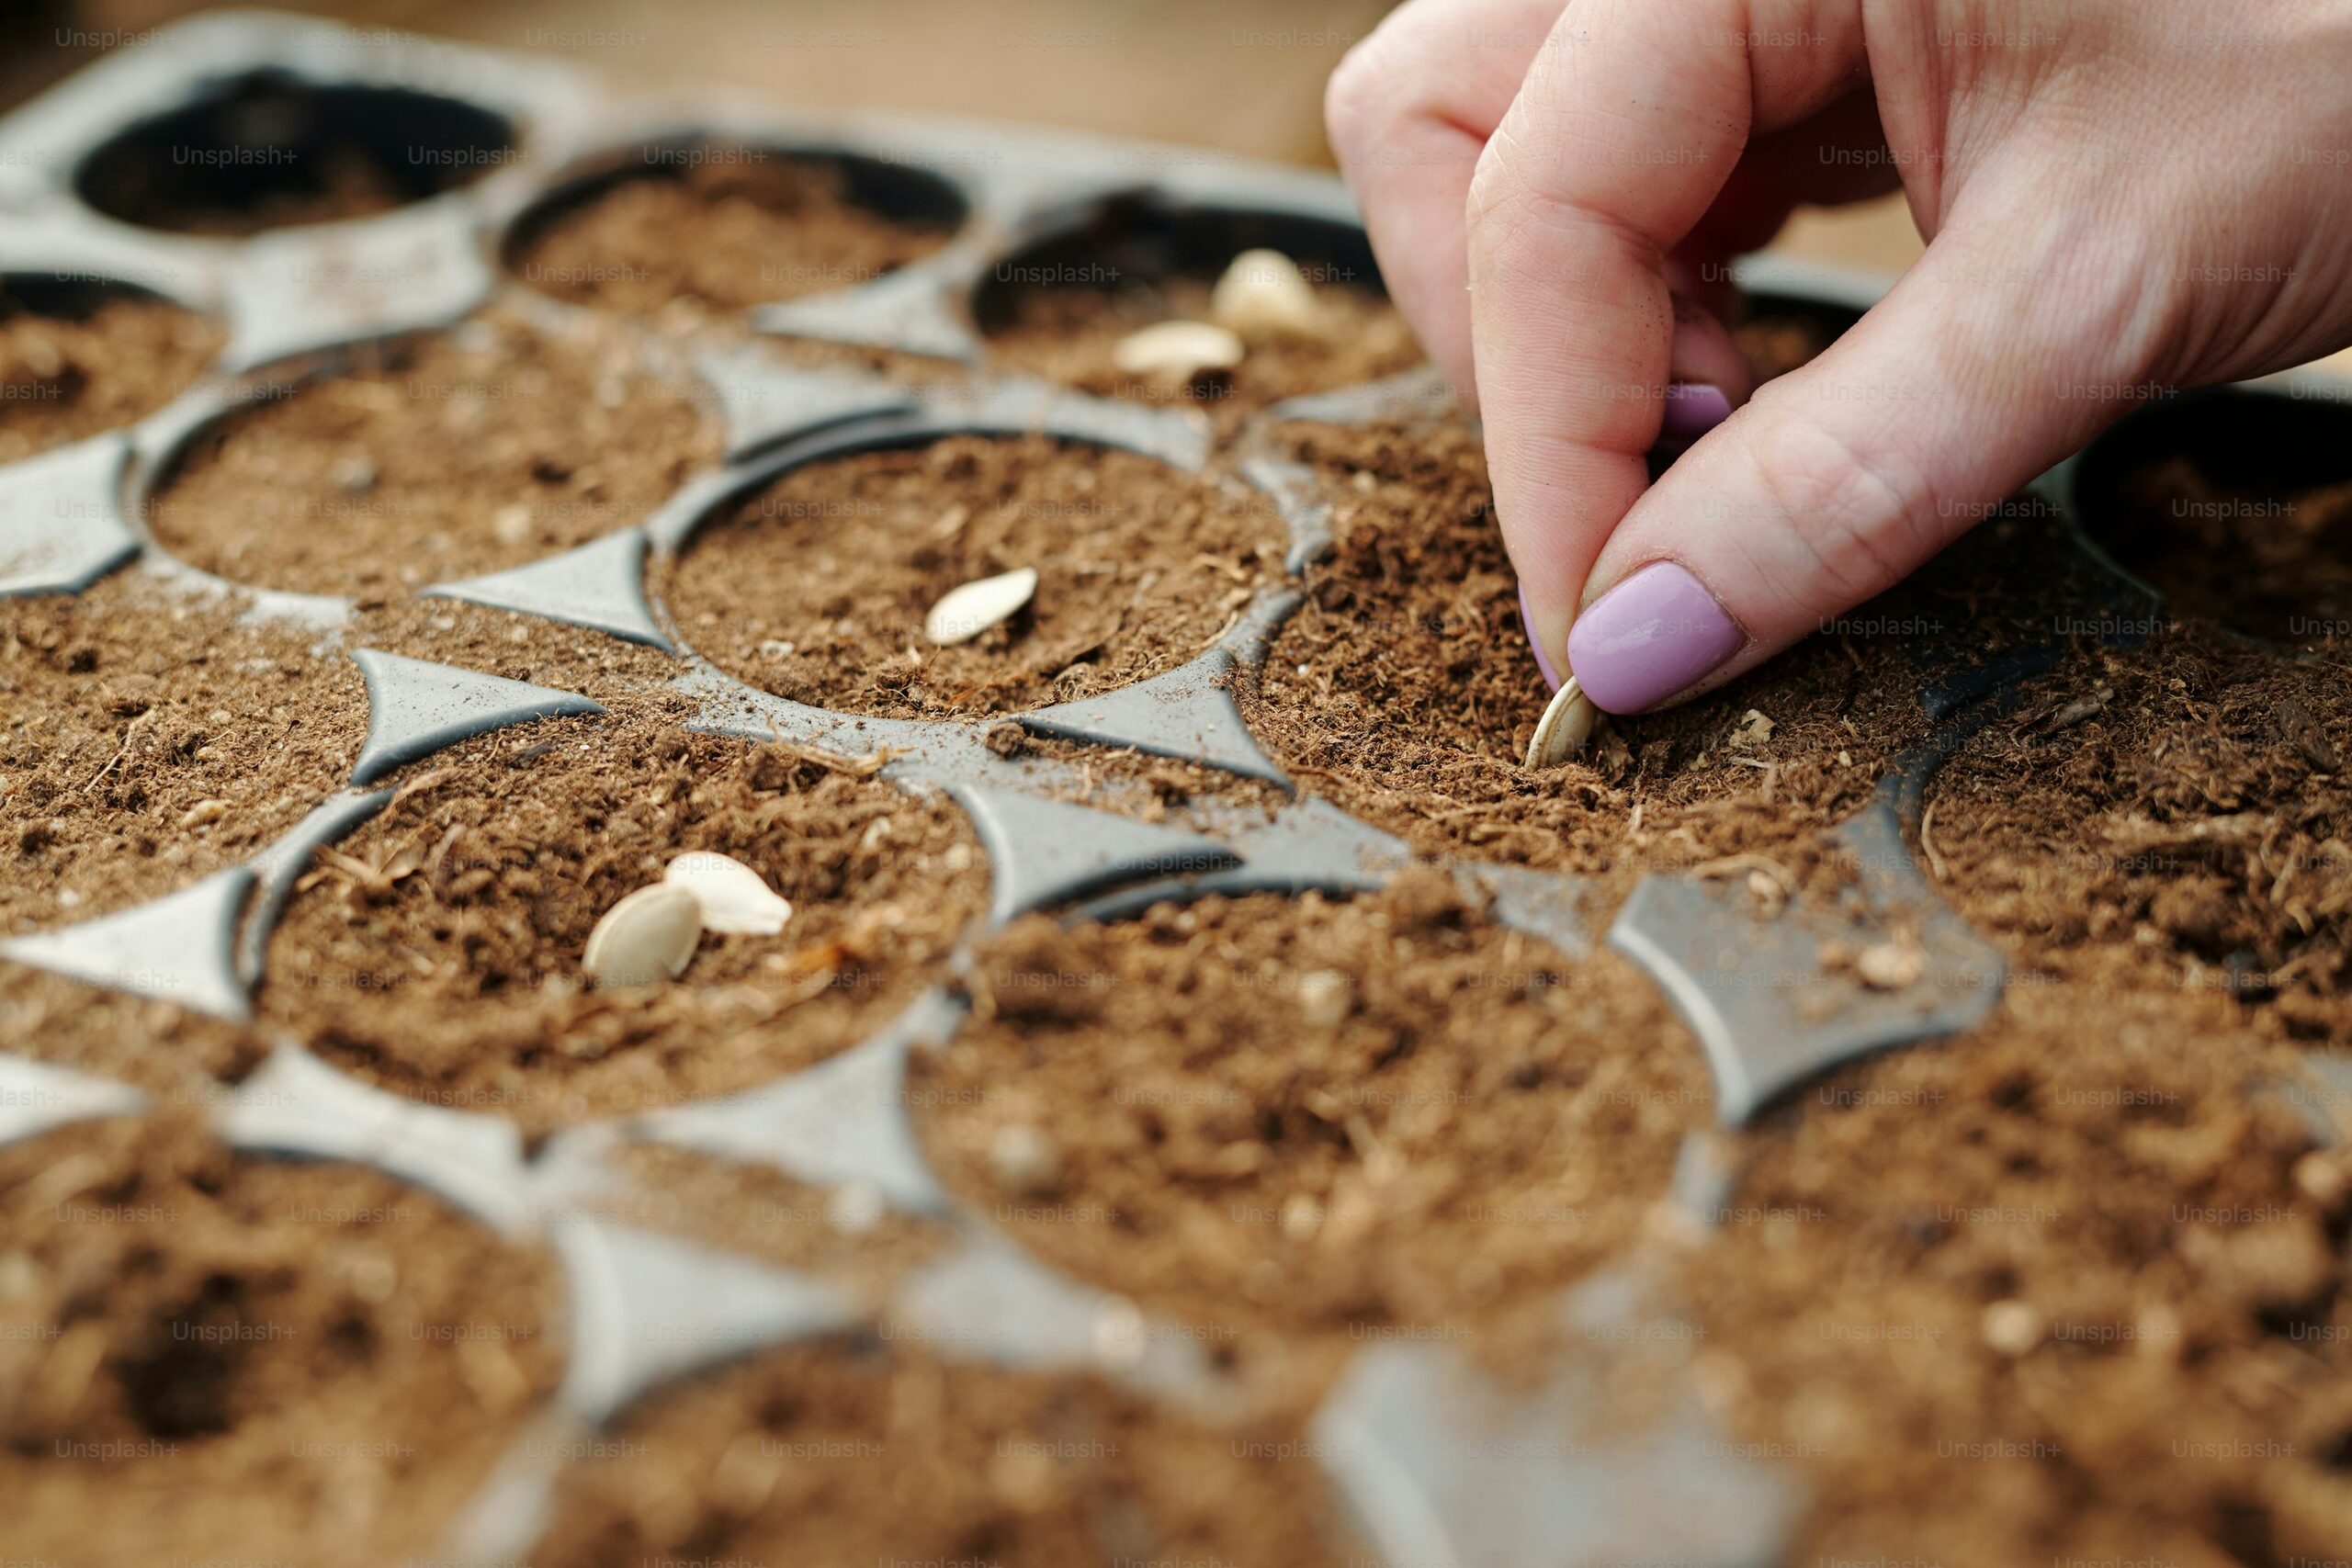
- Leaf method:
- Lay a healthy fallen leaf on dry, gritty mix. Do not bury.
- Provide bright light and a touch of ambient humidity—not wet soil.
- Roots and plantlets form in time; water sparingly once you see growth.
- Stem cuttings (best in spring and autumn):
- Take a 5–7 cm tip cutting; let it callus for a day or two.
- Set into dry-to-slightly-moist gritty mix.
- Expect rooting in about 10–21 days under warm, bright conditions.
- Repotting:
- Every 1–3 years in spring, or sooner if the mix breaks down. Always switch to a fast-draining blend.
—
Buying and first-week setup
- Choose: Compact plants with tight leaf spacing and plump, unblemished leaves. Skip stretched, yellowing, or mushy-stemmed specimens.
- First week at home:
- Park it in very bright light and increase direct sun gradually.
- Water sparingly—wait for a good dry-down before the first drink.
- Hold fertilizer for a few weeks; prioritize airflow and drainage.
—
Safety, symbolism, and fun
- Safety: Reported toxicity isn’t consistent across references. Treat as potentially mildly irritating if chewed or ingested—keep away from pets and small children.
- Symbolism: Often linked with resilience and enduring affection—apt for a plant that re-roots from a single dropped leaf. Many growers gift it as a sign of steady companionship (“hearts in sync”).
- Fun to know:
- A single leaf can spawn a whole new clump with patience.
- The richest reds often appear when strong light meets cooler nights.
- In frost-free, dry regions, it can sprawl into a quirky groundcover.
With a steady hand on light and drought, your Jelly Bean Plant will stay compact, firm, and brilliantly blushed—no sunburn, no rot, all charm. Rotate it, sip-water it seasonally, and let those tiny beans show you how resilient beauty can be.