


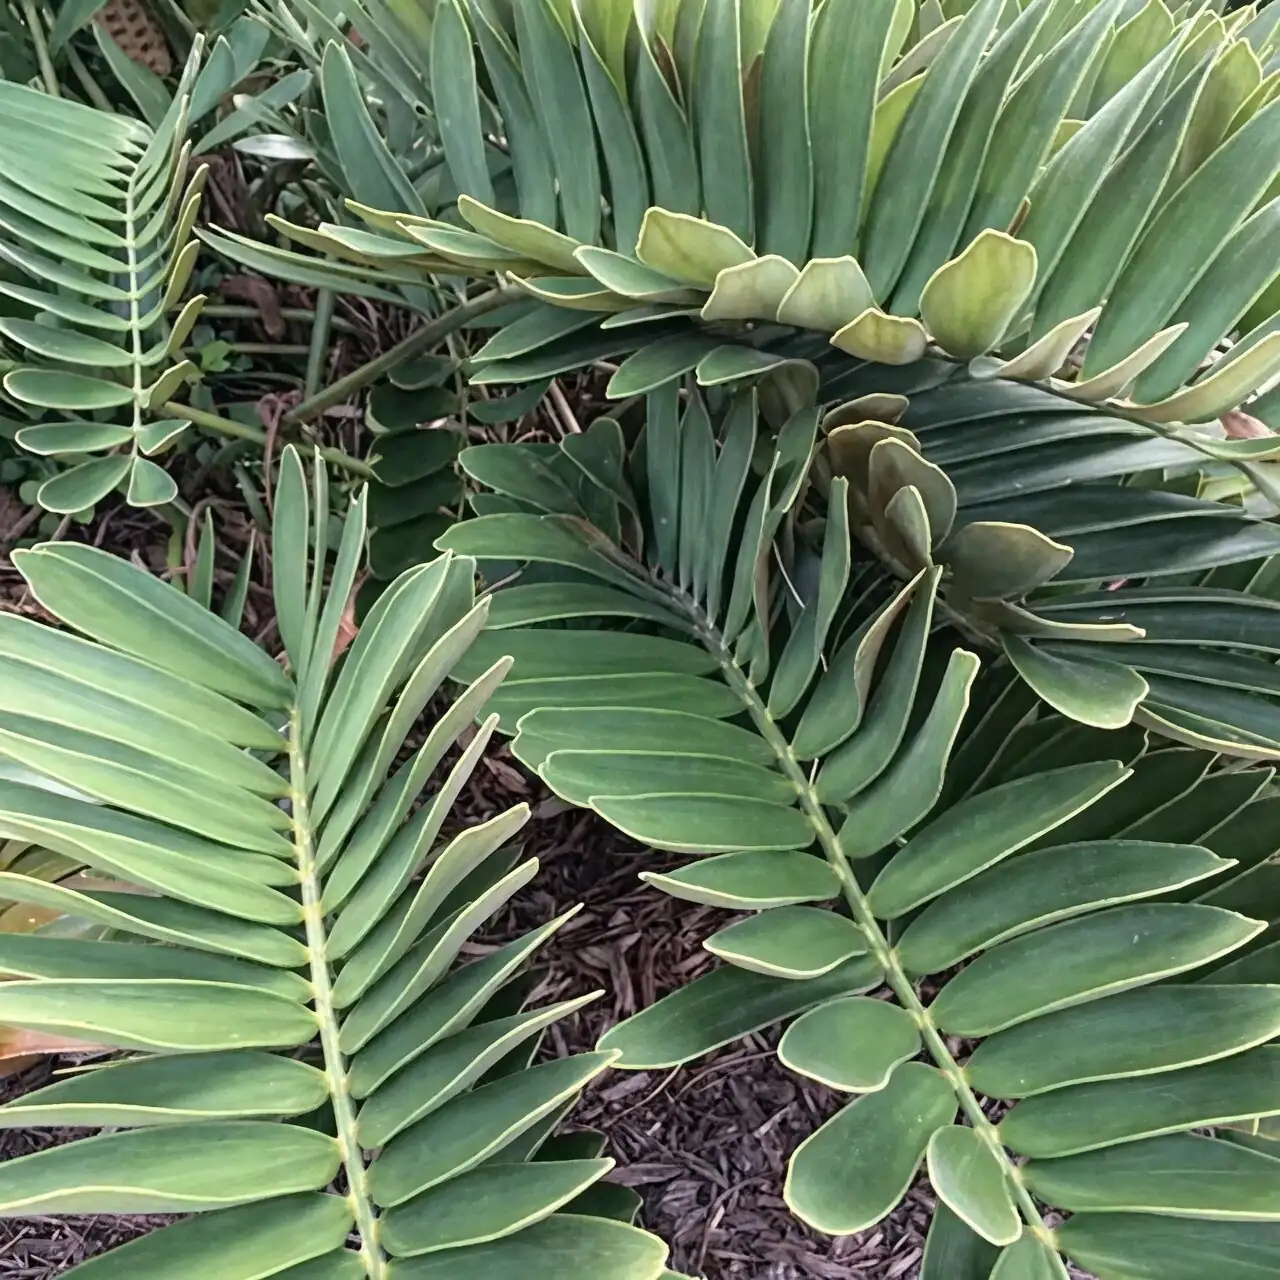
Cardboard palm (Zamia furfuracea) is famously forgiving—until a few small missteps stack up. If your cycad’s leaves are spotting, yellowing, sticky, or just “off,” use this simple, no-jargon playbook to identify the issue and get it back to its architectural best. Expect steady, not instant, comebacks: Zamia grows slowly, so most fixes show on the next flush of leaves in warm, bright conditions.
What’s normal vs. not
- Normal:
- A few oldest, lower fronds yellowing and dropping with age.
- Slow, measured growth; new fronds typically push when it’s warm and bright.
- Slightly dry soil in winter.
- Not normal:
- Multiple newer fronds yellowing at once.
- Sticky leaves or black sooty mold.
- Brown, spreading leaf spots.
- Limp crown after watering or cold weather.
Before you start: the quick reset
- Move to bright light with free airflow (near a sunny, ventilated window; protect from harsh midday scorch behind glass).
- Aim for 13–24°C (55–75°F). Keep well above 2°C (36°F); freezing can scorch leaves.
- Water thoroughly, then let the top layer dry before watering again. In cool seasons, err drier—cold + wet is the number-one killer.
Troubleshooting made simple
1) Watering errors (the most common problem)
Overwatered (especially dangerous in cool rooms)
- Symptoms
- Newer leaves yellowing or dull olive-green.
- Mushy roots; a sour smell from the pot; soil stays wet for days.
- Plant looks limp even though soil is wet.
- Simple checks
- Slide the root ball out: healthy roots are firm and pale; rotted roots are brown/black and mushy.
- Fix now
1) Unpot gently, trim rotted roots with sterile scissors.
2) Repot into a very free-draining mix (about 2 parts peat/leaf-mold–based potting mix to 1 part coarse sand/grit/perlite) in a pot with drainage holes. A shallow, wide container adds stability.
3) Water once to settle, then let the top layer dry before watering again. Keep warm and airy.
- Prevent
- Reduce watering in autumn; in winter keep slightly dry.
- Never leave the pot standing in water.
- Recovery timeline
- Perk-up from corrected watering: 7–14 days.
- After root-rot surgery: 6–12 weeks to stabilize; cosmetic recovery arrives with the next warm-season flush.
Underwatered
- Symptoms
- Crispy tips/edges, drooping fronds; soil pulls from pot sides.
- Fix now
1) Water thoroughly until excess drains.
2) Resume an “almost dry, then water” rhythm.
- Recovery timeline
- Turgor improves in 24–48 hours. Brown, crispy parts won’t green up; remove those fronds later.
2) Cold drafts and temperature dips
- Triggers
- Night chills by single-pane windows, air-conditioner blasts, winter balcony drafts.
- Symptoms
- Sudden yellowing or bronzing on windward side; leaflet scorch without a watering change.
- Fix now
1) Relocate to a bright, draft-free spot; keep 13–24°C (55–75°F).
2) Water sparingly in cool weather to avoid compounding with rot.
- Recovery timeline
- New damage stops within days of moving.
- Existing leaf blemishes won’t heal; expect a clean look after the next flush (often summer).
3) Scale insects (sticky, stubborn, but beatable)
How to identify
- Soft scale: dome-like bumps; leaves/stems feel sticky (honeydew) and may develop black sooty mold.
- Armored scale: flatter, hard bumps; little to no honeydew. Both types sit tight and don’t move; the tiny “crawlers” are the mobile stage.
Step-by-step control
1) Isolate the plant and improve airflow/light.
2) Wipe leaves and petioles with a soft, damp cloth to remove dust and some pests.
3) Treat thoroughly with horticultural oil or insecticidal soap, coating upper and lower leaf surfaces and stems. Follow label directions.
4) Repeat every 7–10 days for 3–4 rounds to catch new crawlers.
5) For heavy cases, prune heavily infested older fronds at the base with clean tools.
Prevention
- Inspect new plants on arrival (look along leaf midribs and at the crown).
- Keep leaves clean and the room ventilated; check for ants tending soft scales and manage them if present.
Recovery timeline
- Honeydew/sooty mold stops appearing within 1–2 weeks.
- Population crash visible by week 3–4 with consistent treatments.
- Cosmetic perfection returns with the next frond flush.
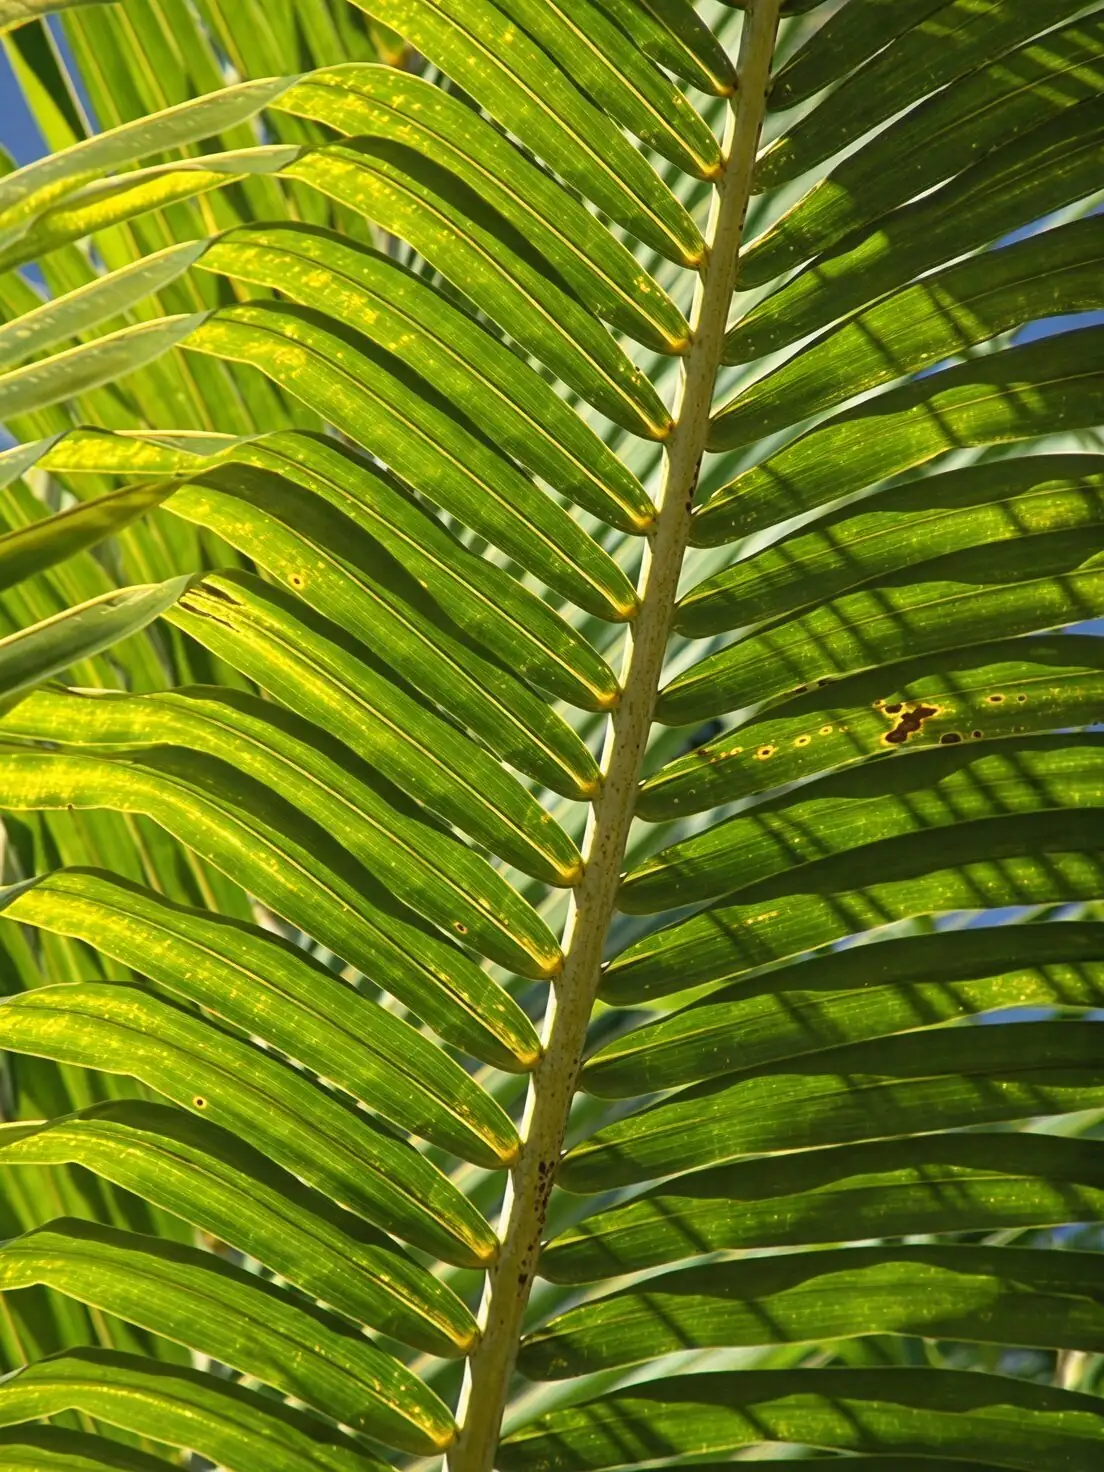
4) Leaf spot (bacterial/fungal blemishes)
How to recognize
- Distinct round to irregular brown or dark olive spots, sometimes with a pale halo; spots may coalesce. Often worse where air is still or when the crown stays wet late in the day.
Fix now
1) Remove badly spotted fronds at the base with clean, sharp tools; discard.
2) Water the soil, not the leaves; if you must overhead-water, do it early morning so foliage dries fast.
3) Increase ventilation and brightness; avoid crowding and keep the crown dry late in the day.
Prevention
- Keep a regular leaf-wiping routine to reduce spore sticking.
- Avoid waterlogged media; use fast drainage.
Recovery timeline
- New spotting slows within 1–2 weeks after cultural fixes.
- Expect the clean look to return with new growth in the warm, bright season.
5) Nutrient miscues (deficiency or fertilizer burn)
Signs and simple fixes
- General pale green and slow growth (older and newer leaves): likely underfeeding during the active season.
- Fix: Feed monthly in spring–summer with a balanced fertilizer (e.g., NPK 20-20-20) at label rates. Skip feeding in winter if growth slows.
- Interveinal yellowing mainly on newer leaflets: often a micronutrient availability issue in mixes that have aged or stayed too wet.
- Fix: Refresh the top 2–3 cm (about 1 in) of mix with fresh, well-draining medium; resume balanced feeding and correct watering so roots can take up nutrients.
- Browning tips, leaf-edge scorch, white crust on soil: fertilizer salts/salt buildup.
- Fix: Flush the pot thoroughly with clean water until it runs freely from the drain holes; repeat once more a week later. Resume feeding lightly.
Recovery timeline
- Color improvement in new growth: 2–4 weeks during the active season.
- Existing yellow blotches don’t fully green; judge success by the next flush looking deeper green and even.
Light, soil, and airflow: the quiet heroes
- Light: Bright light to full indoor sun with ventilation. Shield from harsh midday scorch behind glass.
- Soil: Very free-draining mix—about 2 parts peat/leaf-mold–based mix to 1 part coarse sand/grit/perlite.
- Potting: Shallow, wide pots (15–40 cm/6–16 in typical) with excellent drainage keep the caudex stable and roots aerated.
- Air: This plant loves fresh air. A small fan on low across the room or a cracked window in mild weather discourages pests and leaf spot.
When to repot or root-check
- Timing: Every 2 years for small plants; every 3–4 years for larger ones, or if the mix compacts or stays wet too long.
- Triage after trouble: If overwatering or chronic decline is suspected, unpot, assess roots, trim rot, and reset in a fast-draining mix. Keep slightly on the dry side while it re-establishes.
Safety notes
- Toxicity: All parts are poisonous if ingested—especially the seeds. Keep away from children and pets.
- Treatments: Use horticultural oil or insecticidal soap as labeled. Test-spray a small area first, avoid direct midday sun during application, and ensure good ventilation.
Your recovery roadmap at a glance
- Watering errors: adjust/repot; stabilization in 1–2 weeks; full cosmetic recovery with next flush.
- Cold drafts: move and warm; damage halts in days; replace leaves next flush.
- Scale: wipe + oil/soap; repeat every 7–10 days for 3–4 cycles; big improvement by week 3–4.
- Leaf spot: prune + dry foliage + airflow; spread slows in 1–2 weeks; aesthetics improve with new growth.
- Nutrient miscues: correct feeding and salts; new, deeper-green growth in 2–4 weeks.
A final word of encouragement
Zamia furfuracea is resilient. Give it bright light, warmth, free-draining soil, and a sane watering rhythm, and it will shrug off most hiccups. Even after a setback, patience pays—its next tidy crown of stiff, glossy fronds is your best sign that your fixes are working.