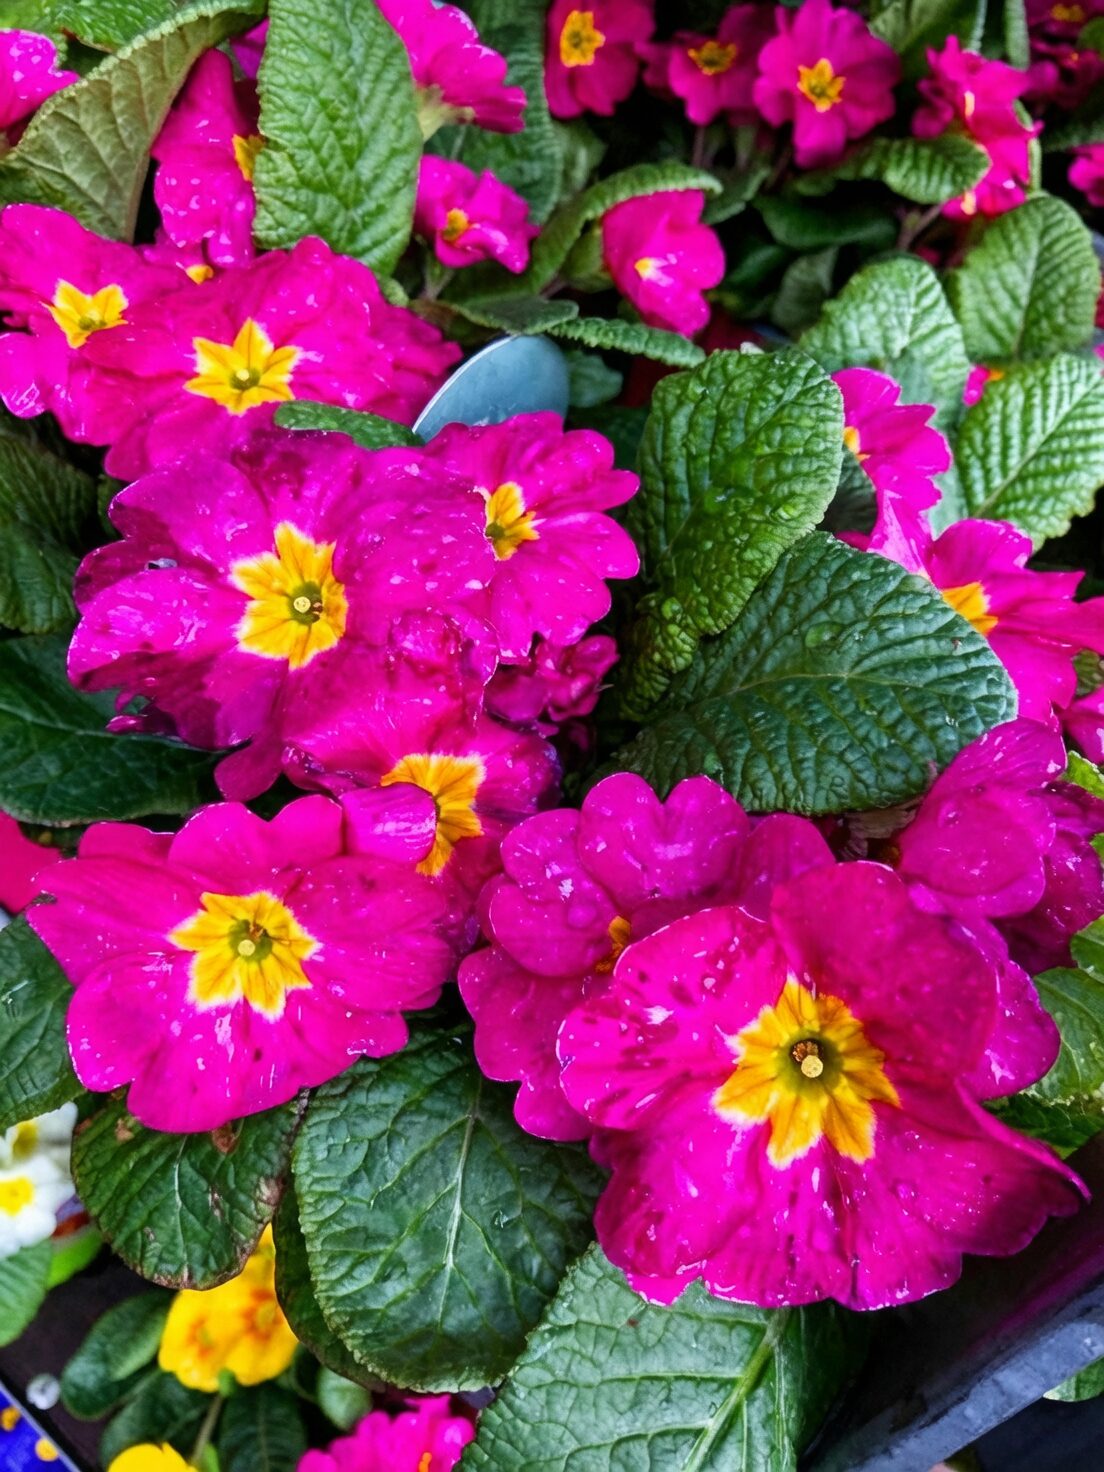
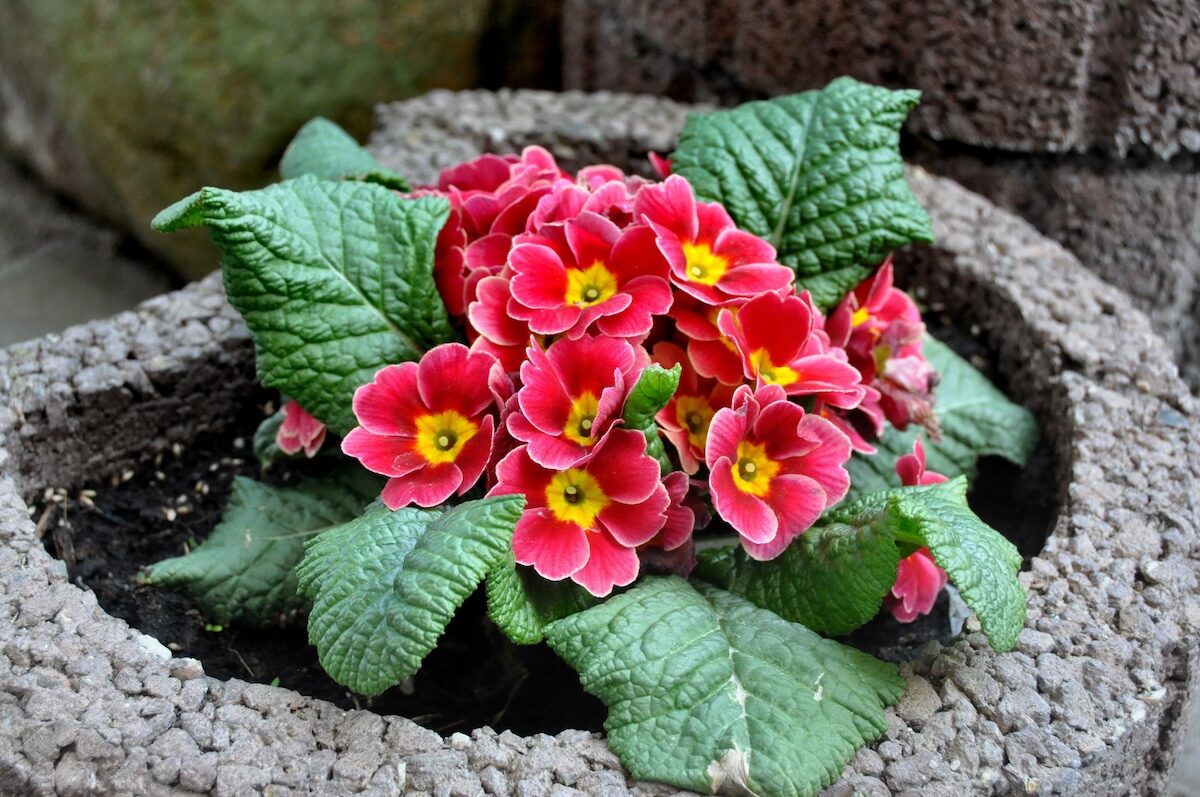
Imagine a neat rosette of deep green leaves sending up cheerful clusters of primrose blooms just when winter feels longest. That’s Primula × polyantha—Polyanthus Primrose—at its best. While it has a fussy streak about heat and soggy soil, you can multiply it confidently with autumn division, and even coax it from seed if you keep things cool and light. Here’s a hands-on guide focused on two reliable paths: step-by-step division in autumn, and finicky-but-possible seed starting at 15–18°C—with crown placement tricks that keep rot at bay.
Meet the plant (and its preferences)
- Habit: Compact, clump-forming perennial primrose with a tight rosette and dense, colorful flower trusses.
- Best season: Late winter into spring, including prime indoor displays mid-winter.
- Light and temperature: Bright light with gentle sun; happiest around 13–18°C. Very heat sensitive; protect from cold injury below ~5°C and keep above ~12°C for reliable winter flowering.
- Watering style: Evenly moist, never bone-dry, never waterlogged—and keep water off the crown and foliage.
—
Divide and thrive: Simple autumn propagation
Autumn is the sweet spot for division: plants are gearing up for cool-season growth, and newly potted offsets establish fast without heat stress.
What you’ll need
- Sharp, clean knife or snips and a small hand fork
- Gloves (some people get skin irritation from primroses)
- 12–15 cm pots with drainage holes
- An airy, fertile mix (peat- or leaf-mold–based with perlite and/or coarse sand)
- A bright, cool, sheltered spot out of direct midday sun
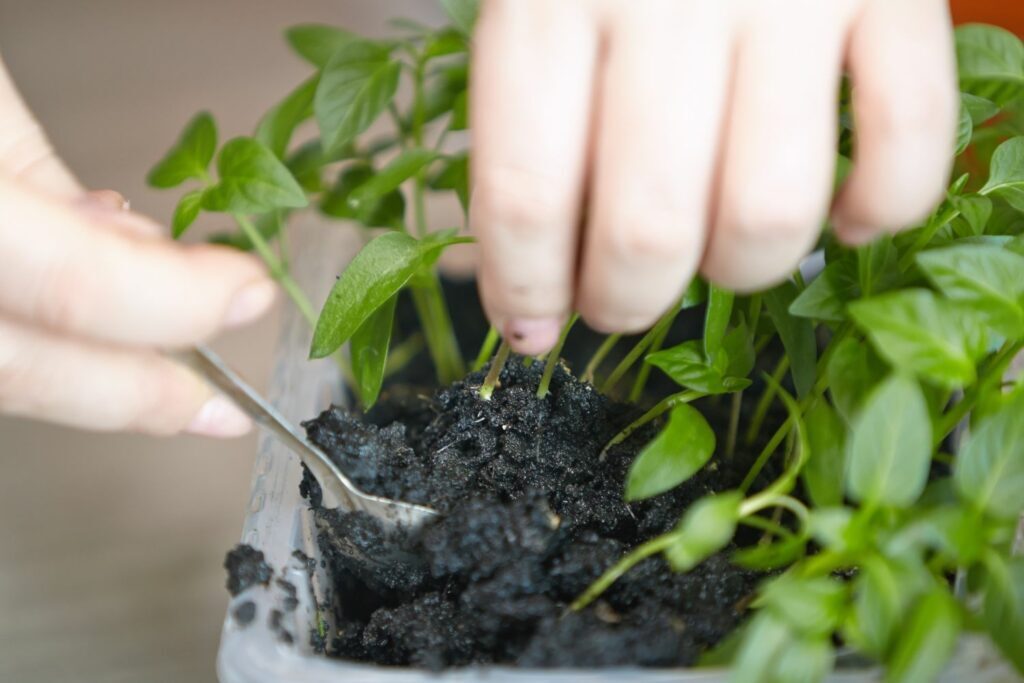
Step-by-step
- Water the day before. A hydrated root ball separates more cleanly.
- Lift the clump. Gently remove the pot and tease away old, compacted mix with your fingers.
- Groom the crown. Remove dead or yellowing leaves and any mushy tissue.
- Separate offsets. Ease apart natural divisions with your thumbs. Keep as many young roots intact as possible; trim only long, old, or broken roots.
- Refresh the roots. Lightly shorten excessively long, tired roots to encourage new growth.
- Prepare pots. Half-fill with your airy mix. This plant hates stagnant, heavy compost.
- Position perfectly. Place each division so the crown sits at or slightly above the soil surface—never buried. Backfill and firm gently.
- Water wisely. Water around the pot’s edge to settle the mix, keeping the crown dry.
- Settle in. Keep in bright shade at 13–18°C with good airflow. Maintain even moisture (not soggy). In 2–3 weeks, expect fresh growth; then introduce gentle sun.
Pro tip: Crowns and rot are mortal enemies. Plant high, keep the center clean, and water the mix—not the rosette.
—
Seed starting at 15–18°C: Finicky, but yes—you can
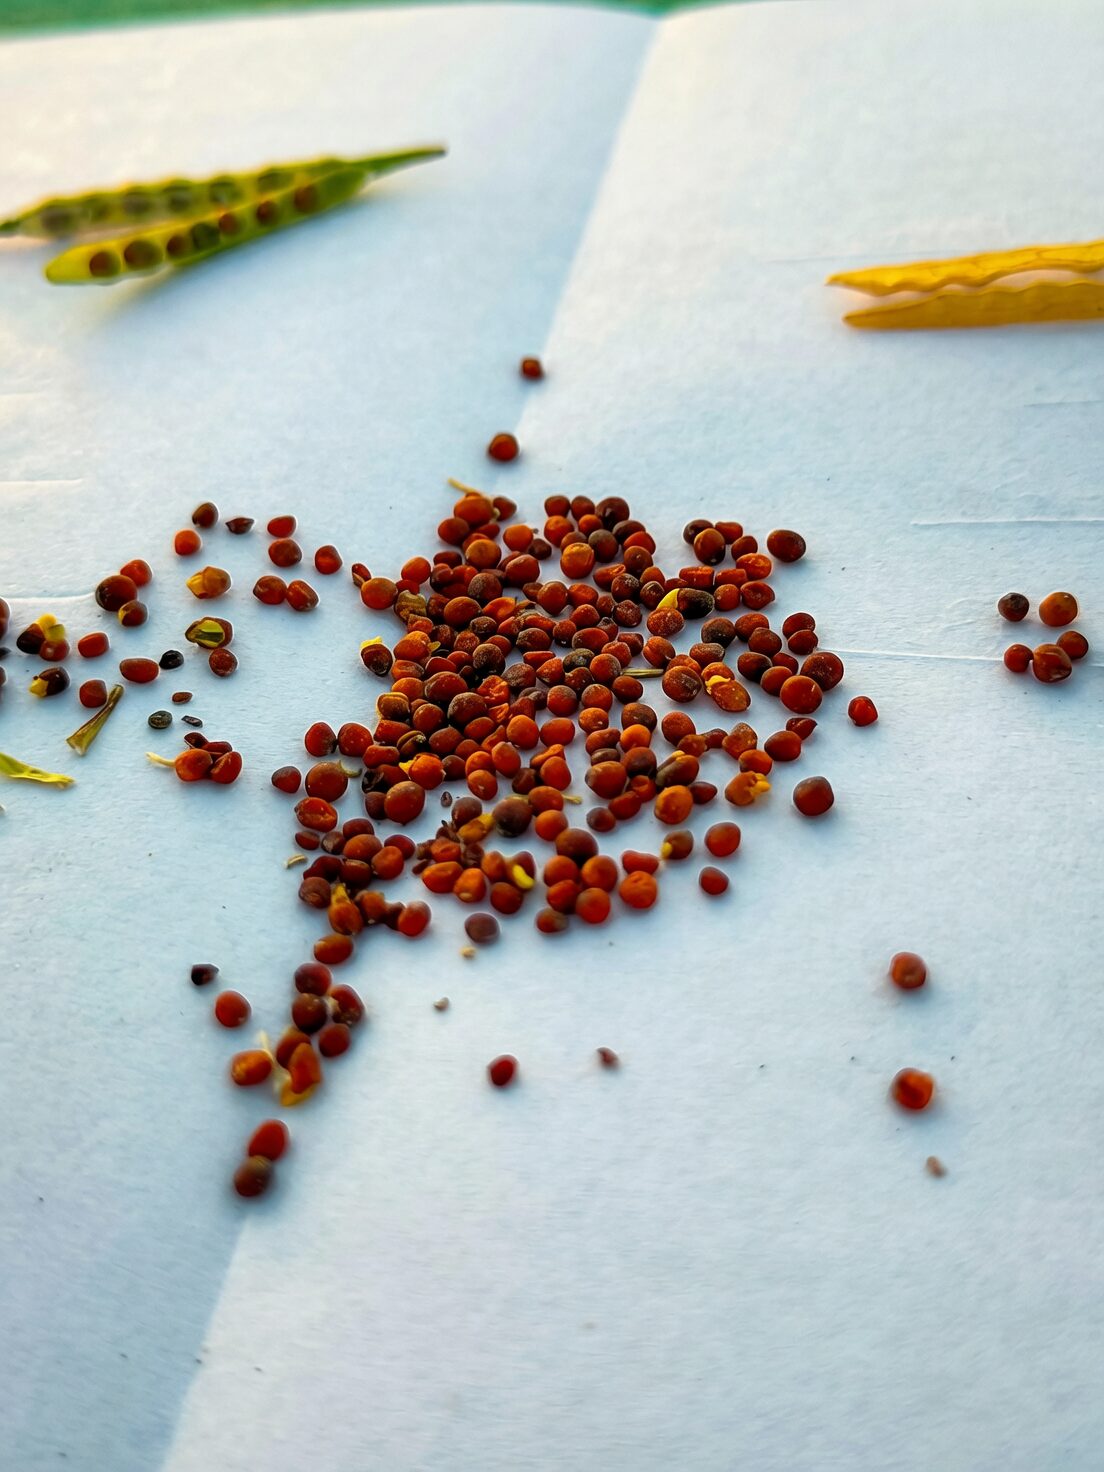
Raising polyanthus from seed is a patience game that rewards attention to temperature, light, and hygiene. Fresh seed matters: viability drops quickly, so sow as soon as you can obtain current-season seed.
Timing and setup
- When to sow indoors: Around May (late spring), when you can reliably maintain 15–18°C and bright light. Aim for steady cool—not the toasty windowsill above a radiator.
- Light: Bright, indirect light for 12–14 hours daily. Seed needs light to germinate.
- Temperature: 15–18°C for germination and early growth. Avoid warm rooms.
Materials
- Sterilized, peat-based seed mix blended with perlite for airiness
- Clean seed trays or plug cells with drainage
- Labels, a fine mister, and a broad, shallow watering tray
- Optional: a vented clear cover or roomy bag, left partially open for airflow
The sowing method
- Fill and pre-moisten. Firm the mix lightly; it should be evenly damp and springy.
- Surface-sow. Scatter seed thinly on top and press gently for good contact. Do not cover with mix.
- Optional: If you like, add a very thin layer of fine, sterile vermiculite before sowing and place seed on that layer (still uncovered). This improves surface aeration.
- Humidity, not stagnation. Use a vented cover or leave a bag ajar so air circulates. Avoid a sealed “sauna.”
- Keep bright and cool. 15–18°C is the sweet spot. Avoid direct, hot sun.
- Water like a pro. Keep the surface just moist with bottom-watering or by misting the pot sides—not the seed surface itself.
Germination window: Often 1–2 weeks. As soon as most seedlings appear, remove any cover and raise airflow to prevent damping off.
Growing on (the critical stages)
- First transplant (prick out) at 2–3 true leaves into cells or small pots.
- Hold seedlings by a leaf, never the stem.
- Set the crown exactly at the soil surface—not buried.
- Second pot-up at ~4 true leaves, spacing well to avoid crowding and humidity buildup.
- Keep cool and bright with gentle sun; maintain even moisture and good ventilation.
- Feeding: Once established in pots, feed lightly every 10 days or so with a balanced soluble fertilizer. Keep fertilizer off leaves to avoid scorch.
- Final pots: When plants have ~6–7 true leaves, move to 10–12 cm pots. Again, crown at or slightly above the surface.
With steady cool conditions, sturdy seedlings can come into their first bloom in late winter to spring.
—
The crown-saving checklist: How to dodge rot
Think of the crown as a “no-splash zone.” These habits keep it healthy:
- Plant high: Crown level at or slightly above the soil surface—never buried.
- Choose an airy mix: Peat/leaf-mold plus perlite/sand; no heavy, compacted compost.
- Water at the rim: Let capillary action draw moisture inward—keep the rosette dry.
- Morning moisture, moving air: Water early and ensure gentle airflow to dry surfaces.
- Keep it clean: Regularly remove spent flower stalks and yellowing leaves.
- Bright, cool placement: 13–18°C is ideal; avoid heaters and hot, stuffy corners.
- Protect from chills: Below about 5°C, leaves and flowers can be damaged.
—
Troubleshooting at a glance
- Seeds didn’t sprout:
- Often too warm, too dark, or seed was old. Try strictly 15–18°C, bright light, and fresher seed.
- Seedlings toppled (damping off):
- Overly humid, stagnant air. Uncover promptly after germination, increase airflow, and avoid waterlogged media.
- Divisions wilting after potting:
- Crown too deep or mix too wet. Replant higher, improve drainage, and water sparingly at first.
- Long flower stems and washed-out colors:
- Not enough light. Move to a brighter spot with gentle sun.
- Leaf spots or gray mold:
- Foliage staying wet and poor airflow. Remove affected leaves, improve ventilation, and water the mix only.
Pests to watch: Aphids and spider mites on soft growth. Rinse gently, improve humidity/air balance, and use insecticidal soap or horticultural oil if needed.
Safety note: Primula can cause skin irritation in sensitive people. Wear gloves when dividing or grooming.
—
Where all this effort leads
Handle polyanthus like the cool-weather aristocrat it is—bright light, cool air, even moisture—and you’ll get fuller trusses and richer colors. Most heat woes and crown troubles vanish when you keep the temperature in its comfort zone and the crown high and dry.
—
A brief note on symbolism
In European lore and the Victorian “language of flowers,” primroses are linked with youth and renewal—the earliest primroses were literally the first “primula,” the promise that winter is ending. Gifting a polyanthus in midwinter plays on that same theme: a bright start, a fresh chapter, and cheerful resilience when days are still short.
—
Quick recap: Two winning paths
- Autumn division
- Lift, clean, and separate offsets.
- Pot into 12–15 cm containers with an airy mix.
- Keep the crown at or slightly above the surface; water around the rim.
- Grow on cool, bright, and evenly moist.
- Seed at 15–18°C
- Use very fresh seed; surface-sow in sterilized, airy mix.
- Bright light, steady 15–18°C, and careful moisture management.
- Prick out at 2–3 leaves; pot again at ~4 true leaves.
- Always set the crown at the soil surface.
Treat the crown like a little lighthouse—always above the tide—and your Polyanthus Primrose will sail through the cool seasons, rewarding you with a vibrant bouquet-on-a-stem just when you need it most.