

If you’ve ever wished a plant could thrive where sunlight feels optional, Aspidistra elatior—aka the Cast-Iron Plant—answers the call. It’s famously unfussy, slow-growing, and stoic in dim corners. The best part? Propagating it is wonderfully hands-on and simple once you know how to divide its rhizomes. Think of this guide as your confident walkthrough—from when to cut to how to pot, and precisely how to avoid setbacks like overpotting or burying the crown.
When to Propagate (and When to Wait)
- Best season: Early spring through summer, when the plant is actively growing and divisions rebound fastest.
- Ideal moment: Pair division with a scheduled repot (every 2–3 years). If your plant is tightly clumped, pushing against the pot, or sending up many new leaves from the edges—that’s your cue.
- Avoid: Deep winter or periods of stress (pest issues, waterlogging, heatwaves).
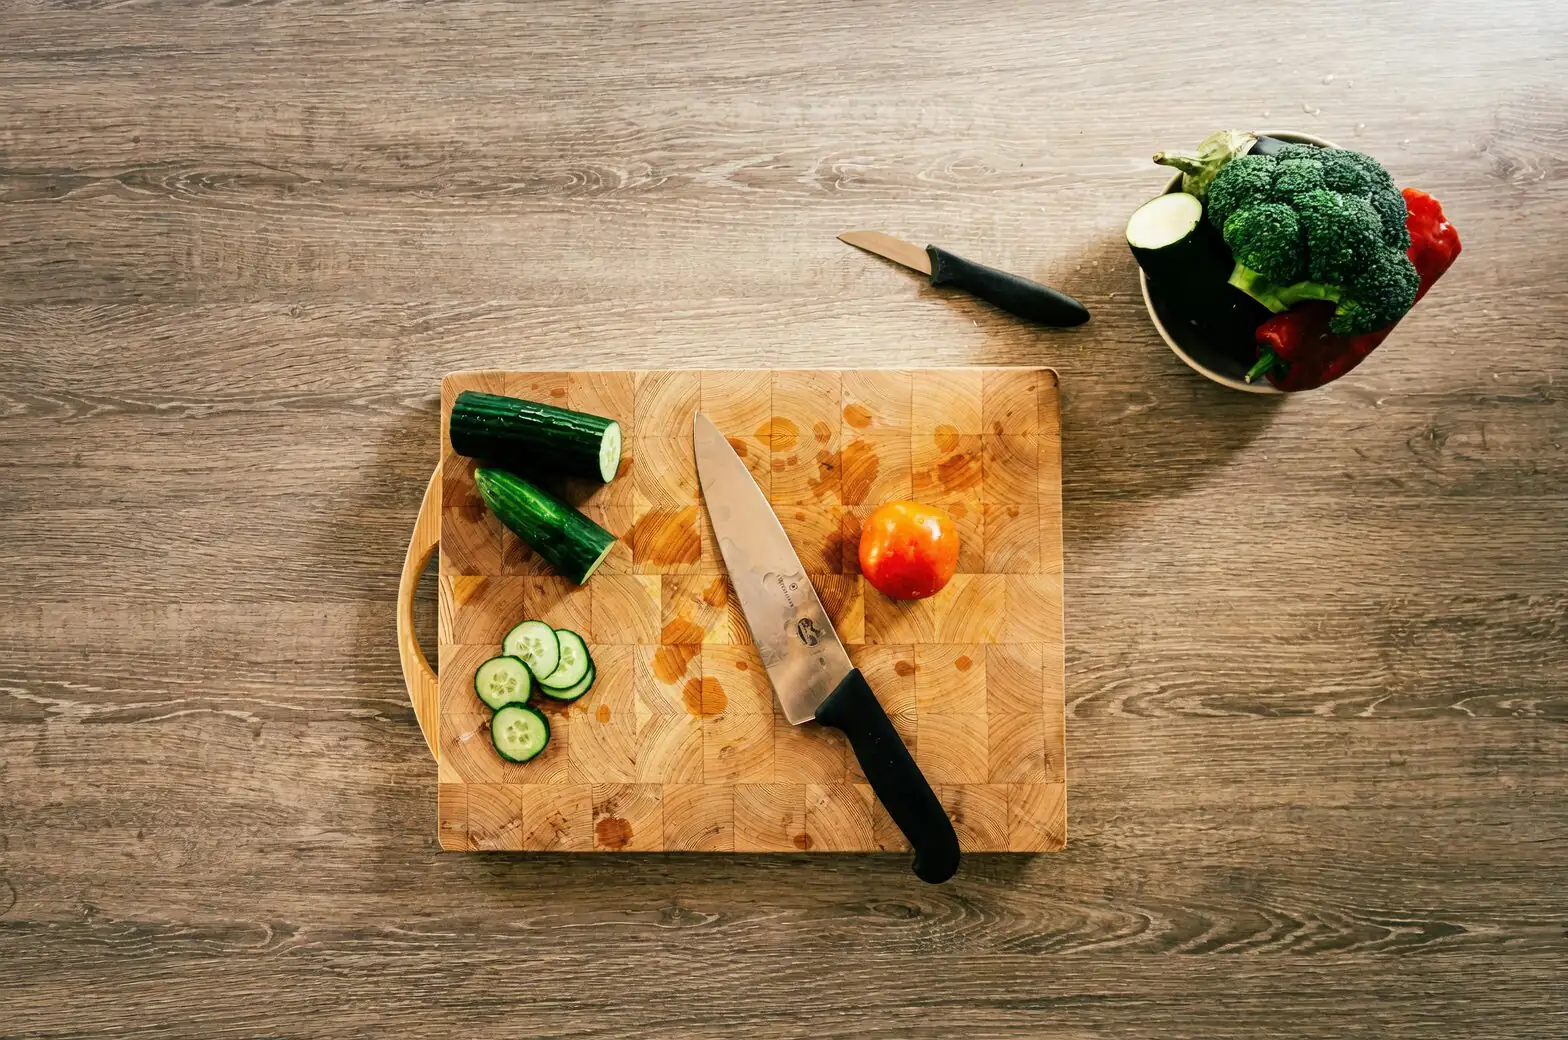
Tools and Setup
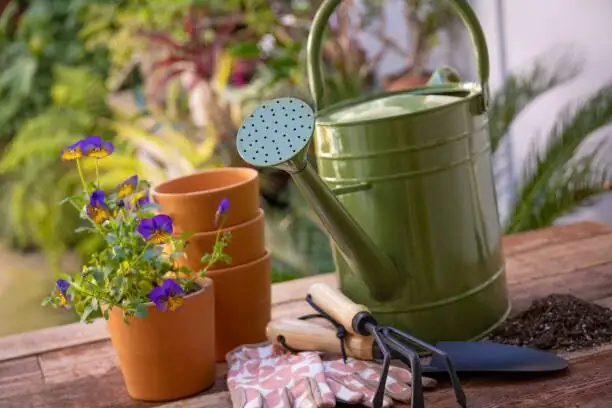
- Sharp, clean knife or pruning shears (disinfect with isopropyl alcohol)
- Fresh, well-draining mix: a loose blend such as 1:1 standard potting soil and a multi-purpose mix; add perlite if needed to keep it airy
- Pots with drainage (12.5–20 cm / 5–8 in is usually plenty; go up only one size)
- Gloves, newspaper or a tray for mess
- Optional: powdered cinnamon or sulfur to dust cut surfaces, and a clear plastic bag for a short-term humidity tent in very dry homes
Pro tip: Pre-moisten the new mix until it’s barely damp—think a wrung-out sponge. This prevents overwatering on day one.
Know Your Plant’s Architecture: Rhizomes and Crowns
Aspidistra grows from slow-spreading rhizomes just below the surface. Leaves emerge from “crowns” along these rhizomes. For successful propagation, each division needs:
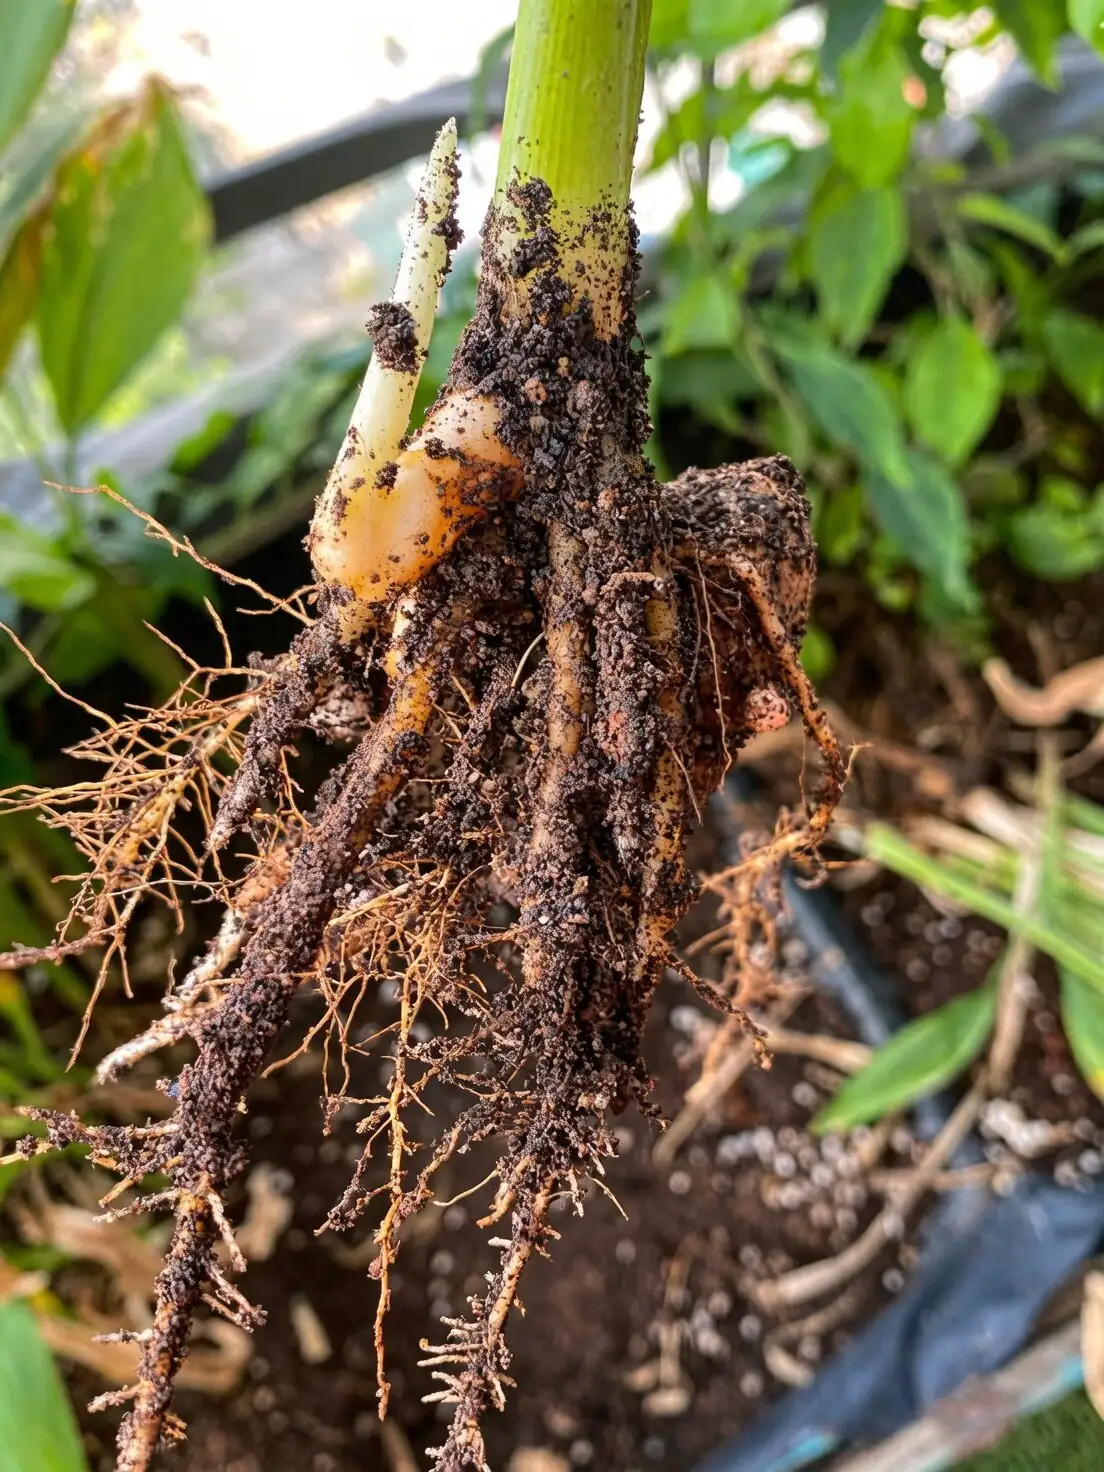
- At least one healthy crown (ideally 2–3 leaves)
- A solid chunk of rhizome (firm, not mushy)
- A decent root mass attached
Step-by-Step Division
- Unpot gently
- Tip the plant sideways and slide it out. Loosen and shake away old mix so you can see the rhizome network.
- Map your cuts
- Identify natural gaps between crowns. Plan to separate sections that each carry roots and at least one growing point (a crown).
- Make clean, confident cuts
- Sterilize your blade, then slice cleanly through the rhizome between crowns—avoid tearing. If sap or tissue is exposed, dust the cut lightly with cinnamon or sulfur (optional). Re-sterilize between cuts.
- Tidy the roots
- Trim away dead, mushy, or circling roots. Healthy roots are firm and pale to tan.
- Pot each division correctly
- Choose a pot just one step larger than the root ball. Overpotting slows recovery and risks soggy soil.
- Set the division so the crown (where leaves meet rhizome) is at or slightly above the soil surface. Do not bury the crown.
- Backfill with your airy mix, tap the pot to settle, and firm lightly—no compacting.
- Water once, then pause
- Give a slow, thorough drink to settle roots and eliminate air pockets. Let all excess drain. Then allow the surface of the mix to dry before you water again.
Aftercare: The First 12 Weeks
- Light: Partial to full shade; bright, indirect light is fine. Avoid harsh direct sun (it bleaches and scorches).
- Temperature: Cool, steady rooms are ideal—about 5–20°C (41–68°F). Protect from frost.
- Humidity: Average indoor air is fine. Skip misting. In very dry homes, a short-term clear bag over the pot can help—vent daily and remove once you see new growth.
- Watering: Let the surface of the mix dry between waterings. Never let the pot stand in water; this plant dislikes soggy soil.
- Feeding: Wait until your division is pushing fresh growth (often 6–8 weeks). Then feed monthly at half-strength from spring through late summer.
- Grooming: If a leaf yellows, snip it cleanly at the base. Otherwise, minimal pruning.
Avoid These Common Setbacks
- Overpotting
- The risk: Excess mix stays wet, leading to root rot and stalled growth.
- The fix: Use a pot just one size up. A 12.5–20 cm (5–8 in) container is typically sufficient.
- Burying the crown
- The risk: Crown rot and suffocated growth points.
- The fix: Keep crowns at or slightly above soil level—visible, not entombed.
- Heavy, waterlogged soil
- The risk: Root rot. Aspidistra is beginner-friendly, not swamp-friendly.
- The fix: Keep the mix loose and well-draining; add perlite as needed. Empty saucers after watering.
- Too much sun
- The risk: Bleached, crispy leaves—especially on variegated forms.
- The fix: Move to shade or bright indirect light.
- Tiny, rootless divisions
- The risk: Long stalls or losses.
- The fix: Ensure each piece has roots and at least one strong crown (two or more leaves is ideal).
- Dirty tools
- The risk: Fungal and bacterial infections at cut sites.
- The fix: Sterilize before every set of cuts.
Troubleshooting at a Glance
- Yellowing leaf or two after division? Normal stress or watering adjustment. Remove at the base if it persists.
- Mushy rhizome or foul smell? Unpot, cut back to firm, clean tissue, dust with cinnamon/sulfur (optional), and repot in fresh, airy mix. Water sparingly until recovery.
- No visible growth for months? This plant is slow by nature. Maintain steady shade, avoid overwatering, and be patient.
Why Division Works So Well for Aspidistra
This plant spreads via rhizomes, forming clumps over time. Division simply gives each clump its own space and resources—no rooting hormones, high humidity chambers, or elaborate setups required. It’s propagation that feels like tidying a well-loved bookshelf: reorganize, refresh, and watch it settle in.
Quick Care Context for Success
- Family: Asparagaceae; Genus: Aspidistra
- Origin: Native to Japan (especially the Ryukyu Islands) and Taiwan
- Habit: Evergreen, clump-forming perennial; typically around 60 × 60 cm (24 × 24 in) indoors
- Light: Partial to full shade; bright, indirect light is fine
- Water: Let the surface dry between waterings; never waterlog
- Feeding: Monthly at half strength, spring through late summer
- Repotting: Every 2–3 years; one pot size up only
- Pests: Generally trouble-free; watch for scale, mealybugs, spider mites
- Toxicity: Commonly regarded as non-toxic to cats, dogs, and people
A Note on Symbolism (and Those Hidden Flowers)
Cast-iron plants are often associated with endurance and resilience—a reputation forged in dim, smoky Victorian interiors where few plants could cope (hence “bar-room plant”). Indoors, their small brownish‑purple flowers open right at soil level, easy to miss entirely. If you’re seeking a “flower language,” think less romance and more staying power: this plant’s meaning comes from its unshowy, long-term survival rather than its blossoms.
Your Propagation Game Plan, Summarized
- Time it right: Spring to summer, alongside a scheduled repot.
- Cut clean: Sterilize tools; divide rhizomes so each piece has a crown and roots.
- Pot smart: Use an airy mix; go up one pot size; keep crowns unburied.
- Aftercare: Shade, light but thorough watering when the surface dries, and patience.
- Avoid pitfalls: Overpotting, soggy mix, harsh sun, and dirty blades.
Follow these steps and your new Aspidistra divisions will ease into their own pots—steady, uncomplaining, and ready to green up the gloomiest corner with cast‑iron calm.