

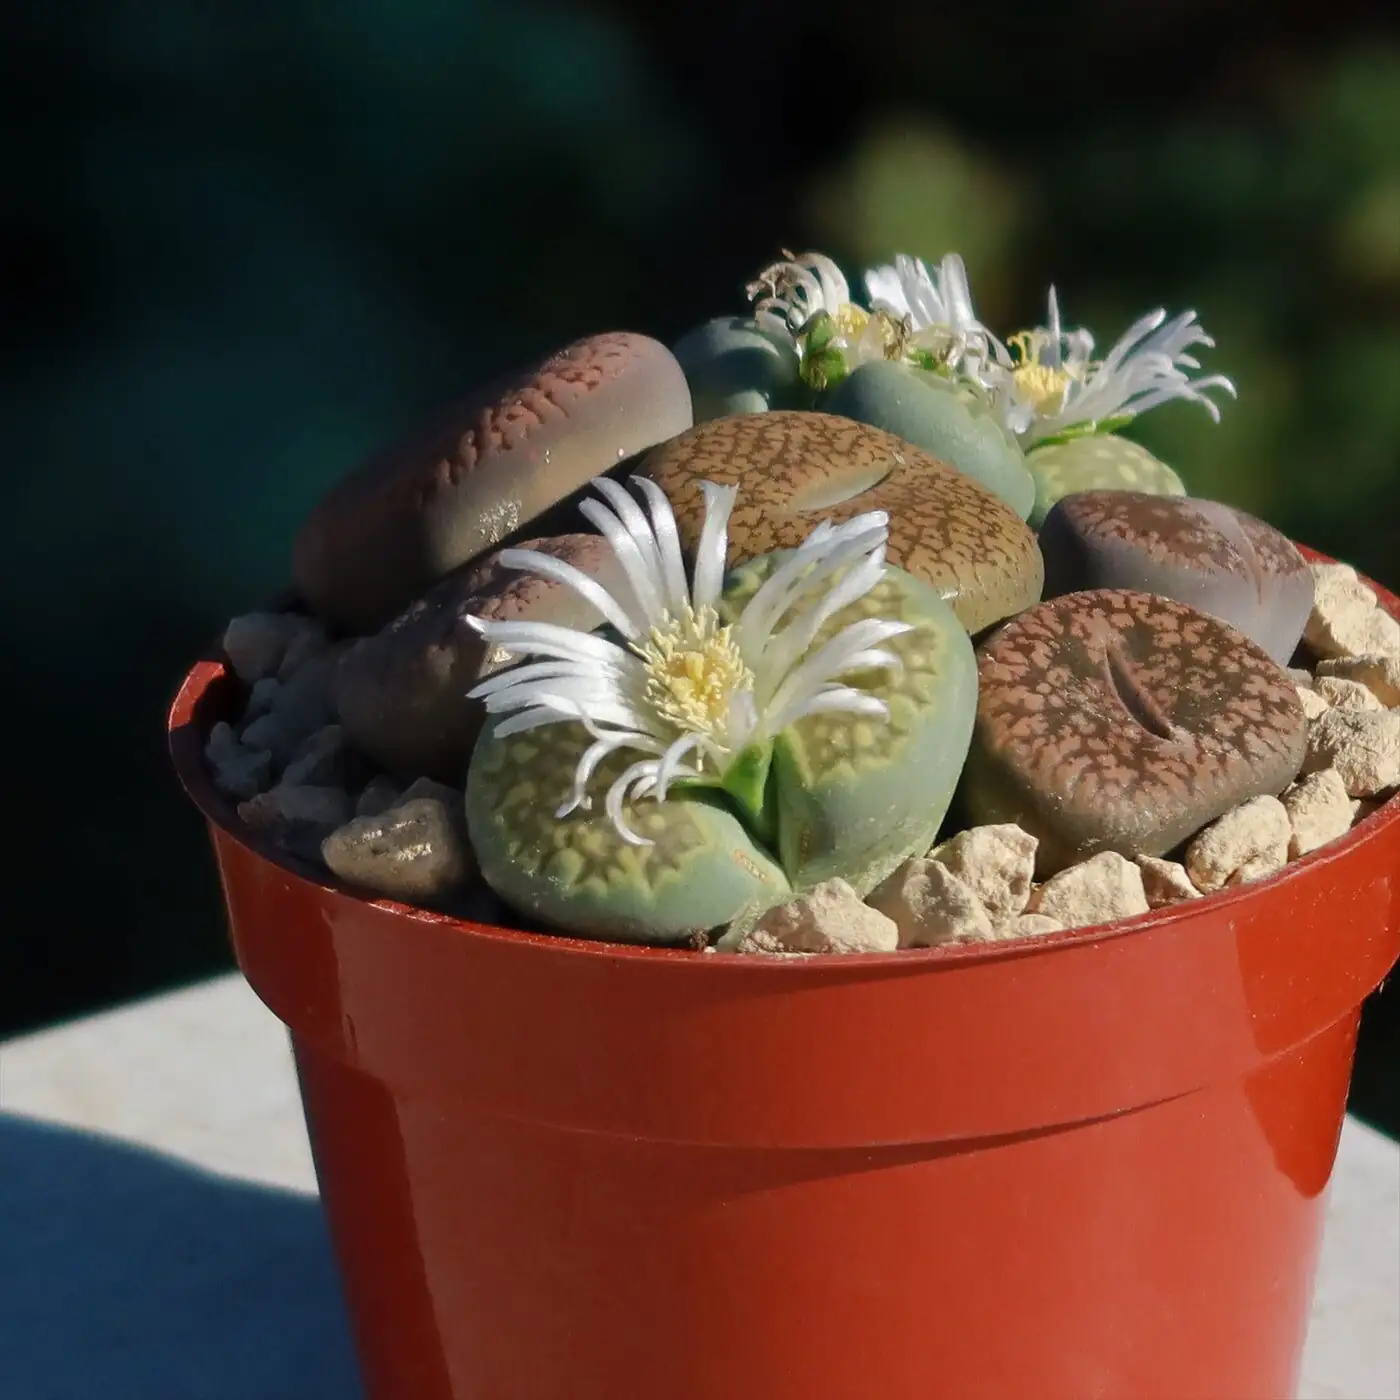
If you’ve ever squinted at a pot of pebbles and then realized one of them just bloomed, you’ve met Lithops—the “living stones” of southern Africa. Propagating these tiny mimics from seed is equal parts patience, precision, and pure delight. This deep dive takes you from ethical seed sourcing and sterile, gritty mixes to perfect germination temps, humidity you can actually manage, and the slow, satisfying road to first flowers in 2–3 years.
Meet the plant you’re growing
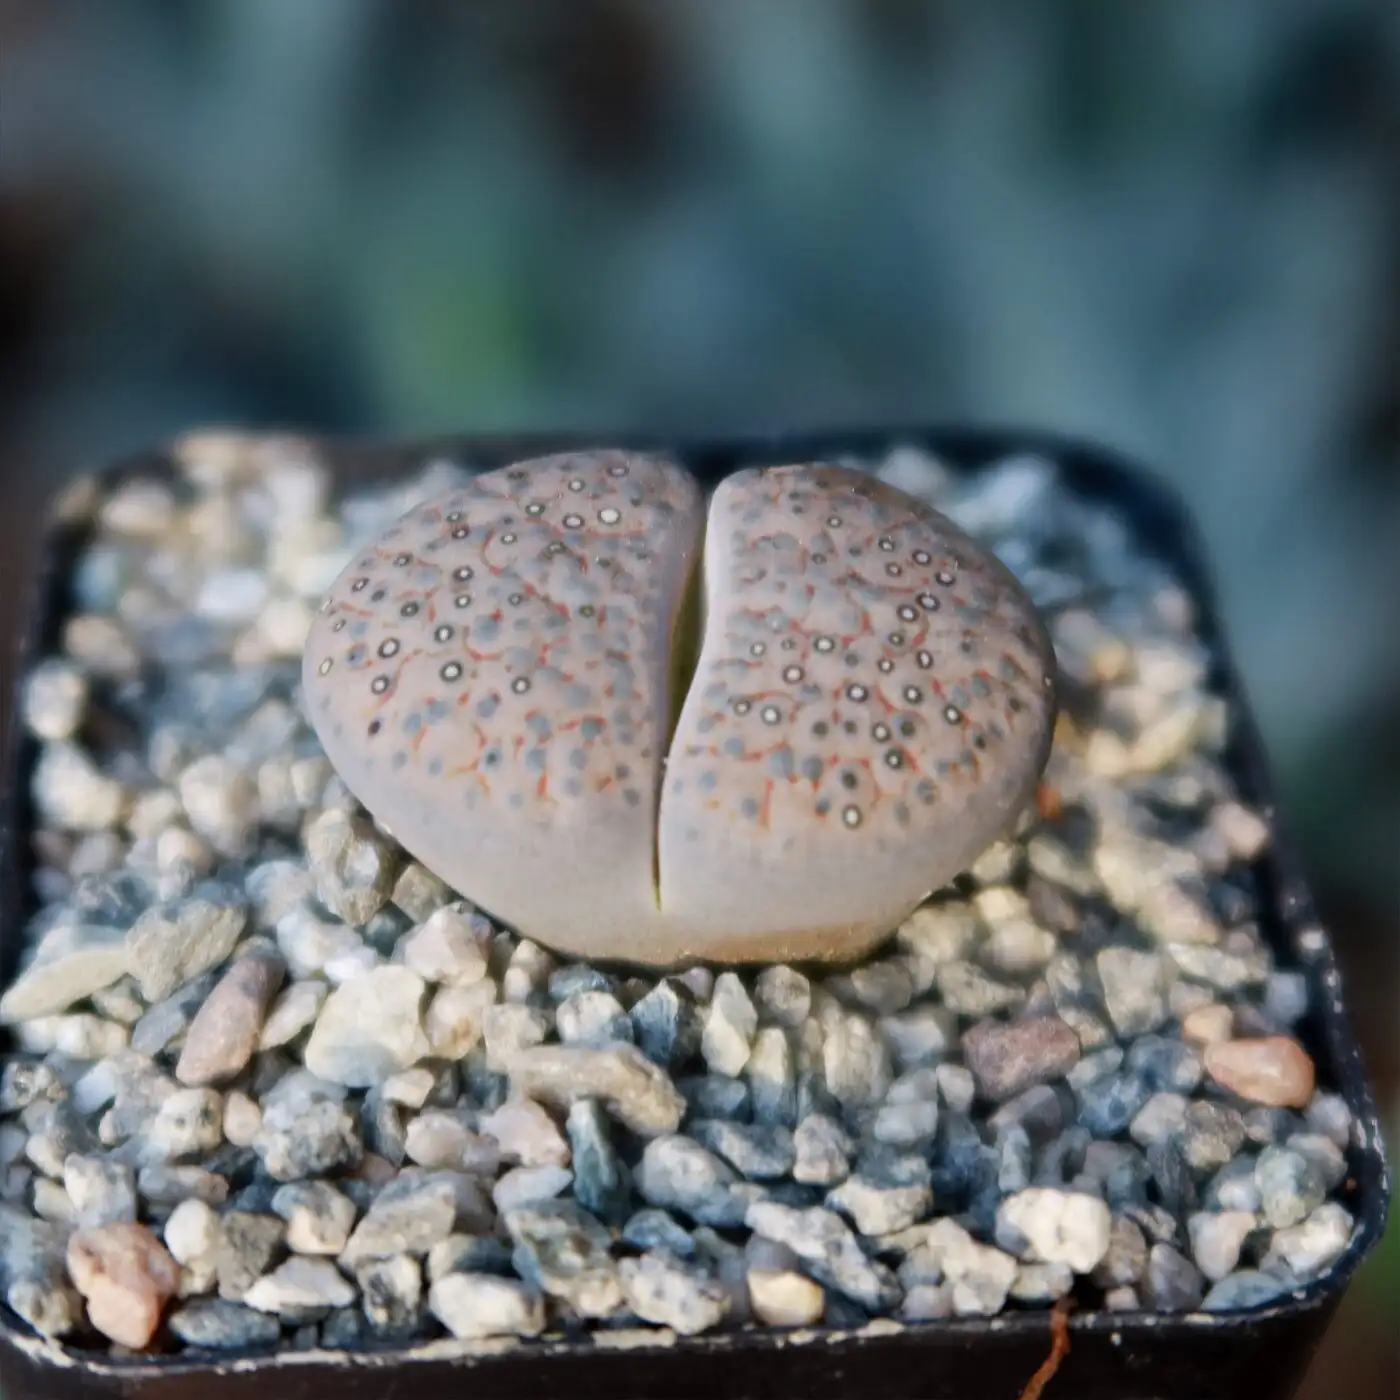
- Name: Lithops spp. (Aizoaceae), commonly called Living Stones, Pebble Plants, or Stone Plants
- Native range: Southern Africa, especially South Africa and Namibia
- Habit: Two thick, fused leaves with a central slit; ultra-compact, stone-like camouflage
- Flowers: Daisy-like, usually white (sometimes yellow), late summer to autumn
- Light and air: Bright light to full sun with excellent ventilation; low humidity preferred
- Patience required: Seedlings are slow; most need about 2–3 years to reach flowering size
—
Sourcing seed: start smart to finish strong
- Buy from reputable sellers who:
- Provide species/cultivar names and harvest year (fresh seed = better germination).
- Package in breathable envelopes (paper/glassine). Avoid long-term storage in sealed plastics, which can trap moisture.
- Expect diversity: Even within one species, patterns vary—part of the fun of raising Lithops from seed.
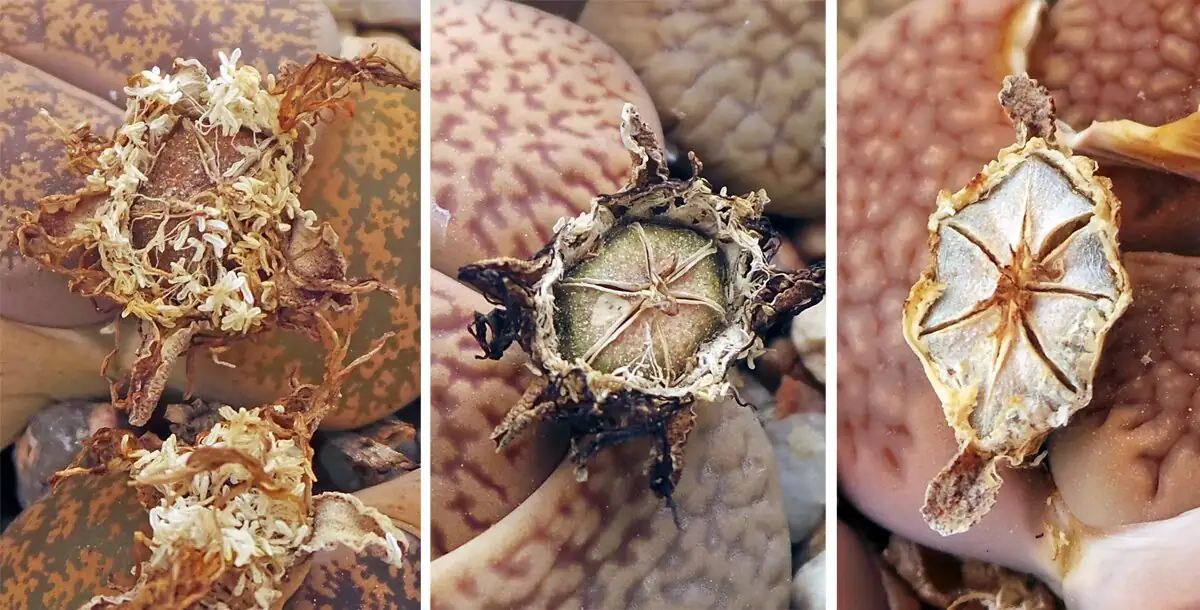
- If you receive whole, dry seed capsules:
- They’re hydrochastic—they open when wet. Briefly soak to release seed, or crush dry capsules gently over clean paper and winnow away husks.
- Remove as much debris as possible; decaying chaff can host fungi.
—
Build the right seed mix (and why grit matters)
Lithops demand an airy, fast-draining, mostly mineral substrate. Seedlings are tiny—fines and peat can smother roots and invite algae.
- Core recipe (screened and dust-free):
- 50–80% mineral: pumice, coarse sand (2–3 mm), granite grit, or fine lava
- 20–50% lean base: a small amount of composted, low-peat succulent mix or screened garden loam
- Top-dressing:
- 3–5 mm layer of clean, fine grit (1–2 mm) after sowing stabilizes seedlings, limits green slime (algae/moss), and keeps bodies off damp particles.
- Pot choice:
- Shallow tray or pots with excellent drainage; add mesh over holes.
- Depth is less important than breadth and airflow; Lithops roots are not deep early on.
Sterilize your media and water
Clean, pathogen-light conditions sharply reduce damping off and fungus gnats.
- Oven: Moisten the mixed medium, cover with foil, and heat at ~90–100°C (194–212°F) for 45–60 minutes; cool completely before use.
- Microwave: Thoroughly moistened medium, vented container, several minutes until steaming; cool before handling.
- Boiled or distilled water: Use cooled, sterile water for initial wetting. Optional: a single pre-sow drench with a mild, appropriate fungicide if you’ve had mold issues before.
—
Germination targets: temperatures, light, and humidity
- Temperature sweet spot: 19–24°C (66–75°F). A mild night dip is fine but keep within roughly 15–26°C (59–79°F).
- Light: Bright, indirect light or filtered sun. Under LEDs, aim for bright but gentle levels early on; increase gradually after germination.
- Humidity: Lithops prefer low humidity overall, but freshly sown seed needs steady surface moisture. Use a clear cover or bag to prevent rapid drying—but ventilate daily and avoid persistently damp, stagnant air.
—
Sowing, step by step
- Pre-moisten the sterile mix until evenly damp but not soggy. Place in shallow pot/tray and level the surface.
- Broadcast seeds on the surface. They’re dust-like; do not bury. A moistened toothpick helps with placement.
- Mist very lightly once to settle seeds into contact with the medium; avoid washing them around.
- Top with a whisper-thin sprinkle of fine grit (optional but helpful for anchoring).
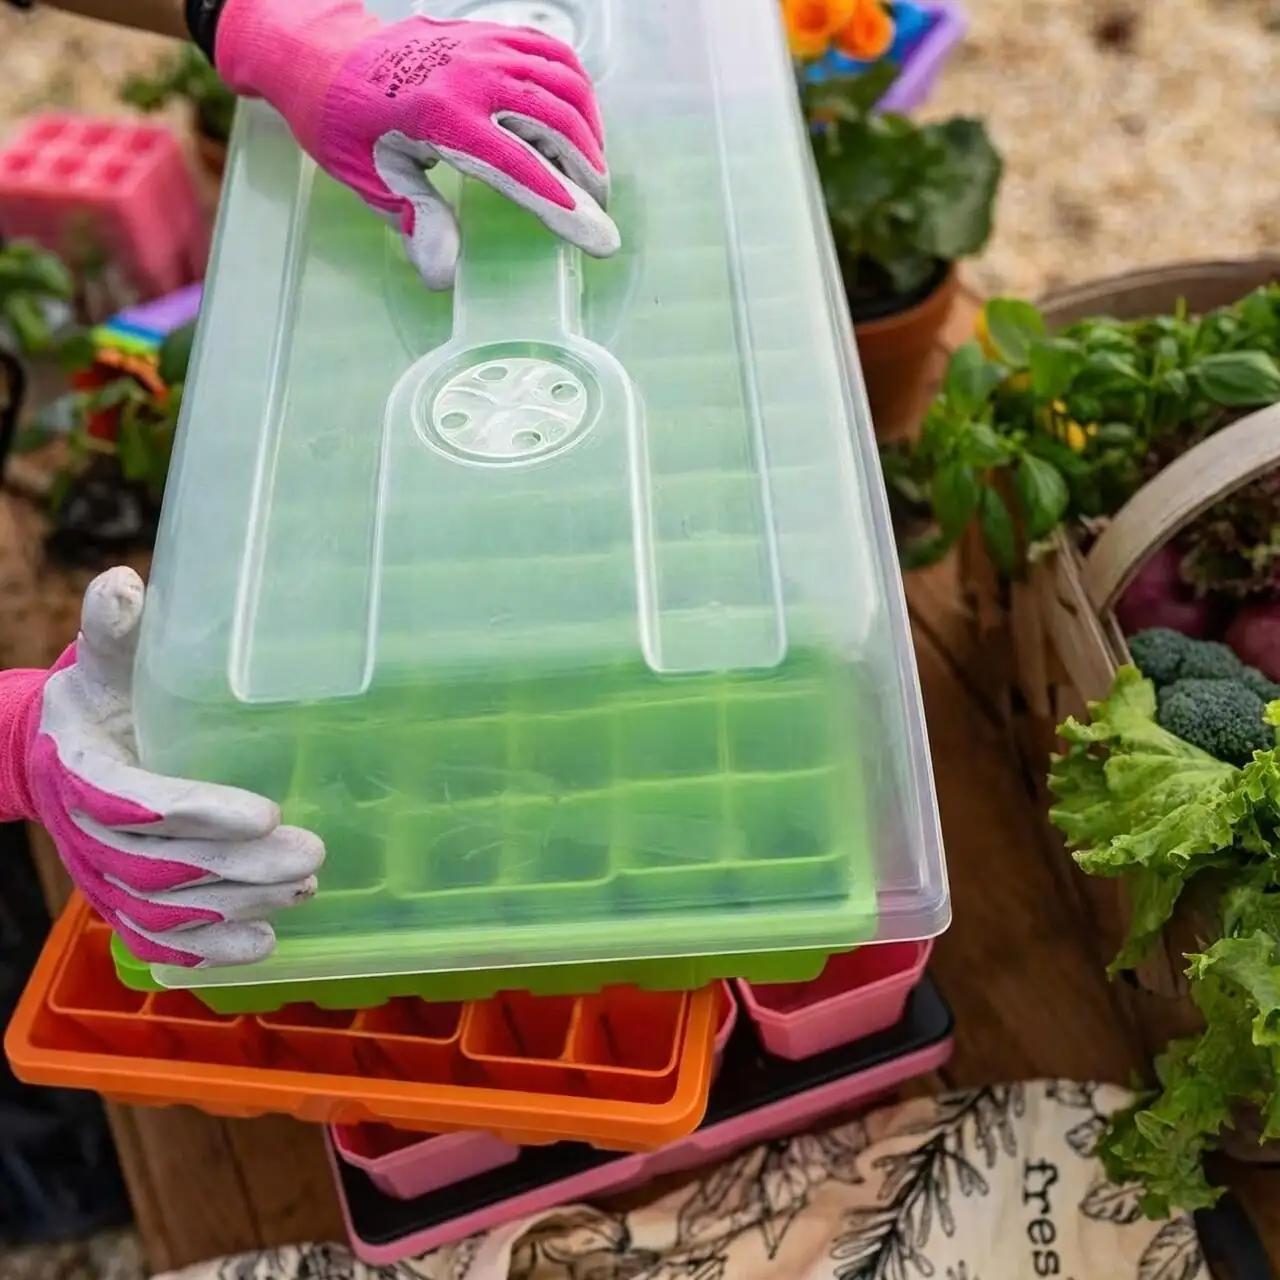
- Cover with a clear lid or place in a vented plastic bag to prevent rapid evaporation. Add a label with species and date.
- Set under bright, indirect light at 19–24°C. Provide gentle airflow—prop lids briefly daily to exchange air.
Germination often begins in 7–10 days when conditions are right. Expect a staggered flush, with stragglers emerging over several weeks.
—
The first 12 weeks: moisture and air (the balancing act)
- Week 0–2: Keep surface evenly moist, never waterlogged.
- Daily brief ventilation; wipe heavy condensation. Stagnant, drippy domes invite damping off.
- Week 2–4: Start weaning.
- Increase vent time; allow the top few millimeters to approach dryness between very light mistings or bottom-waterings.
- Week 4–8: Transition to “bright-and-dry-ish.”
- Lid off for part or most of the day if seedlings hold turgor. Water sparingly—enough to rehydrate, then let the surface dry again.
- Light during the first months:
- Bright but filtered. Avoid harsh midday sun; increase light slowly to prevent etiolated (stretched) or scorched babies.
- Feeding:
- None at first. After 6–8 weeks, a single, very dilute (1/8–1/4 strength) low-nitrogen cactus feed is optional. Lithops thrive on lean rations.
- Algae, moss, gnats:
- Minimize organic content, keep air moving, don’t overwater, and use sticky traps. If needed, bottom-water with sterile water only.
Pro tip: Top-dressing pays for itself here—seedlings stay clean, and the surface stays less inviting to fungi.
—
Year 1: shaping habits that prevent rot
- Light:
- Bright light to full sun is the adult goal, but protect first-year seedlings from intense midday rays. Build up exposure gradually.
- Water:
- Keep cycles modest. Let the medium dry thoroughly between light waterings, but don’t impose a hard drought on very young plants.
- Air:
- Lithops love ventilation. A fan set on low near (not on) the tray reduces disease pressure and keeps bodies firm.
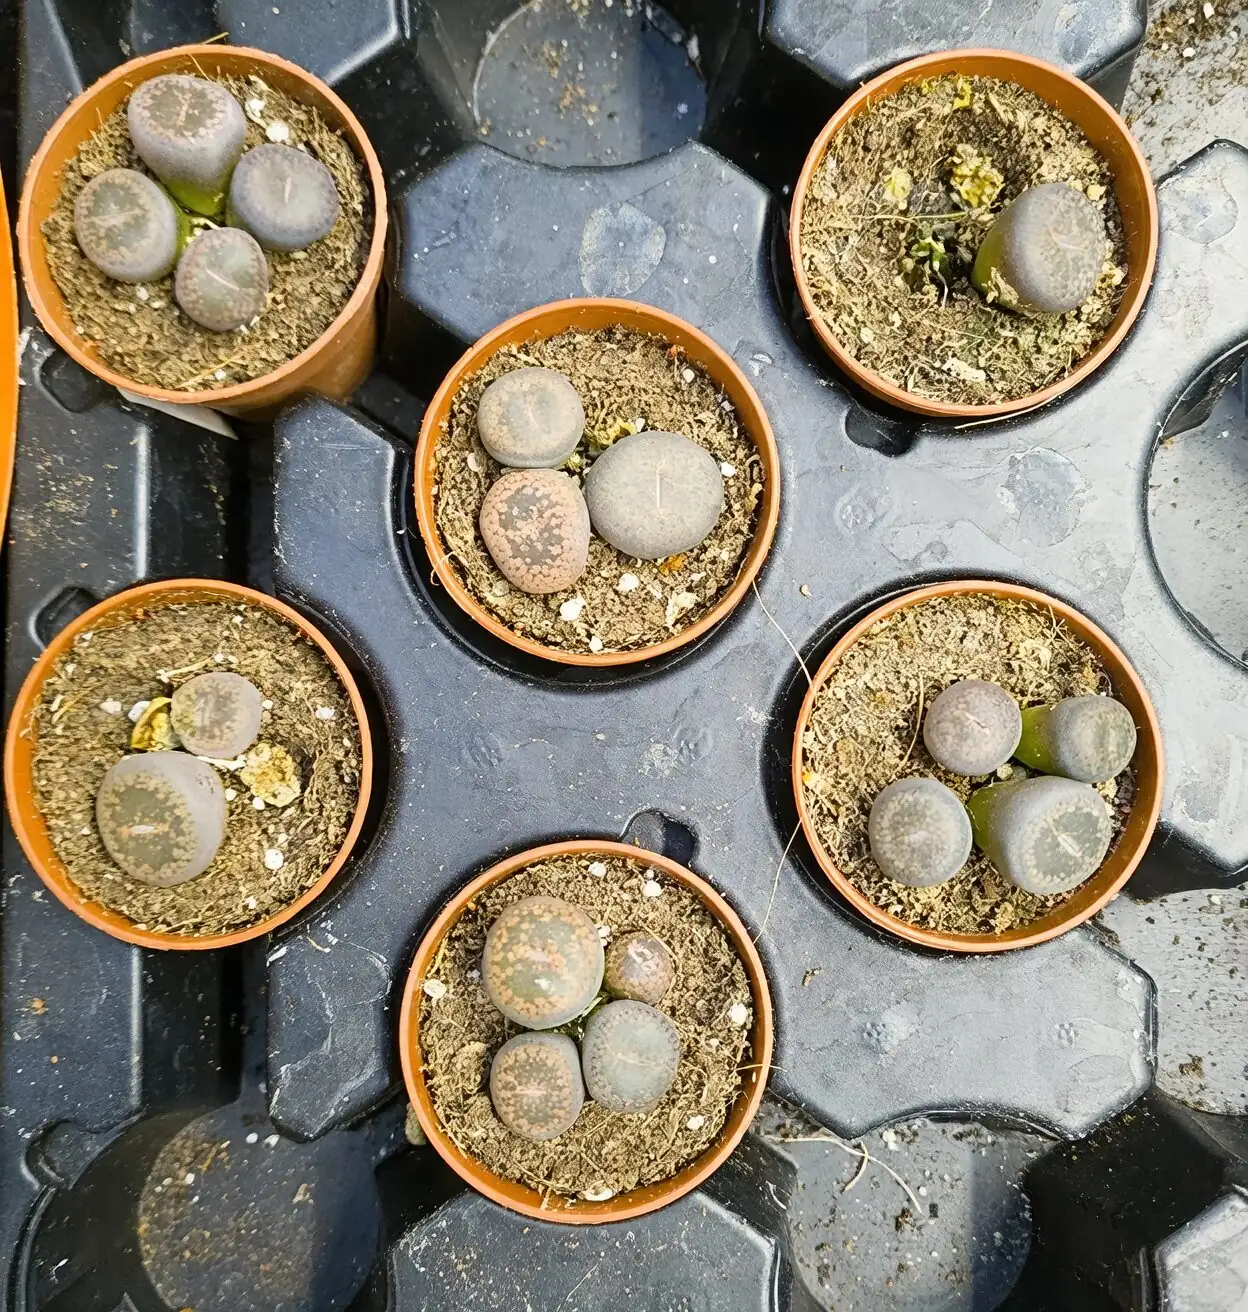
- Spacing and repotting:
- Once seedlings crowd, transplant gently into a shallow, gritty mix—often at 6–12 months, ideally in late winter to spring. Handle by the grit, not the soft bodies.
—
Year 2 and beyond: the “stone” routine
Lithops follow a remarkable annual rhythm: the new pair of leaves grows inside the old pair, eventually absorbing and replacing it.
- Leaf replacement rule:
- During the replacement phase, hold water until the old leaves are mostly papery and dry. Watering too soon can cause splitting and rot.
- Seasonal cues:
- Many plants pause in very hot summer; give light shade and much less water.
- As days shorten into late summer–autumn, cautious watering supports growth and flowering—never keep them wet.
- Winter indoors: bright, above ~12°C (54°F), mostly dry.
- Feeding:
- Keep it minimal. Either one gentle autumn feed at 1/4 strength or very dilute, infrequent feeding only during active growth—then stop for summer rest and winter.
With steady light, airflow, and restraint at the watering can, seed-grown Lithops typically reward you with their first daisy-like blooms in late summer to autumn by year 2–3.
—
Troubleshooting your nursery
- Damping off (seedlings collapse at the base):
- Cause: high humidity with stagnant air. Fix: increase ventilation, reduce surface moisture, consider a one-time fungicide drench.
- Algae/moss crust:
- Cause: too much moisture and organic matter. Fix: top-dressing, brighter light, leaner mix, better airflow.
- Etiolation (stretching, pale color):
- Cause: insufficient light. Fix: increase brightness gradually; add direct morning sun or stronger grow lights.
- Splitting or mushy bodies:
- Cause: overwatering, especially during leaf replacement. Fix: water less often and only when the mix is fully dry; improve drainage.
- Fungus gnats and mealybugs:
- Prevention: sterile medium, dry-downs, quarantine new plants, and strong airflow. Treat outbreaks promptly; consider checking roots for root mealybugs during repotting.
—
A simple calendar for seed-grown Lithops
- Spring (prime sowing window):
- Sow at 19–24°C; bright, indirect light; sterile media; gentle humidity with daily venting.
- Early summer:
- Wean humidity; increase light carefully; allow real dry-downs between light waterings.
- High summer heat:
- Many rest—reduce water sharply, give light shade and excellent airflow.
- Late summer to autumn:
- Mature plants resume growth and often flower; water cautiously, never soggy.
- Winter:
- Keep bright and mostly dry above ~12°C. Seedlings in their first winter may need slightly more frequent but still cautious sips; avoid cold, wet soil.
—
Symbolism and the “flower language” of Lithops
Lithops often symbolize resilience and “beauty in disguise”—a nod to their stone-like camouflage and life in harsh deserts. Unlike traditional flower-language (花语) lore tied to old poetry or courtship customs, Lithops’ meaning is modern and ecological: elegance through adaptation. Their daisy-like blooms bursting from a seam in solid “rock” make a persuasive metaphor for hidden strength and patient transformation—perfect for growers playing the long game from seed.
—
Quick kit checklist
- Fresh, ethically sourced Lithops seed
- Shallow pots or trays with drainage and mesh
- Gritty, largely mineral seed mix (screened, dust-free) + fine grit top-dressing
- Means to sterilize substrate and water
- Clear lids or vented bags for short-term humidity
- Bright, cool lighting and a small fan for airflow
- Fine mister, labels, and optional mild fungicide
Raise them bright, keep them airy, and water with restraint. Do that, and those “pebbles” will repay your patience—with patterns you can’t predict and flowers you’ll never forget.