

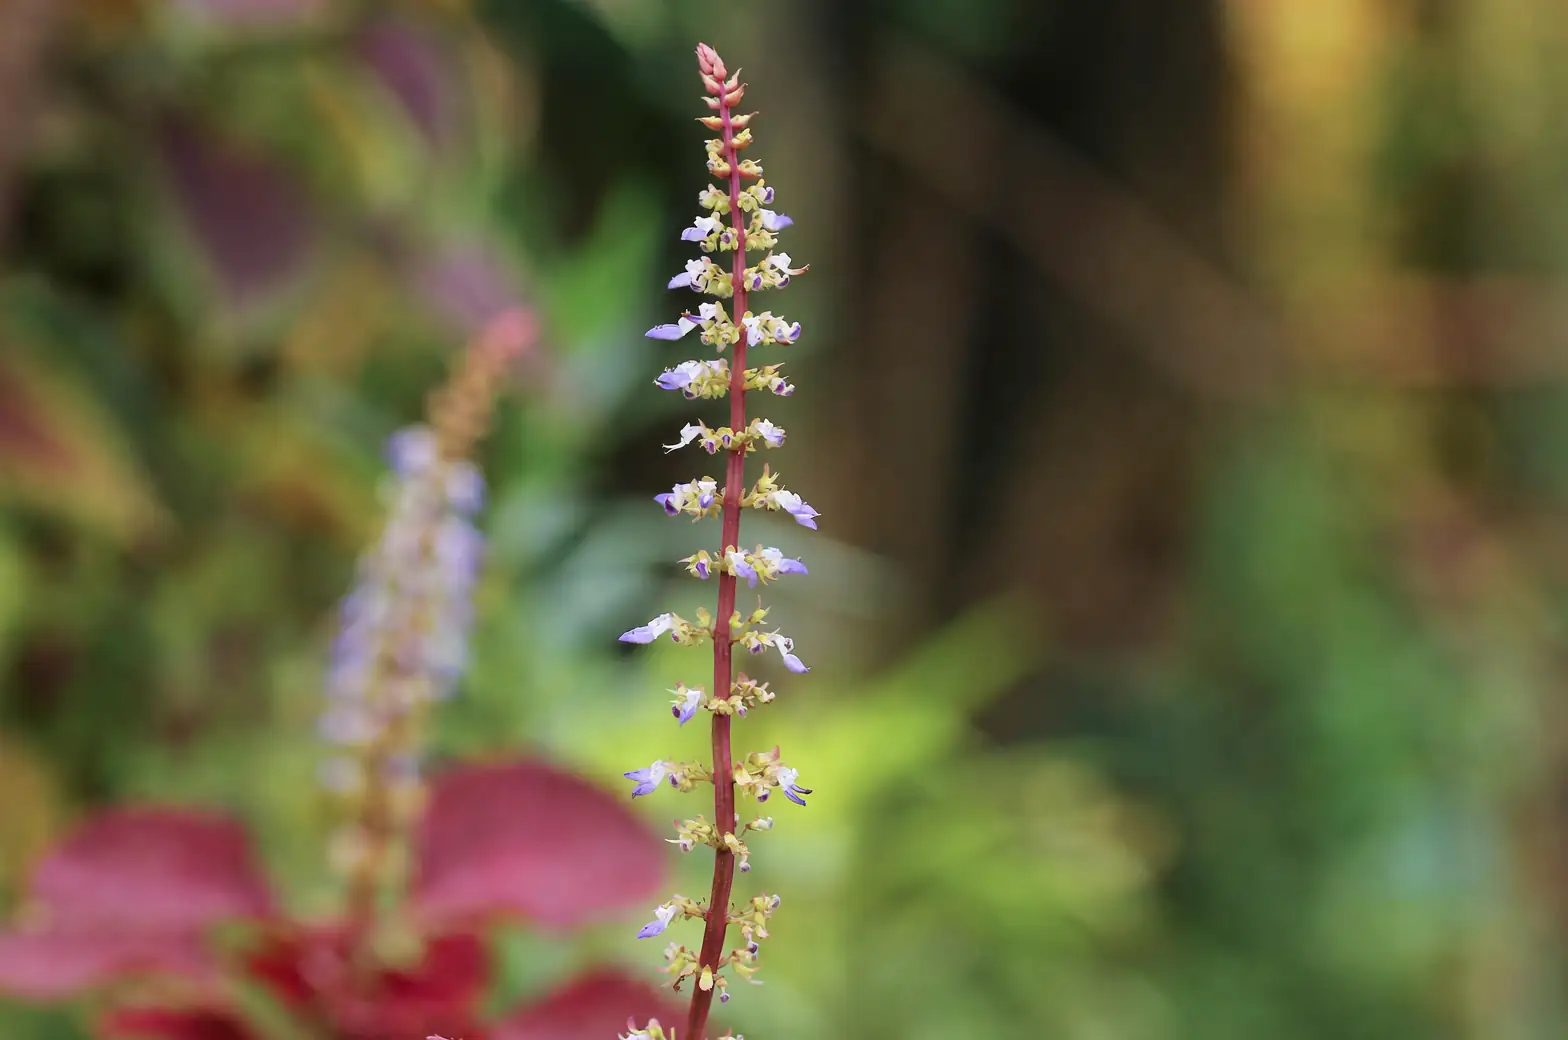
If you’ve ever admired those slender wands tipped with tiny mauve to blue‑purple florets swaying in a summer breeze, chances are you’ve met common vervain (Verbena officinalis L.). This old‑world herb looks delightfully meadowy yet behaves with modern reliability—low‑maintenance, pollinator‑friendly, and generous with flowers from late spring to early fall. Better yet, it’s easy to multiply. Below is your step‑by‑step playbook to propagate it three ways—by seed, by stem cuttings, and by clump division—plus smart strategies to either curb or capitalize on its self‑seeding habit.
Meet common vervain at a glance
- Names you’ll hear: Common vervain, European vervain, Holy Herb, Herb of the Cross, Simplers’ Joy, vervain (Verbena officinalis L.; family Verbenaceae)
- Look: Upright, airy stems (square in cross‑section) with toothed, sometimes lobed leaves and elegant, spare flower spikes of small two‑lipped blooms, typically mauve to blue‑purple
- Size: 30–120 cm tall (often ~70 cm in gardens)
- Bloom season: Late spring to early fall (peaking in summer)
- Sun/soil: Full sun for best bloom (6–8 hours); well‑drained soil, slightly acidic to neutral (pH ~5.8–7.2), thrives even in limey soils
- Toughness: Often hardy in USDA Zones 4–11 depending on site and local forms; most dependable as a returning perennial in warmer temperate zones (roughly 7–10). Dislikes soggy winter soil.
- Growth habit: Upright, naturally airy, and may self‑seed where happy
Propagating by seed (two easy routes)
You can sow outdoors right after the last frost or start indoors 8–10 weeks before your final spring frost date. Seeds are small, so a light touch is your friend.
H3: Route 1 — Direct sow outdoors after last frost
- Prepare the bed:
- Choose full sun and well‑draining soil. Loosen the top 10–15 cm and rake to a fine, level tilth.
- If soil is heavy, mix in grit or compost to boost drainage—vervain resents waterlogging.
- Sow:
- Scatter seeds thinly on the surface; press them in for contact or barely cover with a dusting of fine compost or vermiculite. These tiny seeds germinate best with light and consistent moisture.
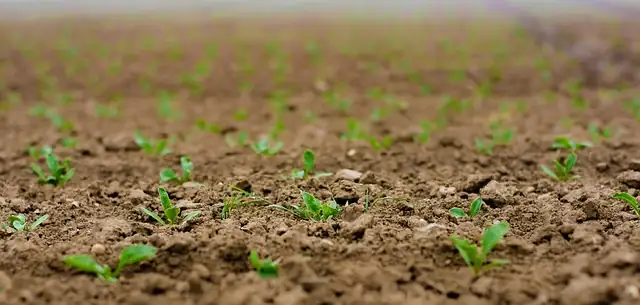
- Water and wait:
- Mist or gently water so you don’t dislodge seeds. Keep evenly moist (not soggy) until germination—usually 1–3 weeks in mild warmth.
- Thin and space:
- When seedlings have 2–3 true leaves, thin or transplant to 30–45 cm apart to give airy growth and good airflow.
H3: Route 2 — Start indoors 8–10 weeks before last frost
- Materials:
- Clean trays or modules, a fine seed‑starting mix, labels, and a clear cover or humidity dome.
- Sow:
- Fill modules, firm lightly, then surface‑sow or just barely cover the seeds.
- Bottom‑water to settle the mix and avoid crusting.
- Provide conditions:
- Bright light and mild warmth (around 18–22°C). Keep evenly moist. Good airflow helps prevent damping‑off.
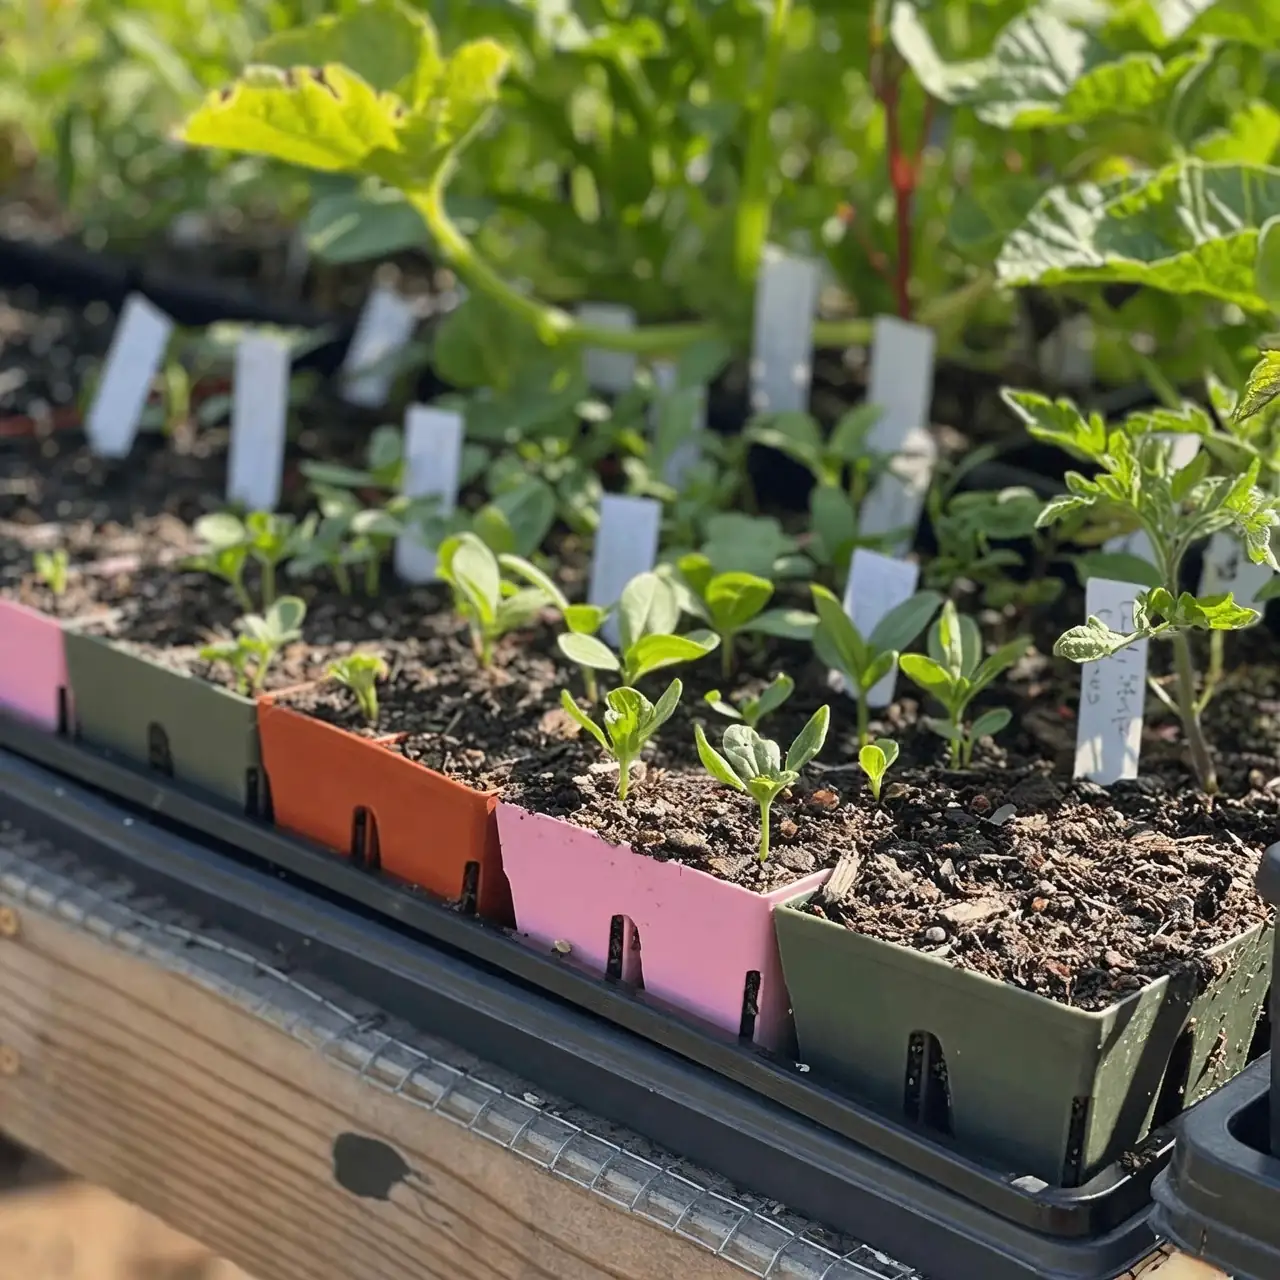
- Pot on and harden off:
- Once seedlings are big enough to handle, move to individual cells or small pots.
- Gradually acclimate outdoors over 7–10 days after frost danger passes, then plant at 30–45 cm spacing in full sun.
Pro tips for seed success
- Label generously—varieties and sowing dates blur fast.
- Don’t overfeed: a modestly fertile mix is enough at the seedling stage.
- Keep it bright: shy light equals lanky seedlings.
Propagating by stem cuttings (late spring to early summer)
Cuttings are quick and faithful to the parent—ideal for keeping a favorite clump going.

- Take the cut:
- Choose healthy, non‑flowering shoots and snip 10–15 cm (4–6 in) in the cool of morning.
- Make a clean cut just below a node. Strip leaves from the lower half; halve any large upper leaves to reduce transpiration.
- Optional boost:
- Dip the base in rooting hormone for extra insurance (optional but helpful).
- Plant up:
- Insert into a sharply draining mix (e.g., 1:1 perlite and peat‑free compost) so the lower nodes are buried.
- Space so leaves don’t touch. Mist lightly and cover with a clear propagator lid or place in a tented bag to maintain humidity while allowing some ventilation.
- Conditions:
- Bright, indirect light; steady warmth around 18–22°C; evenly moist, never wet.
- Rooting and aftercare:
- Expect roots in ~2–4 weeks. Tug gently to feel resistance.
- Pot on to a peat‑free, well‑draining mix; grow on in bright light.
- Harden off and plant out once well‑rooted and settled weather arrives.
Propagating by clump division (spring or fall)
Division refreshes older plants and multiplies your stock, handy as plants can be short‑lived (often 2–3 years in many gardens).
- Prep:
- Choose a cool, overcast day in early spring as growth stirs, or in fall while soil is still warm.
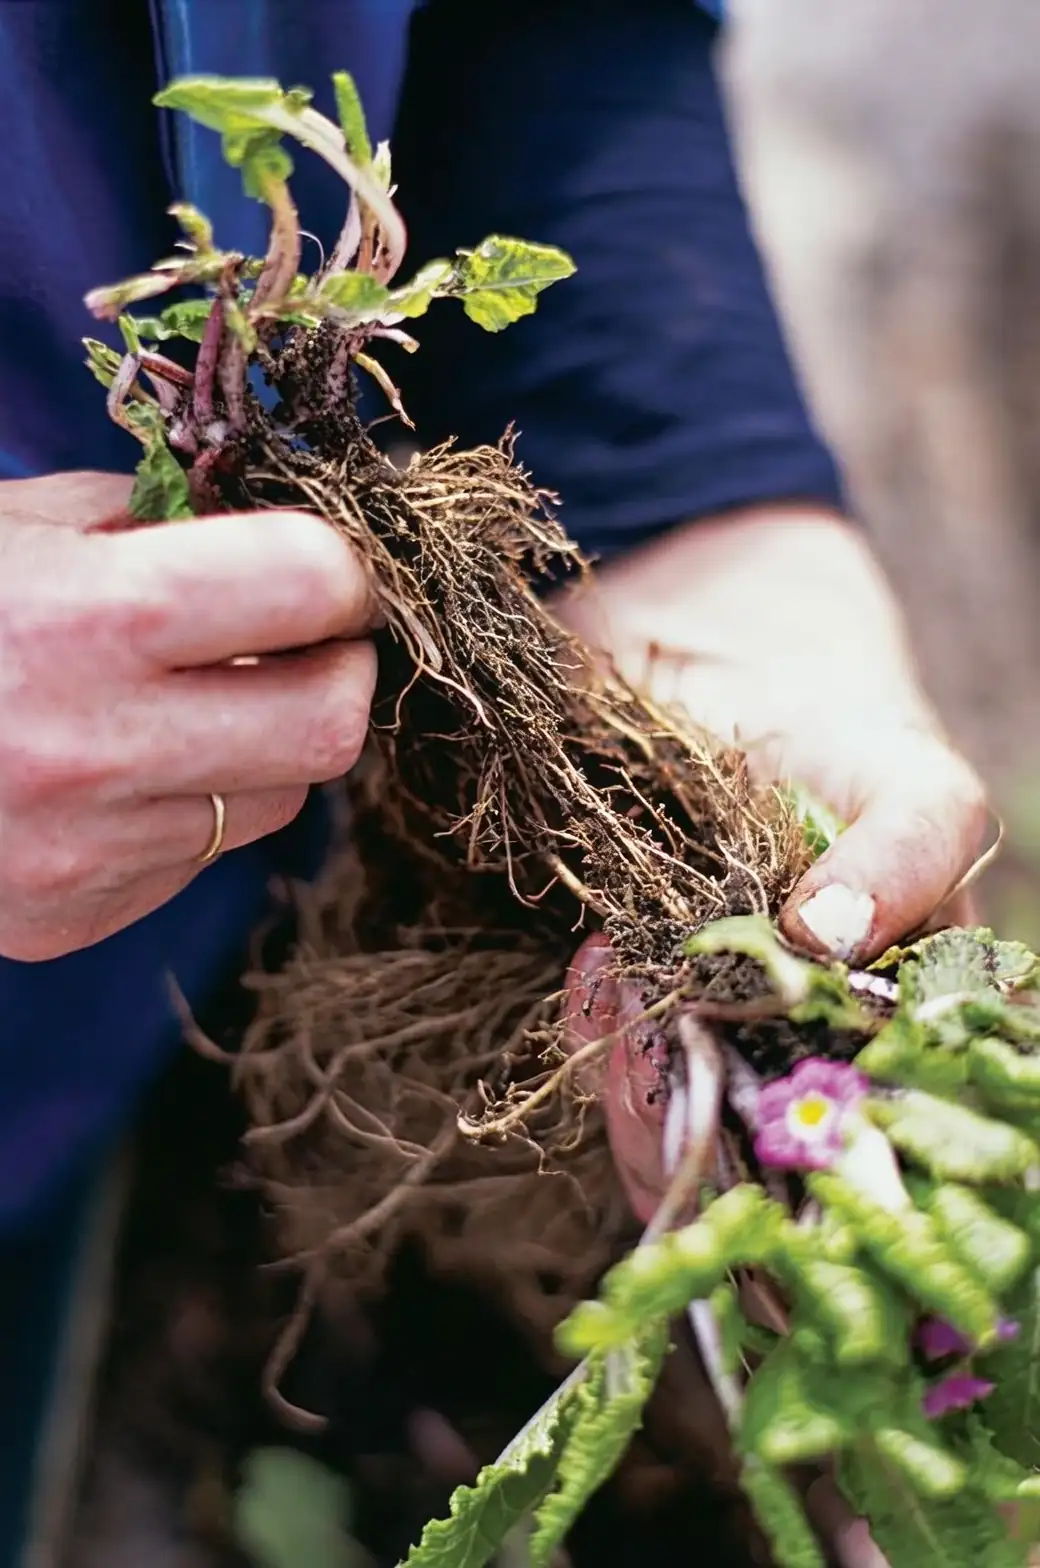
- Lift:
- Dig around the clump with a fork, lift it gently, and shake or tease away excess soil.
- Split:
- Use your hands or a clean knife to divide into several pieces, each with strong roots and at least one vigorous shoot or bud.
- Trim ragged roots lightly; remove any dead or woody centers.
- Replant:
- Set divisions at original depth in a sunny, well‑drained spot, spacing 30–45 cm.
- Water in thoroughly and mulch lightly to conserve moisture (but keep mulch off stems).
- Settle:
- Keep evenly moist for the first few weeks; a touch of shade cloth in hot spells helps reduce stress.
Taming—or harnessing—self‑seeding
Common vervain readily sprinkles seed where it’s content. That can be a gift in naturalistic plantings or a bit much in tight borders. Here’s how to direct the show.
To tame self‑seeding:
- Deadhead on time:
- Snip or shear spent spikes before the seed shatters. Regular deadheading also prolongs bloom.
- Mulch smartly:
- A 3–5 cm layer of fine gravel or compost can deter germination in formal beds, making surprise seedlings easy to spot and lift.
- Patrol while small:
- Weed or transplant unwanted volunteers when they’re tiny; they lift with minimal root disturbance.
- Reduce disturbance:
- Frequent soil cultivation can trigger a flush of seed germination—keep it minimal where you don’t want new plants.
To harness self‑seeding:
- Designate a nursery patch:
- Choose one sunny area to let a few mother plants finish and drop seed. Mark the spot.
- Create a seed‑friendly surface:
- Leave the soil slightly open or top with a thin gravel layer; both encourage even germination and easy spotting of seedlings.
- Time the cut:
- In late summer, allow select spikes to ripen fully; shake them over your chosen patch to “sow” in place.
- Thin and edit:
- In spring, thin to sturdy, well‑spaced rosettes (30–45 cm). Transplant extras to other sunny, well‑drained spots.
- Save a little for later:
- To collect seed, wait until spikes brown and dry, then strip into a paper bag. Dry thoroughly and store cool and dry. Sow the following spring for best vigor.
Care pointers for thriving plants
- Sun: Aim for 6–8 hours of direct light daily for strong stems and abundant bloom.
- Water: Keep evenly moist while establishing. Then supply about 1.3–2.5 cm (0.5–1 in) of water weekly in dry spells; let the topsoil dry slightly between drinks. Avoid soggy conditions.
- Soil and feeding: Moderately fertile, well‑drained soil is ideal. Mix in compost at planting. A light, balanced feed in spring (and optionally mid‑summer) is plenty.
- Pruning: Deadhead to keep flowers coming. If plants grow lanky, shear lightly once or twice. In late winter or early spring, cut stems back by about one‑third, removing dead growth to prompt fresh shoots.
- Winter notes: In colder or wet‑winter climates, plants may die back hard. Improve drainage, avoid waterlogging, and mulch lightly.
Troubleshooting: pests and diseases
- Sap‑suckers: Aphids, whiteflies, thrips, spider mites, scale. Start with a strong water spray; follow with insecticidal soap or neem if needed.
- Fungal issues: Powdery mildew and botrytis can appear in humid, still air. Space plants well, water at the base in the morning, and boost airflow.
- Root rot: The main enemy. Ensure sharp drainage; don’t let pots sit in saucers of water.
Where it shines in the garden
- Planting partners: Grasses and other meadow‑makers accentuate its see‑through spires; it slots beautifully into sunny borders, rock gardens, and wildflower meadows.
- Pollinator magnet: Bees and butterflies will thank you.
- Containers: Yes—use a fast‑draining mix and check moisture more often in summer.
Folklore and flower language
Vervain has a legendary past, reflected in names like Holy Herb and Herb of the Cross. In European lore it was protective and purifying, linked variously to Venus, sacred rites, and even the staunching of wounds from the Crucifixion—a story that fed its status in charms and ceremonies. In Victorian floriography, vervain carried meanings such as peace, protection, loyalty, trust, justice, and plaintive messages like “pray for me.” While “flower language” was never a rigorous science, it distilled centuries of cultural symbolism into small bouquets—so gifting vervain nods to steadfastness and sanctuary as much as to its delicate beauty.
A simple seasonal calendar
- Spring:
- Sow seeds; plant out after last frost
- Divide mature clumps
- Take early cuttings
- Light spring feed; cut back old stems by about one‑third
- Summer:
- Peak bloom; deadhead to extend flowers
- Water during dry spells
- Watch airflow to deter mildew
- Fall:
- Collect seed or allow selected spikes to self‑sow
- Divide established plants if needed
- Winter:
- Tidy dead stems and mulch lightly, especially where soils stay wet
Safety note
As an ornamental, common vervain is generally low‑risk to handle. Traditional medicinal use is widespread, but internal use—especially during pregnancy—is commonly cautioned against. As with many “verbena” relatives, pet sensitivities can vary; discourage chewing and consult a vet if ingestion occurs.
The takeaway
With a sunny spot and well‑drained soil, Verbena officinalis is delightfully easy to multiply. Start a tray of seeds 8–10 weeks before last frost (or sow outdoors after frost), root a few 4–6 inch cuttings as summer begins, and split a mature clump in spring or fall. Then decide how many volunteers you want next year—snip to keep it neat, or let a chosen patch reseed and watch a new constellation of purple sparkles appear.


