

Root rot—it’s a plant parent’s nightmare! But don’t panic just yet. If your beloved monstera or fiddle leaf fig is showing signs of root rot, you have two powerful tools at your disposal: root pruning and repotting. Understanding when and how to use these methods can be the difference between revitalizing your plant or watching it wither away. Let’s dive into how you can tackle this common issue effectively.
Spotting the Signs of Root Rot
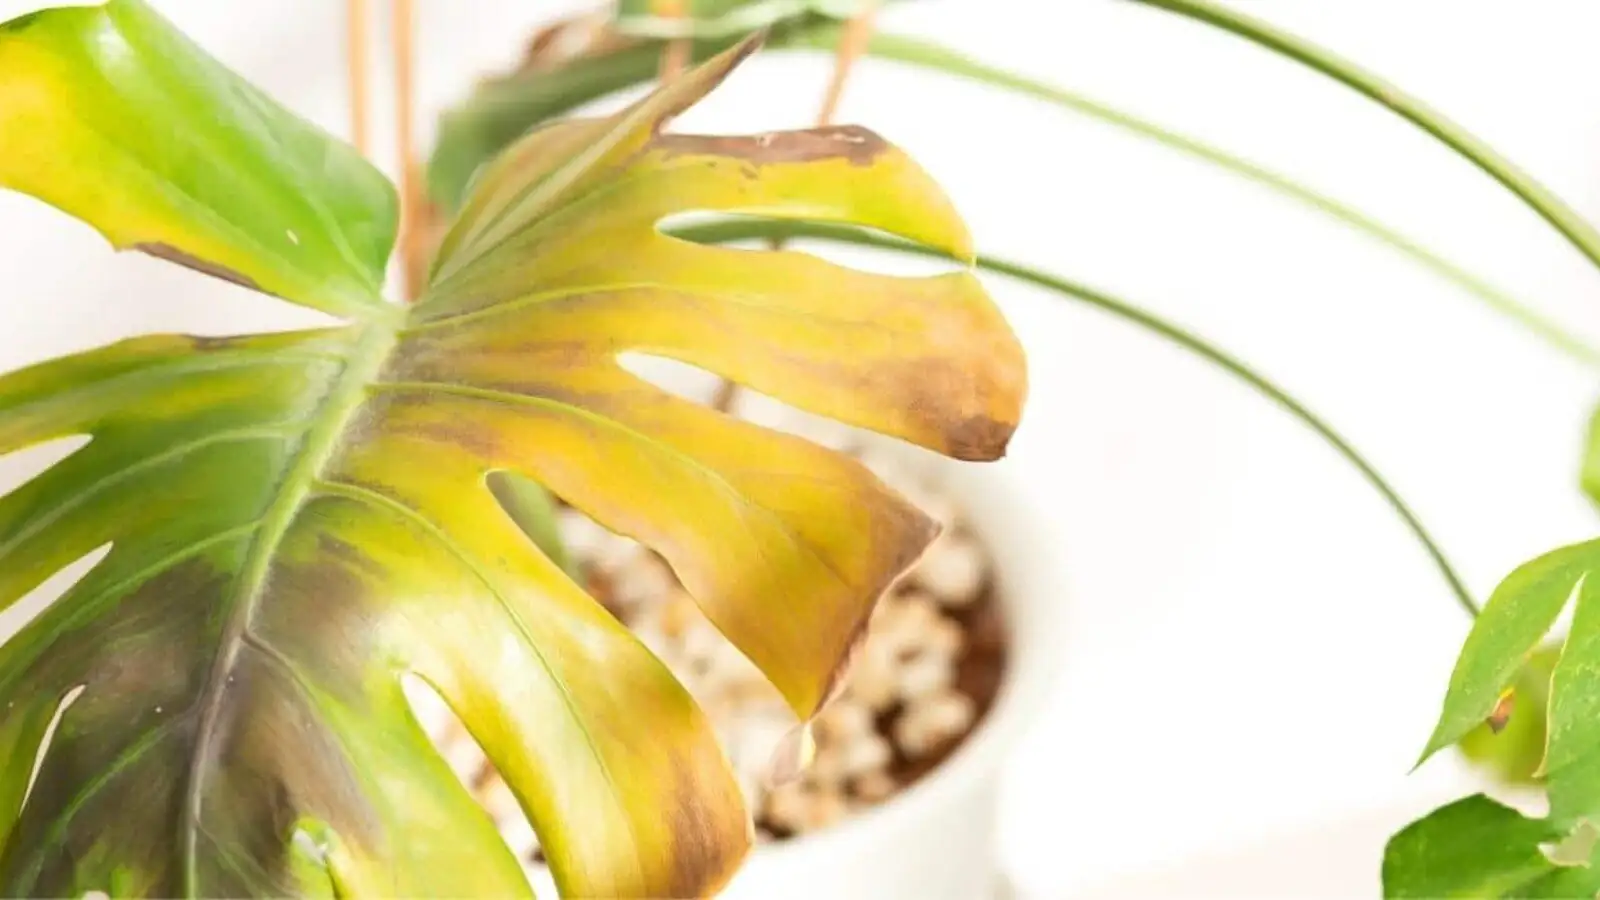
Before you grab your gardening gloves, it’s crucial to correctly diagnose root rot. The first telltale signs often appear above ground. Is your plant wilting even though you’ve watered it? Are the leaves turning yellow or dropping prematurely? These symptoms mimic those of underwatering because diseased roots can no longer absorb water efficiently.
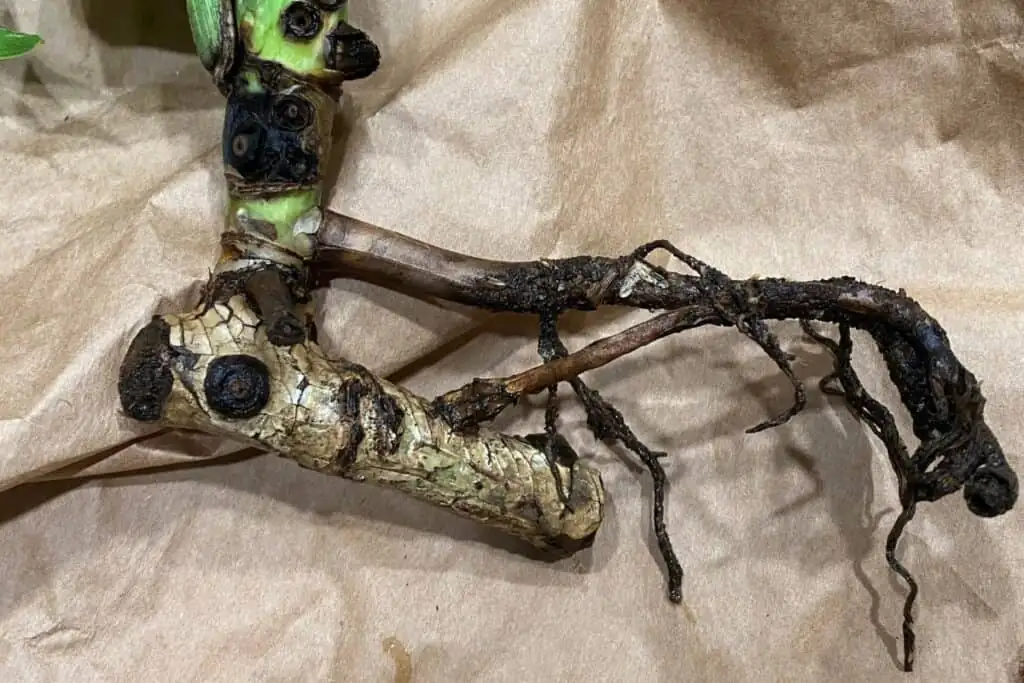
To confirm root rot, gently remove your plant from its pot. Healthy roots should be firm and white, while rotting roots will appear brown or black and feel mushy. If this is what you find, it’s time to act.
Root Pruning: Trim Away the Problem
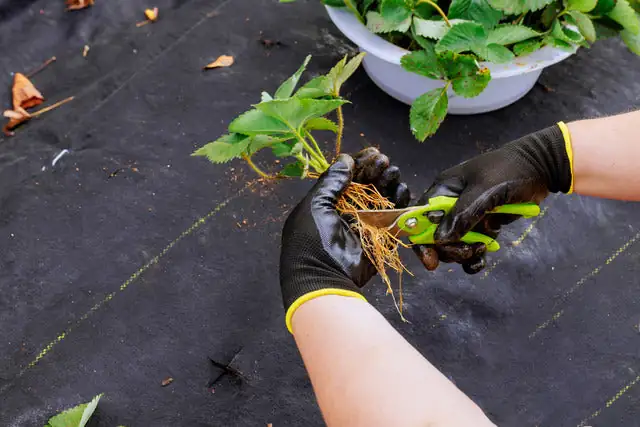
Root pruning is both a preventative measure and a treatment for root rot. Here’s how you can do it:
- Gather Your Tools: You’ll need a pair of sharp, sterilized pruning shears or scissors.
- Trim the Rot: Carefully cut away the dead, mushy roots, leaving only healthy ones. Be gentle to avoid damaging the good parts. A small tip: If you’re unsure, err on the side of caution and prune less rather than more. The goal is to remove only the affected roots.
- Rinse and Disinfect: After pruning, rinse the remaining roots with lukewarm water to remove any lingering pathogens.
This method is particularly useful if you catch the rot early or if it’s only affecting a small part of the root system.
Repotting: A Fresh Start
If the root rot is extensive, repotting might be a better solution. Here’s how you can give your plant a new lease on life:
- Remove from Old Pot: Carefully take your plant out, shaking off as much of the old, infected soil as possible.
- Choose the Right Potting Mix: Select a well-draining potting mix. A mix containing perlite or coarse sand can enhance drainage and prevent future waterlogging.

- Select a Suitable Pot: Opt for a pot with good drainage holes. If your plant has outgrown its current pot, consider sizing up to give the roots more room to breathe.
- Repot with Care: Place your plant in the new pot, filling it with the fresh potting mix. Water it slightly to help the soil settle.
Preventing Future Root Rot
Prevention is always better than cure. Here are some tips to keep root rot at bay:
- Water Wisely: Only water when the top inch or two of soil feels dry. Deep, infrequent watering is best.
- Check Drainage: Ensure your pots have adequate drainage holes. Consider adding gravel or broken pottery at the bottom for extra measure.
- Regular Check-ups: Inspect your plant regularly. Early detection of root rot can save you a lot of trouble.
Common Mistakes to Avoid
- Overwatering: This is the most common cause of root rot. Remember, more water isn’t always better.
- Ignoring Symptoms: Wilting or yellowing leaves are cries for help. Don’t wait too long to investigate.
By using root pruning and repotting wisely, you can rescue your plants from the clutches of root rot. With a little care and attention, your green companions will thrive once again, bringing lush life back into your home. Happy gardening!


