

If you’ve ever brushed a hand across a Vicks plant and caught that clean, menthol “ahh,” you know why this fuzzy mint-cousin steals hearts. Better yet, it’s one of the speediest, most forgiving plants to clone. In the time it takes other houseplants to think about rooting, Plectranthus hadiensis var. tomentosus is already ready to pot up. Let’s run a fast-track cuttings workshop—timelines, node prep, water-to-soil transitions, multi-stem potting for instant fullness, and a gentle doorway into water culture.
Note: In shops you may also see it labeled Plectranthus tomentosa; they’re referring to the same plant commonly traded as “Vicks plant.”
Meet the plant in a minute
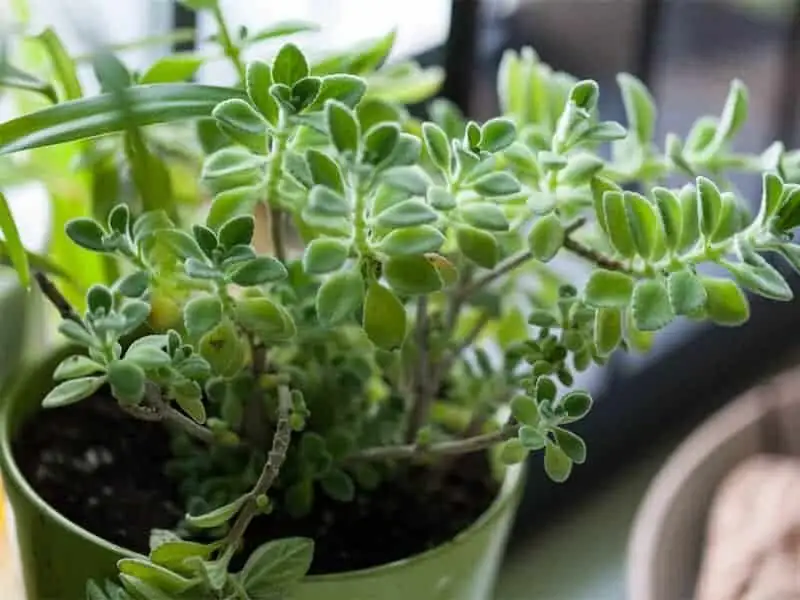
- Name: Vicks plant (Plectranthus hadiensis var. tomentosus), mint family (Lamiaceae)
- Origin: Southeastern Africa (often cited from the South Africa/Eswatini region)
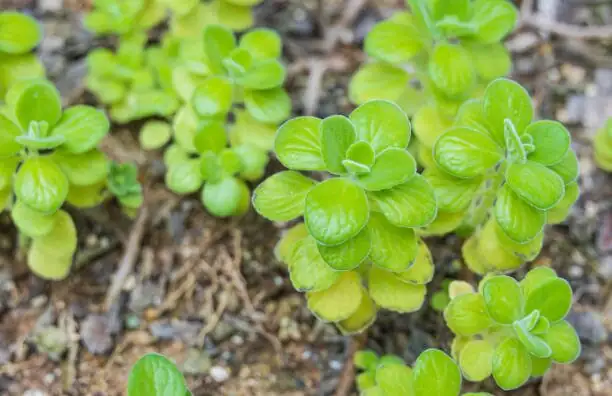
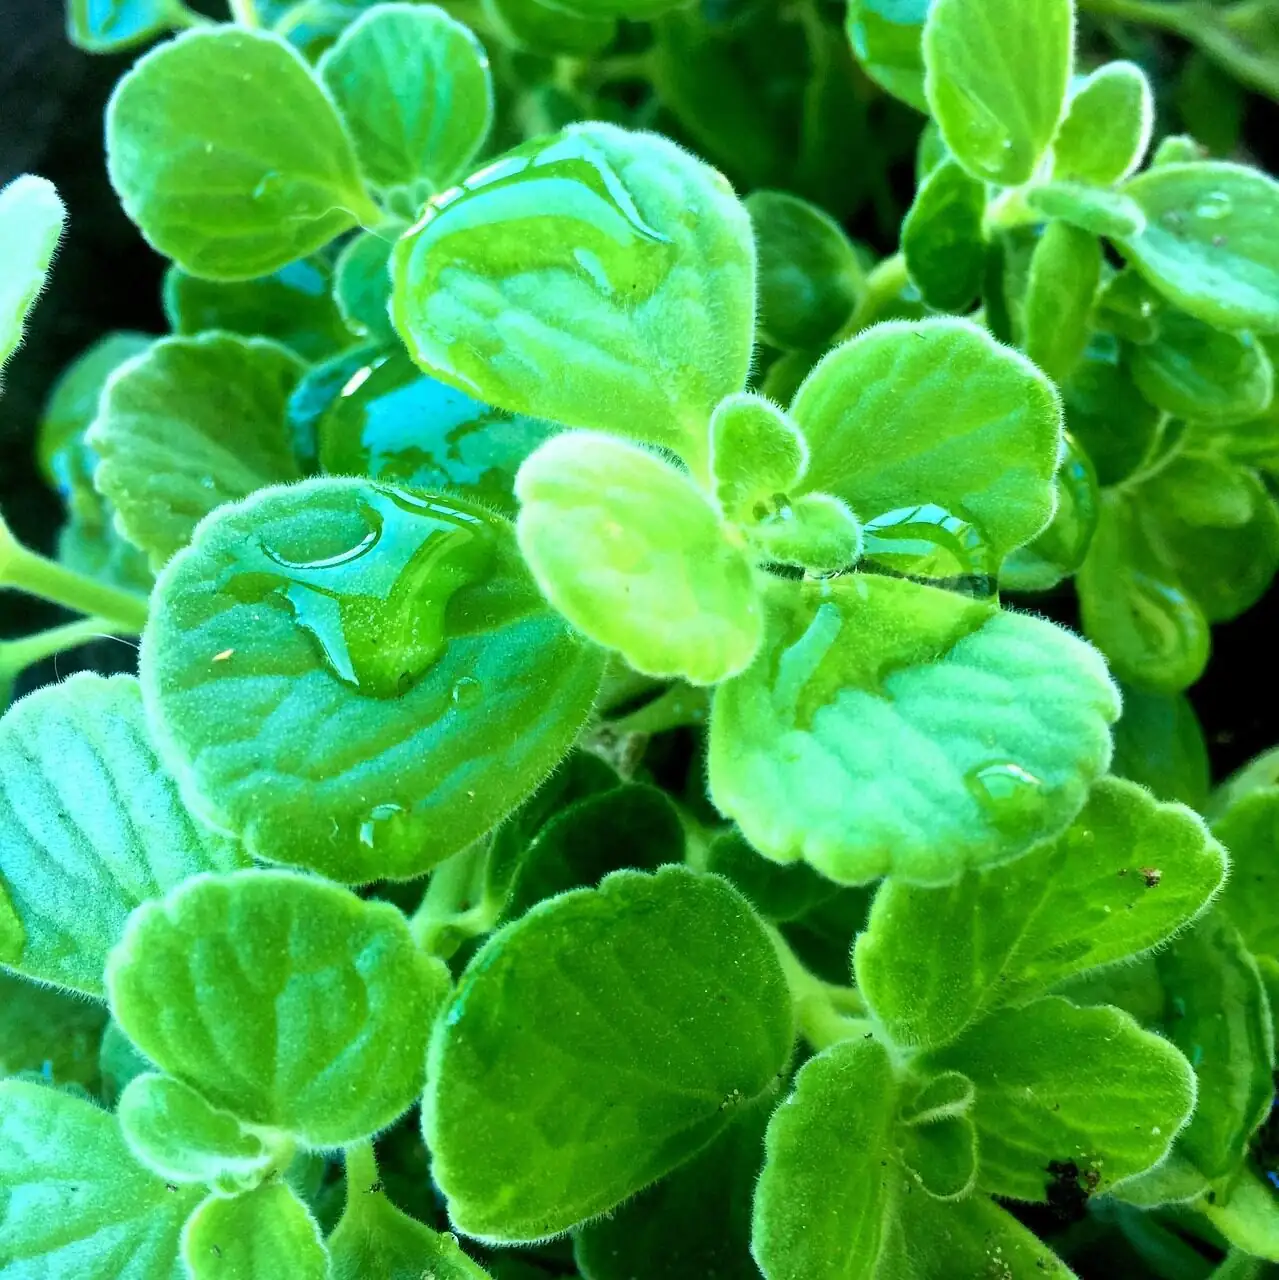
- Look and feel: Soft, velvety, gray-green leaves; a light brush releases a menthol/Vicks-like fragrance
- Habit and size: Bushy, compact mounds, commonly 15–30 cm tall in pots; naturally branches with pinching
- Light and warmth: Bright light with gentle direct sun; avoid harsh midday rays through glass; best at 10–25°C and above 10°C in winter
- Soil: Fertile but fast-draining mix; never soggy
- Bonus: Easy—famously fast from cuttings
The 14‑day cuttings sprint (soil method)
This plant is a sprinter. Under warm, bright conditions:
- Tiny roots often appear in 4–5 days
- Many cuttings are pot-ready in about 1 week
Here’s a day-by-day you can follow.
Day 0: Take and prep cuttings
- Choose soft, healthy tip cuttings about 10 cm long.
- Make a clean cut just below a node (where leaves meet the stem).
- Strip the bottom 2–3 pairs of leaves to expose nodes; leave a small tuft of top leaves.
- No long “callus” wait required—this plant roots fast. Rooting hormone is optional.
Pot them:
- Mix: A quality indoor potting mix (peat/coco based) amended with extra aeration. Try 2 parts potting mix + 1–1.5 parts perlite/pumice/coarse sand.
- Pot: Small nursery pots with excellent drainage.
- Depth: Bury at least one cleared node; firm gently so the cutting stands upright.
- Water: Moisten thoroughly, then drain fully. Do not leave water in saucers.
- Light: Bright, indirect light with a little gentle morning sun; warm room; good airflow.
Days 2–5: The nubs appear
- Keep the surface from staying wet—aim for even moisture, never soggy. Let the top dry slightly before the next thorough drink.
- You may see tiny root nubs by Day 4–5. Resist tugging; instead, watch for the “perk up” and new growth point swelling.
Days 6–8: Pot-up window
- Gently check one “test cutting.” If roots are 1–3 cm and branching, it’s ready.
- Pot singles into 7–9 cm pots, or jump straight to a fuller look by grouping several rooted cuttings into one 15–20 cm pot (details below).
Days 9–14: Establish and pinch
- Keep in bright light; water only after the top of the mix dries.
- Once stems reach 12–15 cm, pinch the tip to encourage branching and a dense mound.
Node prep 101 (what, where, how)
- Identify nodes: Pairs of leaves sit opposite each other; the little bump where they meet the stem is your rooting engine.
- Best cut: Slice 0.5–1 cm below a node with a sterile blade.
- Leaf removal: Take off the lower leaves to expose 1–2 bare nodes; roots will emerge there.
- Orientation: Keep leaves off the soil surface for airflow and to prevent rot.
Water propagation track (for the clear‑vase crowd)
A lovely way to watch roots form—great for beginners and gifting.
- When to take: Early in the growing season.
- Cutting size: About 15 cm, semi-mature but still pliable.
- Prep: Remove the lower 2–3 leaves; submerge only the bottom half of the stem.
- Vessel: Clean glass jar; change water every 5–7 days.
- Light and temp: Bright, indirect light; warm room.
- Root target: Pot up when you see a generous set of roots (several cm, a few branches). Don’t wait until they’re spaghetti-long; overly long water-roots can be fragile when moved to soil.
Water-to-soil transition: a smooth 7‑day acclimation
- Mix: Same fast-draining potting blend as above.
- First week: Keep the mix evenly, lightly moist (not wet) to help water-roots adapt; then return to the “dry top, then water thoroughly” rhythm.
- Light: Bright, indirect light—no harsh midday sun.
- Humidity boost: Optional clear dome or a loose bag for 3–4 days; open daily for airflow.
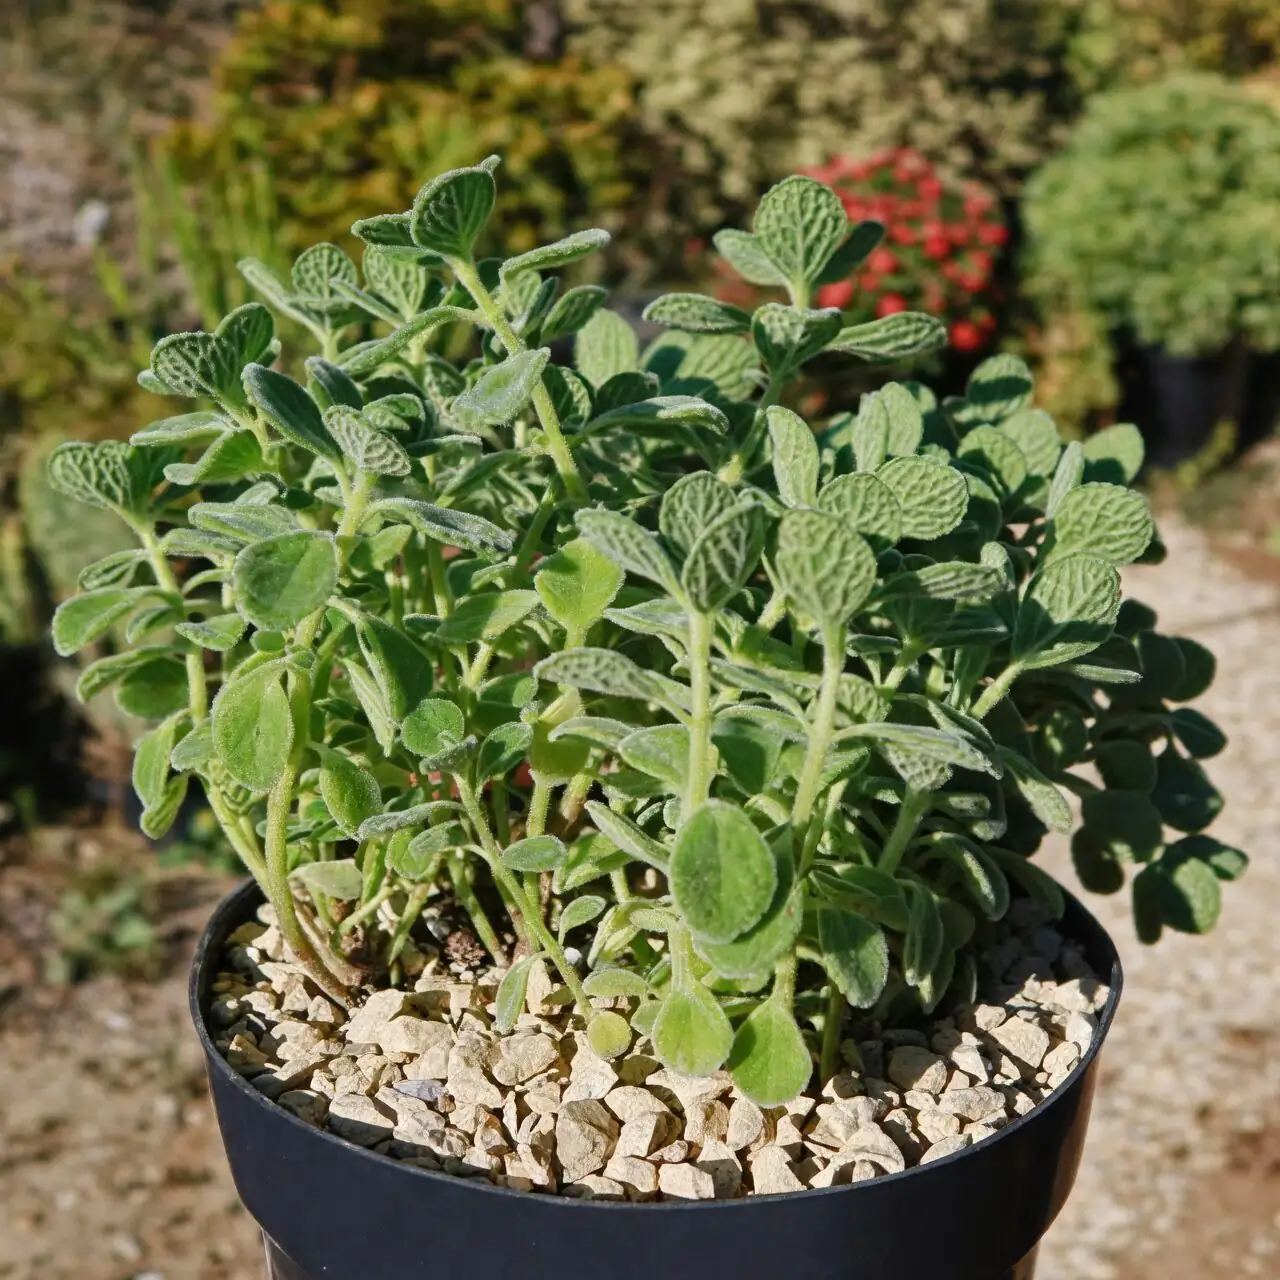
Instant fullness: the multi‑stem potting recipe
For that plush, mounded look you see in shops:
- Pot size: 15–20 cm diameter.
- Plant count: 3 rooted starts is classic; up to 3–5 for a truly lush effect.
- Layout:
- Place one slightly taller cutting in the center.
- Stagger the rest around the rim so they can eventually soften and spill.
- Pinching plan:
- Pinch young plants once they reach 12–15 cm tall.
- Pinch again 3–4 weeks later to double down on branching.
- Light and airflow: Strong light fuels thicker, semi-succulent leaves; gentle breeze helps keep the fuzzy foliage dry and happy.
Care rhythm after potting
- Watering: Let the surface dry first, then water thoroughly until excess drains. Empty the saucer. Avoid frequent tiny sips and avoid wetting leaves.
- Light: Bright light with soft direct sun is ideal. Avoid harsh midday sun through glass.
- Feeding: April–October, feed about monthly with a balanced liquid houseplant fertilizer at label rate; go easy or pause in winter.
- Temperature: Best at 10–25°C; keep above 10°C in winter.
- Repotting: Refresh yearly in spring; that’s also a great time to re-cut for denser plants.
Gentle intro to water culture (hydro)
Water culture is less common with this plant, but it can be done—start during spring refresh.
- Setup:
- Gently wash soil from the roots of a healthy plant.
- Place in a glass vase or jar and anchor with clean stones so the crown stays above water.
- Fill with clean water to just cover the roots, not the stem base.
- Location: Bright, indirect light; warm, well-ventilated spot.
- Maintenance:
- Change water weekly or whenever it clouds.
- Rinse stones and vessel periodically.
- If using nutrients, add a very dilute hydroponic solution—go light and observe. In many homes, clean water plus periodic refreshes works well for foliage display.
- Watchouts: Avoid submerging fuzzy stems and leaves; good airflow is key.
Troubleshooting like a pro
- Sudden wilt, soft stems:
- If the mix is soggy: improve drainage, repot into a fast-draining blend, water less often.
- If the mix has dry pockets: soak the whole pot until evenly moist, then drain completely. In active growth, a full soak like this can be helpful about 1–2 times per month if needed.
- Leaves getting thin and flat: Craving more light—move to a brighter window (east, or filtered south/southwest).
- Pests: Generally resistant thanks to its aroma, but stressed plants can get mealybugs, aphids, or spider mites. Boost airflow, avoid chronic wetness, and treat early if seen.
Safety, scent, and small flowers
- Pets and people: Toxicity isn’t well documented—treat as a non-food ornamental and discourage nibbling. Aromatic oils can irritate sensitive skin or stomachs.
- Flowers: You may see small, mint-family flower spikes in summer; the velvety, fragrant foliage remains the star.
Scent and symbolism (the “why” we grow it)
The plant’s menthol-like, “Vicks” aroma is linked with freshness and comfort—think clear-headed mornings and tidy windowsills. In everyday plant culture, it’s also associated with happiness, good fortune, and a harmonious home. These aren’t classical “flower language” traditions traced to a single source; rather, they reflect how people experience the plant’s clean scent and calming, tactile foliage in domestic spaces.
Quick reference: your propagation playbook
- Cuttings for soil: 10 cm soft tips; root nubs in 4–5 days; ready to pot in ~1 week.
- Water propagation: 15 cm semi-mature cutting; change water every 5–7 days; pot once well-rooted.
- Full pot look: 3–5 starts in a 15–20 cm pot; pinch at 12–15 cm for branching.
- Light: Bright; gentle direct sun is fine; avoid harsh midday rays through glass.
- Watering: Even moisture, never soggy; thorough waterings with full drainage; empty saucers promptly.
Fast, fuzzy, and fragrant—once you take your first cutting, you’ll understand why this is a classic pass-along plant. In two weeks, you can go from a single sprig to a small, scented mound. Who’s ready for a propagation sprint?