Ranunculus asiaticus, the Persian buttercup, is the cool-season showstopper that rewards precision. Get the tubers rehydrated just right, keep seeds in their preferred temperature lane, and divide with a surgeon’s sanitation—and you’ll be swimming in peony-like blooms when spring is still crisp. Here’s a deep-dive, step-by-step playbook for advanced growers.
Meet the plant at a glance
- Botanical: Ranunculus asiaticus (buttercup family, Ranunculaceae)
- Origin: Mediterranean coastal regions, northeastern Africa, and southwestern Asia
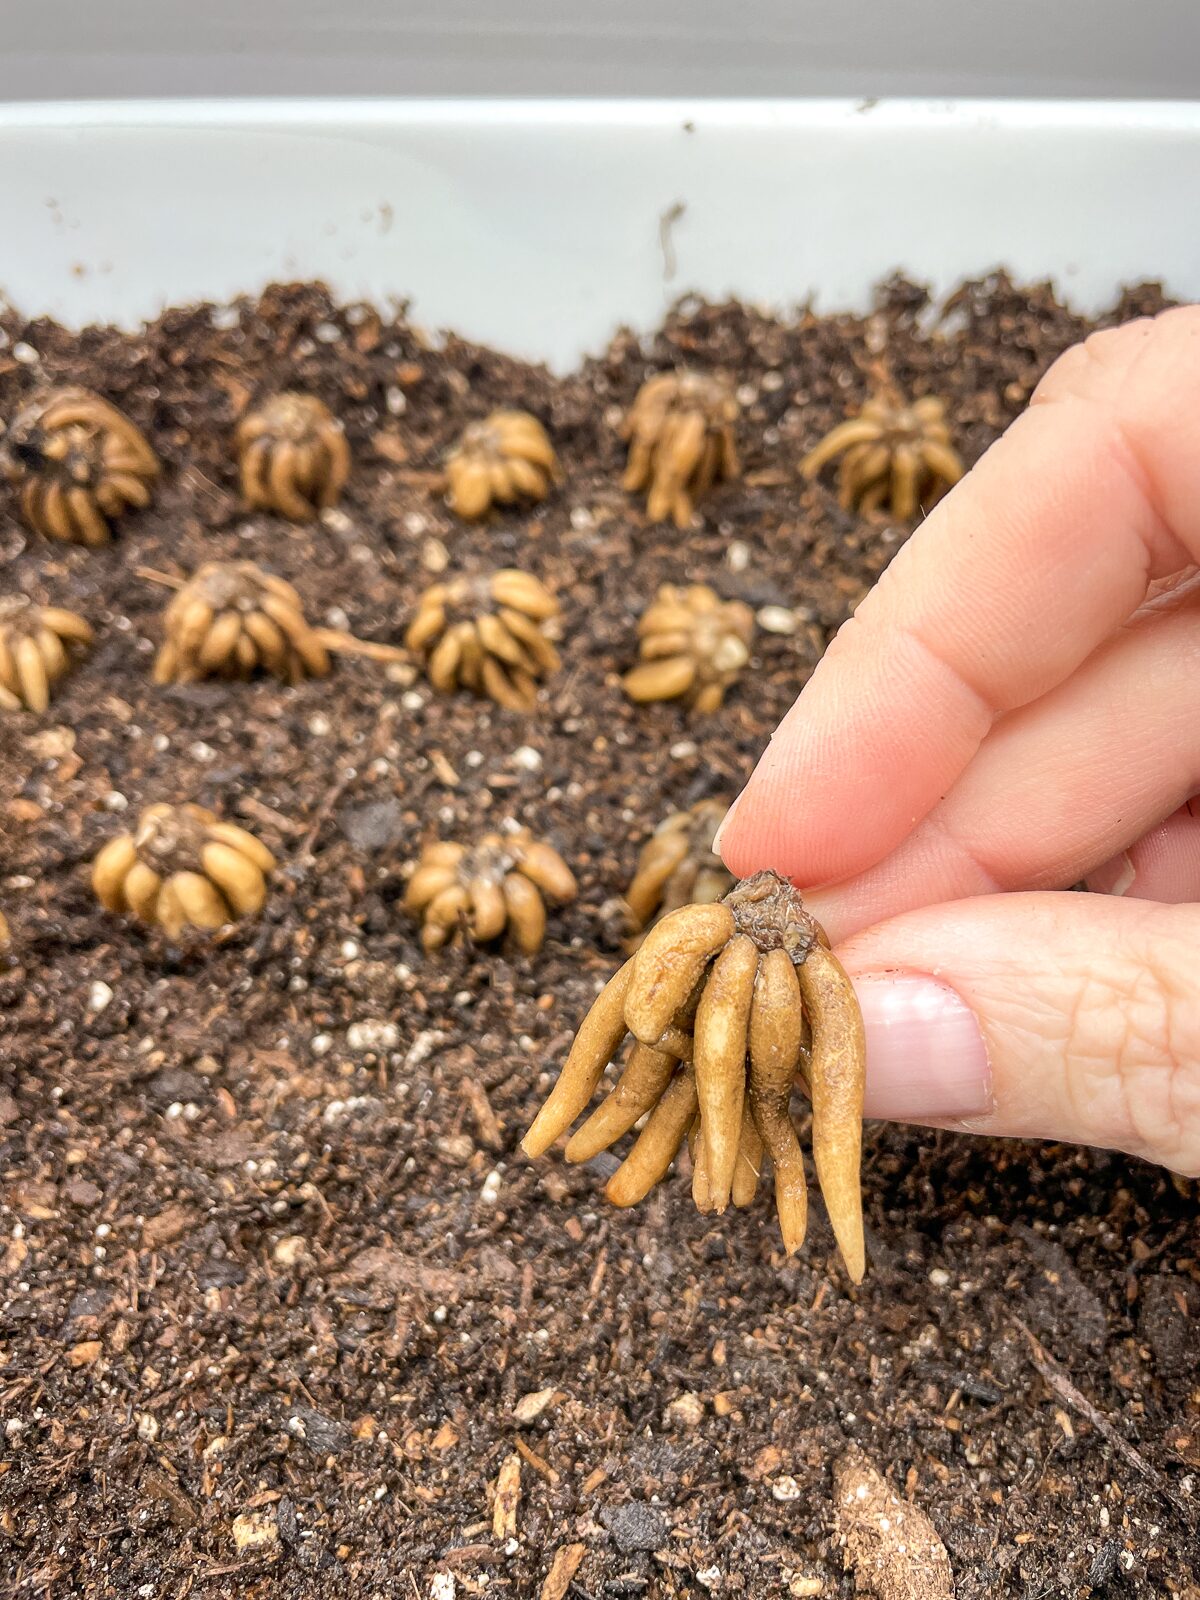
- Habit: Tuberous perennial (distinctive “claw-like” tubers), often grown as a cool-season annual
- Size: Typically 20–45 cm tall, 15–30 cm wide
- Season: Late spring to early summer bloom; goes dormant in summer heat
- Conditions: Bright light to full sun; cool air; rich but fast-draining soil; even moisture while growing, never soggy
- Outdoors: Roughly suited to USDA Zone 8–10 in mild-winter climates (protect from winter-wet and severe frost). In colder regions, grow seasonally or lift/store tubers.
Rehydrating and pre-sprouting tubers (advanced, step-by-step)
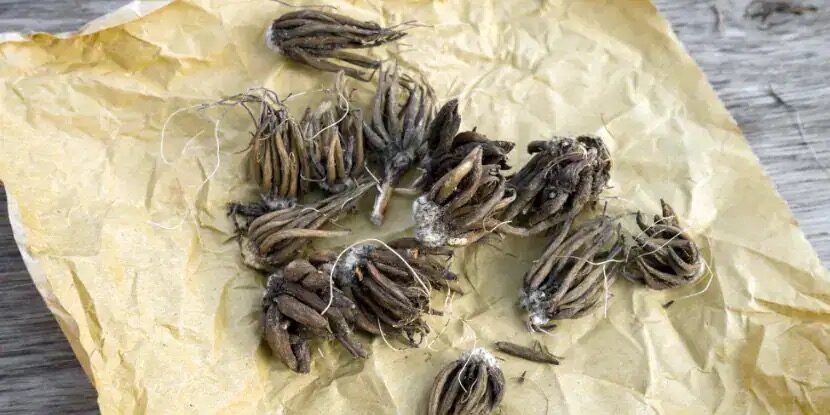
Note: In the trade you’ll hear “corms,” but Persian buttercups are tuber-grown. Those dry “claws” must be safely rehydrated before planting.
What to buy
- Choose firm, plump, fresh-looking tubers with well-defined claws.
- Heavier, larger tubers (around 7 cm/2.8 in circumference or more) often produce stronger plants.
- Avoid shriveled, soft, or moldy stock.
Sanitize before you soak
- Workspace: Clean bench, fresh trays, and brand-new or sterilized labels.
- Tools: Disinfect pruners/knives with 70% isopropyl alcohol between batches (or 10% bleach for 10 minutes, then rinse and dry).
- Optional tuber dip: Many growers use an appropriate fungicide dip before planting. Follow label rates and safety guidance.
The rehydration soak
1) Inspect and sort
- Discard mushy or foul-smelling tubers.
- Separate by cultivar; label everything.
2) Mix the soak
- Use clean, room-warm to slightly warm water: about 20–25°C (68–77°F).
- A small aquarium air stone helps oxygenate the water and discourage stagnation.
3) Soak duration
- Submerge 6–12 hours. Weight them so all claws stay under water.
- Change water if it clouds; never exceed about 12–16 hours total—over-soaking invites rot.
- Finished tubers should feel firm and noticeably plumper, not waterlogged.
Optional cold-conditioning (for synchronized, high-quality bloom)
- After soaking, hold tubers cool at 5–10°C (41–50°F) for 2–3 weeks.
- Store either:
- Loosely packed in barely moist peat/vermiculite, or
- Nosed into slightly moist seedling trays.
- Vent containers for airflow; inspect weekly and discard any that soften or mold.
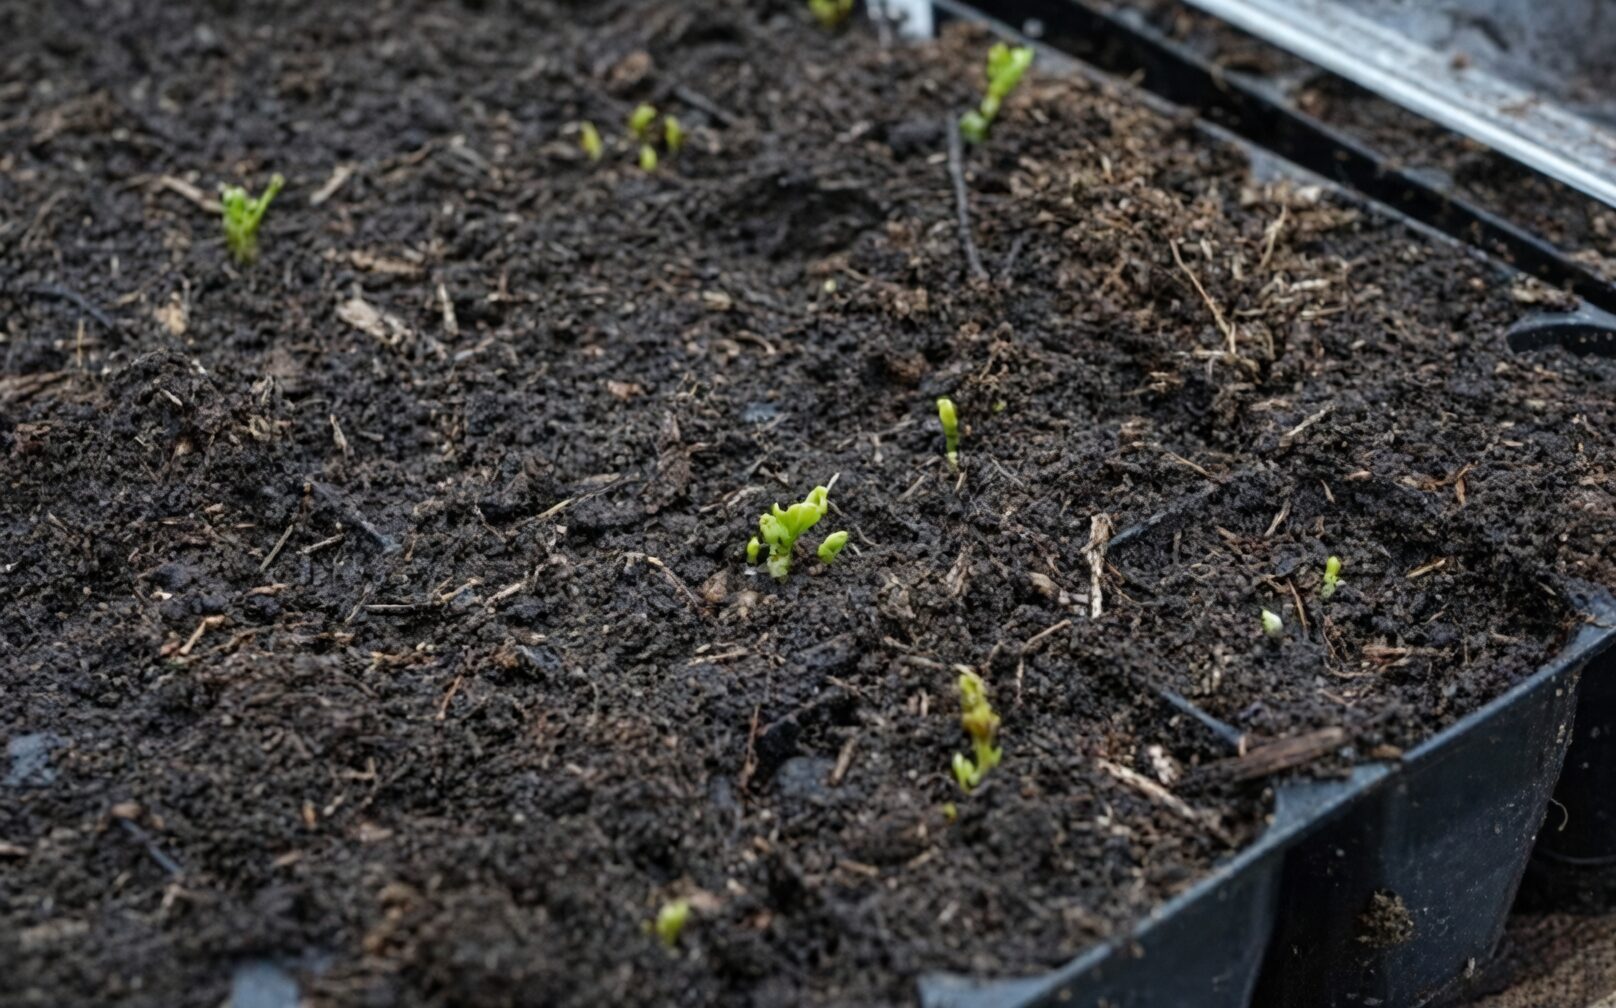
Pre-sprouting for a head start
- Goal: Tiny root nubs and a hint of shoot without letting them rot.
- Medium: A shallow layer of slightly moist, sterile mix (peat/coir + perlite) in trays. You want moisture, not wetness.
- Conditions: 12–16°C (54–61°F), bright shade or low light, and excellent airflow.
- Method:
1) Nestle tubers claws-down so the crown is just at/barely above the surface.
2) Mist the medium (not the tubers) if it begins to dry; avoid soggy conditions.
3) In 10–14 days you should see root initials; plant out once roots/nubs are visible.
Planting rehydrated tubers
- Depth: Set tubers 2–3 cm (0.8–1.2 in) deep—do not bury too deeply.
- Orientation: Claws downward; crown just below the surface.
- Containers: A 12 cm (4.7 in) pot commonly fits about 3 tubers in a free-draining mix.
- Soil: Rich yet fast-draining (loam-based compost + leaf mold/compost + coarse sand or perlite).
- Watering-in: Moisten thoroughly once after planting; then keep evenly moist, never waterlogged.
- Temperatures: Cool is best—aim for ~15–20°C (59–68°F) days and ~7–10°C (45–50°F) nights. Brief dips to about -5°C (23°F) may be tolerated if plants are sheltered and the soil drains well.
Seed propagation with precision
Ranunculus from seed is a longer game but rewarding for breeding lines and unique mixes.
When to sow
- Collect ripe seed late spring to early summer.
- Best sown in autumn for bloom the following spring.
Ideal germination temperatures
- 10–18°C (50–64°F). Expect germination in about 2–3 weeks at these cool temperatures.
Sowing steps
1) Sanitation
- Use clean trays, fresh sterile mix, and disinfect tools. Damping-off is the enemy.
2) Medium
- Fine-textured, well-drained seed mix. Fill trays and level gently.
3) Sowing
- Scatter seed thinly or use plug trays for easier pricking-out.
- Lightly cover with a dusting of fine vermiculite or mix—enough to anchor but not bury.
4) Moisture and air
- Bottom-water or mist to keep evenly moist (never soggy).
- Use a vented humidity dome only if ambient air is very dry—vent daily for airflow.
5) After germination
- Provide very bright light, cool temperatures, and steady but modest moisture.
- Prick out at 2–5 true leaves; handle gently by cotyledons/leaf bases.
- Feed lightly; grow on cool. Most seedlings flower the following spring.
Division without disease: safe, step-by-step
Division is best done after summer dormancy, as growth restarts in early autumn.
When to divide
- Early autumn (around September–October), once the plant is fully dormant and the tuber cluster is dry.
Know the anatomy
- A central crown bears multiple “claws” (tuber segments). Each successful division needs a viable piece of crown tissue with a bud plus attached claws.
Sanitation protocol
- Workspace: Clean, dry, well-lit.
- Personal safety: Wear gloves; sap may irritate sensitive skin.
- Tools: Start spotless. Disinfect blades between cuts (70% isopropyl alcohol, or 10% bleach for 10 minutes then rinse/dry).
- Containers and media: Fresh, sterile potting mix only—never reuse old media.
How to divide
1) Lift gently and shake off dry soil; do not wash (excess water at this stage promotes rot).
2) Identify natural separation points. Ease apart offsets with fingers; use a sterilized knife only if needed.
3) Ensure each division carries a portion of crown with at least one bud and attached claws.
4) Discard shriveled, cracked, or soft, discolored tissue.
Post-cut protection
- Dust cut surfaces lightly with powdered sulfur or use a labeled fungicide dip; allow to dry.
- Cure divisions in a shaded, airy spot for 24–48 hours to callus.
Replanting
- Set divisions 2–3 cm (0.8–1.2 in) deep, claws down, in rich, fast-draining soil.
- Water to settle, then maintain even moisture and excellent airflow.
- Label meticulously for cultivar integrity.
Watering, feeding, and airflow: building disease resistance
- Watering:
- Active growth/flowering: keep evenly moist, never bone-dry or soggy.
- As foliage yellows post-bloom: gradually reduce; stop when top growth fully dries for dormancy.
- Feeding:
- Light but regular: 1–2 times before flowering, then once after.
- Use a balanced-to-bloom fertilizer (e.g., NPK 15-15-30) or a well-diluted organic liquid feed. A small dose of slow-release flowering fertilizer at planting helps.
- Airflow:
- Prioritize cool, moving air to deter gray mold (Botrytis). Water early in the day, avoid wetting leaves/buds late, and space plants well.
- Watchouts:
- Botrytis: remove infected tissues promptly; employ targeted fungicides if needed.
- Aphids: wash off or treat with insecticidal soap.
- Slugs/snails: traps, barriers, or baits; reduce hiding spots.
Troubleshooting rehydration and sprouting
- Tubers stayed wrinkled after soaking:
- Soak was too short or water too cold/inactive; repeat a shorter, aerated soak and proceed to pre-sprout.
- Moldy or soft tubers after prep:
- Over-soaked or poor sanitation. Trim to sound tissue, disinfect, re-cure. Discard if rot advances.
- No sprouts from planted tubers:
- Temperatures too warm, or claws planted upward. Keep cool and verify orientation.
- Seedlings collapsing (damping-off):
- Mix too wet and air too stagnant. Improve drainage, bottom-water, vent covers, and thin promptly.
Safety notes and symbolism
- Safety:
- Mildly toxic if ingested; sap can irritate skin. Keep away from pets and children; wear gloves if sensitive.
- Symbolism:
- Often associated with charm, radiant beauty, and joyful celebration—fitting for a bloom that opens in luminous layers, stage by stage. These meanings trace more to cultural floristry and gift-giving traditions than botany, but they’ve helped make Persian buttercups a staple of spring bouquets.
A quick seasonal calendar
- Autumn (Sep–Oct): Divide/plant tubers; sow seed in cool conditions. Consider disinfecting tubers if rot has been an issue.
- Winter: In colder regions, protect plants/tubers from hard freezes and winter-wet; aim to keep them above about -5°C (23°F).
- Late winter–spring: Keep cool, bright, evenly moist; ensure airflow; deadhead to prolong display.
- Late spring–summer: As heat rises, plants naturally yellow and enter dormancy. Taper watering, then stop when foliage is fully dry. Lift/store tubers in cold climates; rework beds for next season.
With cool air, immaculate hygiene, and a disciplined rehydration routine, Ranunculus asiaticus will repay you with armfuls of satiny, rose-like blooms just when the garden needs them most.