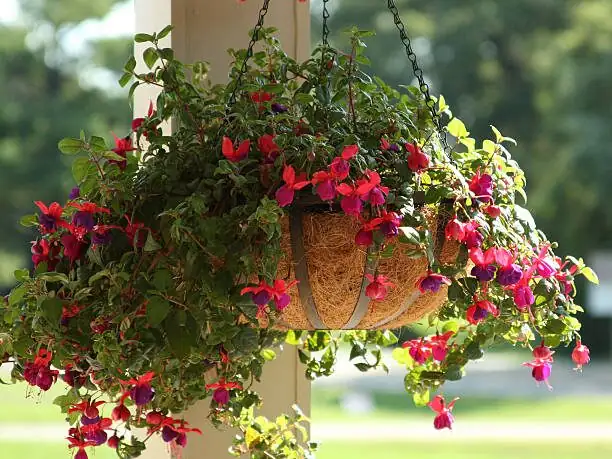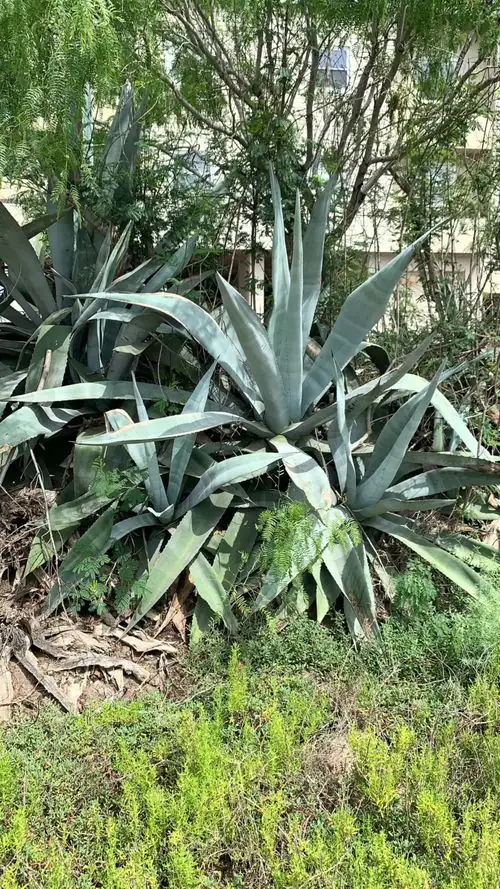
If you’ve been eyeing those little rosettes hugging the flanks of your Century Plant (Agave americana) and thinking, “Could I really make more from these?”—the answer is an enthusiastic yes. With careful handling (those spines mean business), a little patience for callusing, and a gritty mix that drains like a dream, you’ll turn pups, bulbils, and even seeds into confident new plants. Let’s get your propagation game dialed in.
Safety first, then set the stage
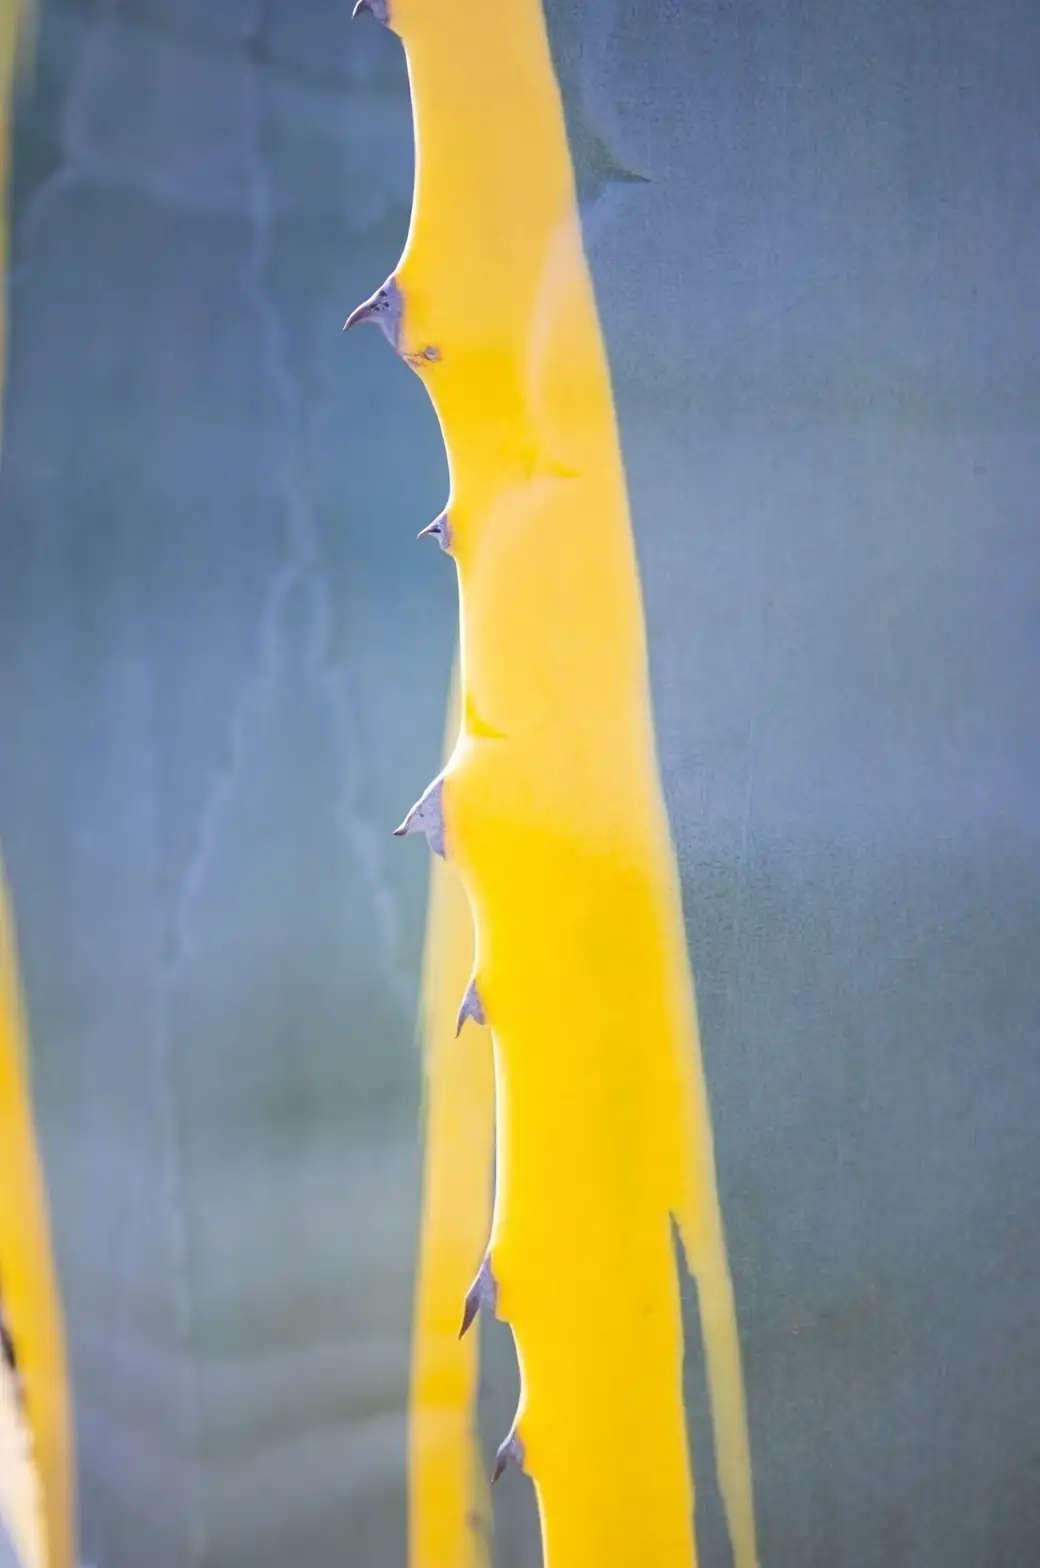
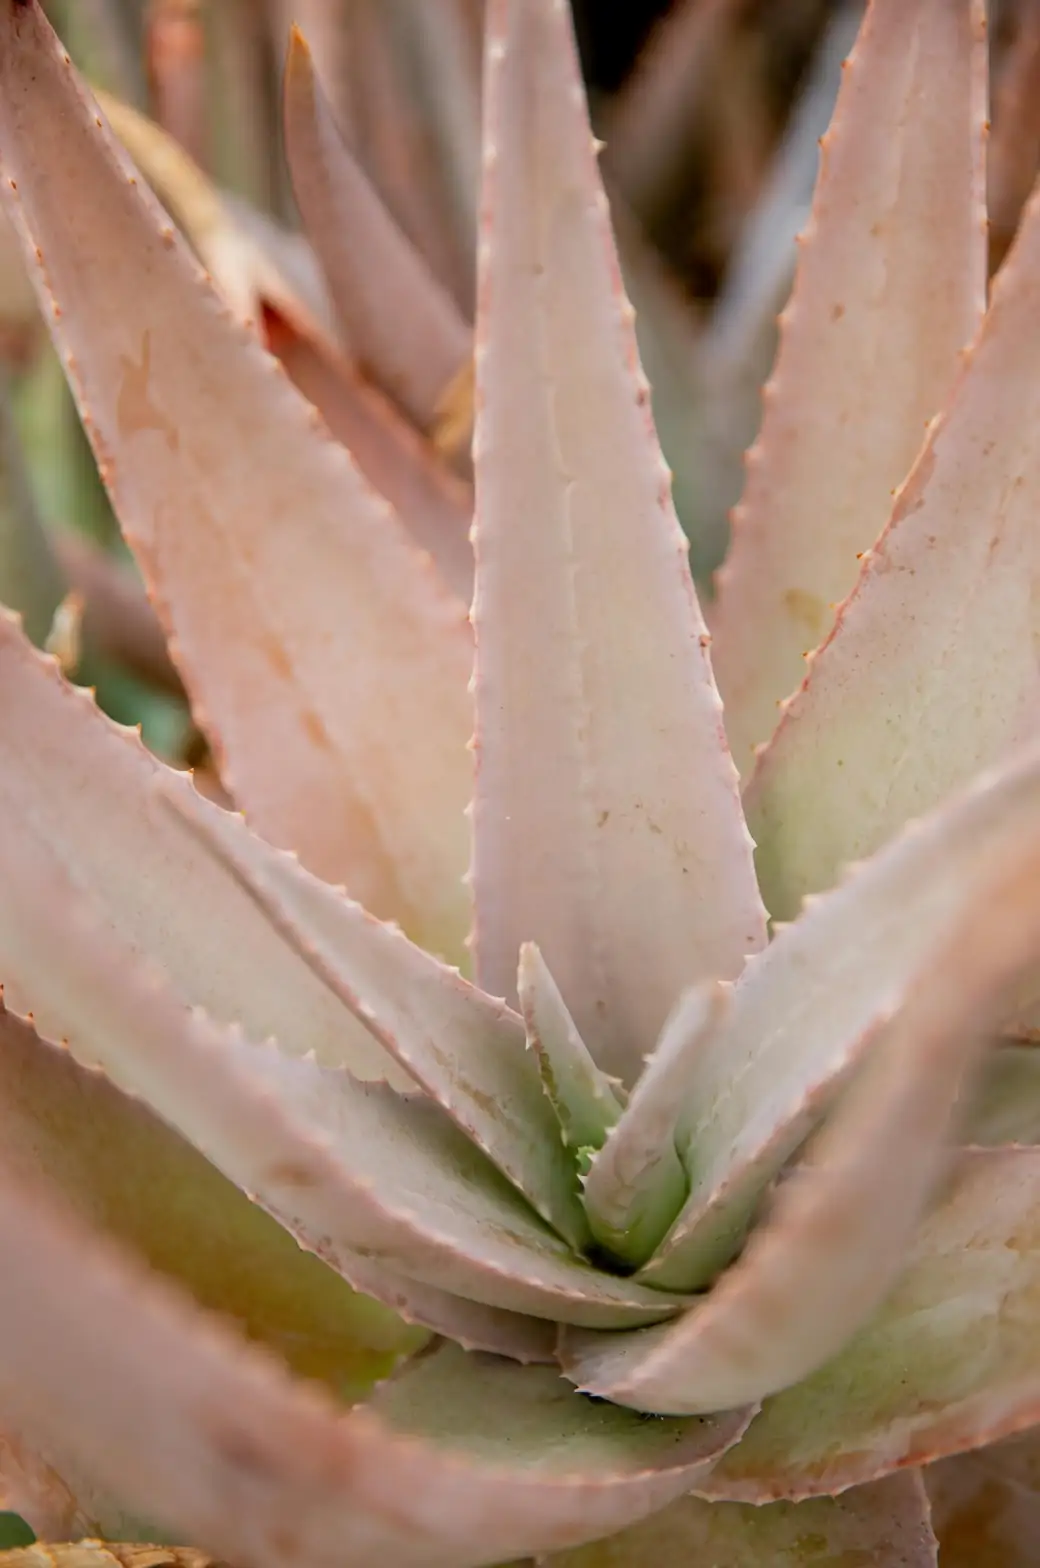
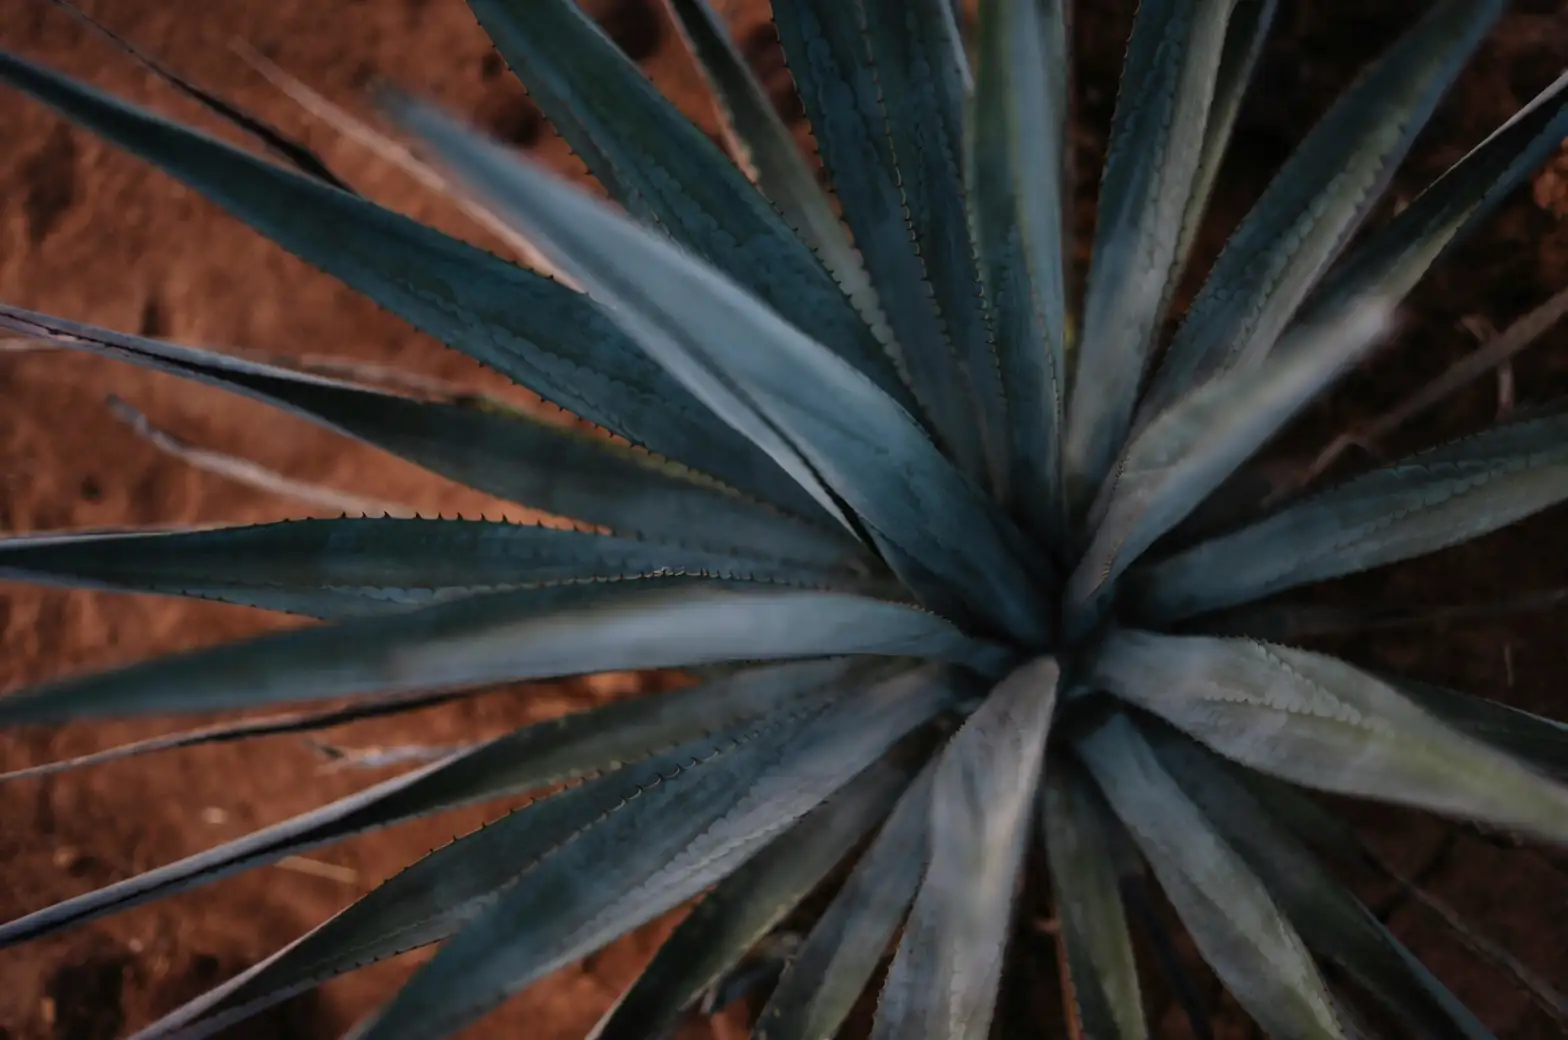
Agave americana is bold, beautiful, and unapologetically armed. The sap can irritate skin, and the spines are needle-sharp.
- Wear thick gloves, long sleeves, and eye protection.
- Use clean, sharp tools: a sturdy hand mattock or hori-hori, a narrow spade, bypass pruners, rubbing alcohol for sterilizing, and a tarp or bin for moving pups.
- Choose timing: spring through early summer is ideal—roots establish faster and temperatures are friendly. If you must work later, keep it warm, bright, and dry.
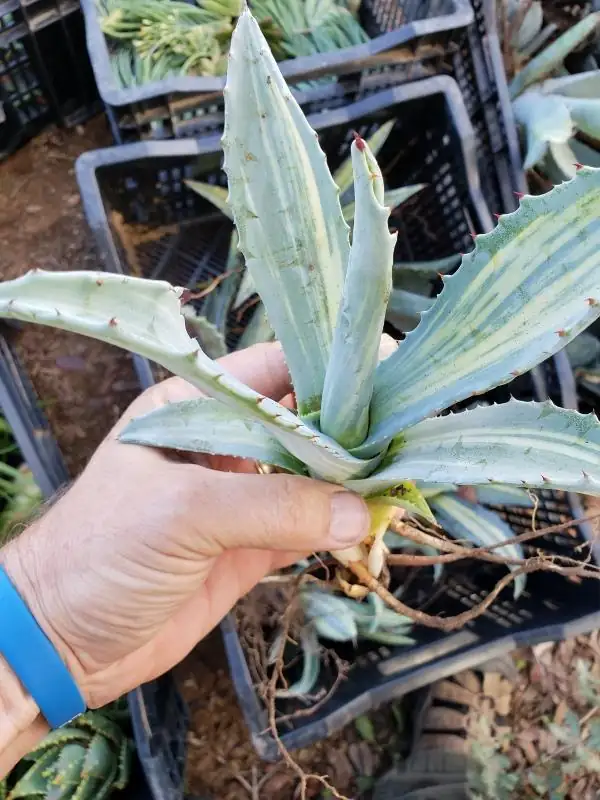
Choosing the right offsets (pups)
Not every pup is worth potting. Pick winners for faster, stress-free establishment.
Look for:
- Size with substance: a rosette at least the size of your fist (10–15 cm/4–6 in across) with a few well-formed leaves. Slightly larger pups root faster.
- Visible roots if you can see the base—bonus points if the pup already has its own feeder roots.
- Firm, evenly colored leaves; avoid mushy bases, blackened tissue, or heavy pest presence (check leaf axils for mealybugs or scale).
- Accessible position: pups on the perimeter are easier to remove cleanly.
Skip:
- Tiny, newly formed offsets (they desiccate quickly).
- Damaged pups with torn bases: they’re slower to root and rot-prone.
Detach without drama (and without tearing the base)
Your goal: separate the pup with a clean “heel” and as many of its own roots as possible.
- Expose the connection
- Gently scrape or dig around the pup to find the stolon/runner connecting it to the mother plant.
- In containers, slide the plant from its pot and work over a tarp; in-ground, use a narrow spade to lift from beneath.
- Make a clean cut
- Sterilize your blade.
- Cut the runner where it narrows near the pup, keeping a small portion of “heel” attached to the pup. Avoid yanking; tearing can shred vascular tissue.
- Lift carefully
- Support the pup from beneath. If the mother is very large, work from the outer edge and mind those marginal teeth and the terminal spine.
- Triage and tidy
- Trim ragged tissue from the pup’s base.
- Brush off clinging soil, inspect for pests, and keep the rosette dry—no water down in those leaf cups.
Pro tip: If you garden in agave country, watch for agave snout weevil outdoors. It can hollow a plant from the core. Remove compromised tissue and avoid spreading contaminated soil.
The art of the callus: perfect timing
Agaves root best after cut surfaces dry, seal, and toughen. Rushing this step is the fastest route to rot.
- Where to callus: bright, airy shade with good airflow, warm but not scorching.
- How long: allow the base to dry until it feels leathery and no longer tacky—often 3–7 days in warm, dry weather; up to 10–14 days if it’s cool or humid.
- Optional: dust the cut lightly with powdered sulfur or ground cinnamon to discourage fungi.
- Readiness check: edges are paper-dry, the surface looks matte (not glossy-wet), and there’s no sap weeping.
Mixes that drain like a dream
Agave americana demands excellent drainage. Build a lean, mineral-forward blend.
- Reliable base recipe:
- 50% pumice or perlite
- 25% coarse sand or 3–5 mm grit (e.g., chicken grit)
- 25% cactus/succulent potting mix
- For humid climates or chronic overwaterers: bump mineral content to 70–80% (more pumice/perlite/grit, less organic).
- Pot choice:
- Heavy, stable containers with large drainage holes (terracotta is great).
- Avoid oversizing—go just one pot size up from the pup.
- Never let water sit in a saucer; don’t let water collect in the rosette.
Top-dress with gravel to keep the crown dry and the mix from crusting.
Potting and the first weeks
- Set the pup
- Plant so the base of the rosette sits just above the soil line. Don’t bury the crown.
- Backfill gently; no need to compact. Stake lightly if top-heavy.
- Light
- Give bright shade or gentle morning sun while roots initiate.
- Over 2–4 weeks, harden off to more sun. In very hot climates, a bit of afternoon shade prevents scorch.
- First watering rules (this is where most people go wrong)
- Do not water immediately after potting. Let the callused base settle in dry mix for 5–7 days (longer if cool/humid).
- First drink: a light perimeter watering to dampen the outer third of the mix, keeping the crown dry.
- Thereafter: water deeply, then let the mix dry out thoroughly before watering again. In warm, bright conditions, that may be every 1–2 weeks once the pup is actively growing; in cooler or low-light settings, much less often.
- Newly planted offsets can be watered a bit more regularly at first, but only after the mix has fully dried and never with water pooling in the rosette.
- Signs it’s working
- Gentle tug test after 2–3 weeks: resistance means new roots.
- A fresh central leaf unfurling is your green light to begin normal deep-but-infrequent watering.
Bulbils vs. pups vs. seeds: which path and when?
Agaves give you three main routes. Here’s how they stack up for Agave americana.
Pups (offsets)
- What: Clonal rosettes produced around the base of the mother plant.
- Pros: Fastest, easiest, and most reliable. You get a genetic match to the parent and a head start.
- Cons: Not every plant produces many each season; large mothers can be prickly to work around.
- How: As above—detach, callus, pot in gritty mix, and water sparingly after the dry-down.
Bulbils
- What: Tiny plantlets that may develop along the spent flower stalk after the dramatic bloom.
- Pros: Also clones; often available in numbers if the rosette produces them.
- Cons: Only appear after flowering; the flowering rosette then declines and dies. Plantlets are small and need careful aftercare.
- How:
- Choose the sturdiest bulbils, ideally with tiny roots already visible.
- Twist them off cleanly (avoid tearing the base).
- Let any fresh breaks dry for a day or two; pot into an extra-gritty mix.
- Start in bright shade, keep crowns dry, and water lightly only after the mix dries.
Seeds
- What: Sexually produced; seedlings show genetic variation.
- Pros: Economical and interesting for diversity or breeding.
- Cons: Slower; not identical to the parent; patience required.
- How:
- Sow fresh, clean seed shallowly in wide trays of very fast-draining, airy mix (e.g., equal parts fine perlite/pumice and a lean seed mix).
- Provide bright, indirect light and warm temps around 18–21°C (65–70°F).
- Keep barely moist during germination; once seedlings are established, shift toward drier cycles and excellent airflow.
- Pot up carefully into gritty mix as they size up.
Troubleshooting quick hits
- Base turning mushy or blackened: classic rot from too-wet conditions or insufficient callus time. Unpot, trim to healthy tissue, let the wound re-callus longer, and repot into a grittier mix. Water only after a full dry-down.
- Pup shriveling but not rooting: it’s drying faster than it can root. Provide bright shade, steady warmth, and a very light first watering after the dry interval. Verify you didn’t bury the crown.
- Yellowing leaves: often too much water in cool or low light. Dry it out, increase light, and improve drainage.
- Pests: inspect leaf axils for mealybugs or scale; treat early with manual removal and horticultural soap. Outdoors, stay alert for agave snout weevil. Always improve airflow.
Care going forward: grow it like a champ
- Light: full sun is best for strong, compact growth; in extreme heat, a touch of afternoon shade helps.
- Water: deep, infrequent, and only after the mix dries. Keep water out of the rosette to prevent crown rot.
- Soil: keep it fast-draining and gritty; refresh the mix rather than over-potting.
- Handling: those spines and the irritating sap earn respect—gloves on, eyes protected.
One last thing: meaning and myth
Agave americana carries a weighty symbolism—endurance, resilience, and protection—shaped by its life strategy: years of stoic growth, then one towering, spectacular bloom before the rosette bows out. In “flower language” terms, it often represents devotion and a final, noble flourish. The beloved “Century Plant” nickname adds drama, though it’s more myth than math; most bloom after a decade or two in good conditions. Fortunately, the legacy continues through offsets (and sometimes bulbils), so the show goes on.
With the right pup, a patient callus, and a mineral-rich mix, you’re set. Propagation is less a gamble and more a recipe—follow the dry-down rules, keep the crown safe, and your new Century Plants will repay you with architectural grace for years to come.