

If you’ve ever admired the lush, cascading beauty of a Sedum morganianum, known more affectionately as Burro’s Tail, you might have wondered how to multiply its mesmerizing presence in your home. Fear not, plant enthusiasts! With just a few easy steps, you can propagate this charming succulent, whether from stem cuttings or even the leaves that seem to pop off at the slightest touch.
Why Propagate Burro’s Tail?
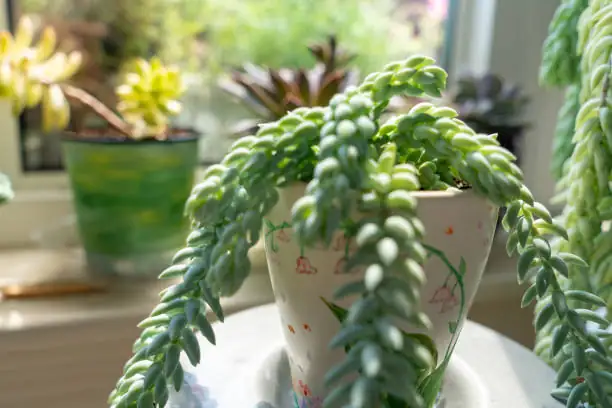
First, let’s dive into why you might want to propagate this plant in the first place. Burro’s Tail is a showstopper with its rope-like stems and bead-like leaves that create an eye-catching display, perfect for bright shelves and windowsills. Native to Mexico, this succulent is drought-tolerant and easy to care for, making it a favorite among plant lovers. Plus, propagating it yourself means you can share the love with friends or simply expand your collection without additional cost.
Getting Started: Tools and Timing
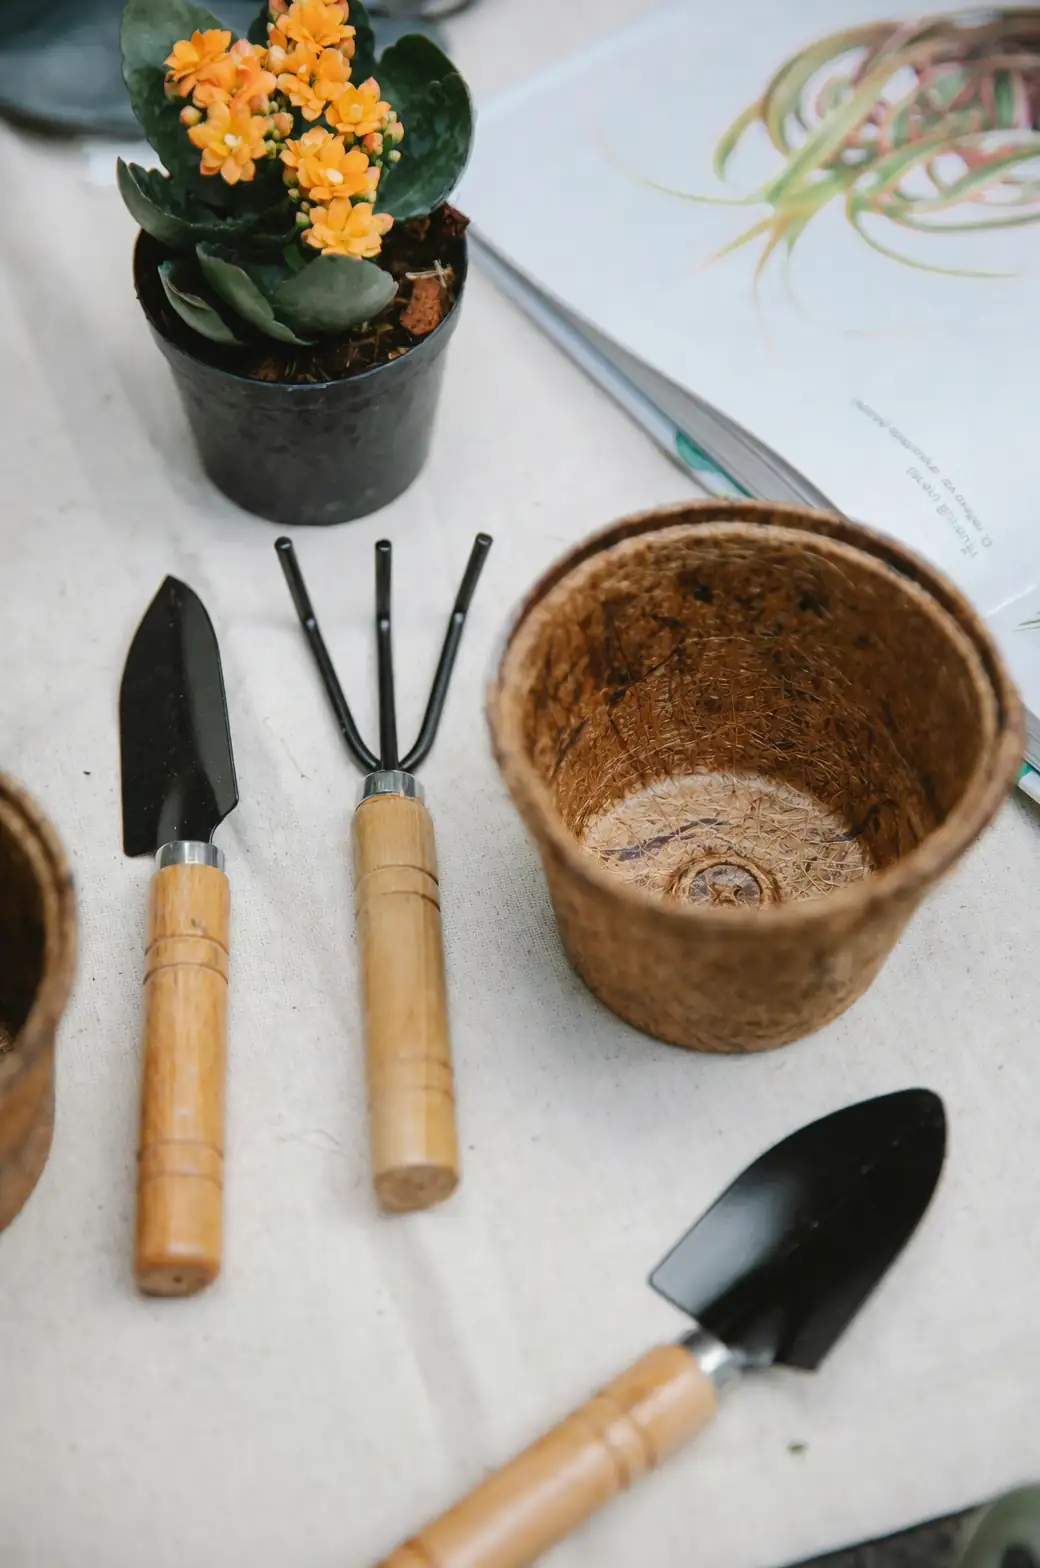
Before you embark on your propagation adventure, gather the following essentials:
- A sharp, clean pair of scissors or pruning shears
- A shallow tray or pot
- Cactus or succulent soil mix
- A warm, bright spot away from direct midday sun
It’s best to propagate in spring or summer when the plant is actively growing. This will ensure a higher success rate as the warmth and light support robust root development.
Propagation from Stem Cuttings
- Select and Snip: Choose a healthy, robust stem. Using your scissors, cut a segment that’s about 10–12 cm (4–5 inches) long. Be gentle as you handle the plant to avoid unnecessary leaf drop.
- Callus Over: Lay the cut stem in a dry area for 2–3 days. This time allows the cut end to callus over, reducing the risk of rot when it touches the soil.
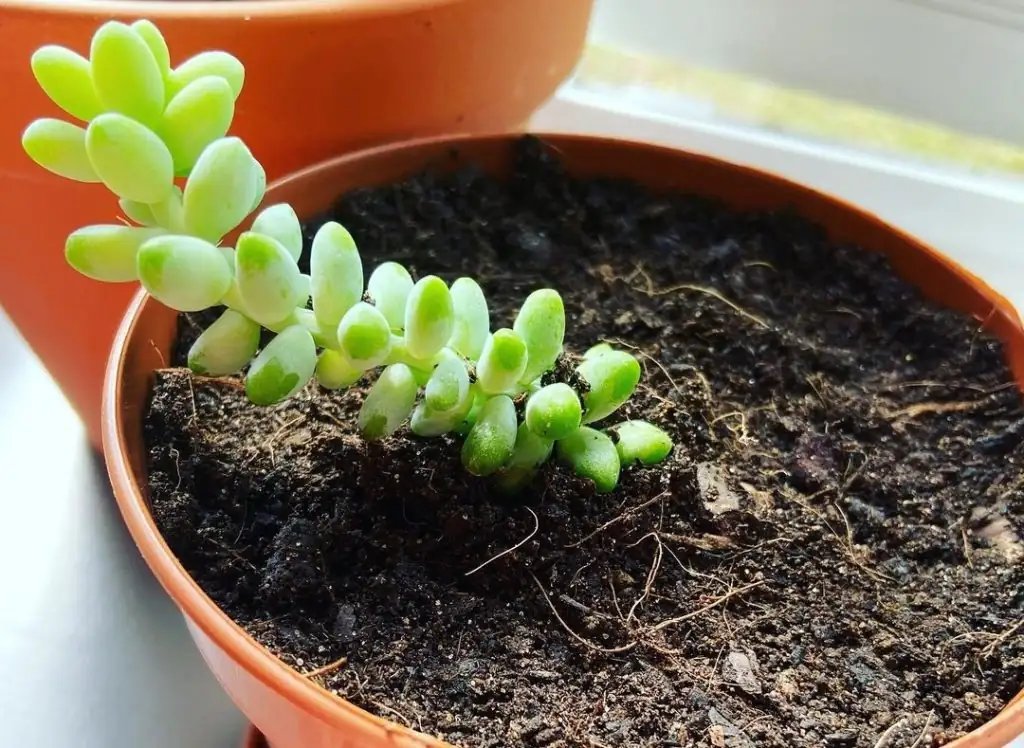
- Planting: Once callused, place the stem on top of a gritty, fast-draining soil mix. You don’t need to bury it; simply resting it on the soil is sufficient.
- Water Wisely: Avoid watering until roots develop, which usually takes a few weeks. Once you notice new growth or roots, begin light watering. Remember, this succulent prefers less water than more—always err on the dry side.
Propagation from Fallen Leaves
If your Burro’s Tail has shed a few leaves, don’t fret! These can also be used to grow new plants.
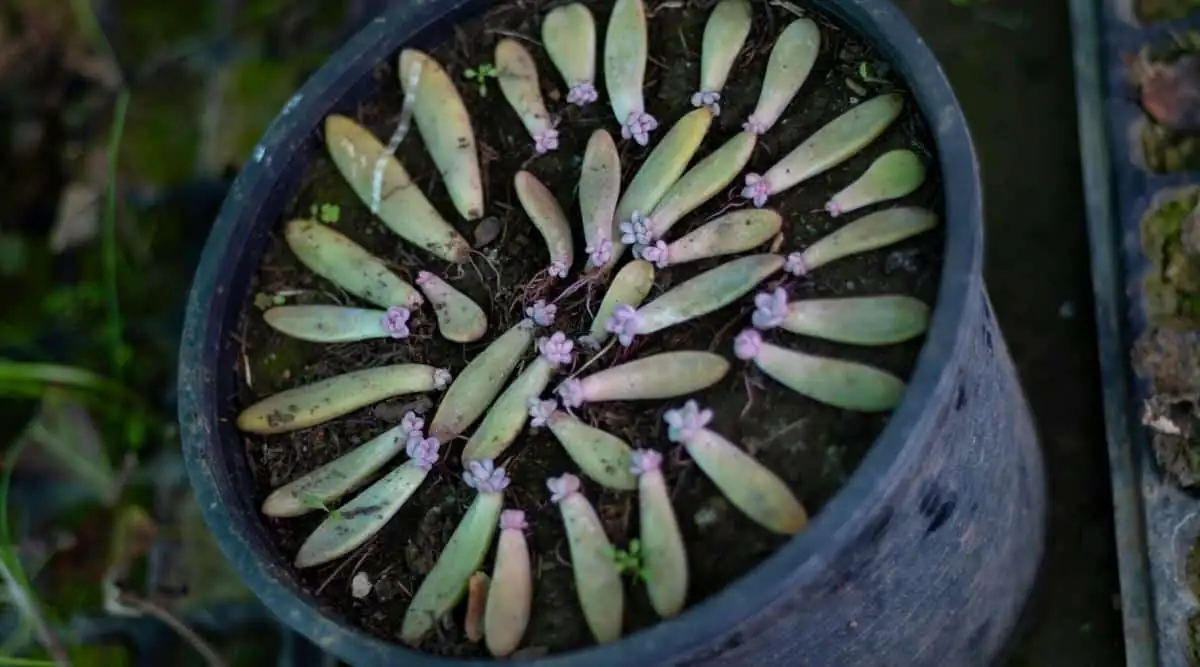
- Gather the Fallen: Collect any plump, healthy leaves. Avoid any that appear shriveled or damaged.
- Dry and Callus: Similar to stem cuttings, let the leaves dry for a few days until the ends callus.
- Lay Them Out: Place the leaves on a bed of dry, gritty soil. They don’t need to be buried; just ensure contact with the soil surface.
- Patience and Care: Mist the soil lightly every few days. Roots and tiny rosettes should start forming at the leaf base in a few weeks. Once established, you can water more regularly, but always allow the soil to dry out between waterings.
Keeping Your New Plants Happy
Once your new Burro’s Tail plants are rooted, regular care will ensure their continued growth and splendor. Place them in a bright spot with indirect sunlight, and water them sparingly, especially during the winter months. A monthly feeding with a diluted liquid fertilizer during the growing season will keep them plump and healthy.
A Note on Safety
While Sedum morganianum is generally low in toxicity, it’s wise to keep it out of reach of pets and small children to prevent any accidental munching, which might cause mild stomach discomfort.
The Joy of Propagation
There’s something truly magical about watching a piece of plant you’ve nurtured transform into a thriving, new life. Propagating your Burro’s Tail not only fills your home with green beauty but also lets you engage with the fascinating process of plant growth. So grab those scissors, embrace a bit of dirt under your fingernails, and let the propagation journey begin!


