

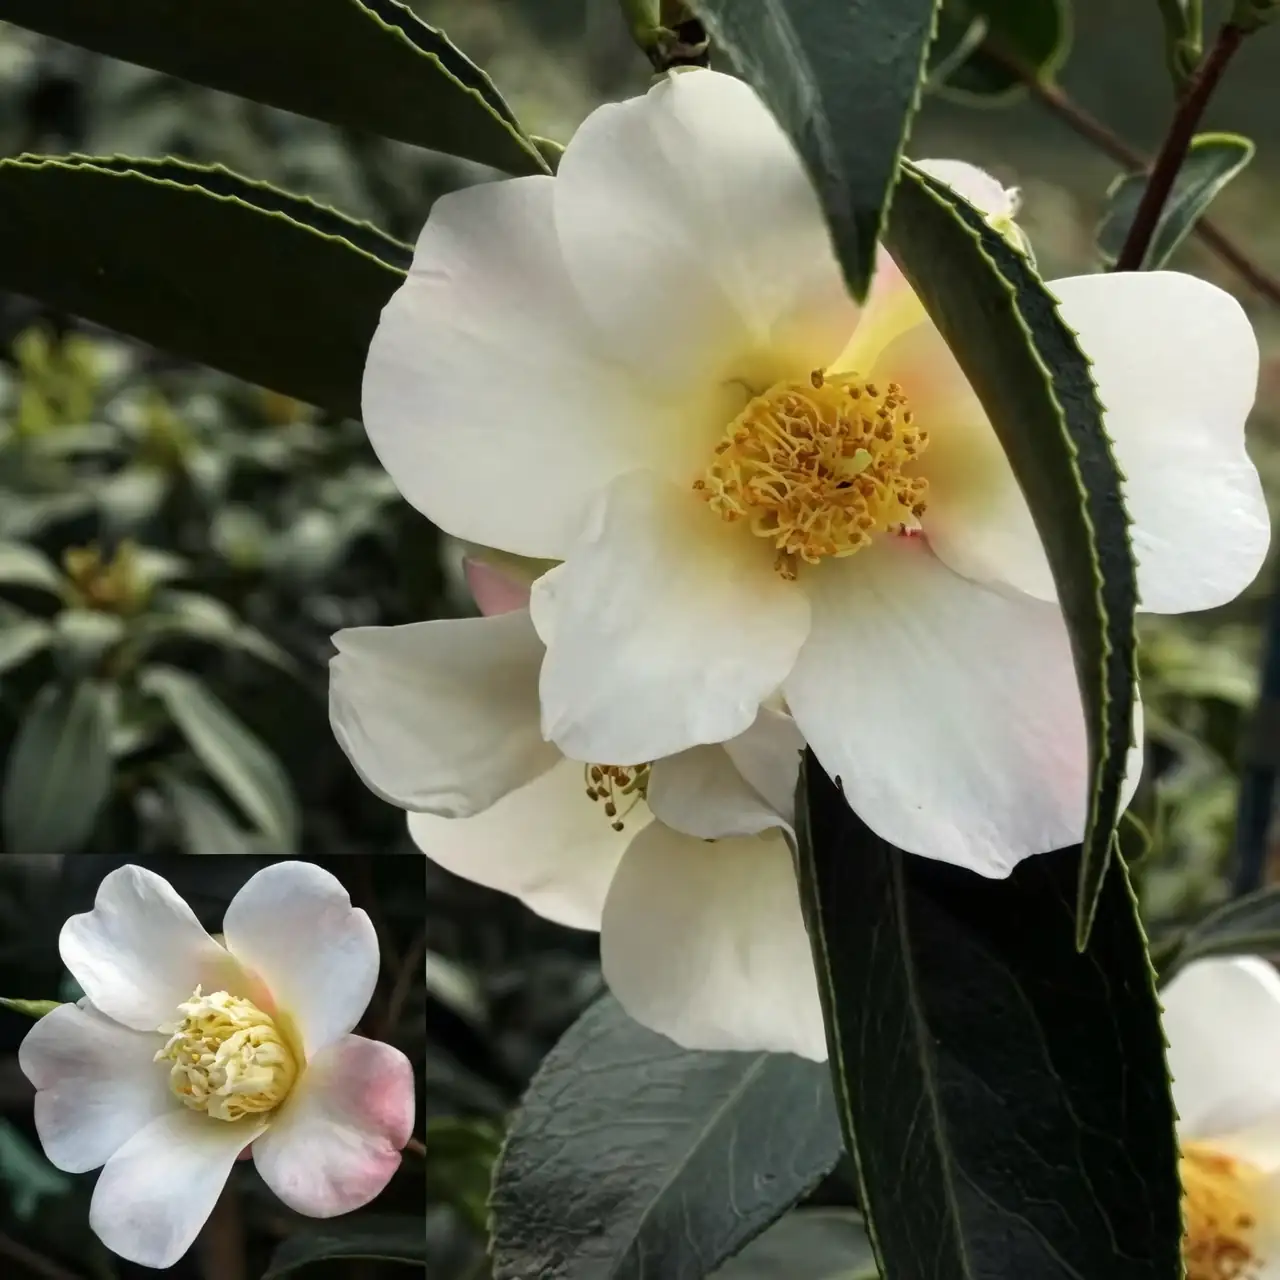
Propagating Camellia japonica: A Guide to Growing Elegance
When it comes to the garden, few plants exude timeless elegance like the Camellia japonica. Known for its glossy leaves and show-stopping blooms that brighten the winter and early spring months, this evergreen shrub is a staple for enthusiasts of ornamental horticulture. But how can you propagate these beauties and spread their charm throughout your garden? Let’s embark on a journey through three effective propagation techniques: cuttings, layering, and grafting.
Propagation by Cuttings
Propagating camellias by cuttings is one of the most popular methods, and for good reason. It allows you to clone a parent plant, ensuring the new plant retains all the desired characteristics.
Step-by-Step Guide:
- Timing and Preparation:
- The best time to take cuttings is during early summer when the plant is actively growing.
- Look for semi-ripe shoots that are about 8–10 cm (3–4 inches) long. These should be firm but still flexible, showing a transition from green to brown.
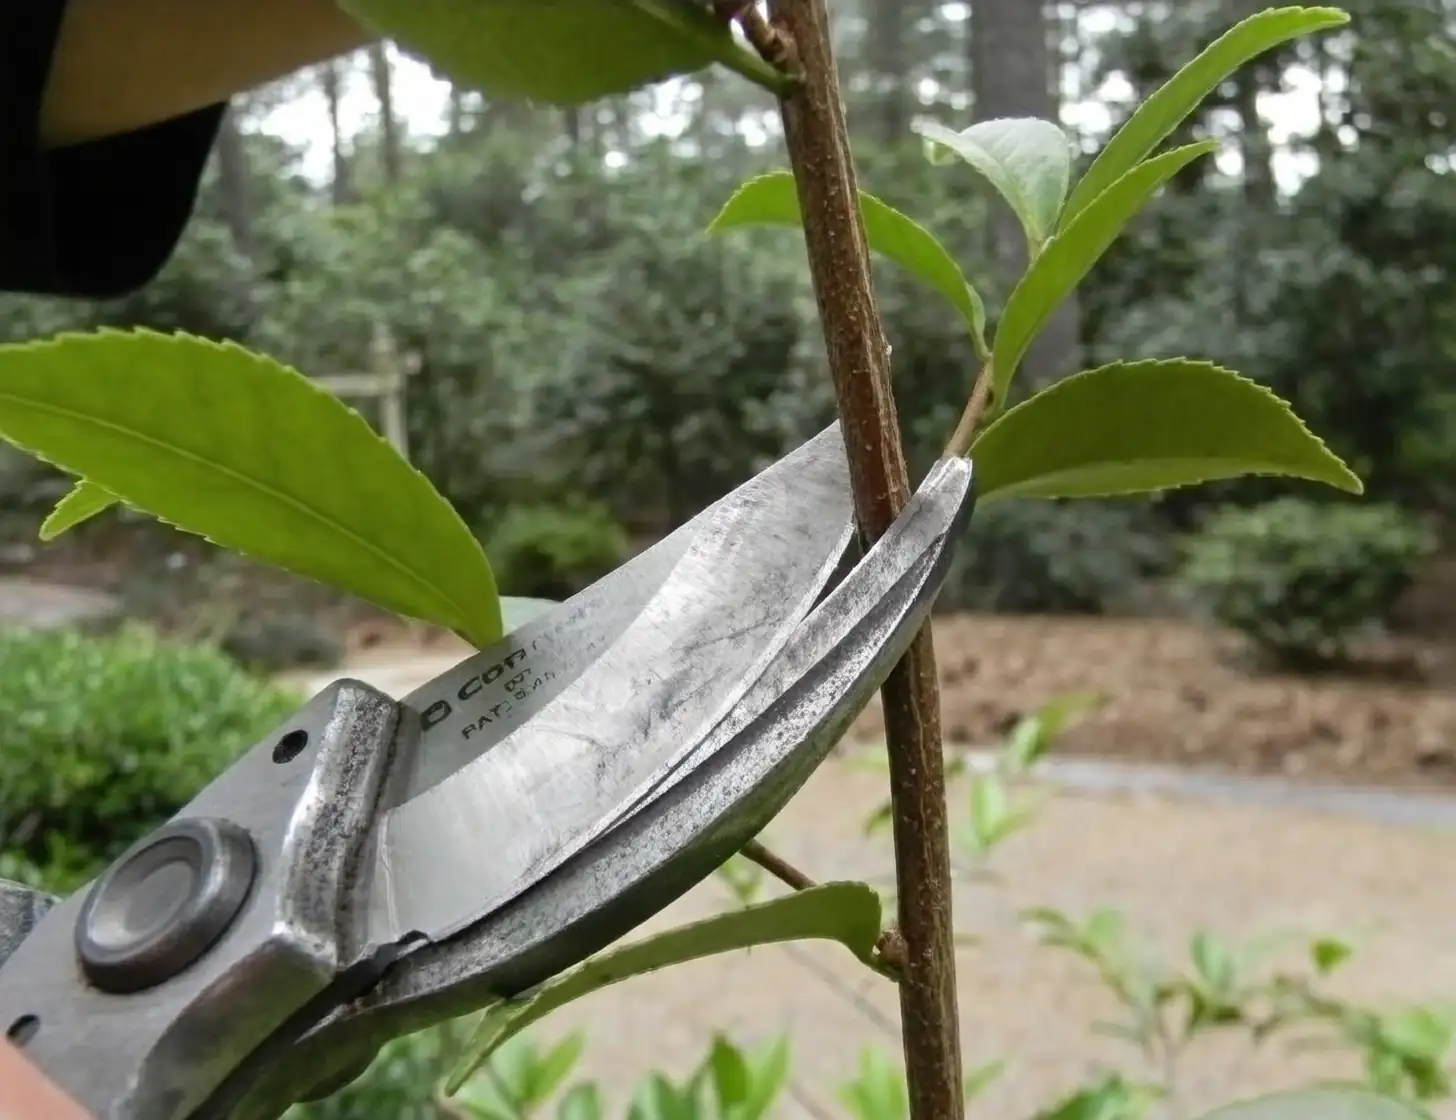
- Cutting and Treatment:
- Using a clean, sharp knife, make a cut just below a leaf node.
- Remove the lower leaves, leaving two at the tip.
- Dip the cut end into a rooting hormone like IBA TALC 8000 PPM to encourage rooting.
- Planting and Environment:
- Insert the cuttings into a well-draining, acidic medium such as a mix of peat and perlite.
- Place the pot in a warm area (20–25°C or 68–77°F) with high humidity. An intermittent mist system can be beneficial.
- Monitoring and Maintenance:
- Keep the soil consistently moist but not waterlogged.
- Rooting should occur in about 6–8 weeks. You’ll know roots have formed when new growth appears at the top.
Propagation by Layering
Layering is a fantastic technique if you prefer a more hands-off approach and have the patience for gradual growth. This method involves coaxing a stem to root while still attached to the parent plant.
Step-by-Step Guide:
- Choosing the Right Stem:
- Select a low, flexible branch. Summer is the ideal time for this process.
- Preparing the Layer:
- Make a shallow cut or scrape on the underside of the branch, about 1/4 to 1/2 way through.
- Apply rooting hormone to the wound.
- Securing and Covering:
- Bend the branch down to the soil and secure it with a U-shaped pin.
- Cover the wounded section with soil, leaving the tip exposed.

- Maintenance:
- Ensure the soil remains moist and check periodically.
- Roots usually form in about 60 days, after which you can sever the new plant from the parent and transplant it.
Propagation by Grafting
Grafting may sound like a complex technique reserved for experts, but with a bit of practice, it can open up a world of hybrid possibilities by combining the strengths of two plants.
Step-by-Step Guide:
- Selecting Scion and Rootstock:
- Grafting is best done in late winter.
- Choose a healthy scion from the desired camellia cultivar and a robust rootstock—often another Camellia japonica.
- Making the Graft:
- For a cleft graft, make a vertical slit in the rootstock and insert the scion with a matching cut.
- Ensure the cambium layers of both pieces align for nutrient transfer.
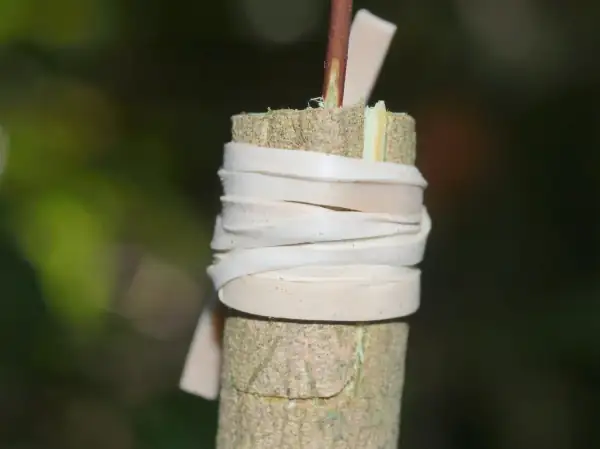
- Securing the Graft:
- Bind the grafted area with grafting tape to keep it secure and moist.
- Place the grafted plant in a sheltered spot with bright, indirect light.
- Aftercare:
- Keep the soil evenly moist and watch for new growth to ensure the graft has taken.
- Once established, gradually acclimate the plant to outdoor conditions.
Final Thoughts
Each propagation method offers its unique journey, from the thrill of seeing roots form on a cutting to the satisfaction of a successful graft. Remember, the key to success with Camellia japonica is patience and attention to detail. With these techniques, you’re not just growing plants; you’re cultivating a legacy of beauty and elegance that can be shared and enjoyed for generations.
So, why not roll up your sleeves and give it a try? Your garden—and future self—will thank you for the effort.


