

If you’re captivated by the charm of African violets—those velvety-leaved, endlessly blooming gems—you’re in for a delightful treat. These beloved houseplants, officially known as Streptocarpus ionanthus, have enchanted plant lovers for generations, not just because of their vibrant blooms, but also due to their knack for easy propagation. Imagine turning a single leaf into a plant family! Let’s dive into the art of propagating African violets from leaf cuttings, an endeavor that’s as rewarding as it is simple.
Understanding African Violets
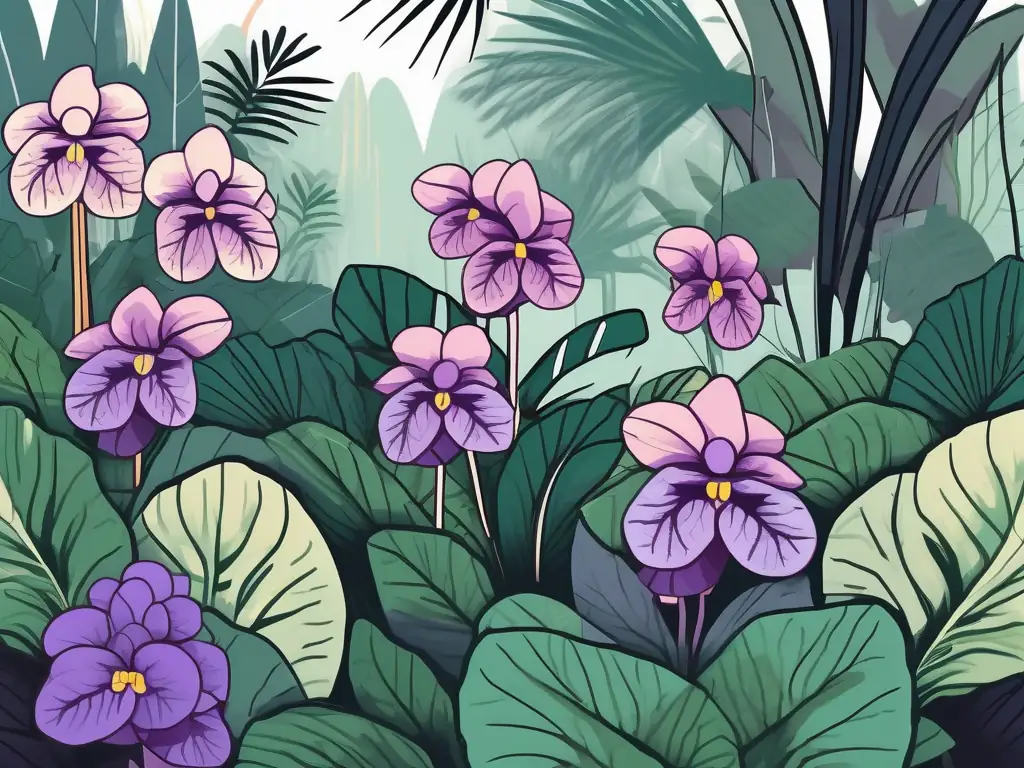
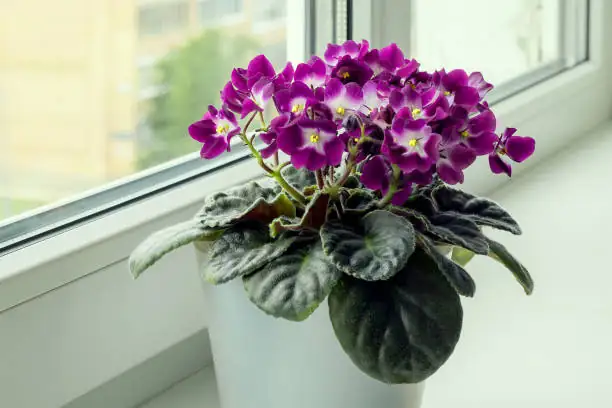
Before we get our hands dirty, let’s appreciate what makes African violets so special. Native to the misty mountain forests of eastern Africa, these compact plants thrive in the cozy confines of our homes. They boast a splendid range of flower colors from classic purples and blues to pinks, whites, and even striking bicolors with ruffled edges. Their fuzzy leaves, forming a neat rosette, not only add to their charm but also hint at their preference for staying dry.
Step-by-Step Guide to Leaf Propagation
Supplies and Setup
To kick off your propagation journey, gather the following supplies:
- A healthy mother plant to harvest leaves from
- A sharp knife or pair of fine-tipped pruners
- Rooting medium: a well-draining mix, preferably an African violet soil or a combination of perlite and vermiculite
- Small pots or containers with drainage holes
- Optional: Rooting hormone to encourage faster rooting
Step 1: Choosing the Perfect Leaf
Start by selecting a vigorous, mature leaf from the second or third row of your African violet plant. Steer clear of older or very young leaves as they might not root as effectively. A healthy leaf is your ticket to success—think of it as choosing a star player for your team.
Step 2: Preparing the Leaf
Once you have your leaf, cut it with about 1–2.5 cm (0.4–1 in) of the petiole (the little stem). Make a clean cut at a slight angle to maximize the rooting surface. This cut is crucial—it’s like setting the stage for a great performance.
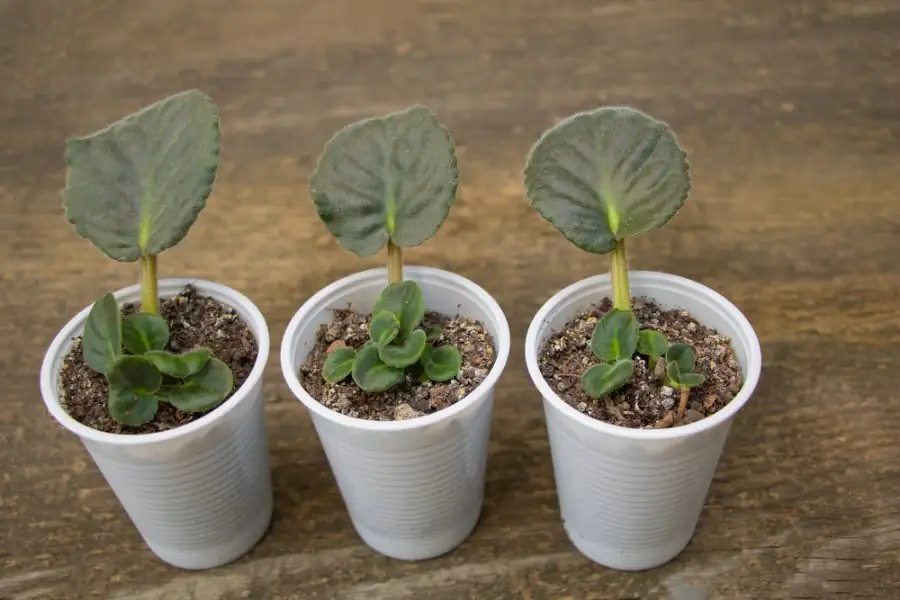
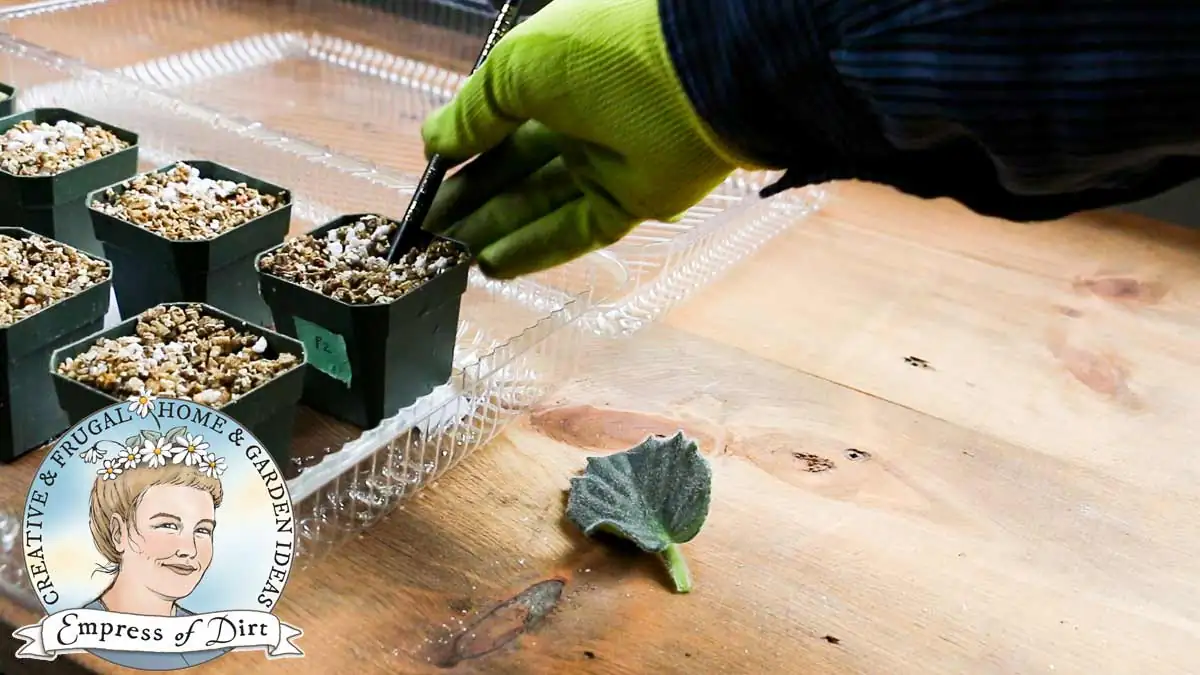
Step 3: Potting the Leaf Cutting
Fill your pot with the rooting medium, ensuring it’s lightly moist but not soggy. Insert the cut end of the leaf into the soil at a slight angle, keeping the leaf itself above the soil line. This angle encourages more robust root and plantlet formation.
Step 4: Creating the Right Environment
African violets love warmth and humidity. Place your potted leaf in a bright spot with indirect light. A mini greenhouse effect can be achieved by covering the pot with a clear plastic dome or a plastic bag, keeping the humidity high without wetting the leaf. Ensure good air circulation to prevent mold.
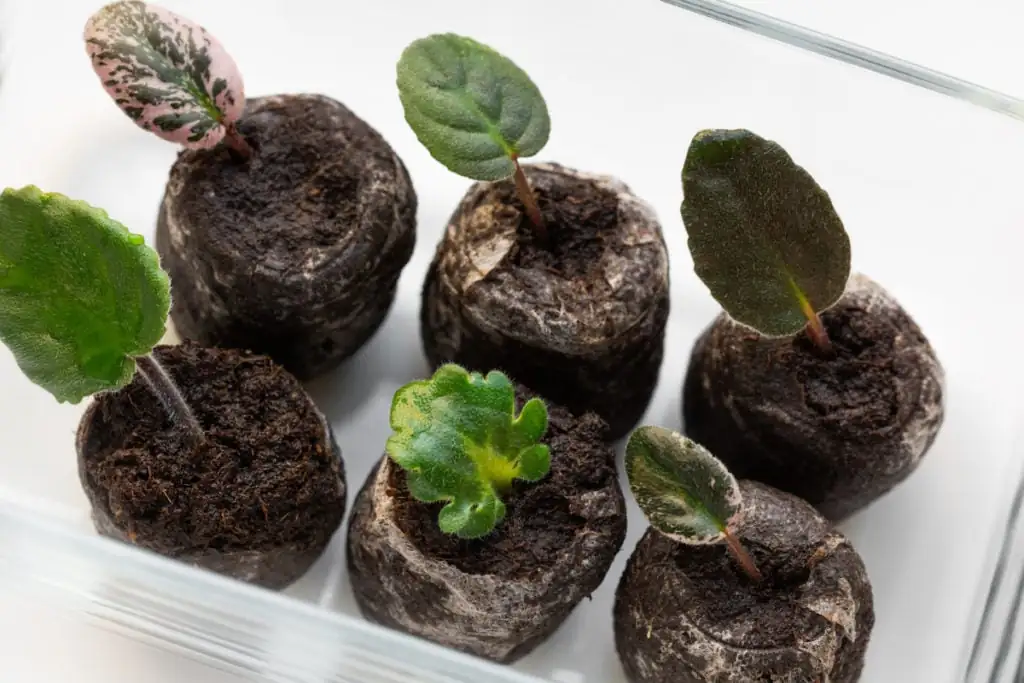
Step 5: Patience Pays Off
With the right conditions—temperatures around 18–24°C (64–75°F) and high humidity—roots will form in about 3–4 weeks. Plantlets, those adorable baby violets, should start appearing in 8–12 weeks. It’s a waiting game that rewards you with new life.
Caring for Your New Violets
Once your plantlets have developed a few leaves, they’re ready to be transplanted into their own pots. Use the same airy, well-draining mix to give them a cozy home where they can grow strong. Regular care—keeping them in bright, indirect light, and ensuring the soil is moist but not waterlogged—will see them thrive.
Flower Language and Symbolism
In the language of flowers, African violets symbolize devotion, loyalty, and enduring love. Their vibrant colors add layers of meaning: purple for loyalty and wisdom, blue for calm, and white for purity. It’s no wonder these dainty blooms are cherished gifts on Mother’s Day and other heartfelt occasions.
Final Thoughts
Propagating African violets from leaf cuttings is not just about multiplying your plant collection; it’s about nurturing a sense of wonder and patience. Each new plant is a testament to your care and the magic inherent in nature’s design. Whether you’re adding to your indoor garden or sharing with friends, this propagation journey is bound to bring joy. So, grab your pruners, select a leaf, and let the adventure begin!


