

Unlock the Secrets of Propagating Alocasia macrorrhizos
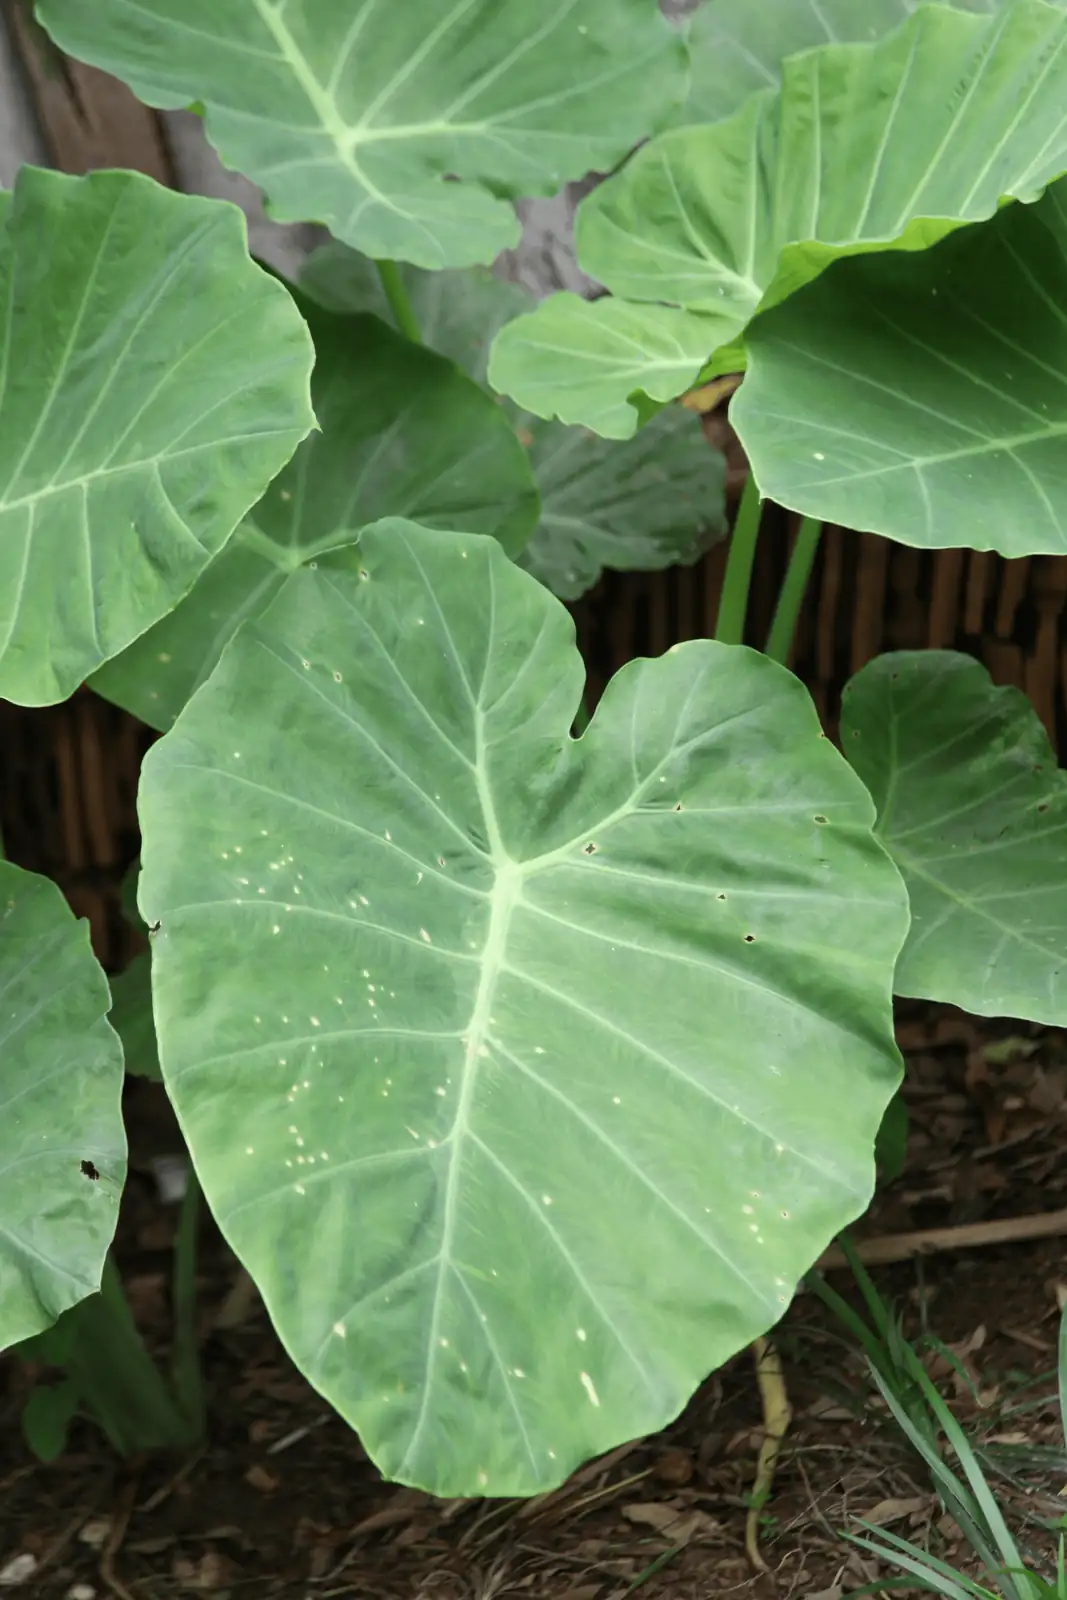
Imagine a plant that transforms your living space into a lush, tropical paradise with its gigantic, glossy leaves. Meet Alocasia macrorrhizos, commonly known as Giant Taro or the Upright Elephant Ear. With its stunning foliage and architectural elegance, it’s no wonder plant enthusiasts are eager to multiply their collection. Let’s dive into the step-by-step guide to propagating this magnificent plant through division, ensuring you have a thriving dynasty of these leafy wonders.
Understanding Your Plant: The Basics
Before you start wielding your spade, it’s crucial to understand the nature of Alocasia macrorrhizos. Originating from the tropical regions of Asia, this bold plant is part of the Araceae family, known for its oversized, arrow-shaped leaves that can grow up to 1.8 meters long in optimal conditions. While it’s a showstopper indoors, it demands specific care to keep it thriving. Bright, indirect light, warm temperatures (20–30°C), and high humidity are its best friends.
Why Propagate Through Division?
Propagation by division is the most straightforward and effective method for Alocasia macrorrhizos. This method not only helps control the plant’s size but also rejuvenates it, promoting healthier growth. Plus, it’s a fantastic way to share the plant love with friends or expand your own indoor jungle.
When Should You Divide?
Timing is everything. Aim to divide your Giant Taro in early spring, just as it awakens from its winter rest. This ensures that the plant has the entire growing season to establish itself. However, if spring slips away, you can also consider division in early fall, avoiding the peak growth and flowering periods.
Step-by-Step Propagation Guide
Preparation is Key
- Hydrate in Advance: Water your Alocasia thoroughly a few days before you plan to divide. This makes the roots more pliable and reduces stress during the process.
- Gather Your Tools: You’ll need a sharp, sterile knife or garden spade, gloves, and a pot with well-draining, rich soil ready for the new divisions.
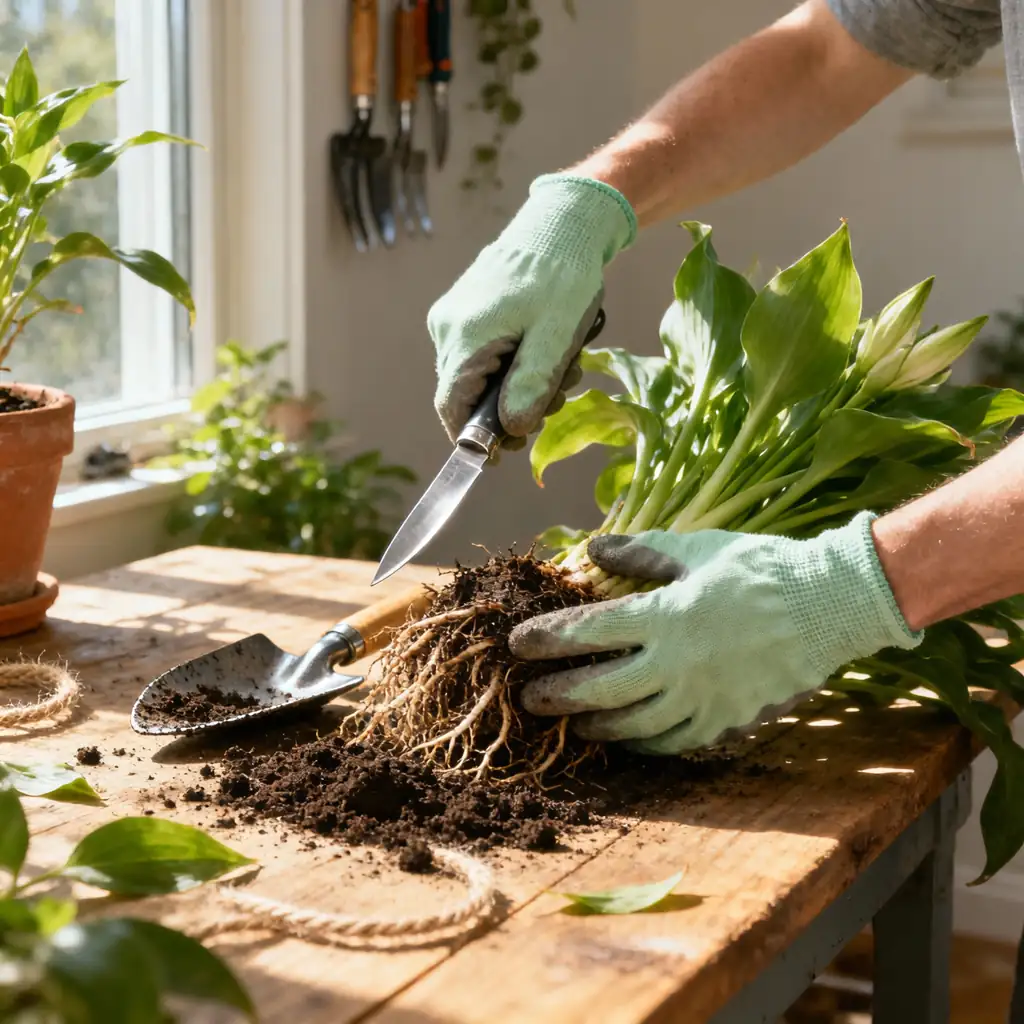
The Division Process
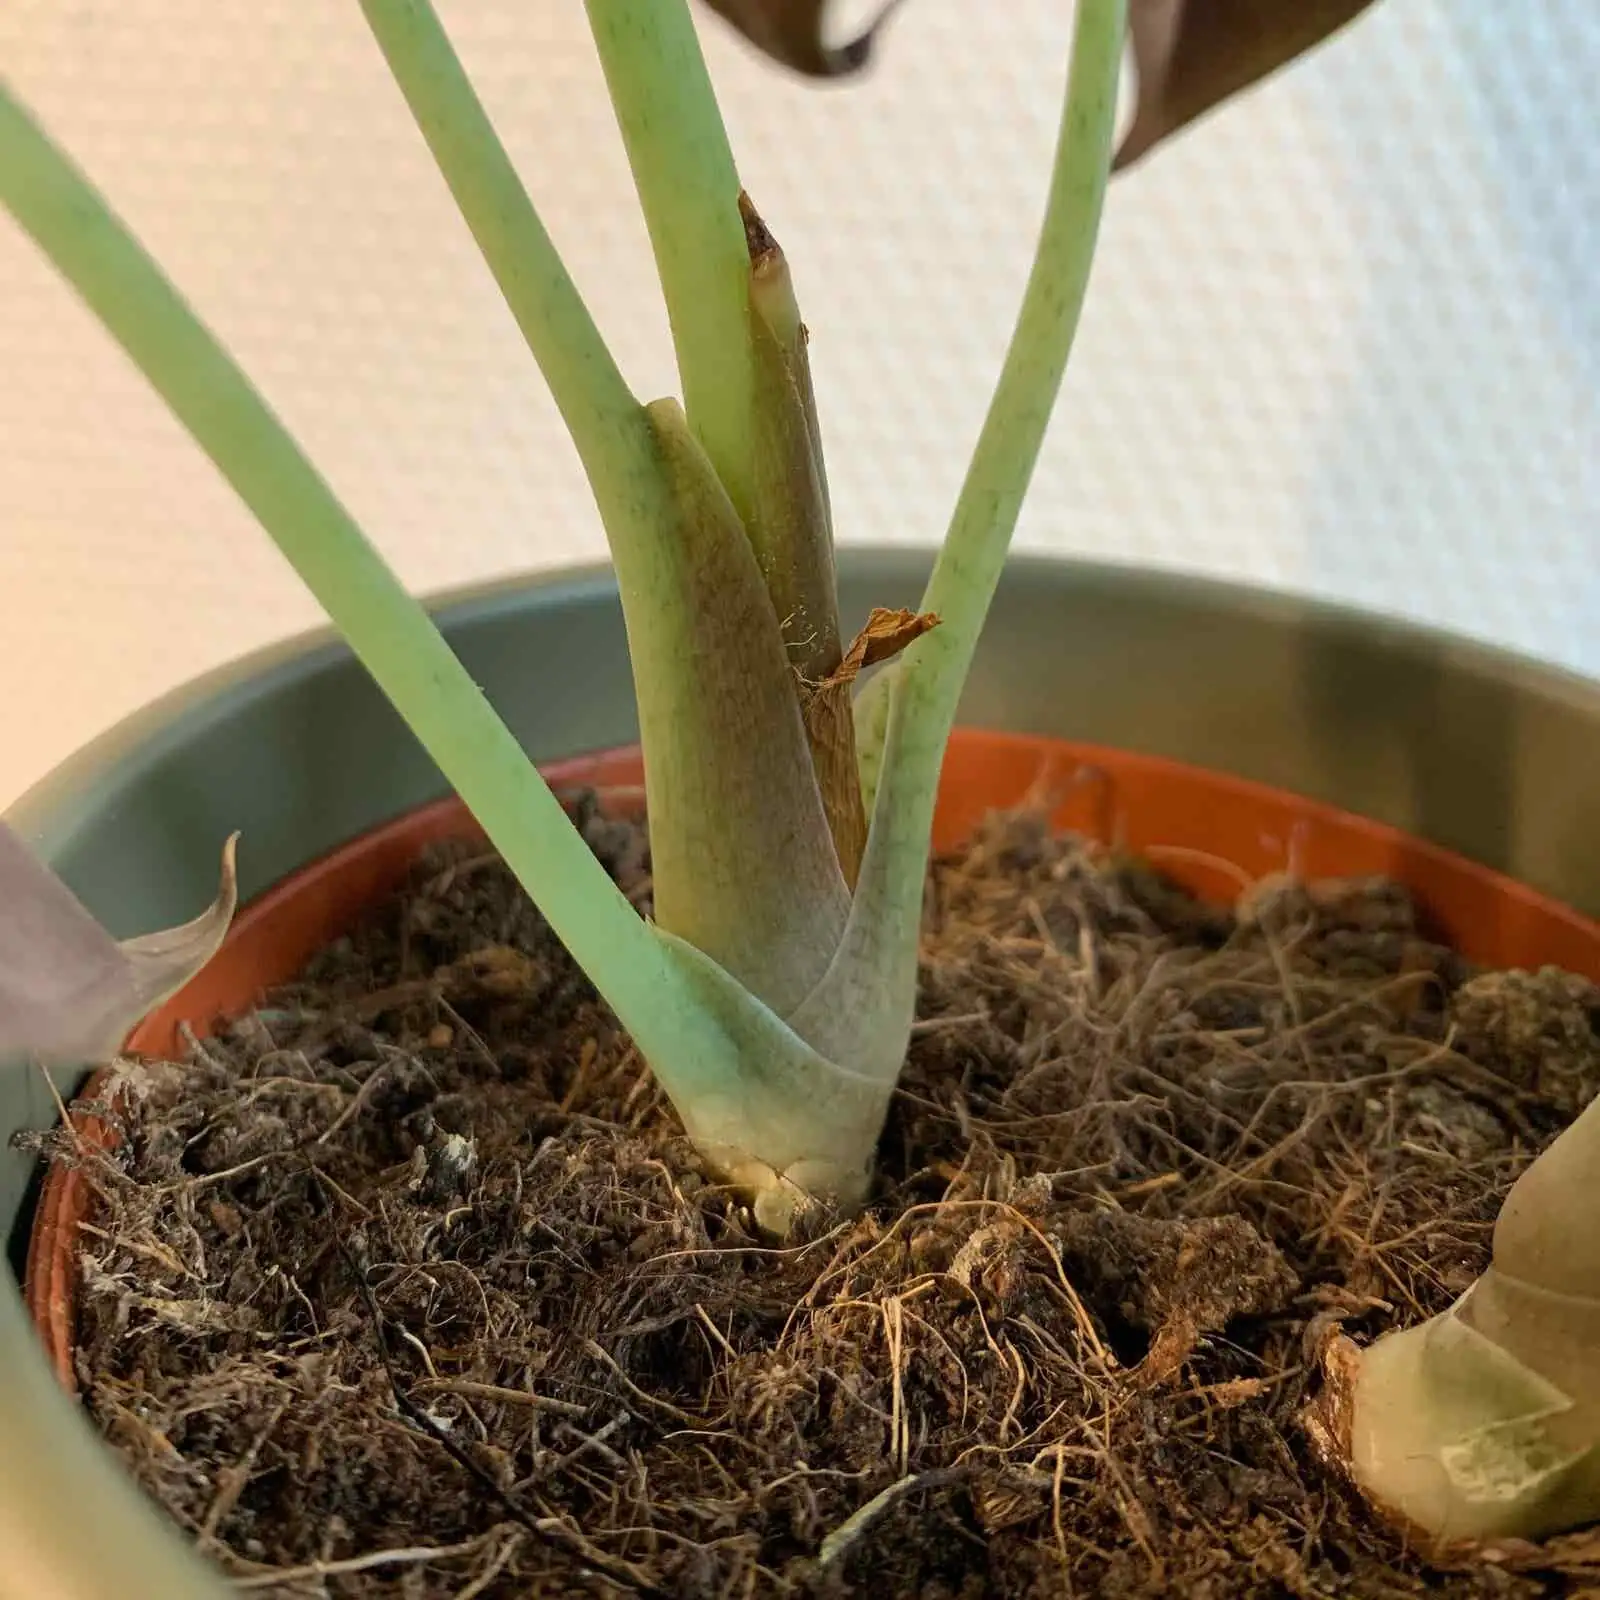
- Gently Remove the Plant: Carefully ease the Alocasia out of its pot. If it’s rootbound, gently coax the roots apart with your fingers or a sterilized tool.
- Identify the Division Points: Look for natural separations in the rhizome or offsets. Each section should have roots, a stem, and at least one growth point.
- Make the Cut: Using your sterilized knife, cleanly cut through the rhizome, ensuring each new plant has sufficient roots to sustain itself.
- Treat the Cuts: To prevent rot, dust the fresh cuts with horticultural sulfur or wood ash. Allow them to dry briefly before potting.
Potting and Aftercare
- Pot in Fresh Soil: Place each division in a pot filled with a rich, moisture-retentive yet airy mix. A combination of peat or leaf mold with chunky bark works wonders.
- Maintain Humidity: Keep the humidity high around your newly potted plants. Consider using a humidifier or placing a pebble tray under the pots.
- Water Wisely: Water the new divisions lightly, ensuring the soil remains moist but not waterlogged. Overwatering can lead to root rot, especially in newly divided plants.
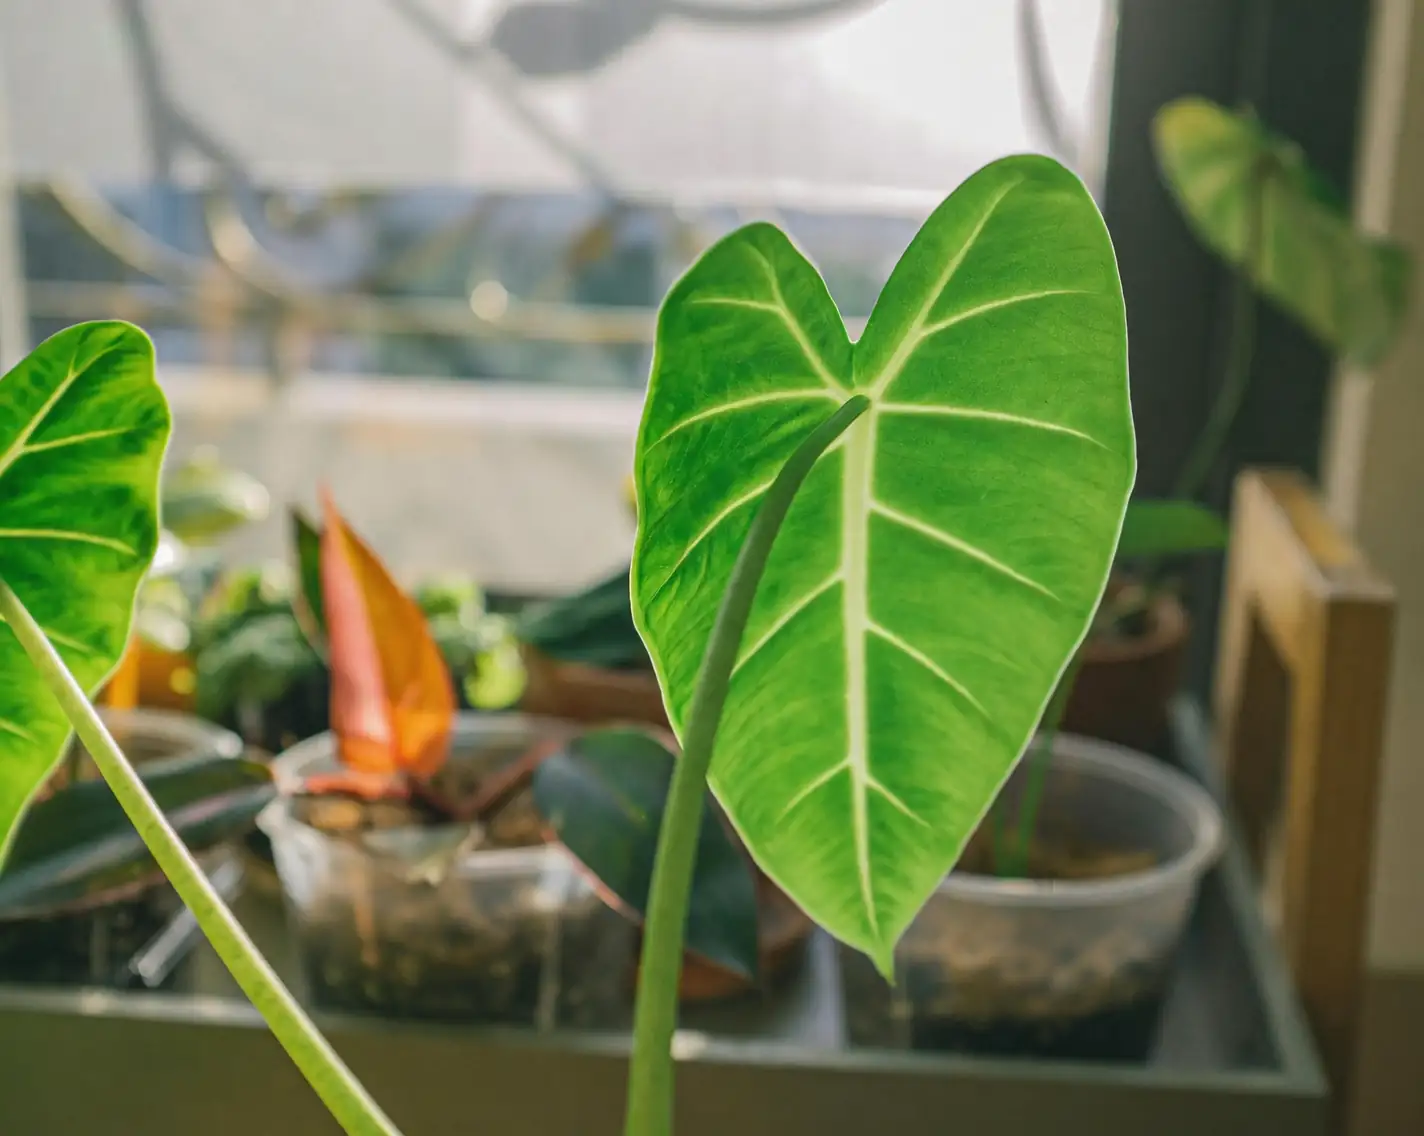
Watching for Success
Keep a close eye on your new Alocasia plants. Signs of successful propagation include new leaf growth and a sturdy, upright posture. If they start to sulk, check your watering routine and humidity levels.
Troubleshooting Common Issues
- Post-Division Stress: It’s normal for the plant to exhibit some stress after division. Keep conditions stable, and it should bounce back within a few weeks.
- Root Rot: If the roots appear soggy or discolored, reduce watering and ensure the potting mix is well-draining. Fungicide may be necessary if rot persists.
Final Thoughts
Propagating Alocasia macrorrhizos through division is like hosting a plant spa day, giving your green companions a fresh start while enhancing your collection. With patience and the right care, you’ll soon have an impressive array of these striking foliage plants gracing your home. So, roll up your sleeves, grab your gardening tools, and embark on the rewarding journey of propagation. Your indoor jungle awaits its new residents!


