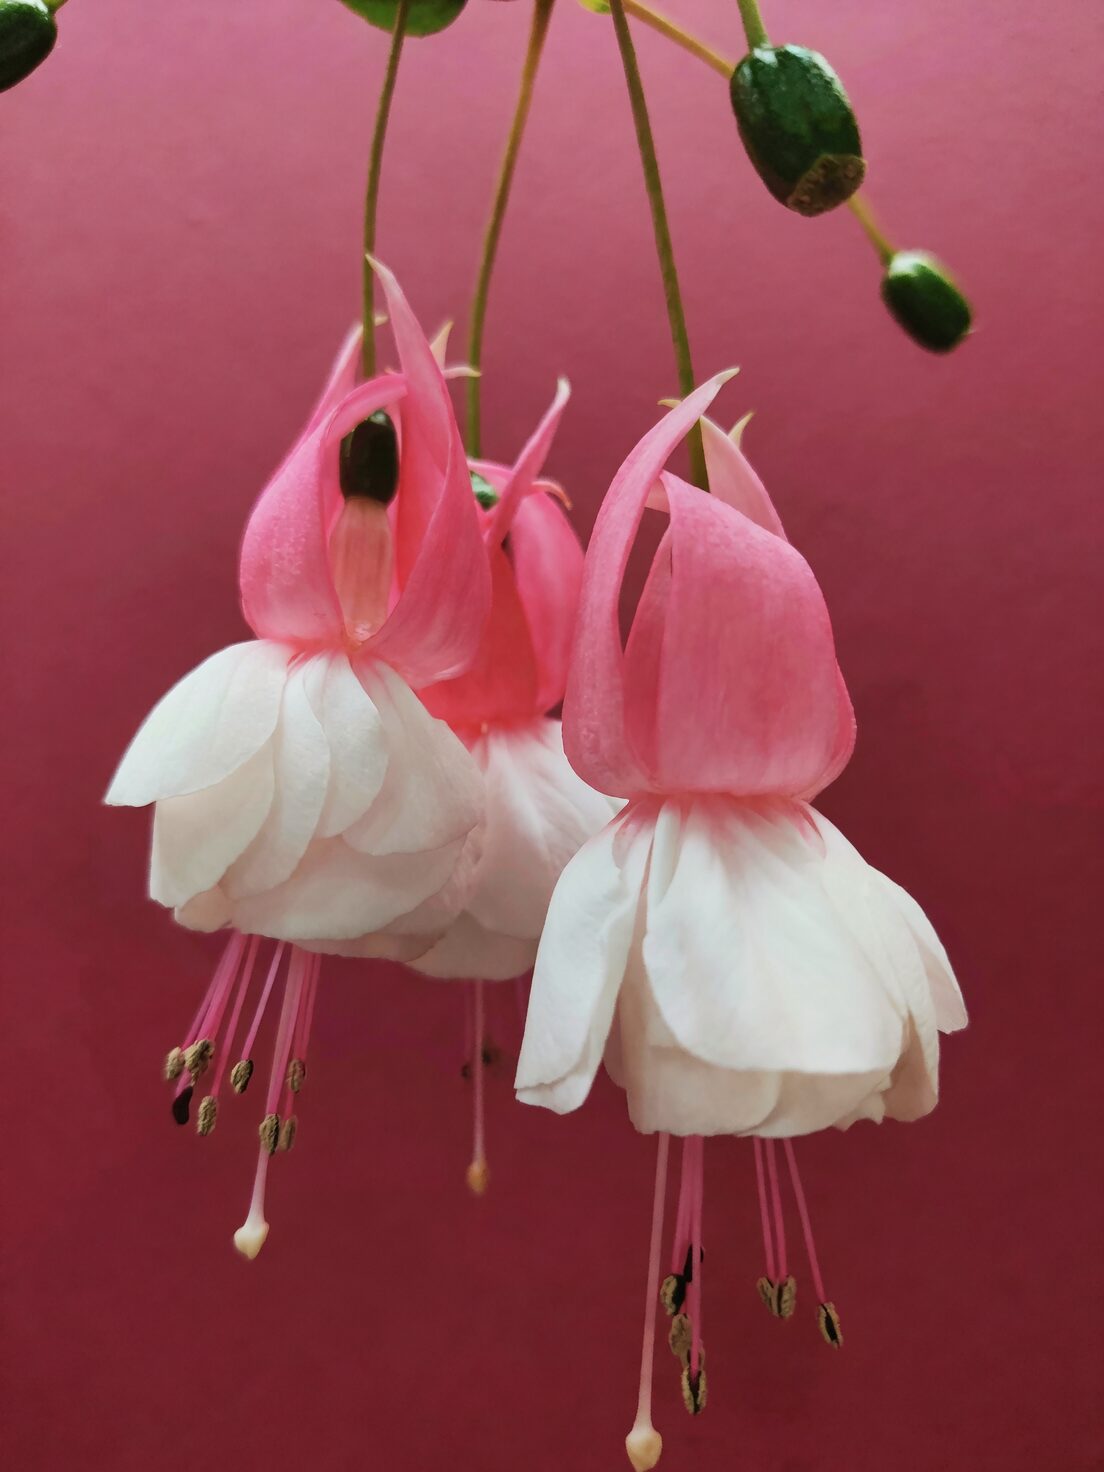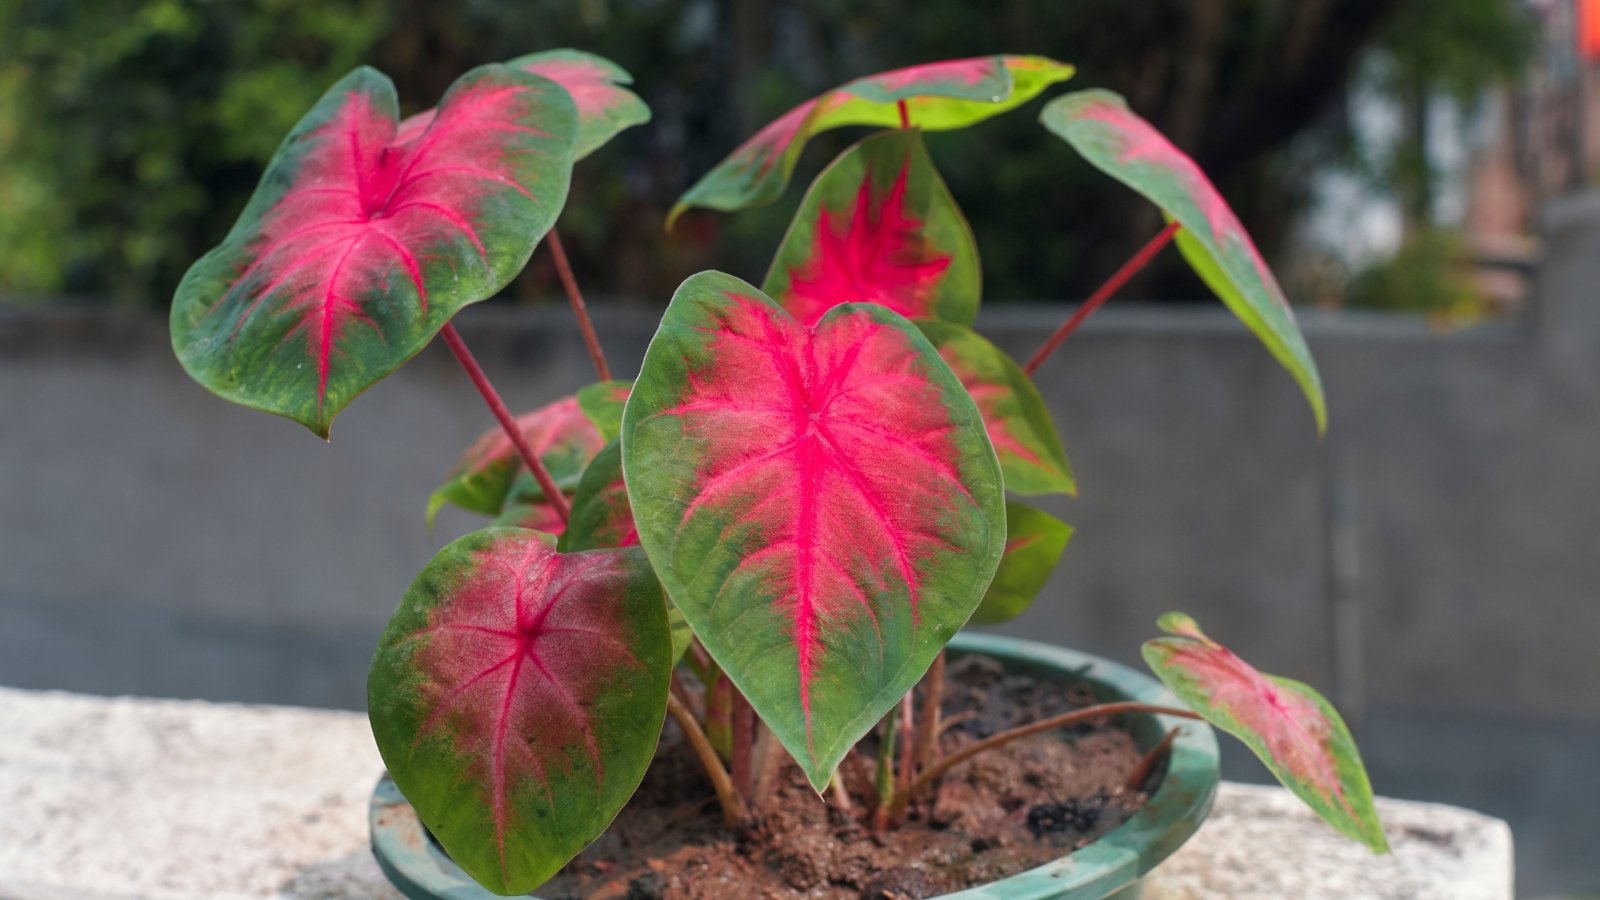
Caladium bicolor, affectionately known as Angel Wings or the Heart of Jesus, is a botanical delight with its vibrant, painted-like foliage. If you’ve ever gazed upon its heart-shaped leaves splashed with greens, whites, pinks, and reds, you might have found yourself wondering how to propagate such a masterpiece of nature. Well, wonder no more! This detailed guide will walk you through the art of propagating Caladiums through tuber division, ensuring your garden flourishes with these colorful wonders.
Why Propagate Caladiums?
Caladiums are not just plants; they are living works of art. Propagating them allows you to expand your collection, share them with friends, or simply enjoy more of these beautiful plants in your garden. Plus, there’s something incredibly rewarding about watching a new plant grow from just a segment of a tuber.
When to Propagate
Timing is everything in gardening, and Caladiums are no exception. The best time to divide your Caladium tubers is in late winter to early spring, just as the plant begins to wake from its dormancy. During this period, the tubers are gearing up for a new season of growth, making it the perfect time to encourage new beginnings.
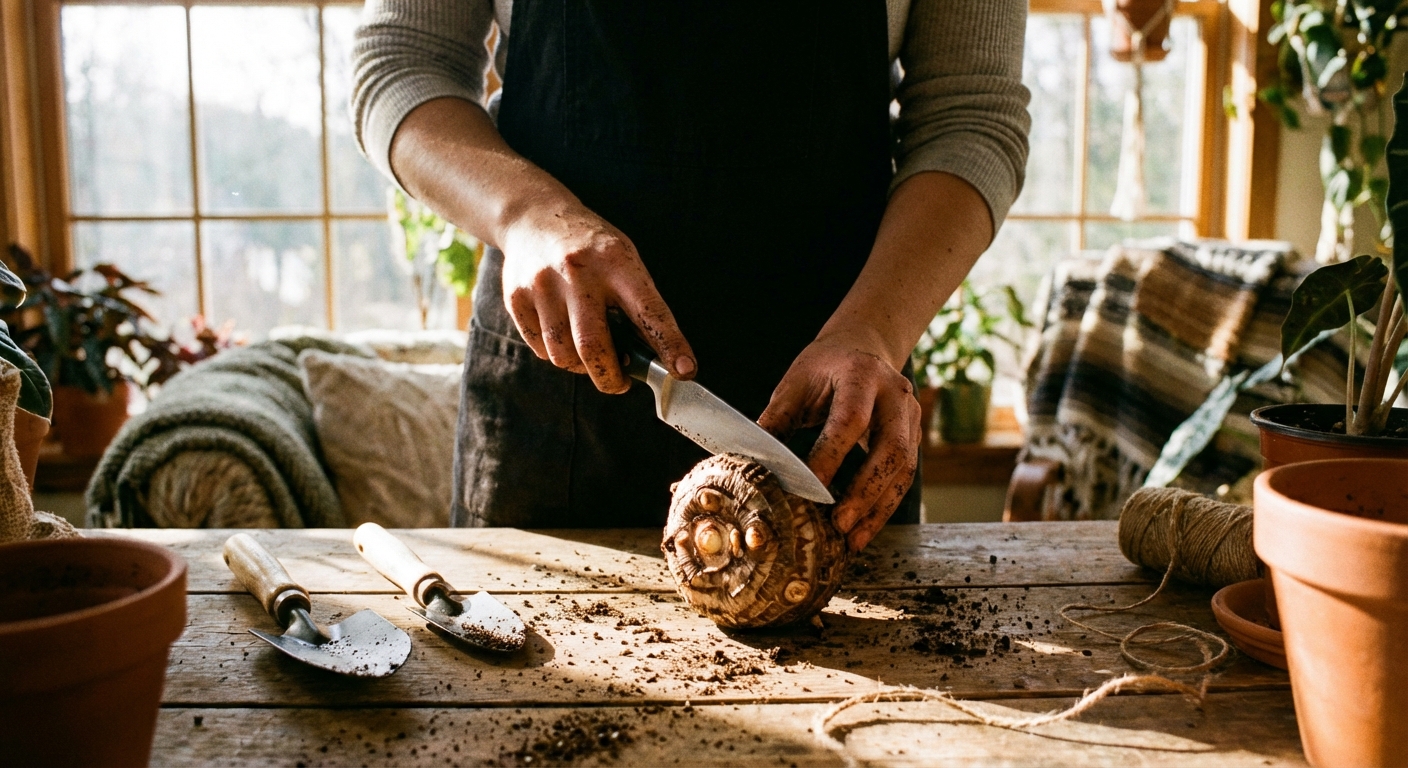
Step-by-Step Propagation Guide
Gather Your Tools
Before you dive into the process, ensure you have the right tools on hand:
- A sharp, sterile knife
- Gloves (Caladiums can irritate sensitive skin)
- Fungicide or cinnamon powder (to prevent rot)
- Small pots with well-draining soil mix (peat-based potting mix with perlite is ideal)
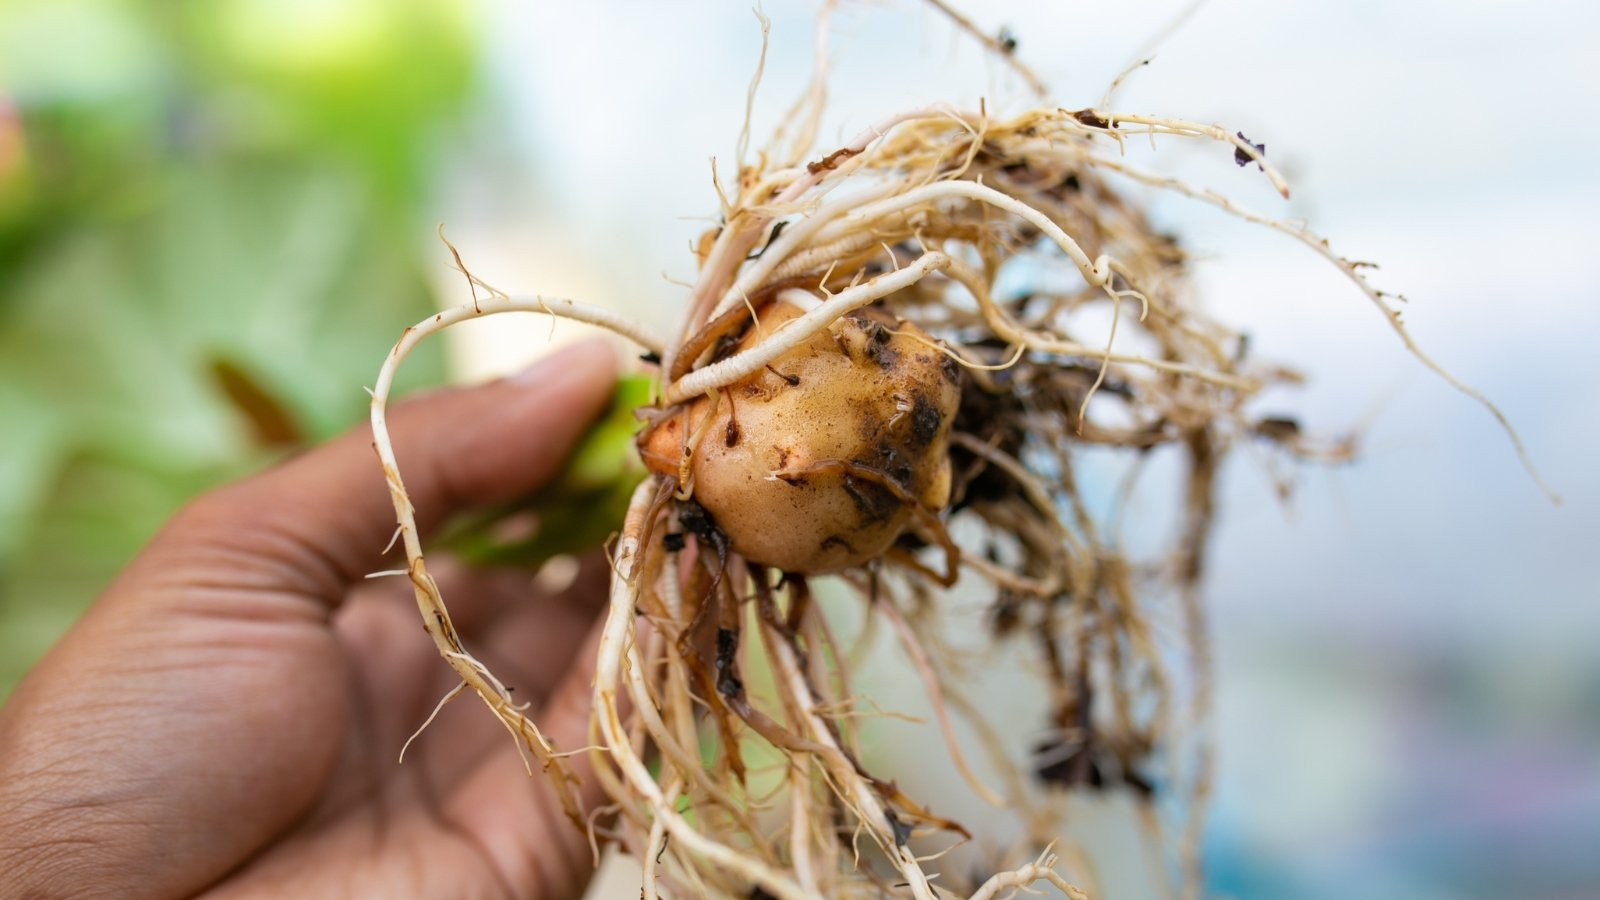
Prepare the Tubers
- Select Healthy Tubers: Look for firm, plump tubers. Avoid any that are soft or shriveled, as these are unlikely to produce healthy plants.
- Remove from Soil: Gently lift the tubers from their pots, brushing off any excess soil to expose the tuber fully.
- Divide the Tubers: With your sharp knife, cut the tubers into sections. Each section should have at least one “eye” or growth point. Think of these as the plant’s future leaves waiting to emerge.
- Treat Cut Surfaces: Dust the cut surfaces with fungicide or cinnamon powder. This step is crucial as it helps prevent rot—a common issue during propagation.
Plant the Divided Tubers
- Pot the Tubers: Dig small holes in your prepared pots, about 2-3 inches deep. Ensure the “eyes” are facing upward as you plant the tubers.
- Provide Optimal Conditions:
- Light: Place the pots in a location with bright, indirect sunlight. Too much direct light can scorch the young leaves, while too little may hinder growth.
- Temperature: Keep the environment warm, ideally between 21°C to 27°C (70°F to 81°F).
- Humidity: Maintain high humidity levels, around 60% or more. This can be achieved by using a humidifier or placing a pebble tray with water near the plants.
Care for the New Plants
- Watering: Keep the soil lightly moist but not soggy. Water when the top inch of soil feels dry to the touch.
- Fertilization: Once the new leaves begin to unfurl, feed the plants every two weeks with a balanced liquid fertilizer diluted to 1/4 strength.
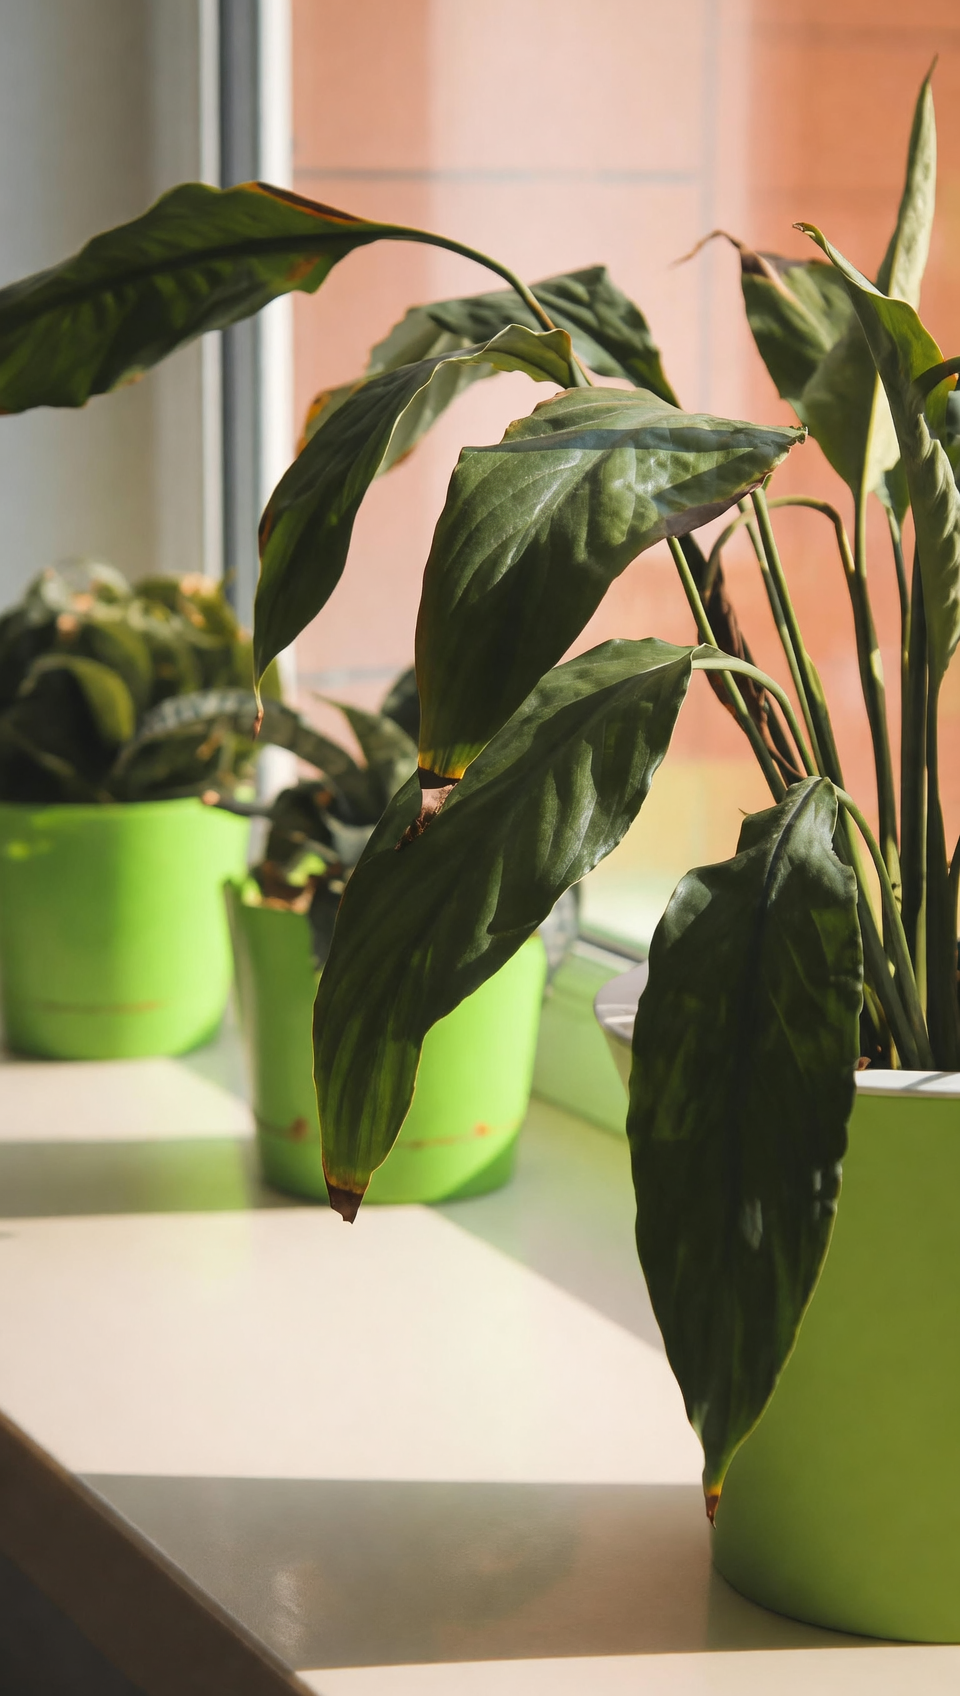
Watching Them Grow
As the weeks pass, you’ll see your Caladiums come to life in a dazzling display of color. Remember, patience and consistent care are key. Each new leaf is a reward for your efforts and a testament to the plant’s resilience.
A Few Words on Safety
Caladiums are beautiful but also toxic if ingested. They contain calcium oxalate crystals, which can cause irritation in the mouth and throat if chewed. Keep them out of reach of curious children and pets, and handle with gloves if you have sensitive skin.
Embrace the Beauty
Propagating Caladiums is more than just a gardening task; it’s a journey into the heart of a plant that symbolizes love and transformation. As you nurture these plants from tubers to full bloom, you partake in a cycle of renewal and growth. Whether it’s the joy of gifting a new plant to a friend or the satisfaction of seeing your garden flourish, the rewards are as vibrant as the Caladiums themselves. Happy gardening! 🌱