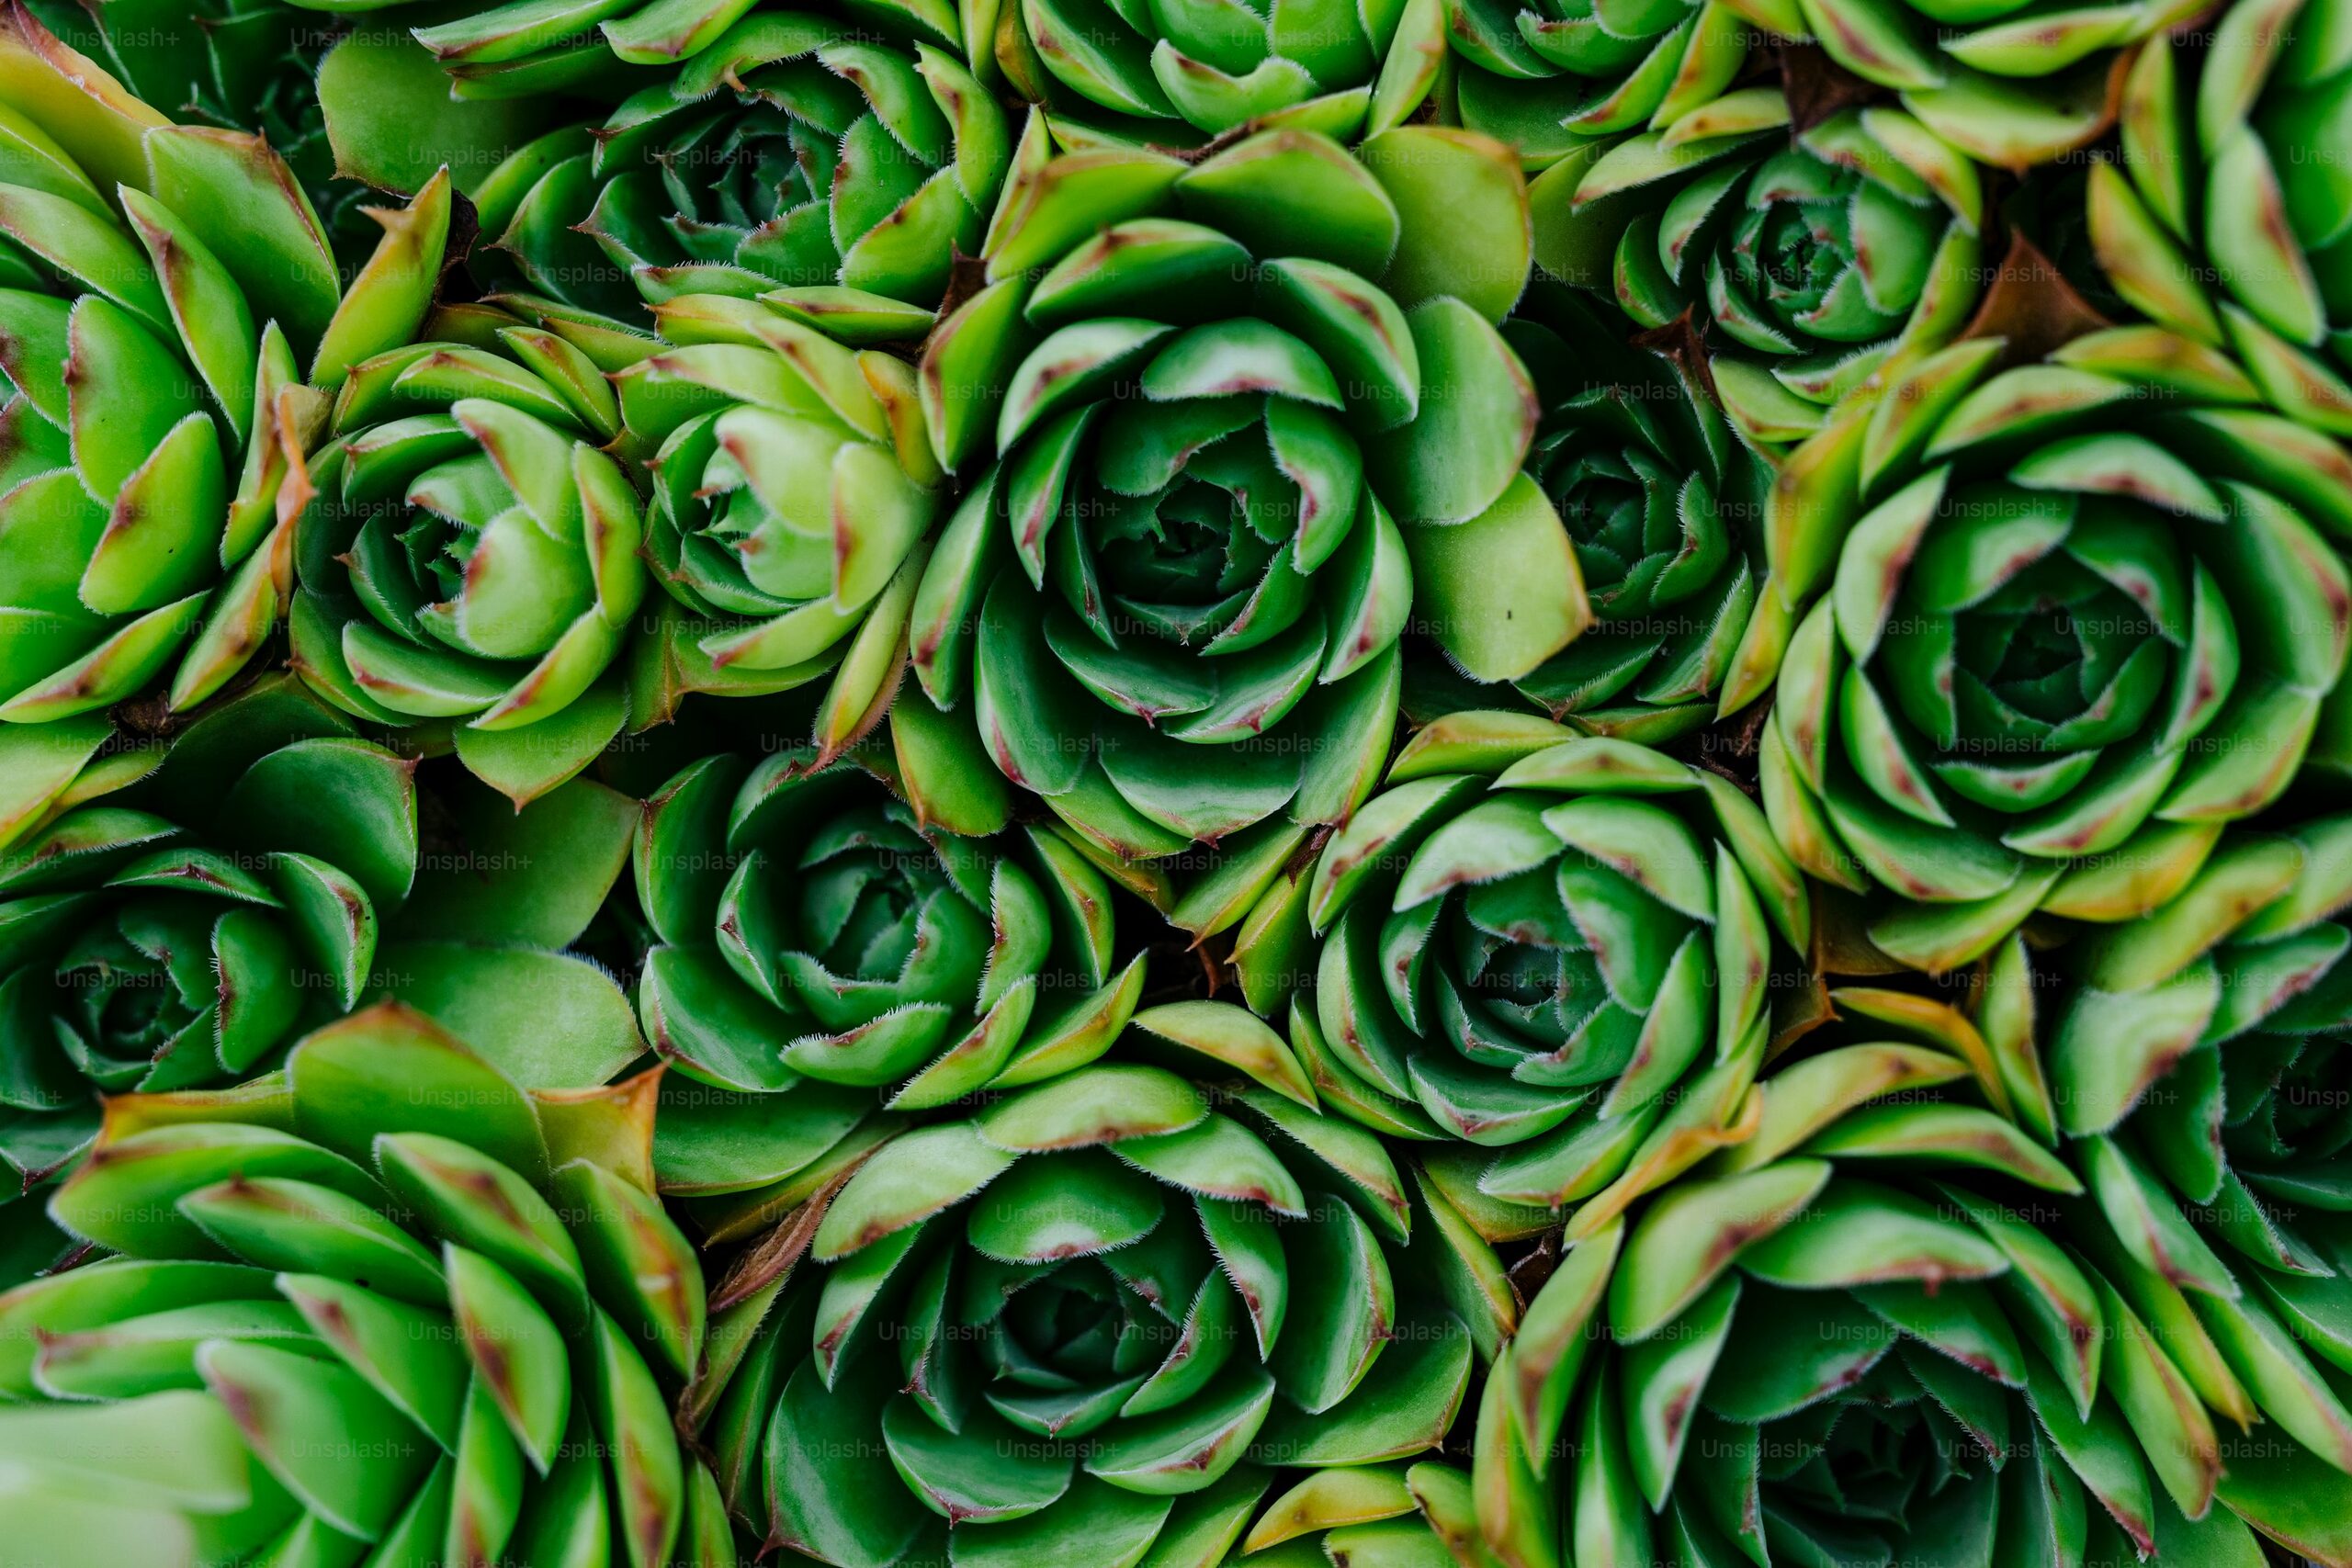
Think of Orostachys furusei—the Dunce Cap Succulent—as a tidy, lotus-like architect. Each rosette stacks neat, fleshy leaves into a perfect little tower, then quietly builds a colony. With one focused spring, you can turn a single crown into a future carpet—by dividing smartly, rooting the tiniest offsets fast, and sowing cool-temperature seed that pops into sturdy seedlings. Here’s the exact playbook.
Meet Orostachys furusei at a glance
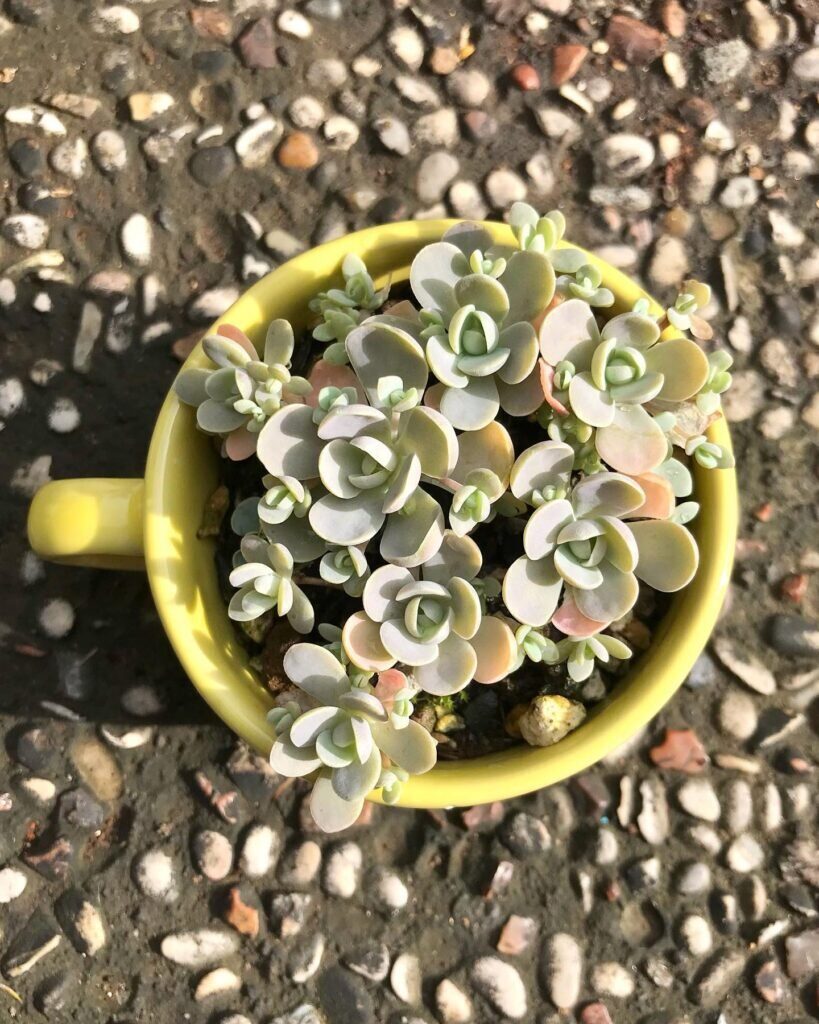
- Look: compact, orderly rosettes (about 5–15 cm/2–6 in across) that can form clumps with age; bright to bluish-green leaves layered like shingles.
- Lifestyle: a rosette-forming succulent from Southeast Asia; happiest in bright light, warmth, and a gritty, quick-drying mix.
- Quirk: like many monocarpic rosettes, a rosette may decline after flowering—snip the bloom stalk early if you want to keep a showpiece rosette longer.
- Light and temp: bright light to full sun with a little midday protection in scorching midsummer; best at 20–25°C (68–77°F). Not frost hardy—protect from cold; keep above 5°C (41°F) in winter.
Use these strengths to your advantage this spring—and you’ll double (or triple) your plant count for bigger clumps next season.
—
The spring division game plan
Spring is repot-and-divide season. You’ll refresh the mix, separate offsets, and reset spacing so clumps can bulk up before summer.
What you’ll need
- A perfectly draining mix: roughly 1 part fine compost (peat-free) to 2–3 parts mineral (pumice, coarse sand, or grit). Avoid rich, spongy soils.
- Shallow pot with drainage holes; wide bowls encourage clumping.
- Clean snips, a chopstick, and optional sulfur or cinnamon to dust cuts.
- Top-dressing grit to keep crowns dry and tidy.

Step-by-step
- Unpot gently
- Tap the pot and ease the root ball out. Tease away old mix with your fingers or a dry paintbrush—no soaking.
- Identify offsets
- Choose the side rosettes with their own bases. If an offset has a few roots, great; if not, treat it like a small cutting.
- Separate with care
- Snip or twist to detach at the narrowest point. Keep each rosette’s base intact.
- Dust fresh cuts lightly with sulfur/cinnamon.
- Callus (for unrooted pieces)
- Air-dry in bright shade for 24–48 hours before potting. Rooted offsets can be potted immediately.
- Replant shallowly
- Set crowns just above the surface, never buried. Backfill with gritty mix and top-dress with fine gravel to keep leaves dry.
- First water
- For rooted divisions: wait 3–5 days, then water once thoroughly and let the mix dry well.
- For unrooted: mist the surrounding grit lightly after potting, but don’t drench the crown. Give the first modest drink after 7–10 days.
Aftercare that accelerates clumping
- Light: place in very bright light right away; give brief midday protection if the sun is fierce through glass.
- Watering rhythm: in spring, go light—roughly every 3–4 weeks after the mix dries well, then adjust for your light, pot size, and airflow. Never leave the mix soggy.
- Feeding: during active growth, feed monthly at low strength (for example, a very dilute balanced 20‑20‑20). Stop in winter.
- Flower control: if a favorite rosette throws a spike, remove it early to reduce the chance of post-bloom decline and keep energy in clump-building.
Pro tip for faster carpets next season: plant several offsets 4–6 cm (1.5–2.5 in) apart in a single, shallow bowl. The lateral spread will knit together quickly under strong light.
—
Rooting tiny offsets fast (even pea-sized pups)
Those micro-rosettes near the mother’s base can become robust plants quickly with the right start.
The “pumice cradle” method
- Medium: pure pumice or a 2:1 pumice:perlite mix in a very small pot or tray cell. It drains lightning-fast and resists rot.
- Planting: nestle the callused offset so its base just kisses the medium; do not bury the leaves.
- Humidity: no sealed domes. If air is very dry, use a ventilated cover or place the tray inside a larger bin with the lid cracked for airflow.
- Temperature and light: aim for 20–25°C (68–77°F), bright light but not harsh midday sun at first.
- Watering cadence:
- Days 0–7: mist the medium around—never into the crown—every few days so it’s barely moist, not wet.
- Days 7–21: give a small perimeter drink, then allow to dry. Good airflow is essential.
- Root check: gentle “tug test” at 10–21 days. If there’s resistance, you have roots.
- Potting on: once roots are 0.5–1 cm long, move to the standard mix (1:2–3 compost:grit) and resume the light spring watering rhythm.
Troubleshooting
- Offset shrivels fast: medium too dry or heat too high—slightly increase moisture, move to bright, cooler light.
- Base turns mushy: too wet or poor airflow—unpot, reclean, recallus 24–48 hours, restart in drier medium.
—
Cool-temperature seed germination that actually works
Your secret to uniform seedlings: keep it cool. Orostachys furusei seed often germinates best around 13–18°C (55–64°F). Aim for gentle light, steady moisture in a free-draining surface, and patience.
When to sow
- Fresh seed is best—sow as soon as you have it.
- For a spring push, late winter to early spring indoors works beautifully if you can maintain that cool 13–18°C range.
Substrate and setup
- Bottom layer: your standard succulent mix.
- Top 5–8 mm (¼ in): a sifted, fine mineral layer (very fine pumice or grit) so seeds don’t sink and damping-off risk stays low.
- Containers: shallow trays or small pots with drainage.
- Watering method: bottom-water to dampen, then allow the surface to settle before sowing.
Sowing steps
- Sprinkle seed thinly on the mineral surface—don’t cover; they need light to germinate.
- Mist gently so the seeds make contact but aren’t washed into crevices.
- Cover loosely with a clear lid or film with several vents, or use a high-humidity propagation bin with generous ventilation.
- Light: bright, indirect light (no intense midday sun). Aim for long days if you have grow lights.
- Temperature: hold near 13–18°C (55–64°F). Avoid heat mats for this step.
After they pop
- Vent more each day after germination; keep the surface just moist, never sodden.
- At the “pinhead rosette” stage, begin a very dilute feed every 2–3 weeks.
- Potting-on: when seedlings are handleable (or rosettes ~5–8 mm across), lift with a label or spoon and transplant into a gritty mix, setting crowns high.
- Harden gradually into stronger light over 10–14 days.
By keeping germination cool and the root zone fast-drying from day one, your seedlings put on tight, compact growth—perfect for quick, even clumps next season.
—
Culture for speed: the three pillars
- Light: very bright to full sun with light protection in scorching midsummer, especially behind glass. Strong light keeps rosettes tight and fuels offsetting.
- Mix and watering: a gritty, fast-draining blend; water thoroughly then let it dry well. Spring: often just monthly, adjusted to your conditions. Summer: slightly more often during active growth—but never soggy. Autumn: taper. Winter: keep on the dry side above 5°C (41°F).
- Feeding: a low-strength balanced feed monthly during active growth; none in winter.
—
Keep it spotless: pests and problems
- Root rot: almost always cold, wet mix. Repot into a gritty blend, increase light and airflow, and water only after drying well.
- Mealybugs/scale: remove promptly with alcohol-dipped swabs; follow with horticultural oil or insecticidal soap as needed.
- Leaf spots (damp, stagnant air): thin crowded growth, keep foliage dry, and improve ventilation; remove affected leaves.
—
A quick seasonal calendar
- Spring: repot, divide, root offsets, and start cool-temp seed. Resume gentle watering and light feeding.
- Summer: maximum light with a hint of midday protection; water only after drying; offsets put on bulk.
- Autumn: ease off water; stop feeding; remove any bloom stalks early if you want to preserve rosettes.
- Winter: bright, cool, and dry above 5°C (41°F).
—
A note on symbolism (花语)
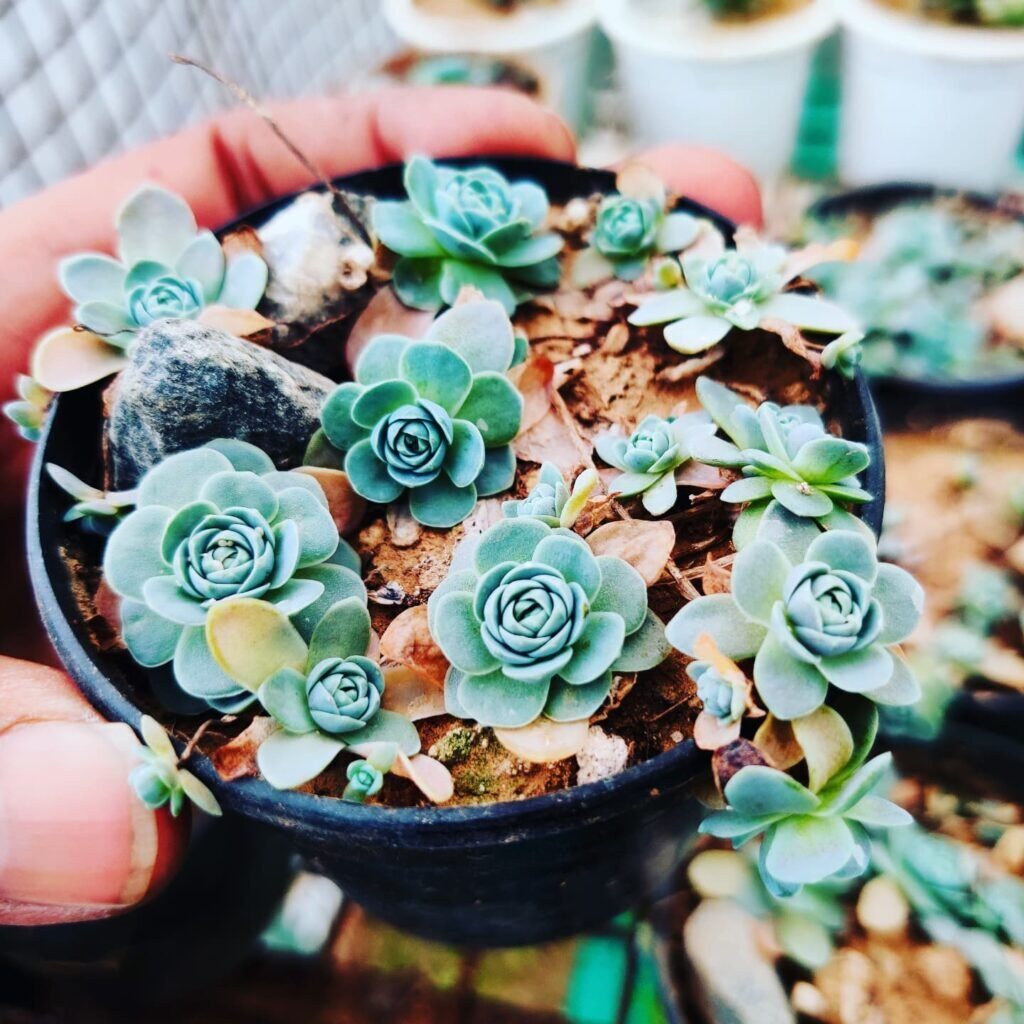
Orostachys furusei is often likened to a miniature lotus and celebrated for its “parent-and-children” look as offsets cluster around the mother rosette. In some circles this carries a quiet wish for family harmony and continuity. It’s less a formal, historic flower language than a gardener’s affectionate metaphor—born from how the plant naturally multiplies at its own feet.
—
Parting game plan for a fuller display next season
- This spring, divide and replant offsets into a shallow, wide bowl.
- Root the tiniest pups in a pumice cradle at 20–25°C with brisk airflow.
- Start a cool (13–18°C) seed tray for a uniform “nursery row.”
- Keep crowns high, light strong, mix gritty, and watering conservative.
- Nip any flower stalks early on prized rosettes.
Do that, and by next season your Dunce Cap Succulent won’t be a single pretty rosette—it’ll be a composed, sculptural clump that looks intentionally designed.