

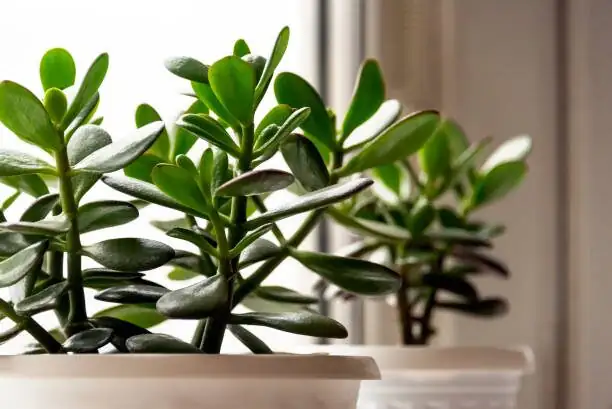
If you’ve ever trimmed a Jade Plant (Crassula ovata) and thought, “What a waste of perfectly good cuttings,” today’s the day your plant starts paying dividends. This tough, bonsai-like succulent is famously easy to multiply—by a single leaf or a short stem—and the secret to consistent success is timing, callusing, and a dry, gritty rooting mix. Below you’ll find step-by-step methods, media recipes that work, and the pro mistakes to avoid (especially watering too soon).
Before You Begin: Timing, Tools, and Safety
- Best season: Spring through summer, when the plant is actively growing. Rooting is faster and sturdier.
- Ideal conditions: Bright light (no harsh midday sun on fresh cuttings), 15–25°C (59–77°F), good airflow, low to average humidity.
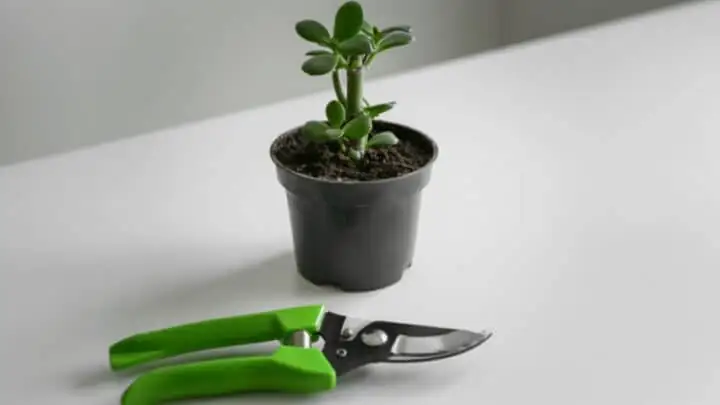
- Tools: Sharp scissors/pruners or a clean blade; 70% isopropyl alcohol to sterilize; clean pots with drainage; labels.
- Safety note: Jade’s sap can irritate skin and is toxic if ingested. Wear gloves if you’re sensitive; keep cuttings away from pets and kids.
The Best Rooting Media and Containers
Aim for fast drainage and plenty of air pockets. Succulents hate “wet feet,” and fresh cut surfaces are especially rot-prone.
- Reliable mixes:
- Cactus/succulent mix straight from the bag, or
- A simple 3:1 blend of regular potting substrate to sharp sand, or
- Cactus mix amended 30–50% with perlite or pumice for extra drainage.
- Prep it dry: Start with dry or barely damp medium. You’ll resist watering until roots form.
- Pots: Shallow trays or small pots with ample drainage holes. Terracotta helps wick moisture. Avoid oversized containers (they hold excess moisture).
- Top-dress (optional): A thin layer of coarse grit or pumice helps anchor leaves and keeps the base dry.
—
Stem Cuttings: From Callus to First Roots
Stem cuttings are the quickest way to a “mini tree.”
1) Select and cut
- Choose a healthy, non-flowering stem, pencil-thick or slightly thinner.
- Cut 7–12 cm (3–5 in) long, ideally with several leaf nodes.
- Make a clean, single cut; avoid crushing the stem.
Pro tip: If the lower leaves are crowded, gently remove the bottom 2–3 leaves to create a bare insertable stem. Keep the removed leaves for leaf propagation.
2) Let it callus
- Lay the cutting on a dry surface out of direct sun with good airflow.
- Callusing time: 2–7 days depending on thickness and humidity. The cut end should look dry, matte, and slightly firm—no stickiness.
3) Plant dry
- Insert the callused end 1–2 cm (about 1/2–3/4 in) into the dry, gritty mix. Firm lightly so it stands upright.
- No watering yet.
4) Give it bright, indirect light
- Place the pot at a bright window, shielded from harsh midday rays. Too little light risks rot; too much burns tender tissues.
5) Wait on water
- Do not water until roots begin forming. In typical spring/summer conditions, expect first roots in 2–4 weeks.
- Signs of rooting: resistance when you nudge the cutting, or subtle new leaf growth at the tip.
6) First sips only after roots
- When roots form, give a light drink that moistens, not saturates, the mix. Let it dry thoroughly before the next watering.
- Gradually increase to normal succulent watering: in active growth, water thoroughly only after the top and much of the mix has dried. Never let the pot sit in water.
7) Potting up and shaping
- After 6–8 weeks with good root development, repot into a slightly larger container with the same gritty mix.
- To encourage branching, pinch the tip once the cutting is actively growing. Multiple cuttings in one pot quickly create a fuller, bonsai-like shrub.
—
Leaf Cuttings: Tiny Starts, Big Patience

Leaf propagation is simple and satisfying, though slower than stems.
1) Choose a full, healthy leaf
- Gently twist to remove the entire leaf with a clean “heel” from the stem. Partial or torn leaves rarely root well.
2) Callus completely
- Rest leaves on a tray in bright, indirect light for 3–7 days. The torn end must dry and seal.
3) Position on dry mix
- Lay the leaf flat on top of the gritty medium, or tuck just the callused tip slightly into the surface. Do not bury the leaf.
4) Bright light, no direct midday sun
- Keep them warm (15–25°C) with good airflow.
5) Patience, then minimal moisture
- Over 4–6 weeks, roots and a tiny rosette (the “pup”) emerge where the leaf meets the mix.
- Hold off on watering until roots are forming; then, lightly moisten the surrounding mix and allow it to dry out fully before repeating. Avoid soaking the original leaf.
- As the new plant develops, the “mother leaf” will shrivel—that’s normal.
6) Potting the babies
- When the pup has several leaves and a modest root system, transplant carefully into a small pot with your gritty mix. Keep the new rosette above the soil line; avoid disturbing young roots.
—
Light, Temperature, and Airflow During Rooting
- Light: Bright and steady. A sunny windowsill with filtered light is perfect. Gradually acclimate to stronger sun only after roots and new growth are established.
- Temperature: 15–25°C (59–77°F) is ideal. Protect from cold drafts; keep above 5°C (41°F).
- Airflow: Good ventilation deters rot. Skip humidity domes—Jade prefers drier air.
—
The Most Common Pro Mistakes (and Easy Fixes)
- Watering too soon: The number one reason cuttings rot. Always wait for callus, then for first roots before any watering.
- Planting into a peat-heavy, soggy mix: Use a gritty, fast-draining medium.
- Skipping the callus step: Fresh, wet wounds + moisture = rot.
- Burying leaves too deeply: Only the callused tip should touch or barely enter the mix; keep most of the leaf exposed.
- Oversized pots: Extra soil stays wet longer. Use small, well-drained containers.
- Dim light: Encourages rot and leggy growth. Provide bright light from day one (filtered for tenderness).
- Immediate harsh sun: Sunburns fresh cuttings. Acclimate gradually over a couple of weeks.
- Fertilizing cuttings: Not needed until you have active new growth; even then, use a half-strength balanced liquid sparingly during spring–autumn.
- Poor tool hygiene: Sterilize blades to reduce infection risk.
- Letting pots sit in water: Always drain saucers; never allow soggy roots.
—
A Quick Timeline Cheat Sheet
- Day 0: Take cuttings/leaves.
- Days 2–7: Callus forms.
- Weeks 2–4 (stems): First roots; give the first light watering.
- Weeks 4–6 (leaves): Pups and roots appear; begin very light, infrequent watering.
- Weeks 6–8+: Pot up rooted cuttings; slowly acclimate to brighter sun. Resume normal watering cadence: only after the mix dries well.
—
Troubleshooting Your Cuttings
- Black, mushy base: Too much moisture before callusing or before rooting. Discard or recut well above damage, re-callus, and restart in drier conditions.
- Wrinkled but firm leaf: Mild thirst; you can lightly moisten the surrounding mix once roots are present.
- Shriveled, brittle cutting with no roots: Air too hot/dry or light too intense. Move to bright, indirect light and slightly cooler conditions; try a very light watering only if roots have begun.
- Pale, stretched growth: Not enough light. Move closer to a bright window.
- Pests (mealybugs/scale): Isolate, improve airflow/light, and treat with insecticidal soap or horticultural oil.
—
Aftercare for New Jade Plants
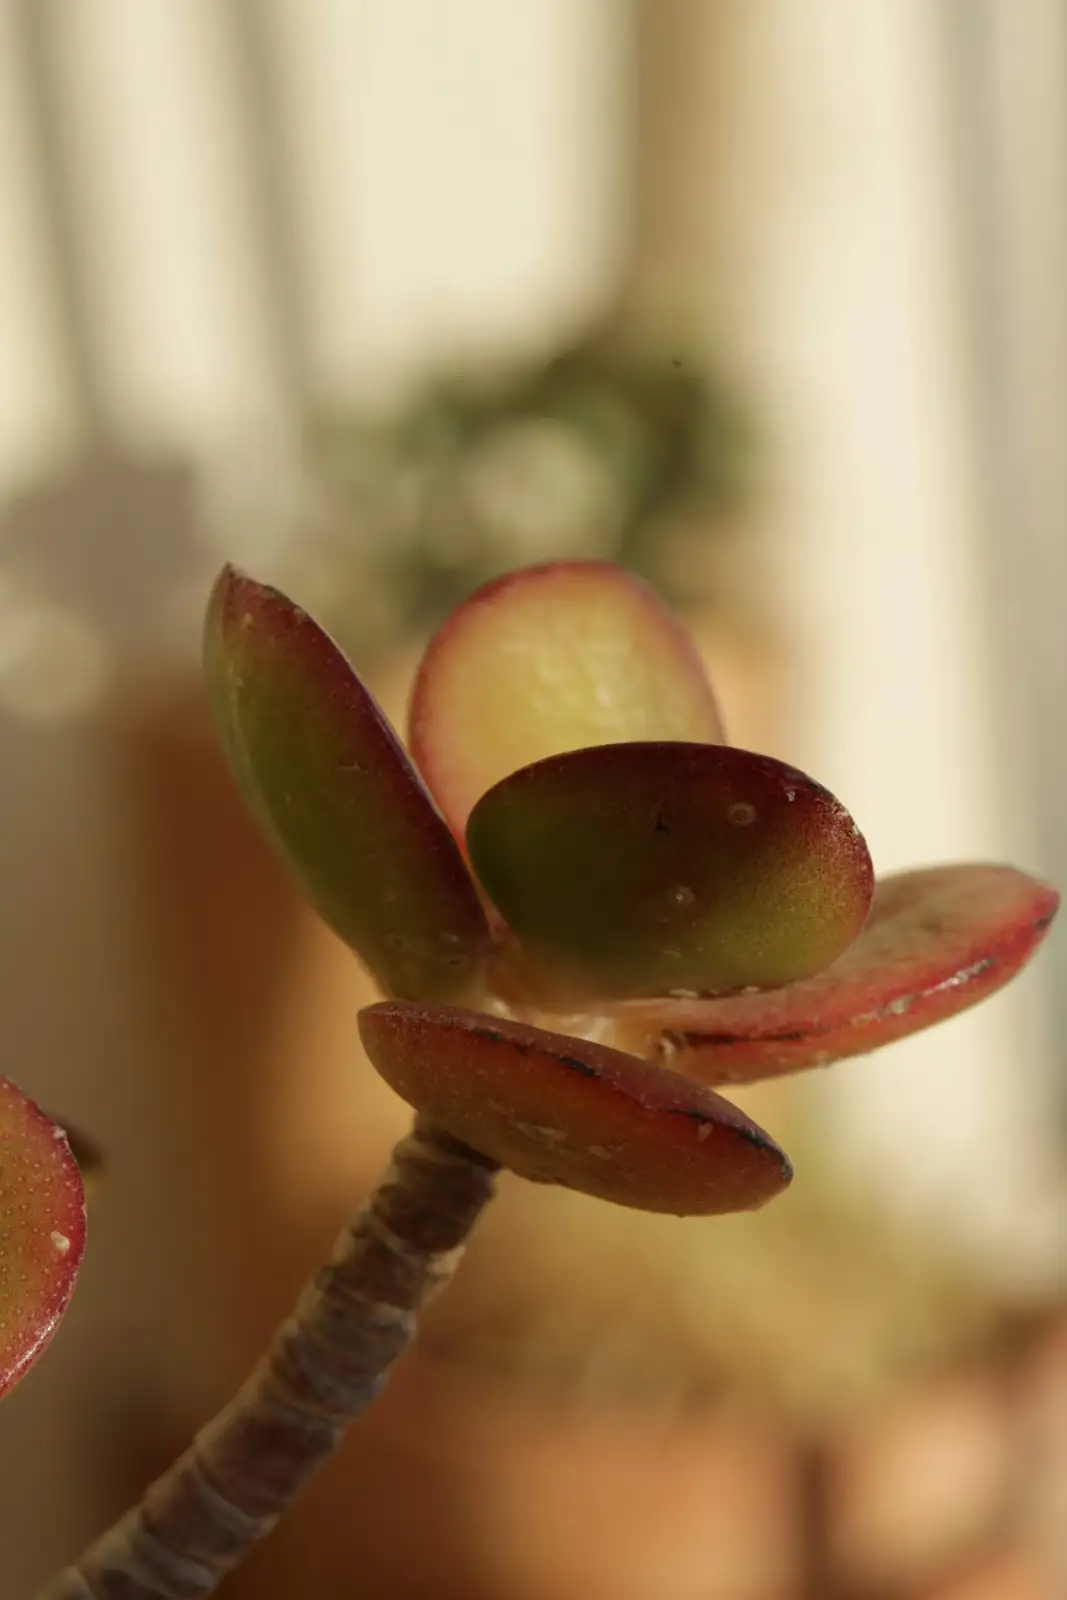
- Light: Graduate them toward more sun for compact, red-edged foliage and stout stems.
- Watering: Spring–autumn, water thoroughly only after the mix dries. In winter, water sparingly—just enough to prevent severe shriveling.
- Feeding: 2–3 times in active growth with a half-strength balanced liquid fertilizer. Skip in winter.
- Pruning and shaping: Pinch/prune in spring or summer to encourage branching. Let cut surfaces dry and callus before any watering.
—
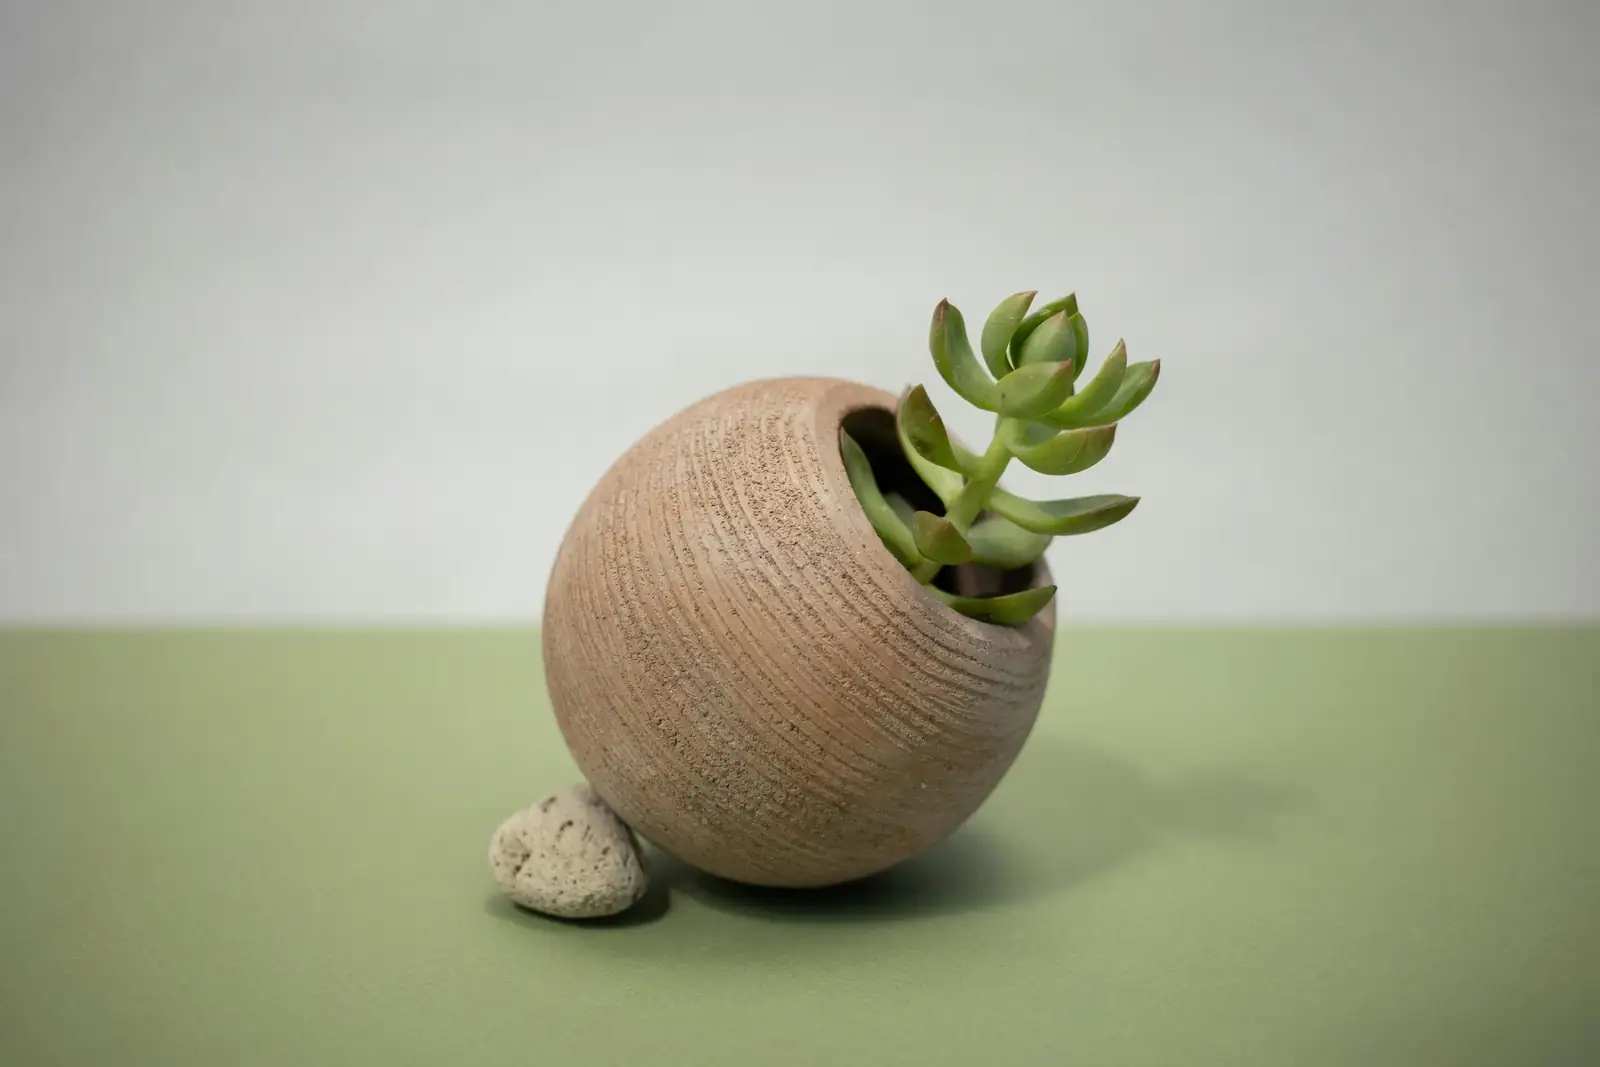
A Note on Symbolism
Jade Plants are often gifted as emblems of wealth and good fortune, especially in parts of Asia. That association likely stems from their longevity, coin-like leaves, and their reputation for thriving with modest care—easy prosperity in plant form. Whether you keep it for its sculptural charm or its lucky aura, a well-rooted cutting is a fitting start to a long-lived “prosperity tree.”
—
Quick Reference: What to Remember Most
- Callus every cutting or leaf fully before planting.
- Use a dry, gritty mix and a small pot with great drainage.
- Provide bright, indirect light and good airflow.
- Do not water until you see early signs of rooting—then water lightly.
- Keep it warm (15–25°C) and never let pots sit in water.
Multiply your Jade Plant with confidence, and you’ll soon have a windowsill forest of glossy, red-edged mini-trees—each one a little heirloom in the making.