

Imagine turning one Ripple Peperomia (Peperomia caperata) into a tray of tiny heart‑leafed clones—without the drama of rot or the guesswork of “is this even rooting?” This hands‑on guide gives you exactly that: proven media recipes, temperature and humidity targets, week‑by‑week milestones, and a rot‑proof game plan tailor‑made for tiny pots.
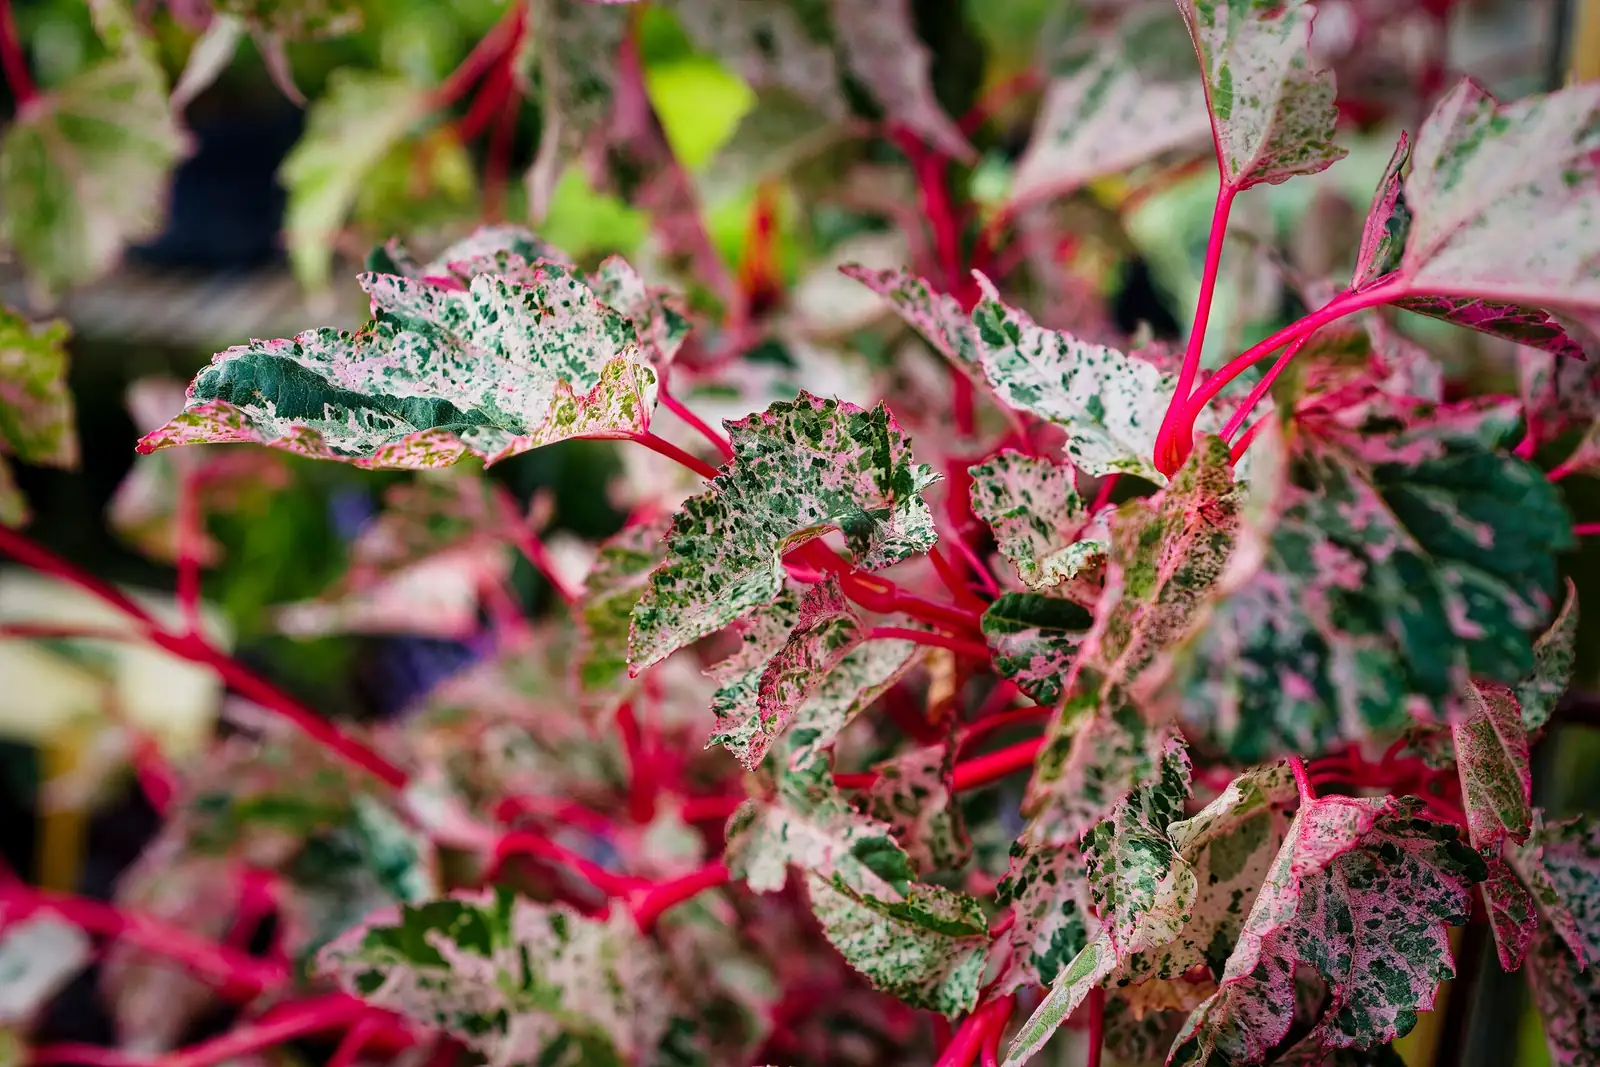
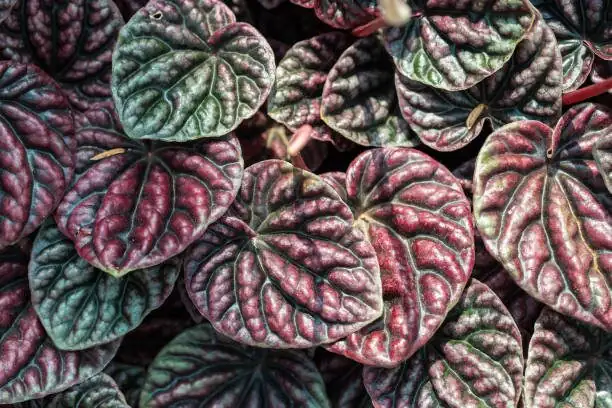
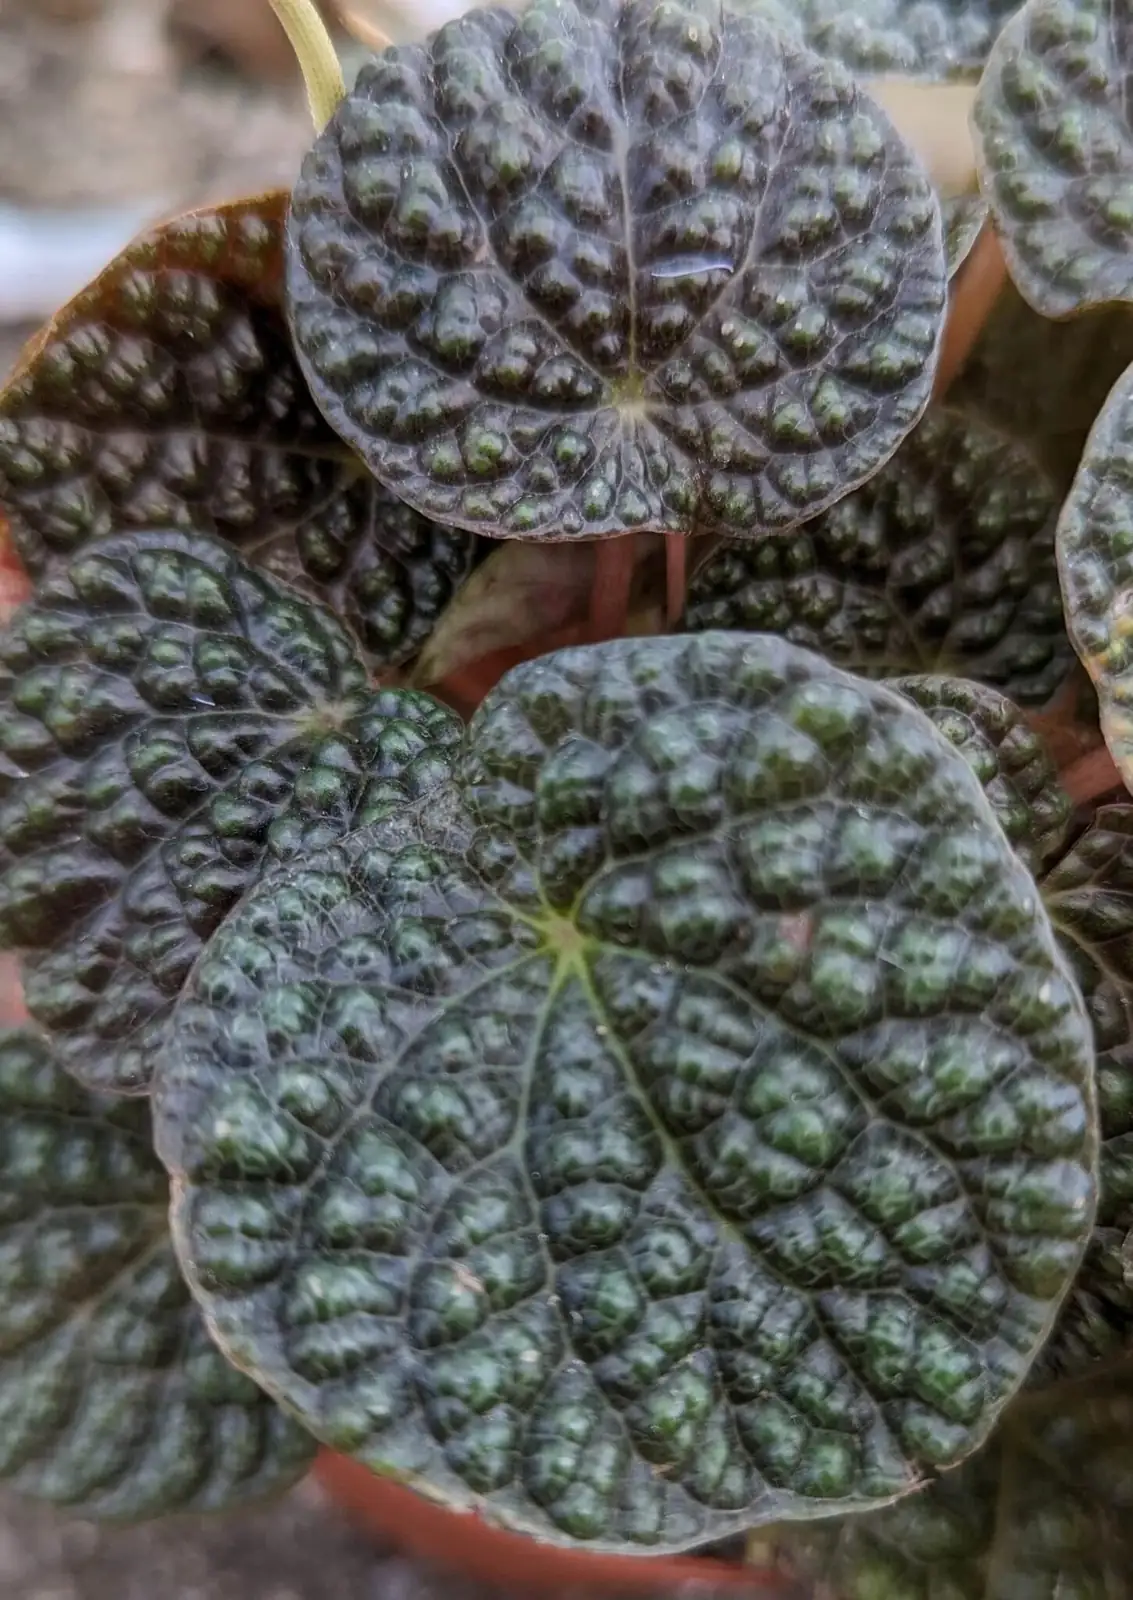
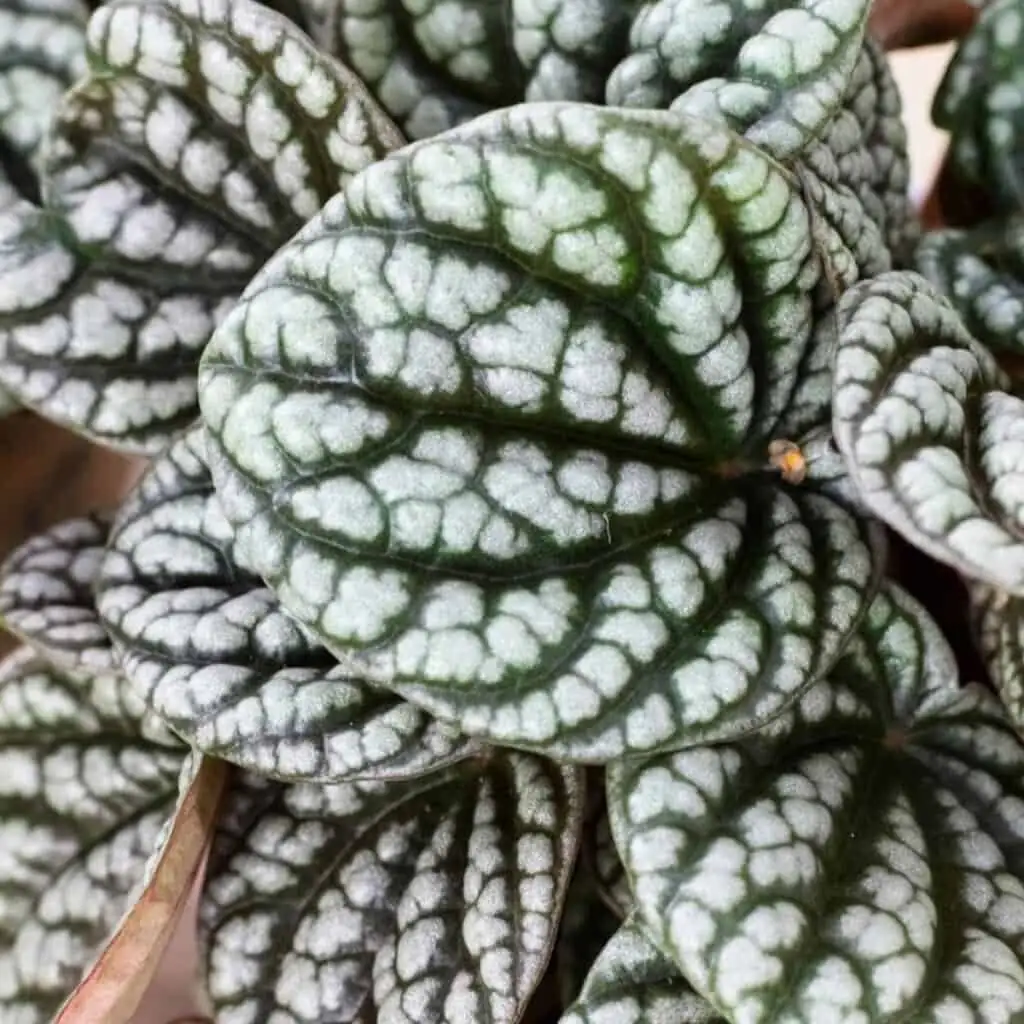
Peperomia caperata is a compact, tropical South American charmer (often from Brazil) with crinkled, heart‑shaped leaves that flash green to burgundy in bright, indirect light. It’s naturally forgiving—especially if you err on the dry side—which makes it a perfect candidate for propagation by leaf or stem cuttings.
When, where, and what you’ll need
- Best season: Spring to early autumn, when growth is active.
- Light: Bright, indirect light (no harsh midday sun).
- Temperature: Aim for 20–24°C (68–75°F) for rooting; never below 12°C (54°F).
- Humidity: Moderate to high (around 50%+). Skip misting—the ripples can trap water and spot. A pebble tray under the pot boosts humidity safely.
- Tools and supplies:
- Sharp, sterilized snips or a razor
- Tiny nursery pots or shallow propagation trays with lots of drainage (2–3 in / 5–7 cm diameter)
- Clear cover or vented dome (optional, for gentle humidity)
- Rooting hormone (optional but helpful)
- Labels and dates
Propagation media that resist rot (choose one)
All ratios are by volume. The goal: loose, airy, and fast‑draining.
1) Classic peperomia mix (easy and excellent)
- 2 parts high‑quality houseplant mix
- 1–1.5 parts perlite
- Optional: a pinch of fine orchid bark for extra air
2) Ultra‑airy for “heavy hand” waterers
- 1 part coco coir or peat moss
- 1 part perlite
- 0.5 part fine bark or pumice
3) Moss‑lite starter (for delicate leaf petioles)
- 1 part damp (not wet) long‑fiber sphagnum, gently fluffed
- 1 part perlite
- Top‑dress with a thin layer of perlite to keep petioles dry at the surface
Tip: Whatever you choose, it should feel springy in your fingers and never clump into a wet cake.
Temperature, light, and humidity targets (rooting sweet spot)
- Root‑zone temperature: 20–24°C (68–75°F). A heat mat set to ~21–23°C helps in cool rooms.
- Light: Bright, indirect; 10–12 hours daily. Avoid direct sun that can scorch the leaves.
- Humidity: 50–60% is perfect. Use a pebble tray or a vented dome; avoid sealed, wet terrarium conditions.
Stem cuttings: step‑by‑step
Great for quick results and for preserving any foliar coloration of your plant.
1) Select and cut
- Choose a firm, healthy stem tip with 2–3 leaves.
- Cut just below a node with sterile snips. Ideal cutting length: 5–8 cm (2–3 in).
- Remove the lowest leaf to expose a node.
2) Prep the cutting
- Let the cut end air‑dry 20–40 minutes to lightly callus.
- Optional: Dip the cut end in rooting hormone; tap off excess.
3) Plant
- Insert the cutting so the bare node is just below the surface.
- Firm the mix lightly so the cutting stands upright.
- Label with the date.
4) Water and cover
- Moisten the medium evenly, then let excess drain completely.
- Use a vented dome or a loose plastic cover only if your air is very dry. Keep air moving and avoid condensation dripping on leaves.
5) Position
- Bright, indirect light; warm, steady temperatures.
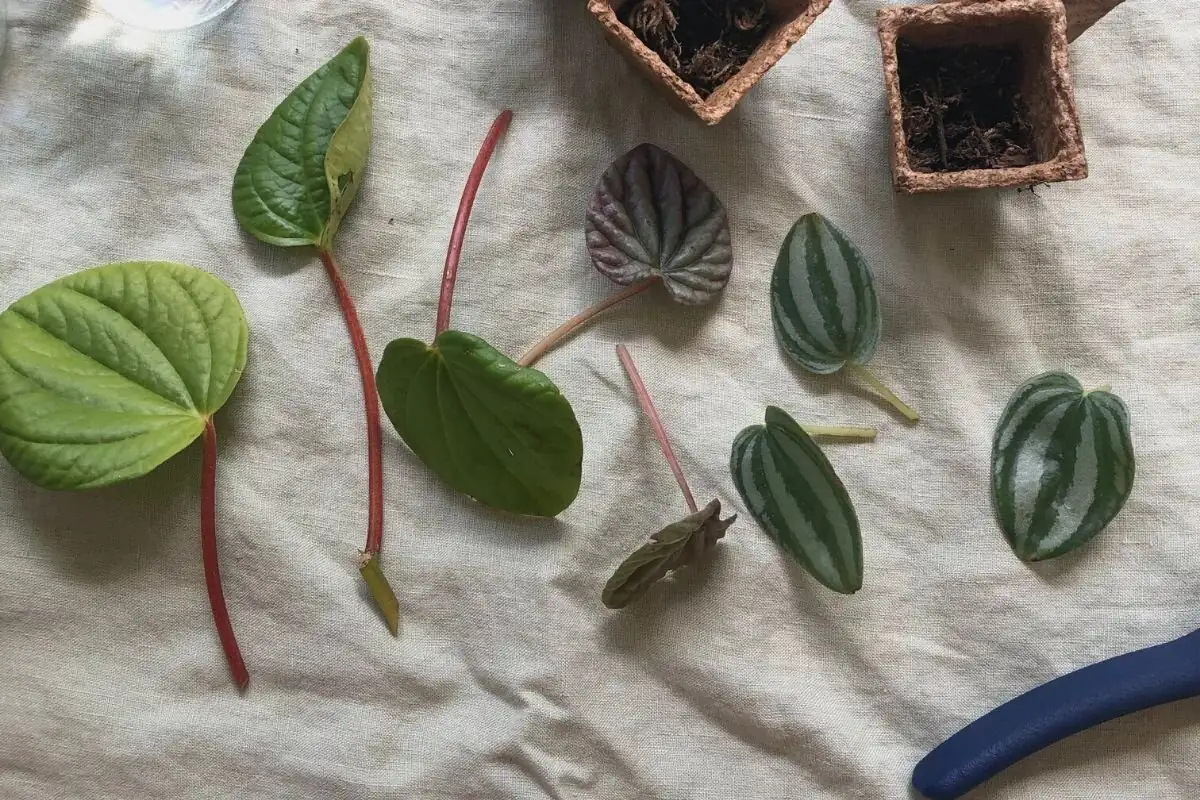
Leaf cuttings (with petiole): step‑by‑step
Perfect for multiplying a plant from a single showy leaf.
1) Select and cut
- Choose a mature, blemish‑free leaf with a short, sturdy petiole.
- Cut the petiole cleanly where it meets the stem.
2) Prep and callus
- Trim petiole to 1–2 cm (½–¾ in).
- Allow the cut to air‑dry 20–40 minutes.
3) Plant
- Make a pilot hole; insert the petiole so the leaf blade sits just above the surface and stays dry.
- Angle the leaf slightly to shed any stray moisture.
- Optional: A dusting of rooting hormone on the petiole base.
4) Water and position
- Gently moisten. Keep the leaf blade dry.
- Bright, indirect light; warm, steady temperatures.
Note: Peperomia caperata will often produce one or more plantlets from the petiole base. This is slower than stem cuttings but very satisfying.
Week‑by‑week rooting milestones
Timing varies with temperature and light, but this is a reliable roadmap at 20–24°C.
- Week 0
- Stem: Cut end calluses. No visible change above the soil.
- Leaf: Petiole calluses; leaf stays turgid if humidity is adequate.
- Week 1–2
- Stem: Tiny white root nubs form at the buried node. Gentle “tug test” offers slight resistance.
- Leaf: Petiole base begins rooting; leaf should remain firm. No plantlets yet.
- Week 3–4
- Stem: Roots extend 1–2 cm; first new leaf or bud may appear at the node.
- Leaf: First plantlet bumps appear at the petiole base; very small roots present.
- Week 5–6
- Stem: Several new leaves; cutting is stable. Consider potting up if roots circle lightly.
- Leaf: Baby plantlets expand their first leaves; wait until each has 3–4 leaves and a small root system before dividing.
- Week 7–8+
- Stem: Move to a 7–10 cm (3–4 in) pot with standard mix.
- Leaf: Carefully separate plantlets (if multiple) and pot individually into tiny pots.
If your progress is slower, review temperature, light, and watering—cool rooms and low light are the usual culprits.
Watering during propagation (and when to feed)
- Water cues: Let the very top of the mix just dry between waterings; keep the root zone lightly moist, never soggy.
- Method: Bottom‑water when possible to keep petioles and leaf bases dry. Drain fully.
- Fertilizer: None until you see new growth. Then feed at 1/2 strength once a month in spring–autumn. Hold fertilizer in winter.
Rot‑avoidance playbook for tiny pots
Rot is the only real villain here. Beat it with these habits:
- Size right: Use truly small pots (2–3 in / 5–7 cm). Oversized pots hold excess water.
- Drainage first: Abundant drainage holes; consider unglazed clay for extra breathability.
- Airy mix: Err on the side of more perlite. Top‑dress with a thin perlite layer to keep stems dry.
- Callus time: Always let cut surfaces dry 20–40 minutes before planting.
- Water wisely: Lightly and infrequently. Bottom‑water, then drain completely. Never leave pots standing in water.
- Gentle humidity: Pebble tray or a vented dome. Avoid trapped, dripping condensation.
- Clean tools and pots: Sterilize snips; wash reused pots. Wipe leaves to improve airflow and deter pests.
- Warmth and light: Keep 20–24°C (68–75°F) and bright, indirect light to speed rooting and reduce sitting moisture.
- Quick triage: If a petiole softens or blackens, unpot, trim back to healthy tissue, dust with cinnamon or fresh hormone, repot in fresher, airier mix, and reduce watering.
Potting up and early care
- When to pot up: Stem cuttings once roots are 2–3 cm and you see new leaves; leaf‑propagated plantlets once each has 3–4 leaves.
- Pot size: 7–10 cm (3–4 in) with a loose, well‑draining houseplant mix amended with a generous handful of perlite.
- Placement: Bright, indirect light in a warm, steady room. Bathrooms and kitchens often suit them thanks to gentle humidity.
- Routine: Water when the surface dries in spring–autumn; keep almost dry in winter. Feed monthly at half strength in the growing season.
- Long term: Peperomia caperata stays compact (about 25 × 25 cm). Repot every 2–3 years or when comfortably rootbound. In summer, you may see slender cream‑to‑pale‑green flower spikes—quirky, candle‑wick accents above the foliage.
Troubleshooting quick‑fix guide
- Mushy petiole or stem base: Overwatering or stagnant air. Unpot, trim to healthy tissue, replant in a drier, airier mix; increase airflow and reduce watering.
- Leaf shriveling without rot: Too dry or too bright. Lightly moisten, move a bit farther from light, raise humidity via pebble tray.
- No roots after 4–5 weeks: Too cool or dim. Warm to 20–24°C and increase indirect light.
- Pale, stretched new growth: Insufficient light. Move to brighter, indirect exposure.
- Fungus gnats or algae on soil: Surface staying wet. Add perlite top‑dress, water less often, improve airflow.
Safety, pests, and a little meaning
- Pets: Generally considered non‑toxic to cats and dogs, though nibbling any plant can cause mild stomach upset.
- Pests: Mealybugs, spider mites, and scale can appear in dry air. Wipe leaves, improve airflow, and treat early with insecticidal soap or horticultural oil if needed.
- Symbolism: Ripple Peperomia often stands for quiet resilience and gentle charm—its sculptural leaves look like living art. Think of those ripples as a reminder that subtle textures can carry real strength.
With the right mix, warm roots, and a light watering hand, Peperomia caperata propagates beautifully—no drama, just a steady reveal of new hearts from old. Happy cloning!