

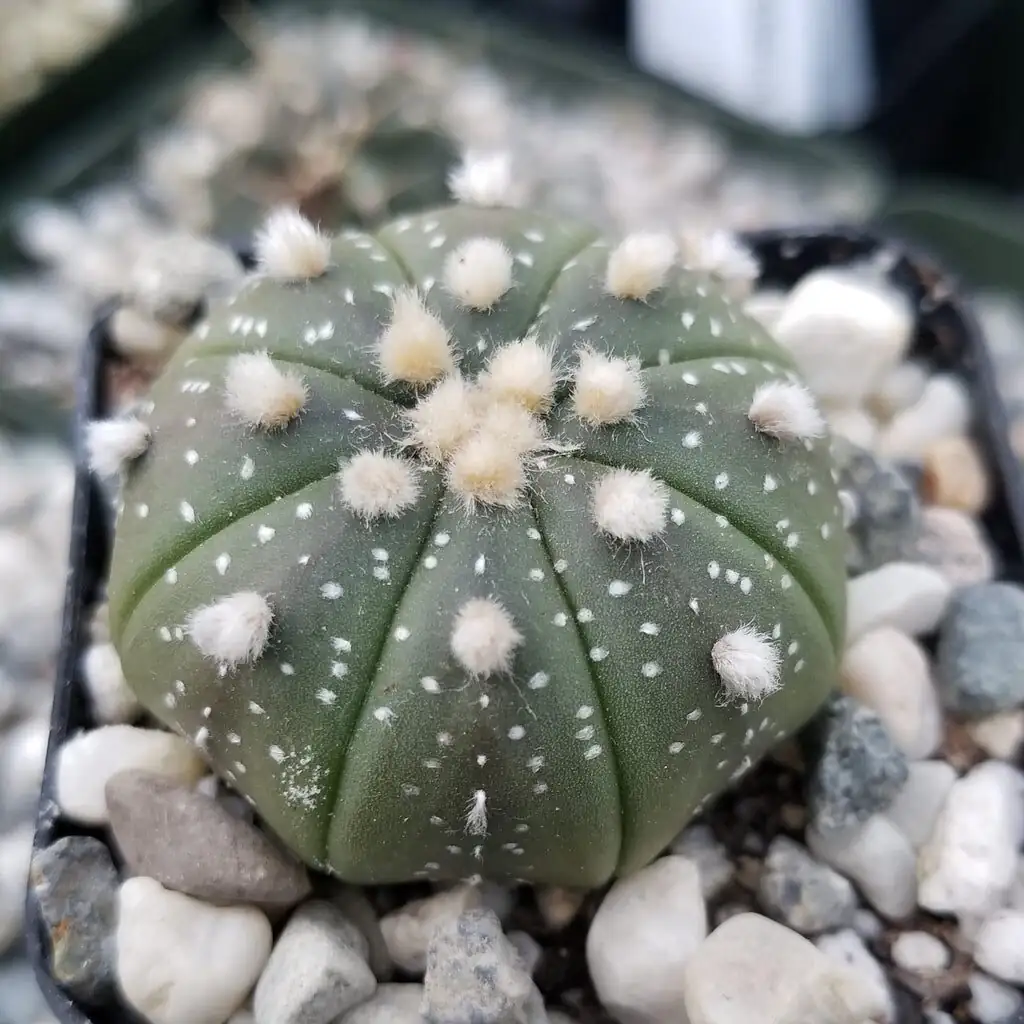
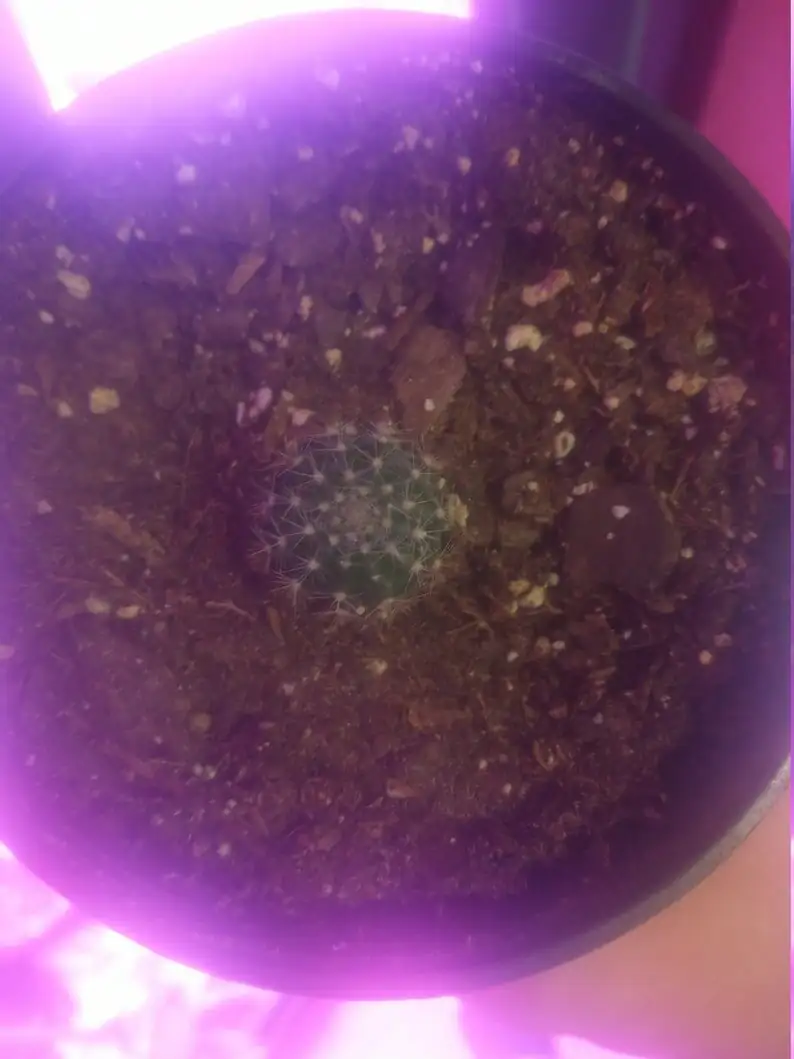
If you’ve ever watched your Sandcastle Cactus build its quirky turrets—those rounded little side stems climbing around a ribbed main column—you’ve seen nature’s invitation to propagate. This clustering, novelty cactus practically writes its own lesson plan: grow a healthy mound, pop offsets (pups), and hand you ready-made clones. The trick is nailing the timing, the callus, the gritty mix, and that all-important first sip of water for fast, safe rooting. Let’s turn those turrets into new castles.
Meet the plant (and why its pups are propagation gold)
- Trade name: Sandcastle Cactus (exact species/cultivar not confirmed)
- Family: Cactaceae; clustering/offsetting habit
- Look: A ribbed central stem with many small, rounded offsets—your “mini keeps”
- Flowers: Brief, pink, summer blooms that can open and fade in a day
- Light and climate: Bright light to full sun; happiest at 18–30°C (64–86°F). Keep well above 5–10°C (41–50°F), especially if the soil isn’t absolutely dry.
Because this plant naturally throws offsets, propagation by pups is not just easy—it preserves the exact form you bought. No genetic surprises, just more of that knobbly, sculptural charm.
The four pillars of fast, rot-free rooting
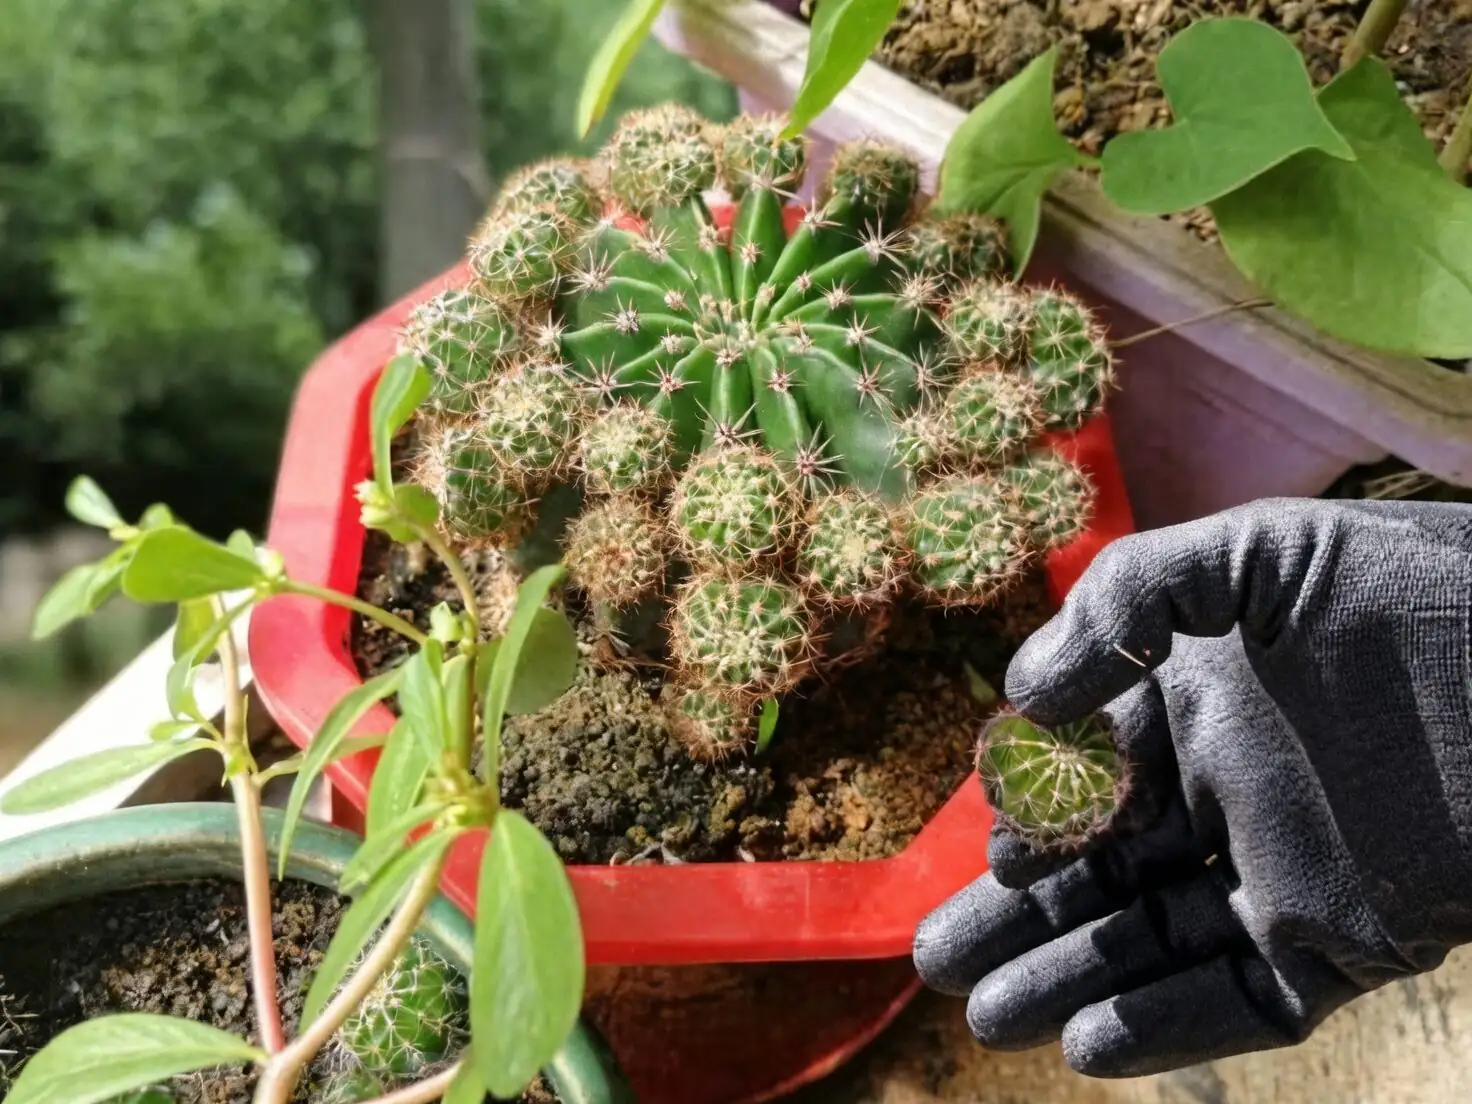
1) Remove offsets at the right moment
2) Callus correctly (no shortcuts)
3) Use a truly gritty, free-draining mix
4) Time the first water precisely (not a drop too soon)
Let’s master each.
—
1) When to remove offsets (and which ones to choose)
Best season
- Aim for warm, bright months with plenty of daylight—spring through summer is ideal. Growth hormones are high, wounds seal faster, and roots initiate more readily.
The perfect offset
- Size and maturity: Choose firm, well-formed pups with obvious areoles and spines—about marble to walnut size is a sweet spot for most clustering forms.
- Firmness: The pup should feel solid, not squishy.
- Position: Choose pups with a narrow “neck” or clear seam where they meet the mother—clean separation, cleaner callus.
Tools and prep
- Thick gloves or tongs (spines can be sneaky)
- A sterile, sharp knife or scalpel
- Optional: powdered sulfur or cinnamon (light dusting helps keep the wound dry and clean)
- A bright, airy place to dry the cut
How to separate
- Try a gentle twist. If the pup resists, use a sterile blade to cut as close to the mother plant as possible, keeping the pup’s base tidy. Avoid ragged tissue—it lengthens healing time.
—
2) How long to callus (and how to know it’s ready)
Offsets from clustering cacti root quickest when their cut ends are dry, matte, and leathery—never sticky or glossy.
- Typical callus window: 3–7 days.
- Environment matters: Provide bright, indirect light, good airflow, and low to average humidity. If your air is very humid, give the offset more time until the cut is fully dry and firm to the touch.
- What “ready” looks like: The wound surface darkens slightly and feels hard or corky. No moisture on the cut, no give under gentle pressure.
- Pro tip: Stand pups upright on a clean tray so sap drains away from the cut. Dusting the cut with a pinch of sulfur is optional but useful in muggy climates.
Avoid the two classic mistakes:
- Potting before the cut is dry (fastest way to rot)
- Letting offsets bake in hot, direct sun while callusing (they’ll shrivel)
—
3) The ideal gritty mix (built for air, not water)
Your mission: abundant pore space, quick drainage, and minimal fines that clog airflow around new roots.
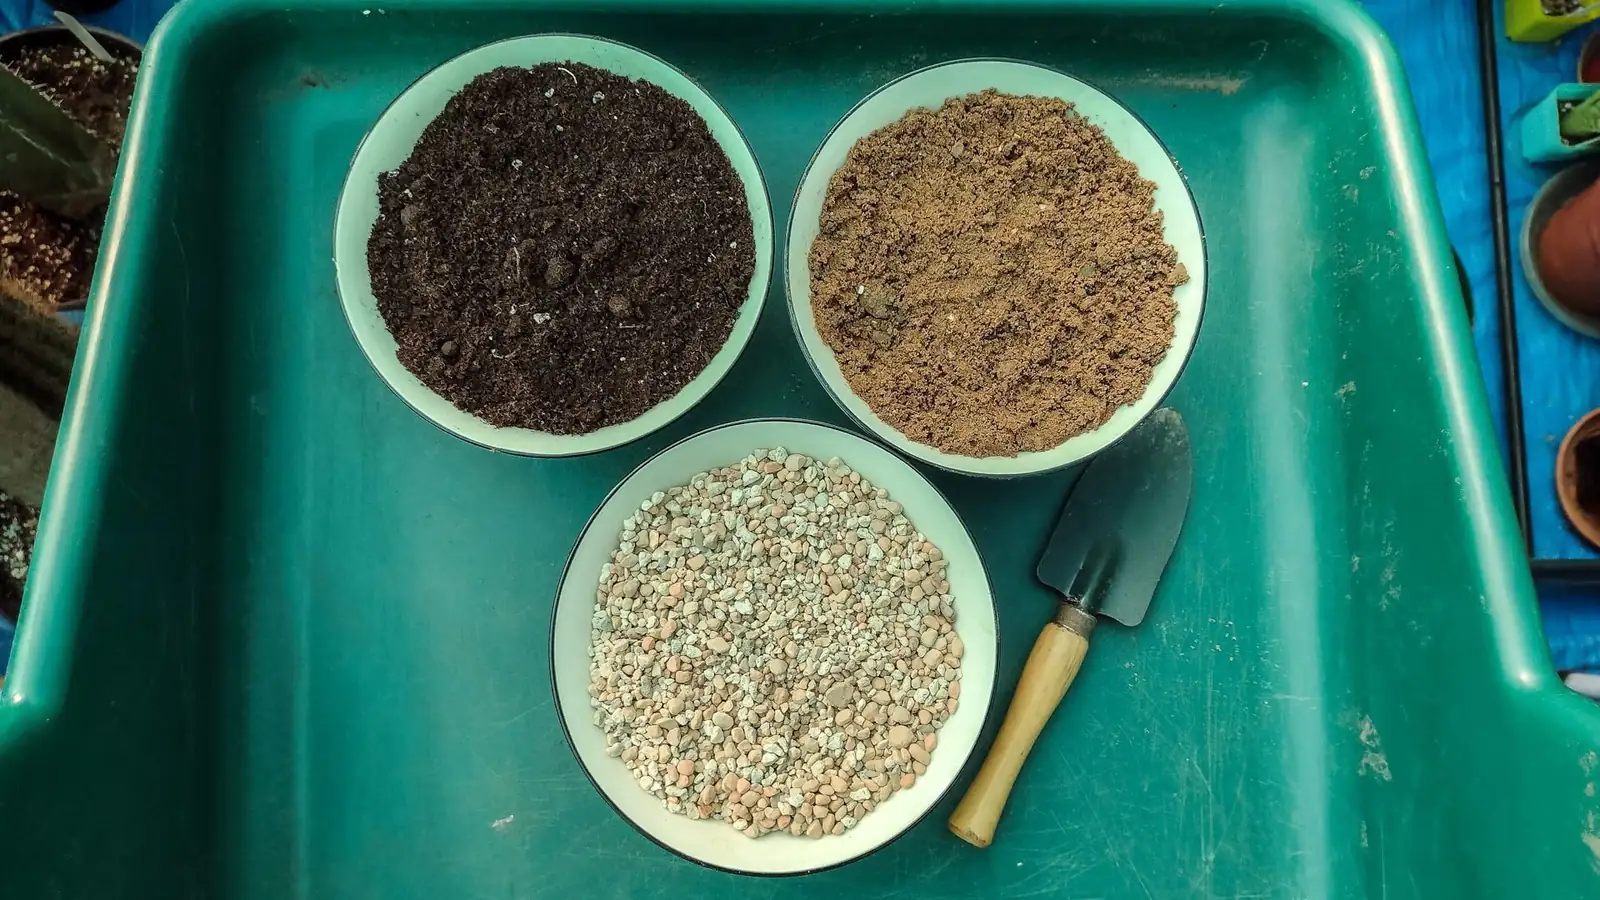
Reliable, cactus-first recipes
- Standard indoor mix (balanced for most homes):
- 40% pumice or horticultural perlite (chunky grade)
- 30% 1/8–1/4 in lava rock or similar mineral
- 20% coarse horticultural sand (washed)
- 10% high-quality cactus/succulent soil (sifted to remove fines)
- Extra-dry, sun-drenched setups (greenhouse, bright balcony):
- 50% pumice
- 30% lava rock
- 20% coarse sand
Tips:
- Sieve or rinse ingredients to remove dust/fines.
- Use a pot with generous drainage; unglazed terracotta breathes and speeds drying.
- Top-dress with gravel to hold pups steady and keep the crown dry.
—
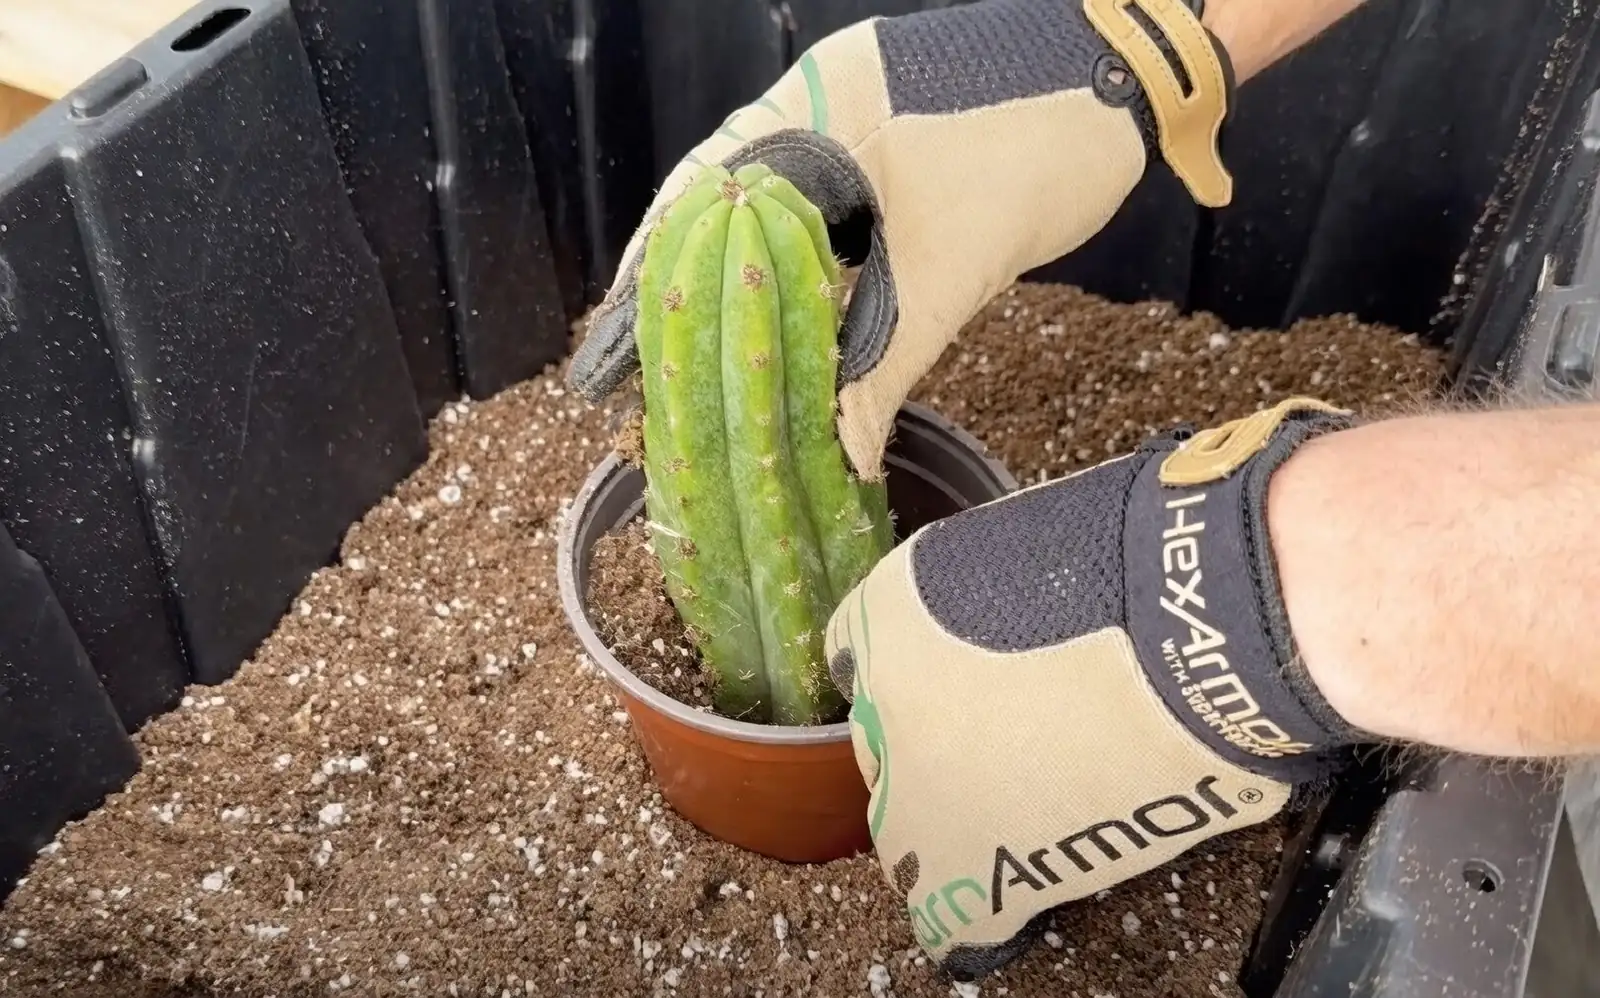
4) Planting depth and first-water timing (for fast roots)
This is where mastery shows.
Set, don’t sink
- Place the callused pup on top of dry, gritty mix, or nestle it just 2–3 mm into the surface so it stands upright. The goal is stability without burying tender tissue.
Light during rooting
- Bright, indirect light at first. After you see rooting cues (below), increase sun gradually. Full sun is the long-term goal, but acclimate to prevent scorch.
Temperature sweet spot
- 18–30°C (64–86°F) favors quick rooting. Ensure strong airflow in warm conditions.
When to water (the golden rule)
- Keep the mix dry until roots start forming. Then begin very light watering.
- Signs roots have begun:
- A gentle tug meets resistance
- New spine/fuzz development or a subtle swell at the apex
- You spot root tips if using a clear or mesh-sided pot
How to water once roots initiate:
- First sips: Lightly moisten the outer ring of the potting mix; don’t drench. Let it fully dry between any light drinks.
- After 2–3 light waterings and clear resistance to a tug, graduate to a deeper soak—but only in bright, warm conditions. Then always let the pot go completely dry before watering again.
Never leave the pot standing in water.
—
A fast-rooting game plan (day-by-day cues)
- Days 0–3: Pup is separated and callusing in bright shade with airflow.
- Days 4–7: Wound is corked and dry; set pup on dry gritty mix. Bright, indirect light; warm temps.
- Days 10–21: Check for rooting cues (tug test, new spines). Only after you confirm roots are forming, give the first light perimeter drink. Keep drying cycles long.
- Weeks 3–6: Gradually increase light, spacing, and depth of waterings as a small root system establishes. By now, growth should be visible in good conditions.
Note: Cooler weather slows everything. In winter, you can hold callused pups on dry mix and postpone watering until spring if growth is dormant.
—
Troubleshooting the tricky bits
- Soft base or blackening: Stop immediately. Unpot, cut back to healthy tissue with a sterile blade, dust the wound, and re-callus fully before trying again.
- Shriveling: Mild wrinkling is normal during callus and early rooting. If severe, improve airflow/light balance and confirm you’re not baking the pup in direct sun. Only offer a light drink once you know roots have begun.
- Mealybugs in crevices: Dab with alcohol on a cotton swab and increase airflow/light. Inspect offsets carefully before potting.
- Wobbly pup: Use top-dress gravel or a bamboo stake sling. Movement can snap tender new roots.
—
Aftercare once rooted
- Light: Acclimate to stronger sun over 1–2 weeks. This cactus eventually loves 4–6+ hours of direct light if built up gradually.
- Water: Deeply, then let the mix dry out completely before watering again. In warm, bright weather this may be every 10–21 days; in winter, very sparing.
- Feeding: Spring–summer only, with cactus fertilizer at 1/4–1/2 strength every 4–6 weeks. Skip in winter.
- Repotting: Every 2–3 years or when root-bound, ideally in spring. Keep dry for 5–7 days after repotting to reduce rot risk.
—
Safety and season notes
- Spines and sap can irritate skin—use gloves, especially when twisting pups from tight clusters.
- Not frost-hardy; outdoor year-round only in frost-free zones. Bring under cover for prolonged rain.
—
Quick seasonal checklist for propagators
- Spring–Summer: Maximum light, warm temps, take offsets, callus 3–7 days, set on dry gritty mix, first light water only after roots begin.
- Autumn: Reduce watering frequency as light wanes; continue bright exposure and airflow.
- Winter: Keep bright but much drier and, if possible, cooler. Hold unrooted pups dry until conditions improve.
—
Parting encouragement
Propagation is equal parts patience and precision. Choose sturdy pups, give them a textbook callus, seat them on a truly airy mix, and hold back water until the plant tells you it’s ready. Do that, and your Sandcastle Cactus will reward you with a growing citadel of turrets—each one a small victory in the art of cactus craft.