

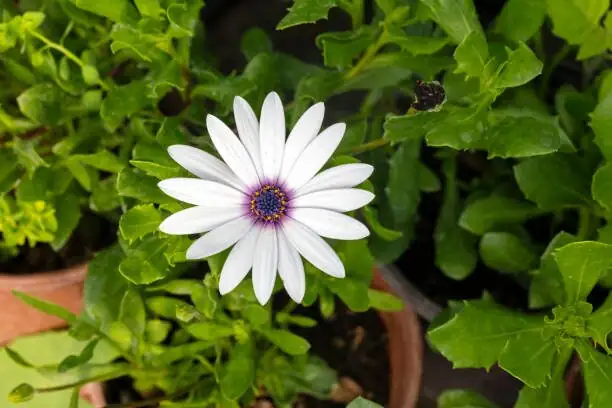
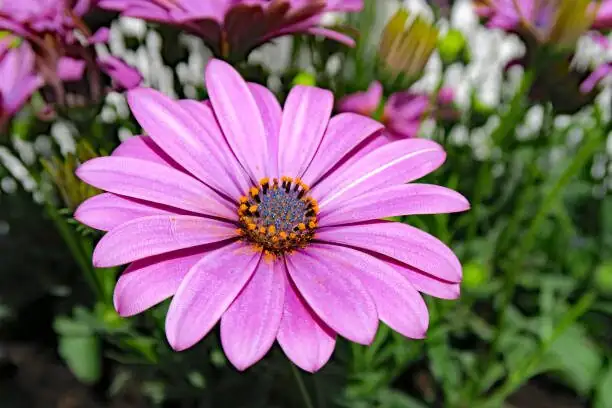
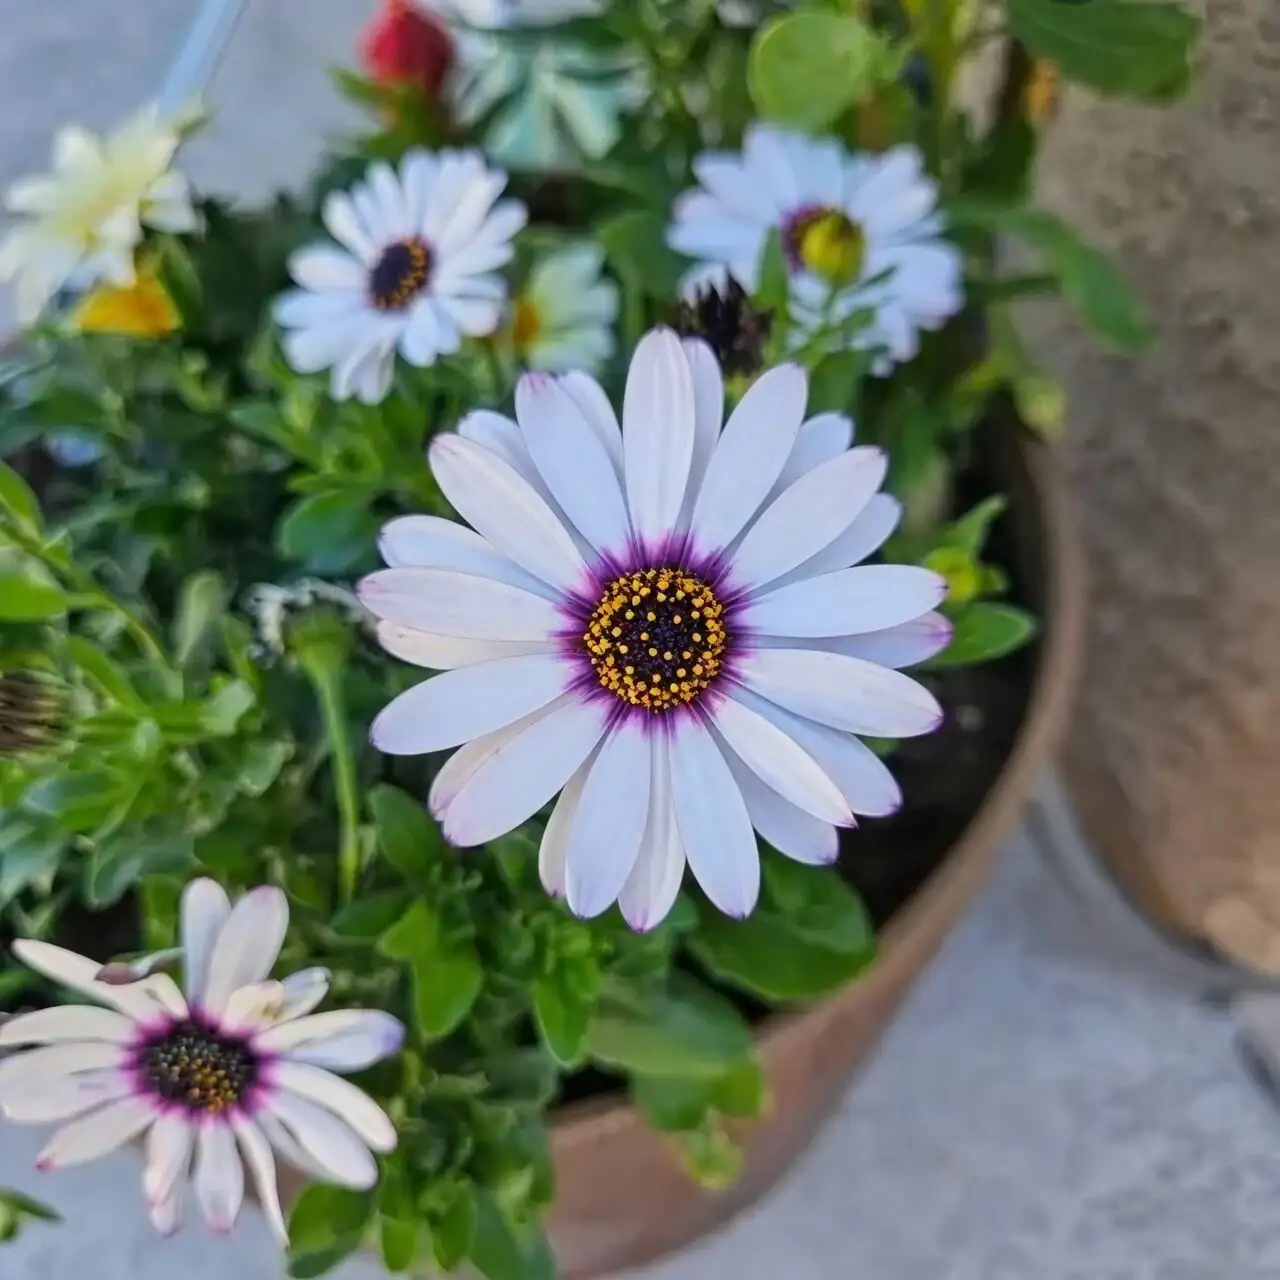
Few plants wear sunshine as well as Falling Stars Cape Daisy (Osteospermum ecklonis). Those soft, sky‑blue daisies with their darker “eye” make patios glow from early spring right into fall. But there’s one thing this South African native won’t forgive in a container: a wet, airless root zone. With the right pot, a smart soil blend, and a watering rhythm that suits the plant—not your calendar—you can keep roots and crown safe, spot stress early, and rescue plants before they collapse.
Meet your plant, meet its preferences
- Name: Osteospermum ecklonis (aka Cape Daisy, African Daisy, Blue‑Eyed Daisy, Falling Stars)
- Origin: Cape region of South Africa
- Habit and size: Compact, mounding to spreading; 20–45 cm tall and 30–60 cm wide
- Blooming: Early spring through fall (longest in cool-to-mild weather)
- Light: Full sun for best flowering (aim for 6+ hours daily)
- Temperature sweet spot: 10–24°C (50–75°F); protect from hard frost
- Drainage mantra: Well‑drained, moderately fertile soil; dislikes persistently damp, stagnant conditions
Why the fuss about drainage? Root and crown rots thrive in warm, wet, poorly aerated media. Osteospermum is among the ornamentals that can get nailed by these “water molds” (Phytophthora and friends) when pots hold moisture too long.
The rot problem in containers—what it looks like and what triggers it
- What happens: Overly wet media suffocates roots. Opportunistic pathogens move in. Roots turn brown/black, mushy, and smelly; crown tissue can darken at the soil line. Plants wilt even when soil is wet and may collapse quickly.
- Common triggers
- No drainage holes or plugged holes
- Oversized pots that hold big pockets of unused wet mix
- Peat‑heavy soil with too little coarse material
- Saucers left full of water; self‑watering reservoirs mismanaged
- Prolonged cool, low‑light weather combined with frequent watering
- Standing water after heavy rain, or cramped airflow
Pot choice that fights rot
Choose a container that keeps oxygen moving and water leaving.
- Drainage holes: Non‑negotiable. Multiple holes are better than one.
- Size: When repotting, go up just one size (2–5 cm / 1–2 in wider). Too-big pots leave a “perched water table” around young roots.
- Materials
- Terracotta: Breathable and forgiving if you tend to overwater; dries faster.
- Glazed ceramic or plastic: Hold moisture longer—fine for hot, windy sites if your mix is extra‑gritty.
- Fabric grow bags: Excellent air pruning and drainage; water a bit more often.
- Shape and setup
- Use pot feet to lift the base and keep holes clear.
- Avoid deep cachepots unless you can empty runoff promptly.
- Plant so the crown sits slightly high; a gentle “muffin top” keeps water from lingering at the stem.
Container soil recipes that keep Cape Daisies smiling
Principles first: fast drainage, steady but not heavy nutrition, and lots of air around roots. Avoid garden soil and dense, peat‑only mixes.
All percentages are by volume.
- Classic fast‑drain mix (most climates)
- 40% fine pine bark (or composted bark)
- 30% perlite or pumice
- 20% coconut coir or peat
- 10% coarse horticultural sand or small grit
- Optional: slow‑release fertilizer at label rate for flowering plants
- Heat and wind mix (hot, dry sites that desiccate pots)
- 40% high‑quality potting mix (coir or peat based)
- 30% fine pine bark
- 20% perlite or pumice
- 10% mature compost (well sifted; don’t overdo)
- Tip: Shade the pot, not the plant—wrap dark containers or cluster with others to reduce sidewall heat.
- Cool, humid, or rainy‑season mix (maximum drainage)
- 50% fine pine bark
- 30% perlite or pumice
- 20% coir or peat
- Optional: 5% extra grit blended in; top‑dress lightly with 0.5–1 cm gravel, keeping it away from the crown
What to skip:
- Water‑holding crystals or moisture‑retentive gels
- Heavy compost proportions
- “Garden soil” or topsoil in pots
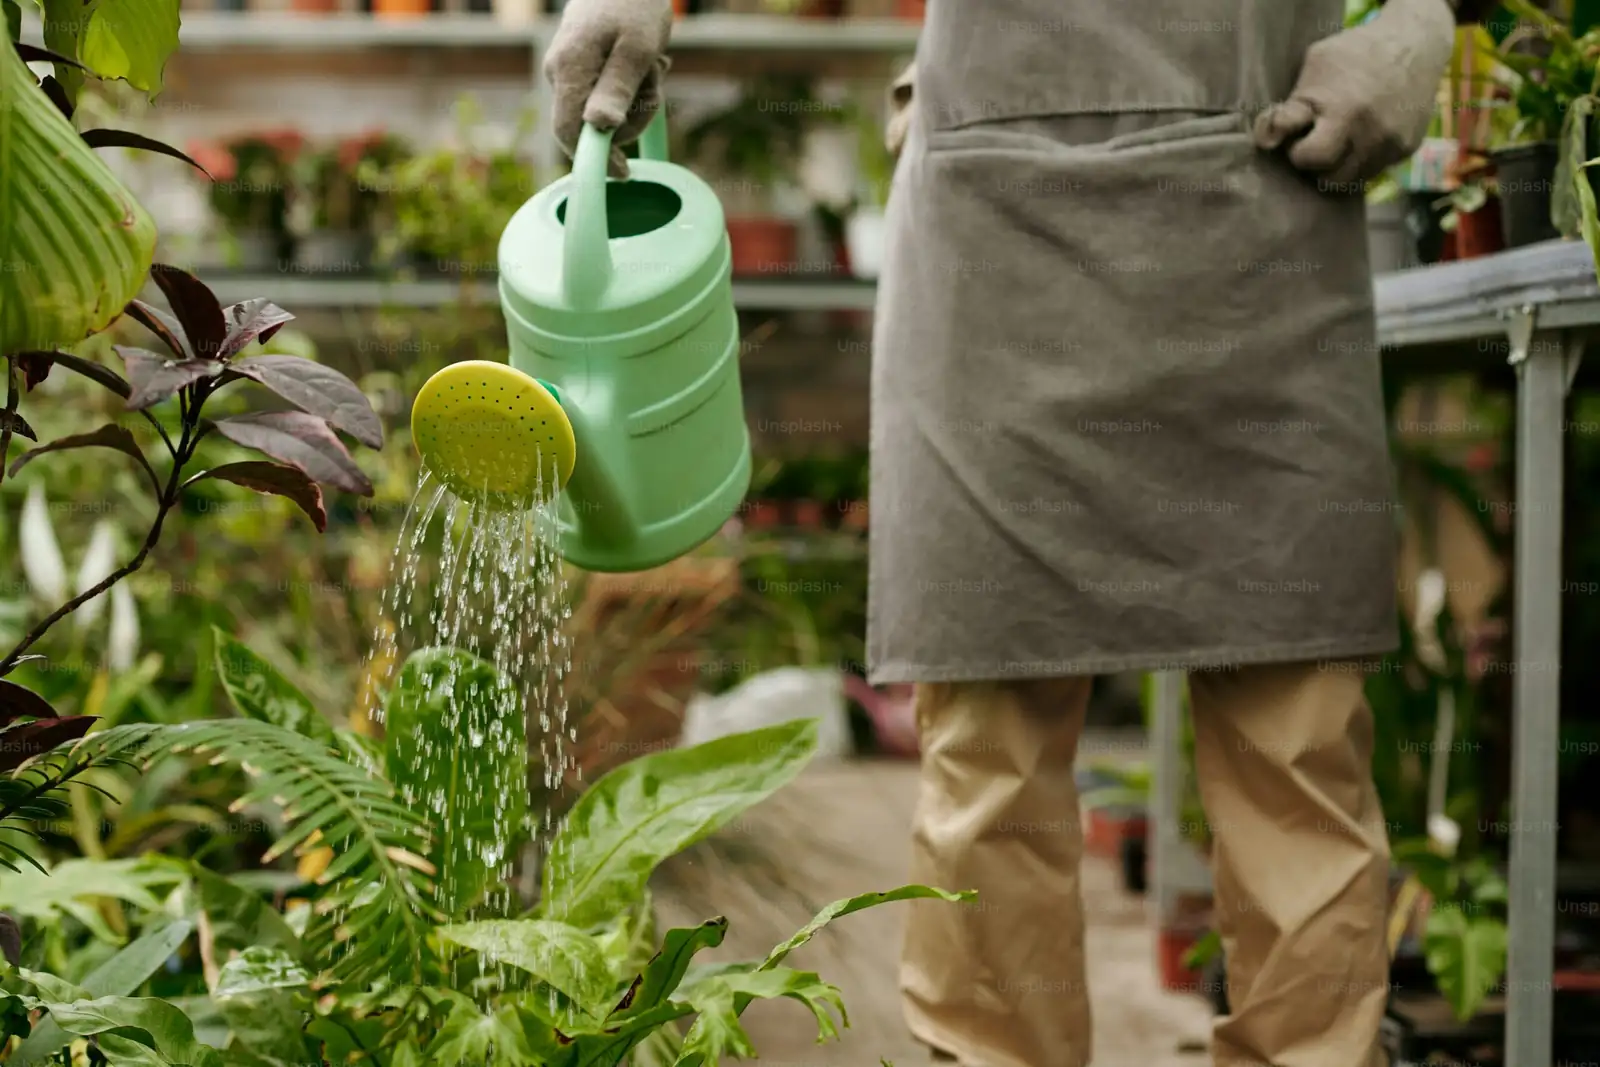
The watering rhythm: drench, then pause
Think “thorough soak, brief dry‑down”—never “sip daily.”
- The rule: Water thoroughly, then let the top 2–3 cm (about 1 in) of mix dry before watering again.
- How to know it’s time
- Finger test: Top inch is dry and the mix feels springy, not soupy.
- Heft test: Pot feels noticeably lighter.
- Visual: Mix lightens in color; no condensation on drainage holes.
- Timing: Mornings are best—leaves and crown dry quickly, and the plant drinks through the day.
- Technique: Aim water at the soil, not the crown. Empty saucers within 10 minutes. Never let the pot sit in water.
- Seasonal shifts
- Spring–early summer: Steady moisture without sogginess fuels blooming.
- Peak heat: You may water more often, but still honor the dry‑down. These daisies may pause bloom in intense heat—normal—so don’t drown them trying to “force” flowers.
- Cool, low‑light spells: Extend the interval; watch the plant, not the calendar.
Pro tip: A very light mineral top‑dress (fine gravel) discourages fungus gnats and speeds surface drying. Keep it a finger’s width away from the crown.
Early stress signals—and how to read them fast
- Underwatering clues
- Pot is feather‑light; soil shrinks from pot edges
- Leaves flag at midday but perk up by evening
- Leaf edges feel crisp; buds may stall but stems remain firm
- Overwatering/incipient rot clues
- Wilting that doesn’t improve after watering
- Yellowing lower leaves plus fungus gnats hovering
- Dull gray‑green foliage, blackening at the soil line, or a sour smell
- Roots (on inspection) are brown/black, mushy, and may slough off
- Heat pause (not a disease)
- Flowering slows or pauses in high heat even in full sun; blooms resume as temperatures ease
Also watch for pests that stress plants and mimic moisture issues: aphids, whiteflies, spider mites, and thrips love tender growth. Check leaf undersides and treat early with insecticidal soap or horticultural oil.
Rapid rescue: save a soggy Cape Daisy
Move fast—minutes and hours matter more than days.
1) Pause and reposition
- Shift the plant to bright, airy shade to reduce transpiration while you work.
2) Unpot and inspect
- Slide the root ball out. Healthy roots are firm and usually pale; rotten roots are dark, mushy, and may smell foul.
3) Prune and clean
- With sterilized shears, cut back to firm, healthy tissue. Rinse roots gently to remove clinging, sour mix. Discard the old soil—don’t reuse or compost it.
4) Refresh pot and mix
- Wash and disinfect the container (10% bleach solution or household disinfectant), then repot into a clean, free‑draining mix. Set the crown slightly above the final soil level.
5) Water once, then wait
- Water thoroughly to settle the mix. Then hold off until the top 2–3 cm dry again. No fertilizer for 2–3 weeks.
6) Air and light
- Keep in bright light with good airflow for a few days, then return to full sun.
7) Optional disease management
- If crown rot was advanced or conditions were very wet, consider a product labeled for root/crown rots on ornamentals, and follow the label exactly.
8) Back‑up plan
- If the crown is compromised but you have firm, healthy tips, take softwood cuttings to propagate a new plant.
If you’ve lost multiple plants to similar symptoms, contact your local extension service or a plant clinic for diagnosis and tailored advice.
Everyday care that prevents rot (and powers flowers)
- Sun: Full sun (6+ hours) for heavy bloom.
- Feeding: Light, regular nutrition in active growth—balanced liquid at half strength every 2–4 weeks, or a slow‑release per label. Ease off in cool, low‑light periods.
- Grooming: Deadhead to keep buds coming. Light trims after big flushes encourage compact growth and more flowers.
- Repotting: Spring is ideal; move up one size only and refresh with a gritty mix.
- Overwintering (cold regions): Bring containers to a bright, cool spot around 10–15°C (50–59°F). Water sparingly and keep the crown dry. In colder zones, treat as an annual or overwinter indoors frost‑free.
Potting‑day checklist
- Full‑sun placement picked and tested
- Pot with multiple drainage holes and pot feet
- Gritty, well‑aerated mix ready
- Crown planted slightly high; soil not heaped against stems
- Slow‑release fertilizer added lightly (optional)
- Saucers emptied after watering; no standing water
Quick FAQs
- Why did flowering stall in midsummer?
- These daisies often pause bloom in intense heat. Keep them in full sun, water consistently (without waterlogging), deadhead, and give a light trim after a flush—flowers return as temperatures ease.
- Can I grow it indoors?
- It blooms best outdoors. For winter, you can overwinter indoors in very bright light at 10–15°C (50–59°F) and water sparingly.
- Is it toxic?
- Not widely reported as toxic to people or pets, but ingestion can cause mild stomach upset. Best kept out of nibbling range.
- Which pests should I watch for?
- Aphids, whiteflies, spider mites, and thrips. Good light, airflow, and clean watering habits reduce outbreaks.
A brief note on symbolism
Falling Stars Cape Daisy is often linked with cheerfulness and optimism—fitting for a plant that turns on a months‑long show of bright, sky‑toned blooms. Like most modern “flower language,” the association isn’t ancient lore so much as a cultural shorthand: gardeners noticed how these daisies open wide in sun and close in low light, mirroring our own moods on bright days. Plant one near your favorite chair, and you’ll see why the meaning stuck.
With a breathable pot, a gritty mix, and that drench‑then‑pause rhythm, your Cape Daisy will stay buoyant, bloom generously from spring to fall, and sidestep the soggy pitfalls that cut so many container stories short.