

A Deep Dive into Propagating Tropaeolum majus: Secrets to Abundant Nasturtium Blooms
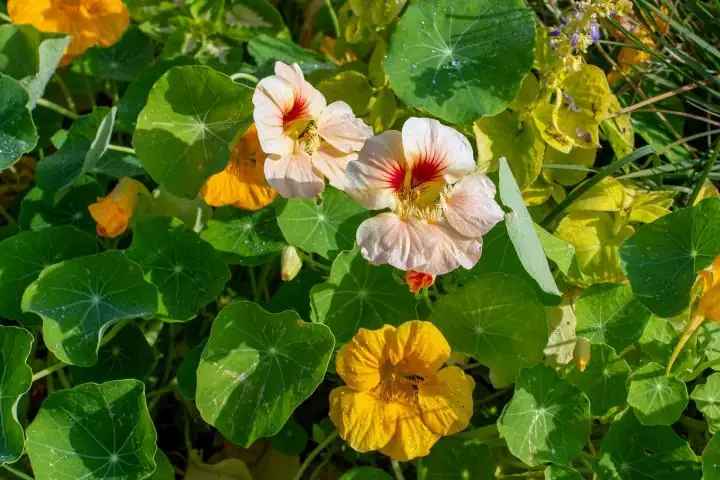
Imagine a garden brimming with vibrant reds, oranges, and yellows—like a sunset captured in petals—and you’ll envision the dazzling display of Tropaeolum majus, or nasturtiums. Often celebrated for their cheerful blooms and edible delights, nasturtiums are a gardener’s dream: easy to grow, forgiving, and multifaceted. But how do you ensure your nasturtiums not only grow but thrive with abundant flowering? Let’s dig into the soil and uncover the secrets to successful propagation, from seed sowing to rooting cuttings.
Seed Sowing: The Starting Line for Success
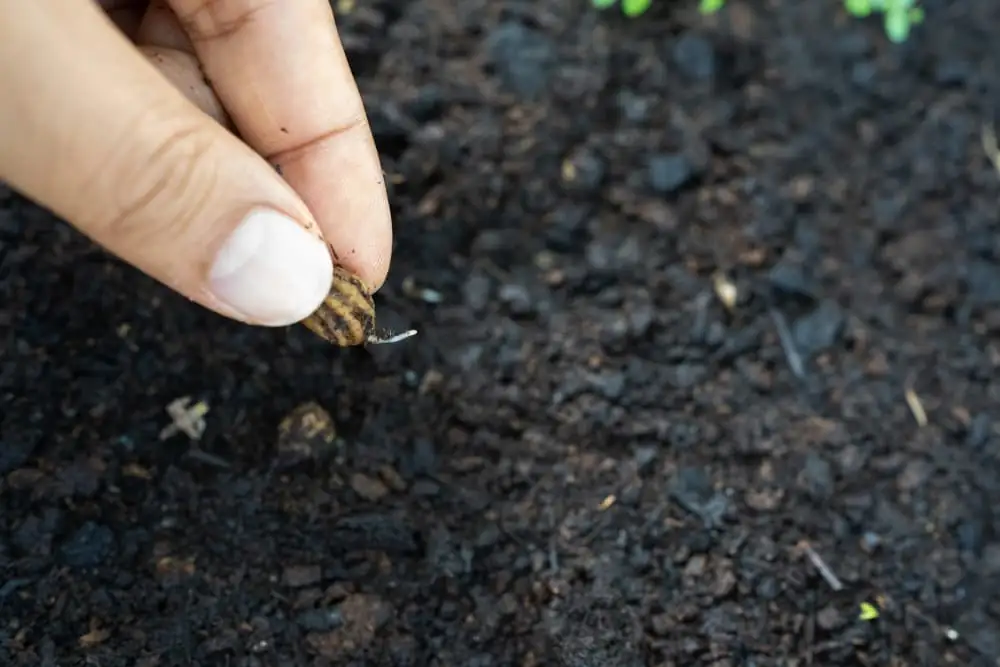
When it comes to growing nasturtiums, many gardeners start right at the source—the seed. Beginning with seeds allows you to experience the full life cycle of this enchanting plant, from tiny sprout to full bloom. Plus, with seeds being chickpea-sized, even the youngest gardeners can join in the fun!
Direct Sowing Outdoors
- Timing Is Everything: Sow your seeds outdoors about 1–2 weeks after the last frost for best results. Nasturtiums are frost-tender, so waiting is key to avoiding early setbacks.
- Perfect Placement: These sun-loving plants need at least six hours of direct sunlight to truly shine. While they tolerate partial shade, more sun means more flowers.
- Soil Preferences: Surprisingly, nasturtiums flourish in poor to average soil. Rich soil might tempt you with lush foliage, but at the cost of fewer blooms. Aim for well-draining conditions with a neutral pH.
Starting Indoors
For a head start, consider sowing seeds indoors 2–4 weeks before the last frost:
- The Right Container: Use biodegradable pots to avoid transplant shock. Plant two seeds per pot, about an inch deep.
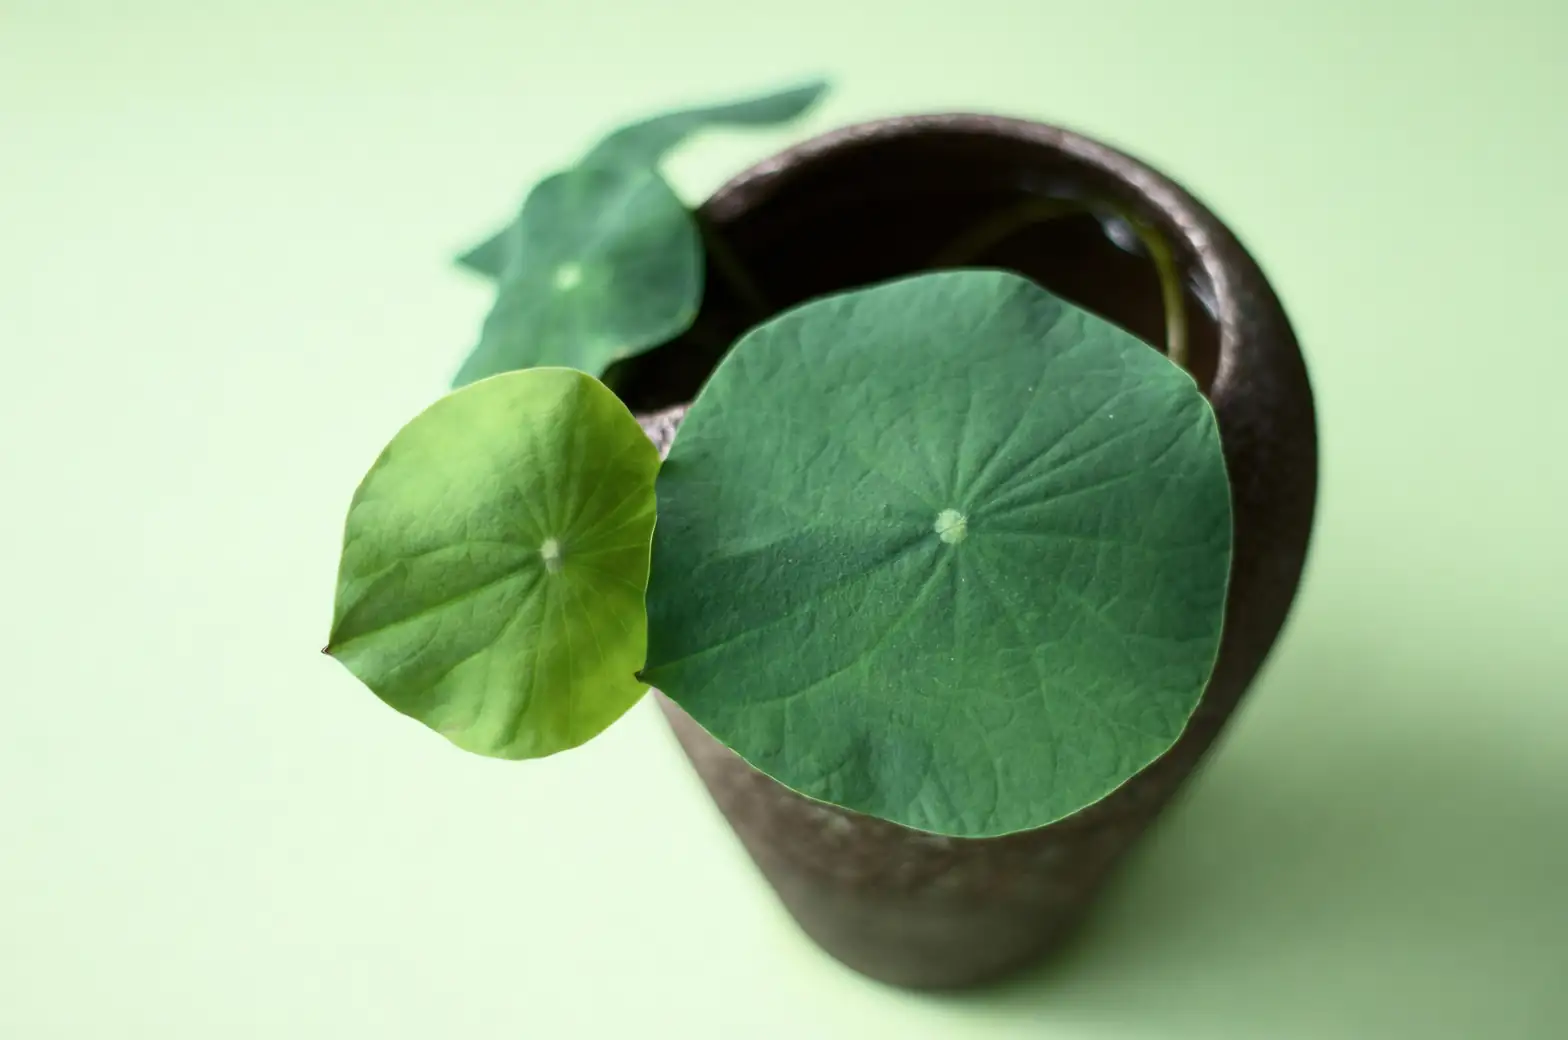
- Light and Temperature: Keep pots in a sunny location or under grow lights at 18–21°C (65–70°F). Germination takes 7–10 days.
- Thinning: Once seedlings have a few sets of leaves, thin them to one per pot, choosing the strongest contender.
Rooting Cuttings: A Sneaky Shortcut
While seeds are the traditional route, don’t overlook the potential of rooting cuttings. This method gives you a genetic clone of the original plant, perfect for preserving particular traits or getting a jumpstart in the growing season.
- When to Cut: Take cuttings in spring or summer when the plant is actively growing.
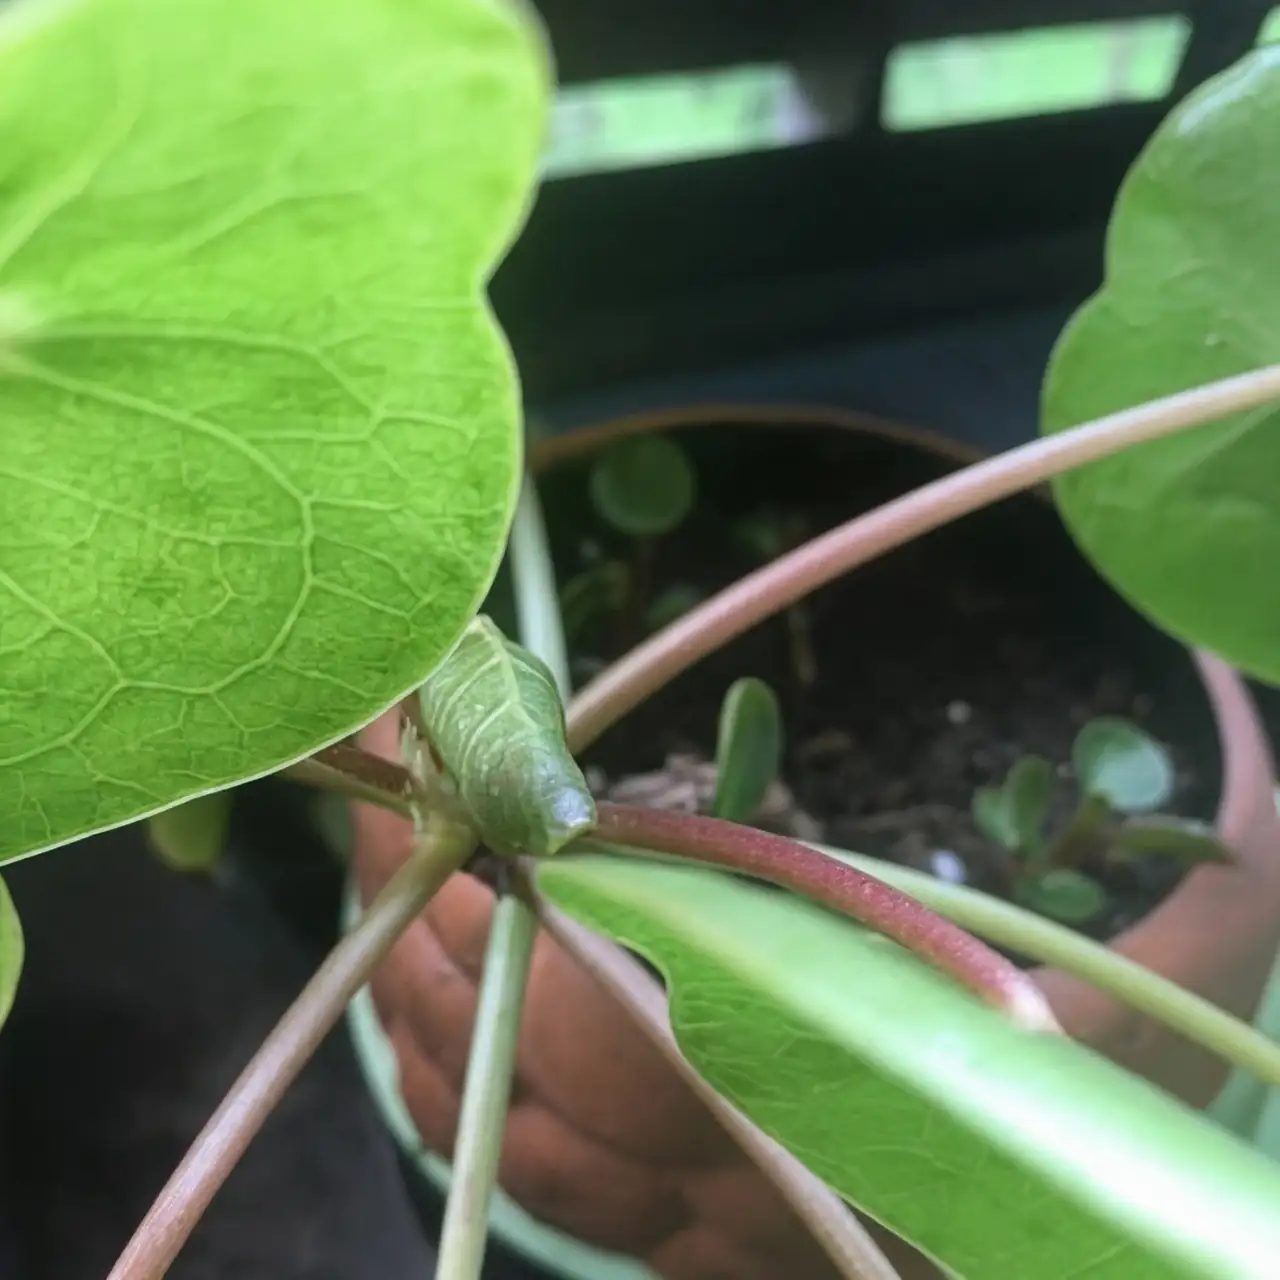
- Preparation: Select healthy stems and cut below a node. Remove the lower leaves and plant the cuttings in a pot with moist, well-draining soil.
- Rooting Time: Keep cuttings in a warm, bright spot but out of direct sunlight. Roots typically develop in 2–3 weeks.
Care Tips for Thriving Plants
Maintaining nasturtiums is as easy as pie—just a few simple steps to keep them happy:
- Water Wisely: Water regularly to keep the soil evenly moist but not soggy. In containers, daily watering may be necessary during hot spells.
- Skip the Fertilizer: Resist the urge to fertilize heavily. A little balanced feed is okay in extremely poor soil, but too much fertilizer, especially nitrogen, will lead to leafiness over flowers.
- Prune for Productivity: Deadhead spent blooms to encourage more flowers. Trim back leggy growth to maintain a bushy shape.
Companion Planting and Ecological Benefits
Nasturtiums aren’t just pretty faces; they play well with others in the garden. Their peppery leaves and flowers attract pollinators like bees and hummingbirds, enhancing biodiversity. As companion plants, they’re often used as a trap crop for aphids, safeguarding your vegetables from these pests.
Conclusion: A Garden Full of Color and Flavor
With their vibrant colors, edible appeal, and easy-going nature, nasturtiums are a delightful addition to any garden. Whether you prefer direct sowing seeds or experimenting with cuttings, these tips ensure your nasturtiums will flourish and dazzle. So go ahead, plant a few, and watch your garden transform into a canvas of color and life. Happy gardening!


