

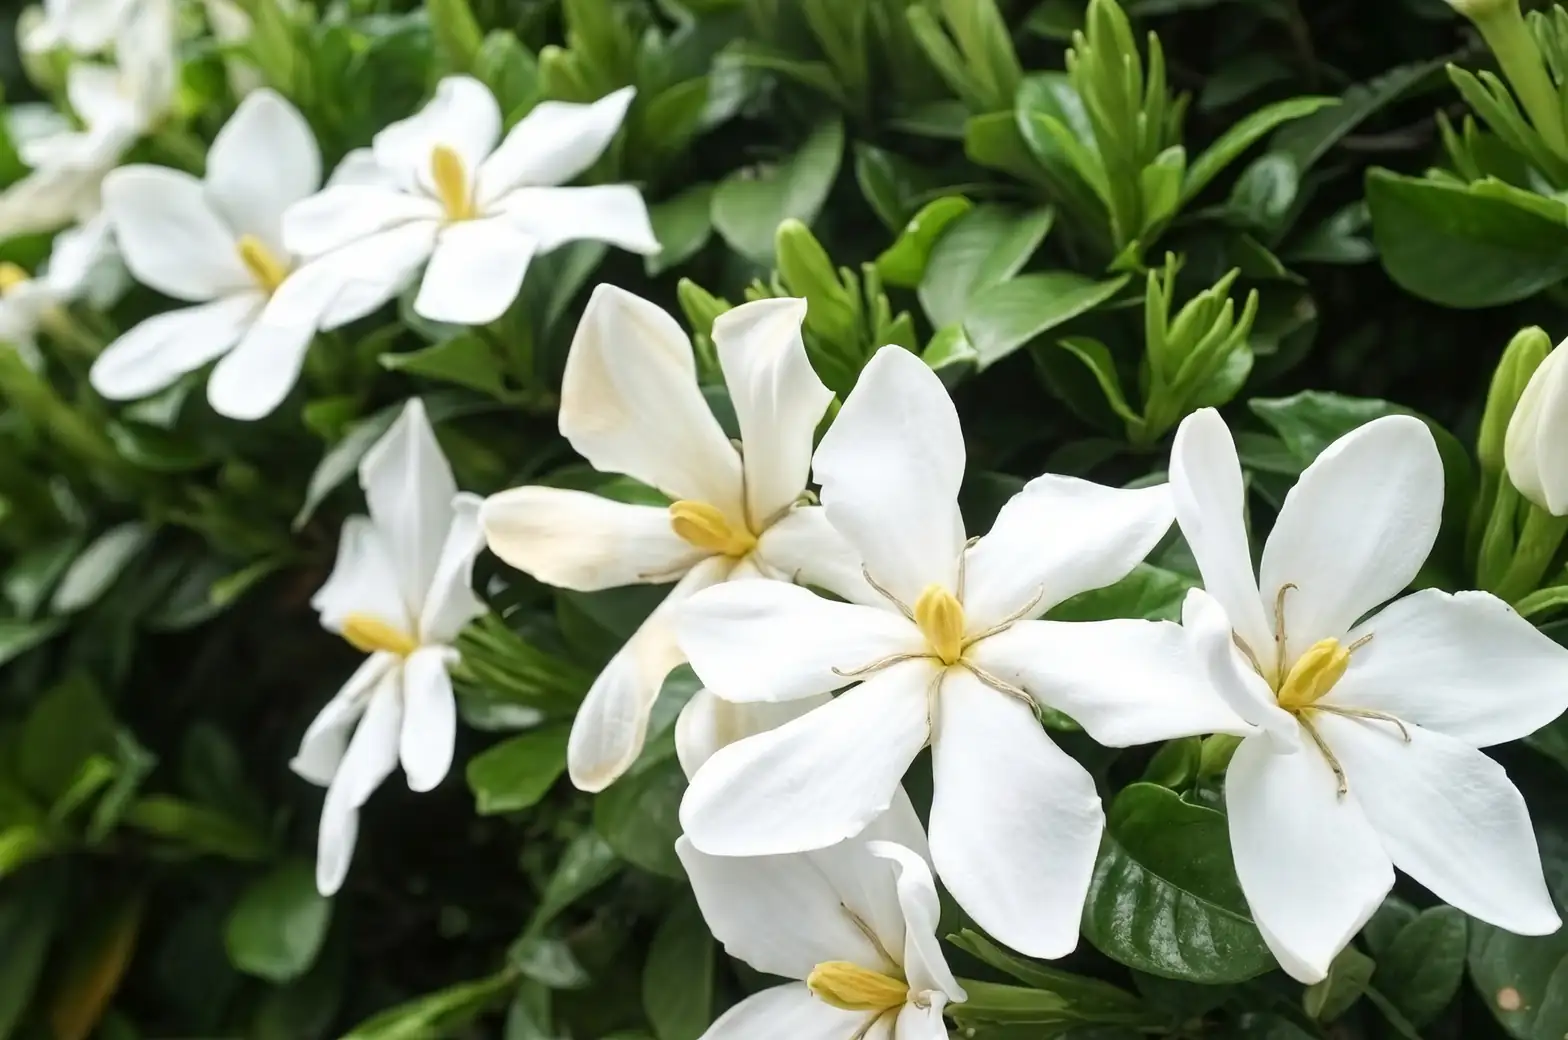
Gardenia jasminoides, commonly known as the Gardenia or Cape Jasmine, is a botanical gem cherished by gardeners worldwide. Its glossy, deep-green leaves and creamy-white, fragrant flowers are a feast for the senses, evoking a sense of tranquility and elegance. However, growing this beauty is not without its challenges. For aspiring gardeners eager to propagate their own gardenias, understanding the art of propagation is key.
Understanding the Gardenia
Before diving into propagation, let’s acquaint ourselves with Gardenia jasminoides. Originating from East Asia, particularly China, this evergreen shrub is a staple in both tropical and subtropical gardens. Its striking blooms offer more than just visual appeal; their perfume-like scent is most potent in the evening and early morning, creating a sensory experience like no other.
Gardenias thrive in acidic, well-drained soil and demand consistent moisture and high humidity to flourish. They prefer bright, indirect light, making them adaptable for both outdoor gardens and indoor container growth. But be warned—their fussiness over environmental conditions can be a challenge. If you’re up for it, let’s delve into the secrets of propagating these fragrant beauties.
Propagation Techniques
Stem Cuttings: The Classic Approach

One of the most popular methods of propagating gardenias is through stem cuttings. This technique is straightforward and rewarding if done correctly. Here’s a step-by-step guide:
- Timing and Selection: Optimal times for taking cuttings are late spring or early summer when the plant is actively growing. Select a healthy, non-flowering shoot about 7–12 cm (3–5 in) long. Ensure it is free of disease and pests.
- Preparation: Remove the lower leaves from the cutting, leaving a few at the top. This reduces moisture loss and focuses energy on root development.
- Rooting Medium: Use an acidic, free-draining medium such as a mix of peat and perlite. This mimics the gardenia’s natural soil preferences.
- Rooting Environment: Place the cutting in a pot with the prepared medium and water thoroughly. Cover it with a plastic bag or place it in a propagator to maintain high humidity. Position it in a warm spot with indirect light.
- Patience and Care: Roots typically develop in about 3–4 weeks. Keep the medium moist but not waterlogged, and be patient. Once roots are established, gradually acclimate the plant to normal conditions.
Layering: A Natural Alternative
Layering is another effective method, allowing you to propagate gardenias while keeping the parent plant intact. It’s a bit like letting nature take its course with a gentle nudge from you.
- Select a Stem: Choose a low-growing, flexible branch that can be bent to the ground.
- Wound and Secure: Make a small cut in the branch where it will touch the soil, then bend it down and secure it with a U-shaped pin or a small rock.
- Cover with Soil: Bury the wounded section in the soil, leaving the tip of the branch exposed. This encourages root formation at the wound site.
- Wait and Watch: Over time, roots will grow from the buried section. Check periodically by gently tugging; resistance indicates successful rooting.
- Separation and Planting: Once rooted, sever the new plant from the parent and transplant it to its new home.
Nurturing Your New Gardenias
Once you’ve successfully propagated your gardenias, the real fun begins. These young plants will need tender care to thrive.
- Light and Temperature: Provide bright, indirect light. Gardenias enjoy temperatures between 16–25°C (61–77°F). Avoid cold drafts and ensure they have cool nights for optimal growth.
- Watering and Humidity: Water evenly, keeping the soil moist but not soggy. Consider using rainwater or distilled water to maintain soil acidity. Increase humidity with pebble trays or humidifiers.
- Feeding: Use a fertilizer designed for acid-loving plants during the growing season to support healthy growth and flowering.
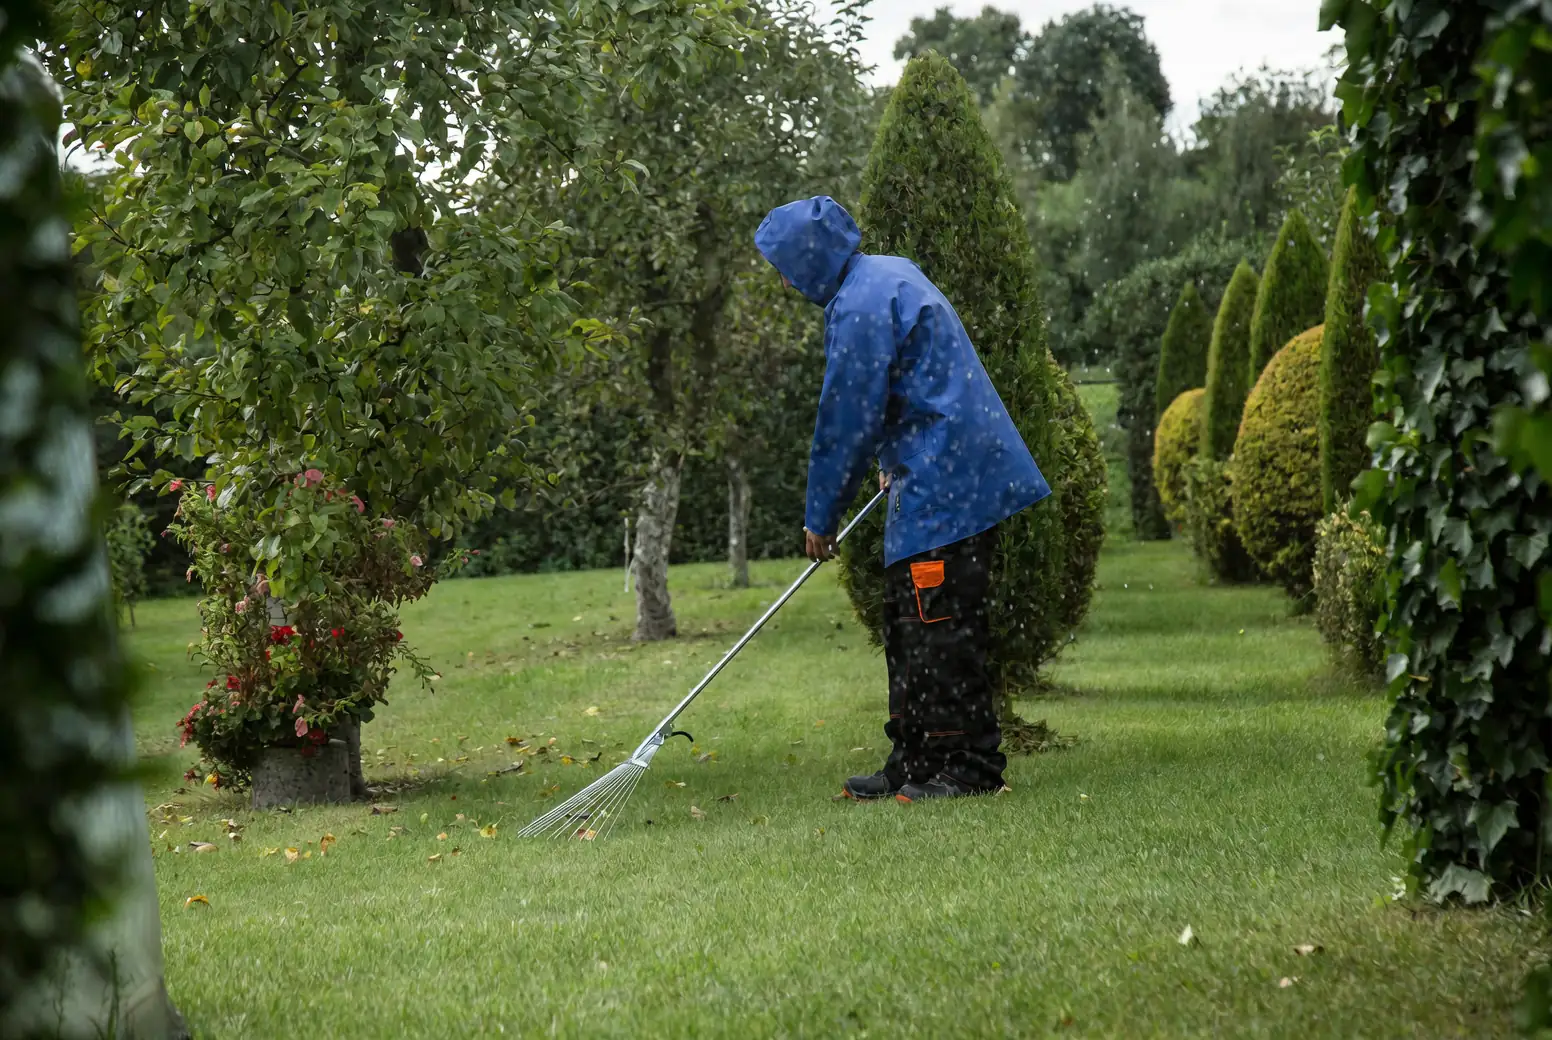
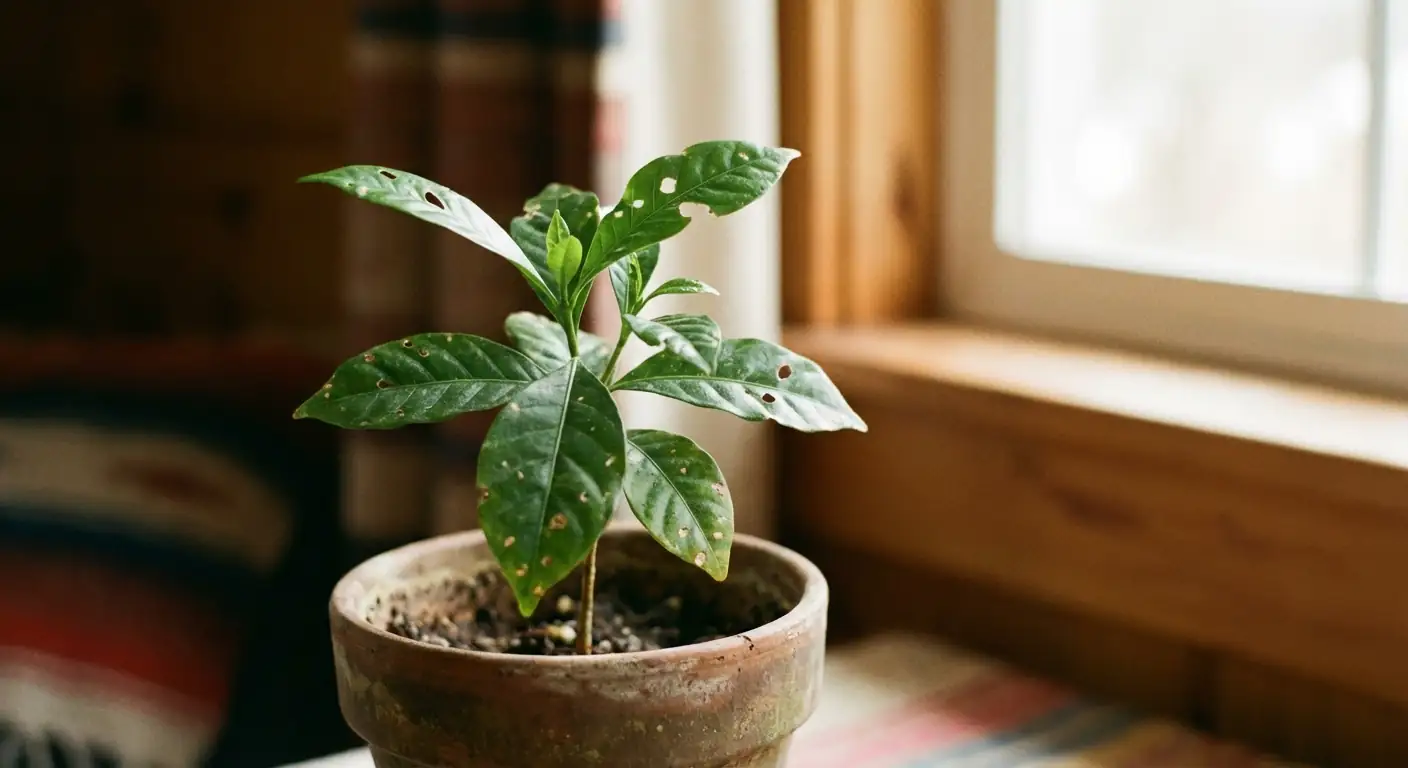
Handling Common Challenges
Gardenias can be temperamental, often dropping buds or yellowing leaves at the slightest provocation. Understanding their needs and maintaining stable conditions are key.
- Yellow Leaves: Often a sign of iron chlorosis due to high pH. Adjust the soil’s acidity and consider adding chelated iron to correct this.
- Bud Drop: Typically stress-induced from drafts, low humidity, or inconsistent watering. Stabilize their environment to prevent this issue.
The Symbolism of Gardenias
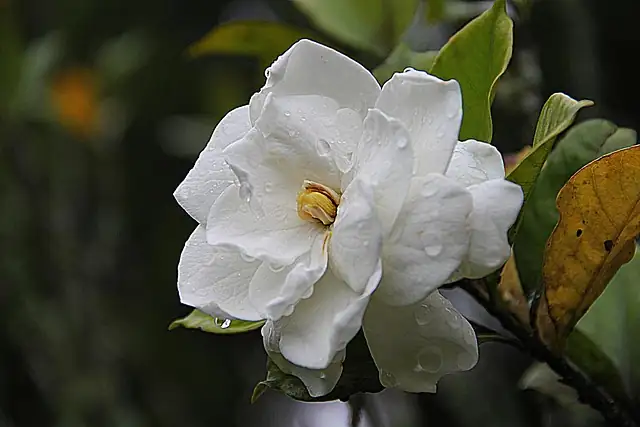
In the language of flowers, gardenias symbolize purity, grace, and secret love. Their white blooms are often incorporated into weddings, expressing devotion and lasting affection. This symbolism has roots in Victorian England, where gardenias conveyed messages of love and admiration without words.
Conclusion
Propagating Gardenia jasminoides may require patience and precision, but the reward is a garden filled with their enchanting fragrance and elegant blooms. Whether you’re an experienced gardener or a passionate novice, mastering the art of gardenia propagation can be a fulfilling journey. Embrace the challenge, and soon your garden will be graced with the timeless allure of these magnificent shrubs. Happy gardening!


