

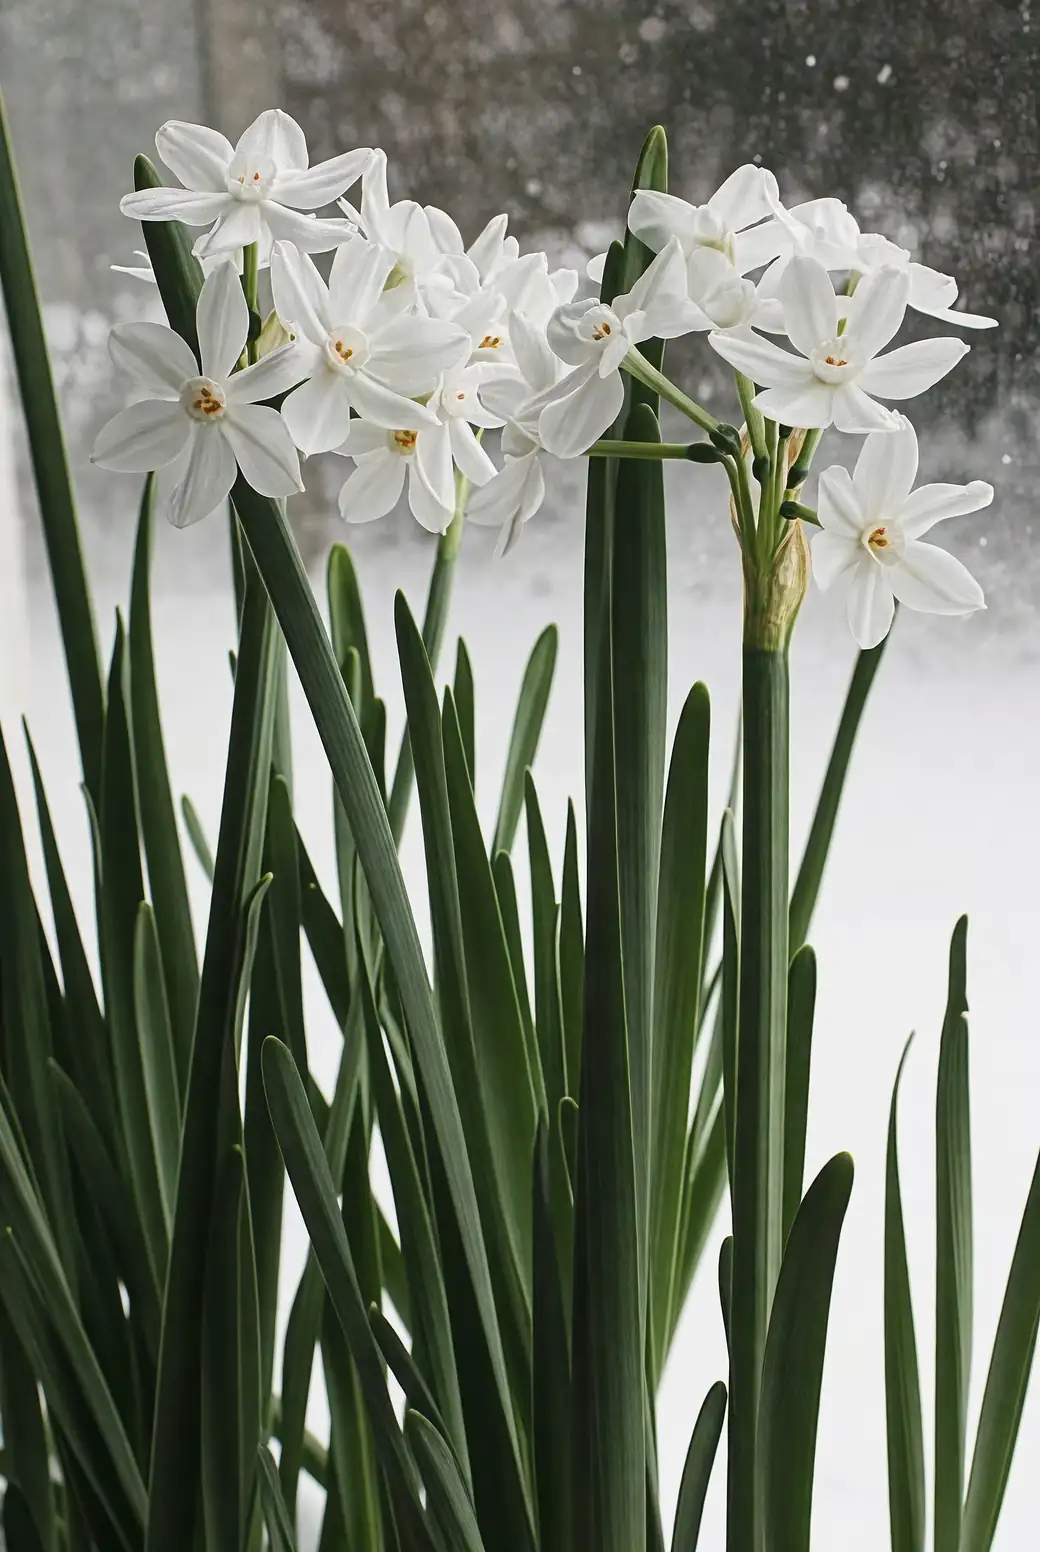
Imagine winter air perfumed with sweet citrus, while on your windowsill a living sculpture slowly takes form—leaves fanning like silk sleeves, stems sweeping in ink‑brushed S‑curves. With Narcissus tazetta (paperwhite narcissus; 水仙), the old craft of carving and training can turn a simple bulb into calligraphy made of green.
Below, a friendly, expert guide to tools, safe cuts, airflow and hygiene (so rot never steals the show), and design ideas from classic fans to flowing “running script.”
Meet the plant you’ll be shaping
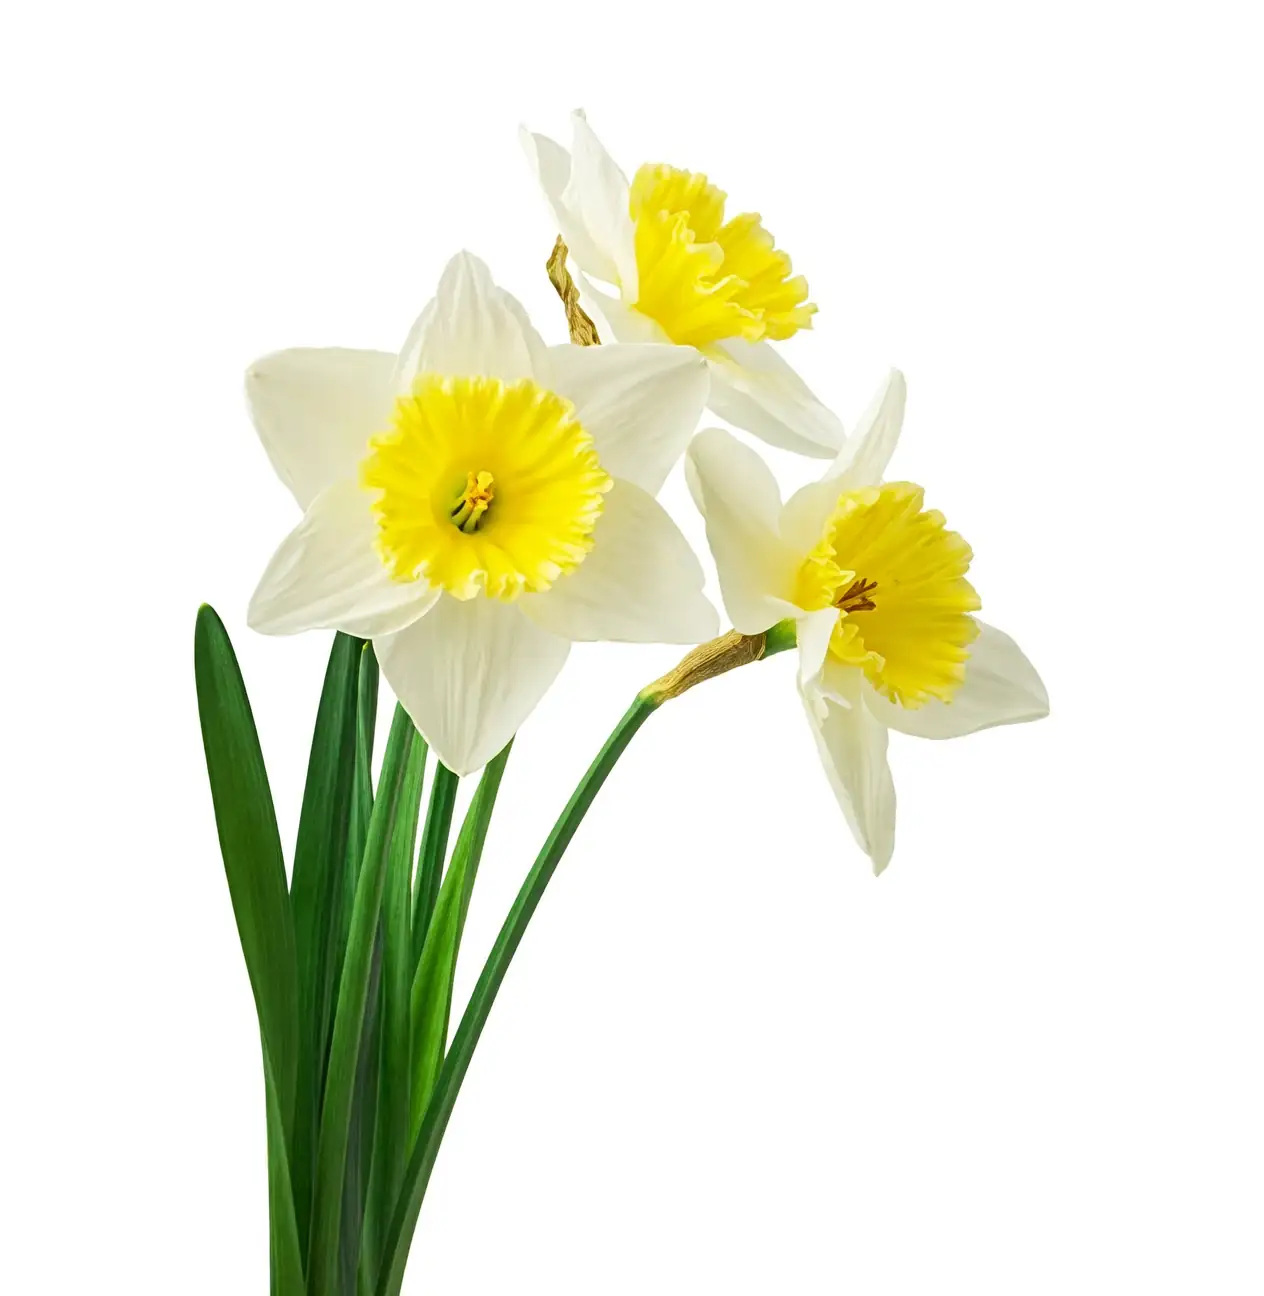
- What it is: Narcissus tazetta, the fragrant “paperwhite” type of daffodil long celebrated in East Asia for winter and Lunar New Year displays.
- Habit: A bulb that wakes in cool seasons, blooms in winter to spring, then rests in summer.
- Indoors: Bright light (aim for at least ~6 hours) and cool air keep stems compact. Think 10–20°C (50–68°F); 5–15°C (41–59°F) is superb.
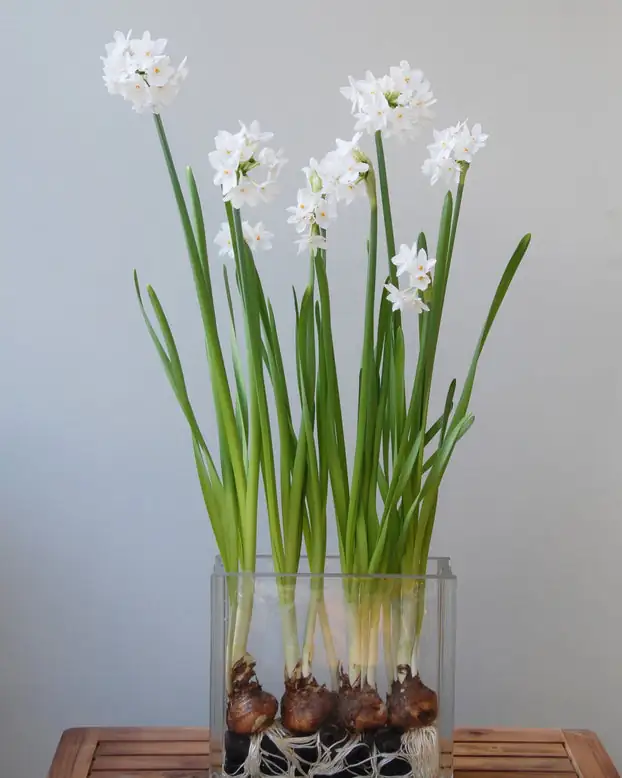
- Water culture: Roots in water, bulb mostly dry; a shallow bowl of clean pebbles works beautifully.
- Safety: All parts are toxic, especially the bulb. Wear gloves if your skin is sensitive, keep away from children and pets, and wash hands after handling.
A craft with a story
Carving and training 水仙 is a time‑honored winter art in coastal China, especially Fujian. Growers peel and skillfully score bulbs (the classic “crab‑claw” method), then coax leaves and flower stalks into fans, looping scrolls, even animal silhouettes. Exhibitions and competitions still celebrate prize bulbs shaped like cranes, roosters, teapots, and more. You don’t have to go that far: a few wise cuts—or none at all—and gentle guidance can create elegant, contemporary forms that feel like living calligraphy.
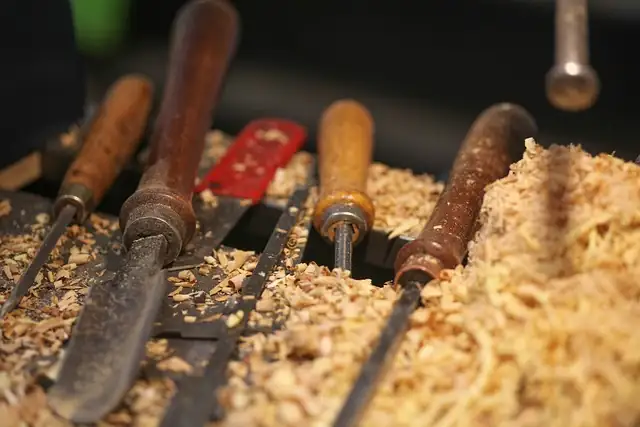
Tools and setup
- Cutting tools: A sharp craft scalpel or thin bonsai snips.
- Supports: Curved bamboo hoops, chopsticks or slender stakes, U‑shaped floral pins (to anchor supports in pebbles), smooth river pebbles for “nudging” direction.
- Hygiene: 70% isopropyl alcohol or a 10% bleach dip to sterilize blades; paper towels; clean container.
- Air and light: A bright, airy windowsill; a small fan on low helps prevent stagnant air.
- Protection: Gloves; a trash bag for peelings; optional dusting agent (ground cinnamon or garden sulfur) for fresh cuts.
Tip: Choose firm, heavy bulbs with intact skins and no mold or soft spots. Larger bulbs generally flower more reliably.
Hygiene and airflow matter more than you think
Water + warmth + wounds = rot risk. Break that triangle.
- Keep the bulb body mostly dry; water should touch the roots/basal plate only.
- Change water frequently—daily early on, then weekly once buds are well formed.
- Sterilize tools before each cut. Wipe away any sticky sap and rinse the bulb surface.
- After carving, allow cut faces to dry (callus) 24–48 hours in airy, bright shade before setting the bulb in its bowl.
- Run a small fan on low or crack a window. Avoid damp, stagnant corners.
- Don’t spray open flowers; misting is unnecessary here and can spot blooms.
Safe carving: how to steer growth without courting rot
Before you begin, know the anatomy:
- The basal plate (the flat base) is the plant’s foundation—hurt it and the bulb fails.
- Inside are “pouches” that will become leaves and flower stalks. The central core/meristem must remain intact.
Two pathways follow—start with the no‑cut method, then progress if you like.
Beginner’s no‑cut shaping (surprisingly powerful)
- Peel only the loose, papery tunic; do not cut into fleshy scales.
- Trim dead, wiry roots from last season; leave the basal plate intact.
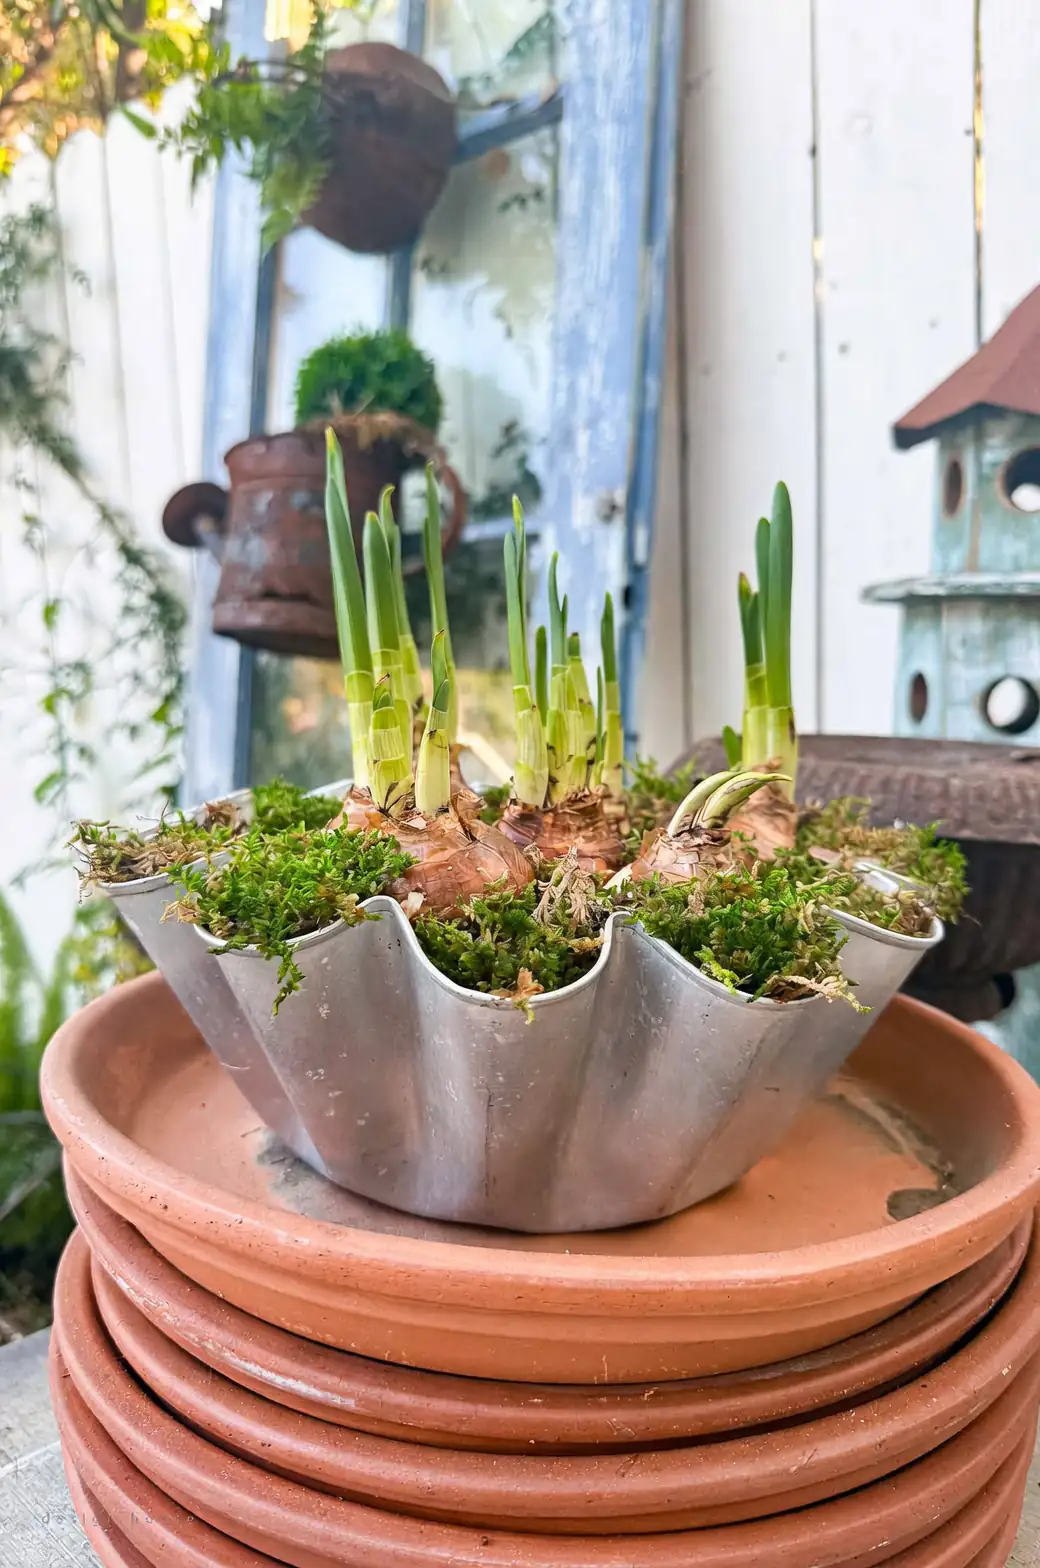
- Set the bulb among pebbles so it leans slightly. Pebbles and curved stakes “suggest” direction without binding leaves.
- As leaves reach 10–15 cm, begin guiding them over or under gentle hoops or along the curve of a stake. No braiding, no tying—just resting and repositioning every day or two.
This approach preserves the bulb’s strength and still yields graceful fans and S‑curves.
The classic “crab‑claw” method (intermediate; proceed carefully)
Traditional artists use shallow, strategic slits to open the bulb slightly, encouraging foliage to flare and curl.
1) Prepare
- Sterilize blades; wear gloves.
- Peel the brown tunic carefully, exposing the white scales.
- Mark a “no‑go” zone: about 2 cm above the basal plate—never cut below this.
2) Make controlled slits
- Along the lower side of the bulb, make a shallow transverse slit about 2 cm above the roots (do not enter the basal plate).
- From near the top shoulder, score two shallow, vertical slits that descend toward (but do not reach) the earlier slit.
- With the very tip of the blade, thin a few outer scales—never gouge the center. Think paper‑thin shavings, not chunks.
3) Clean and callus
- Rinse off sticky sap; blot dry.
- Optionally dust cut faces lightly with cinnamon or sulfur.
- Let the bulb dry in bright, ventilated shade for 24–48 hours until the cuts feel leathery.
4) Set to grow
- Nestle on clean pebbles; add water to just touch the basal plate so roots grow down into it, but the bulb remains mostly dry.
This selective opening encourages outward, fan‑like growth and graceful curls, while the intact center fuels bloom.
Training leaves and stems into elegant curves
Shaping is a daily conversation with your plant—gentle, consistent, never forceful.
- Timing: Begin guiding when leaves are supple (10–15 cm). Start flower stalk shaping as buds push but before full elongation.
- Light and temperature: Bright light and cool air (ideally 5–15°C) keep stems sturdy and responsive. Rotate the bowl every couple of days for even reach.
- Supports, not straps: Avoid tying or braiding green leaves. Instead, use:
- Curved bamboo hoops pressed into the pebbles so leaves rest and set a curve naturally.
- Pebble “ridges” that coax a fan to open broadly.
- Slender stakes as “rails” that stems lean along; reposition gradually.
Three design recipes
1) The fan (formal, architectural)
- Seat the bulb slightly off‑center.
- Insert two shallow arcs (bamboo hoops) into the pebbles at left and right.
- As each new leaf emerges, lay it over the outer arc and under the inner arc, alternating to widen the spread.
- Gently rotate the bowl so light encourages even opening. Result: a pleated fan of leaves, with flower stems presented front and center.
2) Running script (S‑curve calligraphy)
- Place a single tall stake off‑center; add a second, lower arc in front.
- Guide the main flower stem to ascend the tall stake, bend across the lower arc, and rise again—like an ink stroke that dips and lifts.
- Shape secondary leaves to echo smaller S‑curves. Keep transitions smooth; avoid kinks by adjusting in small increments over several days.
3) Crane‑neck duet (paired arches)
- For a multi‑nosed bulb, let two stems take the stage.
- Create two opposed arcs; lean each stem into a graceful bow toward the other, with buds “greeting” in the middle.
- Keep leaves mostly fanned downward to frame the negative space beneath the “necks.”
Advanced inspirations: snail coils, roosters, or teapot silhouettes are possible with seasoned carving and staged supports—lovely goals once you’re comfortable with fans and S‑curves.
Airflow and water hygiene: your anti‑rot checklist
- Water line: Roots wet, bulb dry—keep water just at or slightly below the basal plate.
- Refresh schedule: Change water daily for the first week; once buds are formed, about weekly is fine.
- Clean kit: Rinse pebbles and container if algae appears. Wipe tools with alcohol before any touch‑ups.
- Environment: Cool (10–20°C), bright, and breezy. Avoid heaters, radiators, and enclosed, humid corners.
- After cuts: Let them callus before returning the bulb to strong light; keep splashes off cut faces and flowers.
- Spot trouble early: If tissue softens or smells off, cut away the decay with a sterile blade, let dry again, and refresh the setup.
Optional helper: A pinch of activated charcoal under the pebbles can help keep water fresh.
A simple timeline for a 4–6 week display
- Days 0–2: Carve (or not), rinse sap, let callus.
- Week 1: Set on pebbles with shallow water; roots begin.
- Weeks 2–3: Leaves elongate; start daily shaping. Keep cool and bright.
- Weeks 3–4: Buds rise; refine curves; reduce handling of stems as buds swell.
- Weeks 4–6: Bloom and enjoy; maintain water hygiene and airflow to extend flower life.
After the show: keeping bulbs (or not)
- For a one‑season art piece, you can discard after bloom. Heavy carving often weakens bulbs.
- If you want to keep them:
- Deadhead spent blooms.
- Do not braid, bind, or cut green leaves; let them photosynthesize for 6–8 weeks until yellow.
- In pots, a light, balanced feed during active growth can help recharge the bulb.
- As leaves yellow, reduce water and allow a dry, airy rest for summer. In mild climates, plant out; otherwise store cool and dry until next season.
Symbolism and “flower language,” thoughtfully considered
- Renewal and good fortune: In East Asia, 水仙 is a cherished sign of new beginnings, especially when it blooms for the Lunar New Year—an elegant promise of prosperity and a thriving home.
- Self‑reflection: In Western lore, narcissus also recalls the Greek myth of Narcissus, linking the flower with self‑regard. It’s less a rule than a reminder: beauty invites reflection—on self, on the season, on the art of patience.
- Purity and friendship: White blooms suggest purity; daffodils broadly are tokens of joy and friendship in springtime.
Flower “languages” are cultural mosaics, not fixed dictionaries. With water‑grown tazettas, the message most consistently shared across traditions is simple: winter yielding to light, with fragrance as the herald.
Quick troubleshooting
- Stems tall and floppy? Move to brighter light and cooler air (ideally 5–15°C). Rotate the bowl; add discreet supports.
- Leaves collapsing or tip rot? Too much moisture on tissue or poor airflow. Lower the waterline, increase ventilation, and avoid splashing foliage.
- Cloudy, smelly water? Change immediately; rinse pebbles; keep the bulb body dry.
- Buds fail to open? Warmth and low light are common culprits. Cool down, brighten up, and keep water fresh.
- Pets curious? Relocate the display—narcissus bulbs are toxic.
With a steady hand, a bright window, and a bit of patience, Narcissus tazetta becomes more than a winter bulb—it’s poetry you can prune, and calligraphy you can coax into bloom.


