

Peppermint in a pot is like a tiny soda fountain on your balcony—fresh, fizzy, and always open. Mentha × piperita (peppermint) grows fast, forgives mistakes, and rewards you with vibrant, cooling leaves that elevate tea, desserts, savory dishes, and summer drinks. The trick? A rhythm: water right, tune the light for flavor, pinch on schedule, and lock up those underground rhizomes that love to roam.
Here’s your lively, step-by-step playbook.
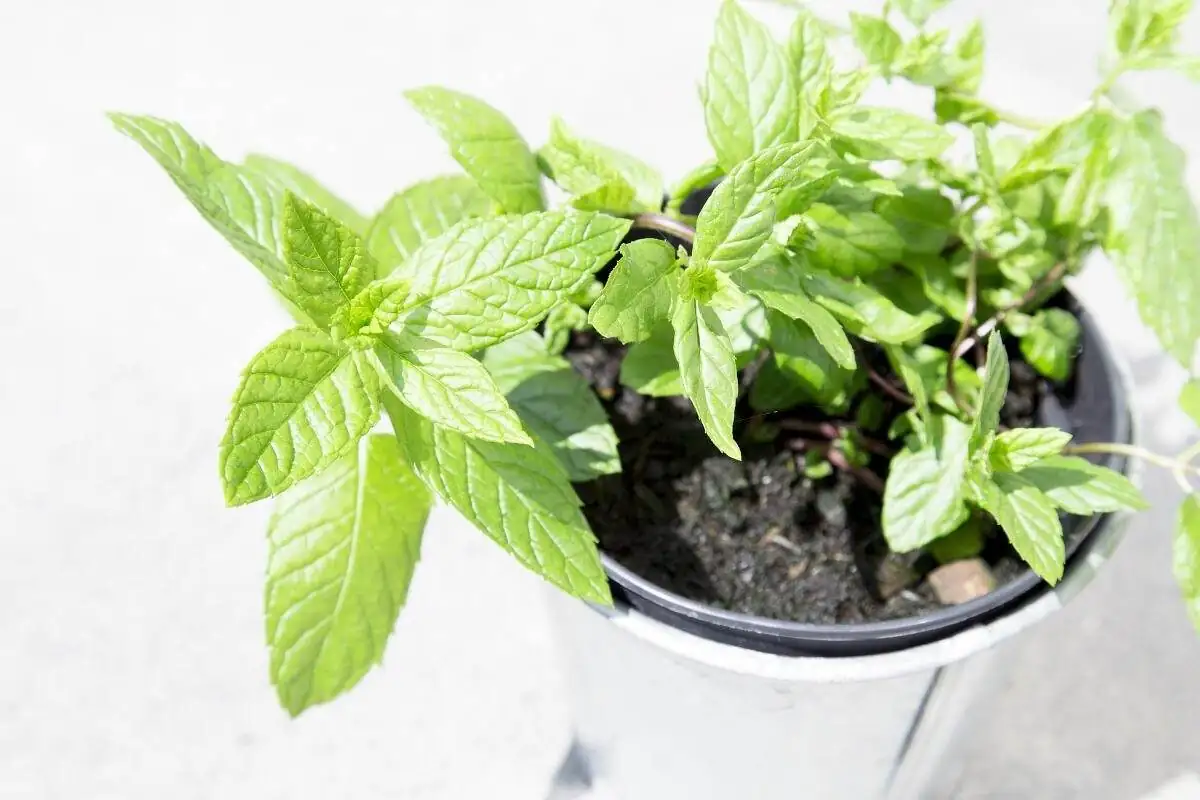
Meet Your Player: Peppermint (Mentha × piperita)
- Family: Lamiaceae (square stems—a mint-family signature)
- Habit: Herbaceous perennial, clump-forming above ground, spreads via vigorous underground rhizomes
- Size: 30–90 cm (12–35 in) tall; in containers often kept 15–30 cm (6–12 in) with regular cutting
- Light: Full sun to partial shade (bright light = best flavor)
- Temperature: Grows best at 20–30°C (68–86°F). Foliage is frost-tender; rhizomes can survive to about −15°C (5°F)
- Flowering: Summer; nectar-rich pink to pale purple blooms that bees and butterflies adore
- Personality: Container-friendly, moisture-loving, and very easygoing—as long as it never stays bone-dry for long
Step 1: Set Up the Perfect Container and Mix
Pot size and shape
- Starter cluster: A 12–15 cm (4.7–5.9 in) pot can hold about 3 young plants.
- For fewer waterings and bigger harvests: Use a 20–25 cm (8–10 in) wide pot.
- Depth: 18–25 cm (7–10 in). Peppermint’s roots and rhizomes like a bit of elbow room.
- Drainage: Must be excellent. Add a mesh over the drain hole so rhizomes can’t snake out.
Soil recipe (moisture-retentive but well-drained)
- 2 parts high-quality, loam-based potting mix
- 1 part compost or leaf mold
- 1/2 part perlite or coarse sand
- At planting: Blend in compost or a base fertilizer.
Buying a plant?
Choose a starter in an 8–15 cm (3–6 in) pot with:
- Strong, clean peppermint scent
- Fresh green leaves, no blackened stems or visible mildew
- Roots that aren’t circling into a tight, pot-bound mass
Step 2: The Watering Rhythm (Your Mint Metronome)
Peppermint thrives on even moisture. Think “never soggy, never dust-dry.”

- The golden rule: Water when the surface just begins to dry. Then water thoroughly until a little drains out; empty saucers.
- Typical seasonal rhythm (adjust to climate, pot size, and wind):
- Spring: Every 2–3 days for 12–15 cm pots; every 3–4 days for larger pots
- Hot summer: Daily or every other day for small pots; every 1–3 days for larger pots
- Autumn: Ease back to every 2–4 days, watching the soil surface
- Winter: If the plant is still growing, keep just slightly moist; otherwise, water sparingly
- Pro tips:
- Morning watering is best.
- In hot, dry air, a light mist in early morning can reduce stress; avoid wetting leaves late in the day.
- Learn the “pot weight” trick: lift the pot after watering and again when it needs water—your hands will memorize the difference.
Step 3: Light, Heat, and the Flavor Dial
Bright light concentrates those cooling oils. You can literally tune the taste.
- Full sun (5–8+ hours): Robust, punchy menthol flavor; leaves a touch firmer.
- Partial shade (3–5 hours bright light): Milder, slightly sweeter leaves; tender texture.
- Hot climates: Full morning sun + light afternoon shade keeps leaves lush and prevents heat-stress bitterness.
- Indoors: A bright windowsill is perfect. Rotate the pot weekly for even growth.
- Temperature: Best at 20–30°C (68–86°F). If it dips below 0°C (32°F), top growth may be nipped, but rhizomes can ride out cold snaps down to about −15°C (5°F).
Step 4: Feed Without Overdoing It
- At planting: Mix in compost or a base fertilizer.
- Growing season: Feed every 2 weeks with a balanced or organic liquid fertilizer.
- Peak summer: You can feed weekly at a more diluted rate.
- When stems begin to wither naturally: Stop feeding.
- Remember: More fertilizer won’t equal more flavor—stick to gentle, regular feeding for leafy, fragrant growth.
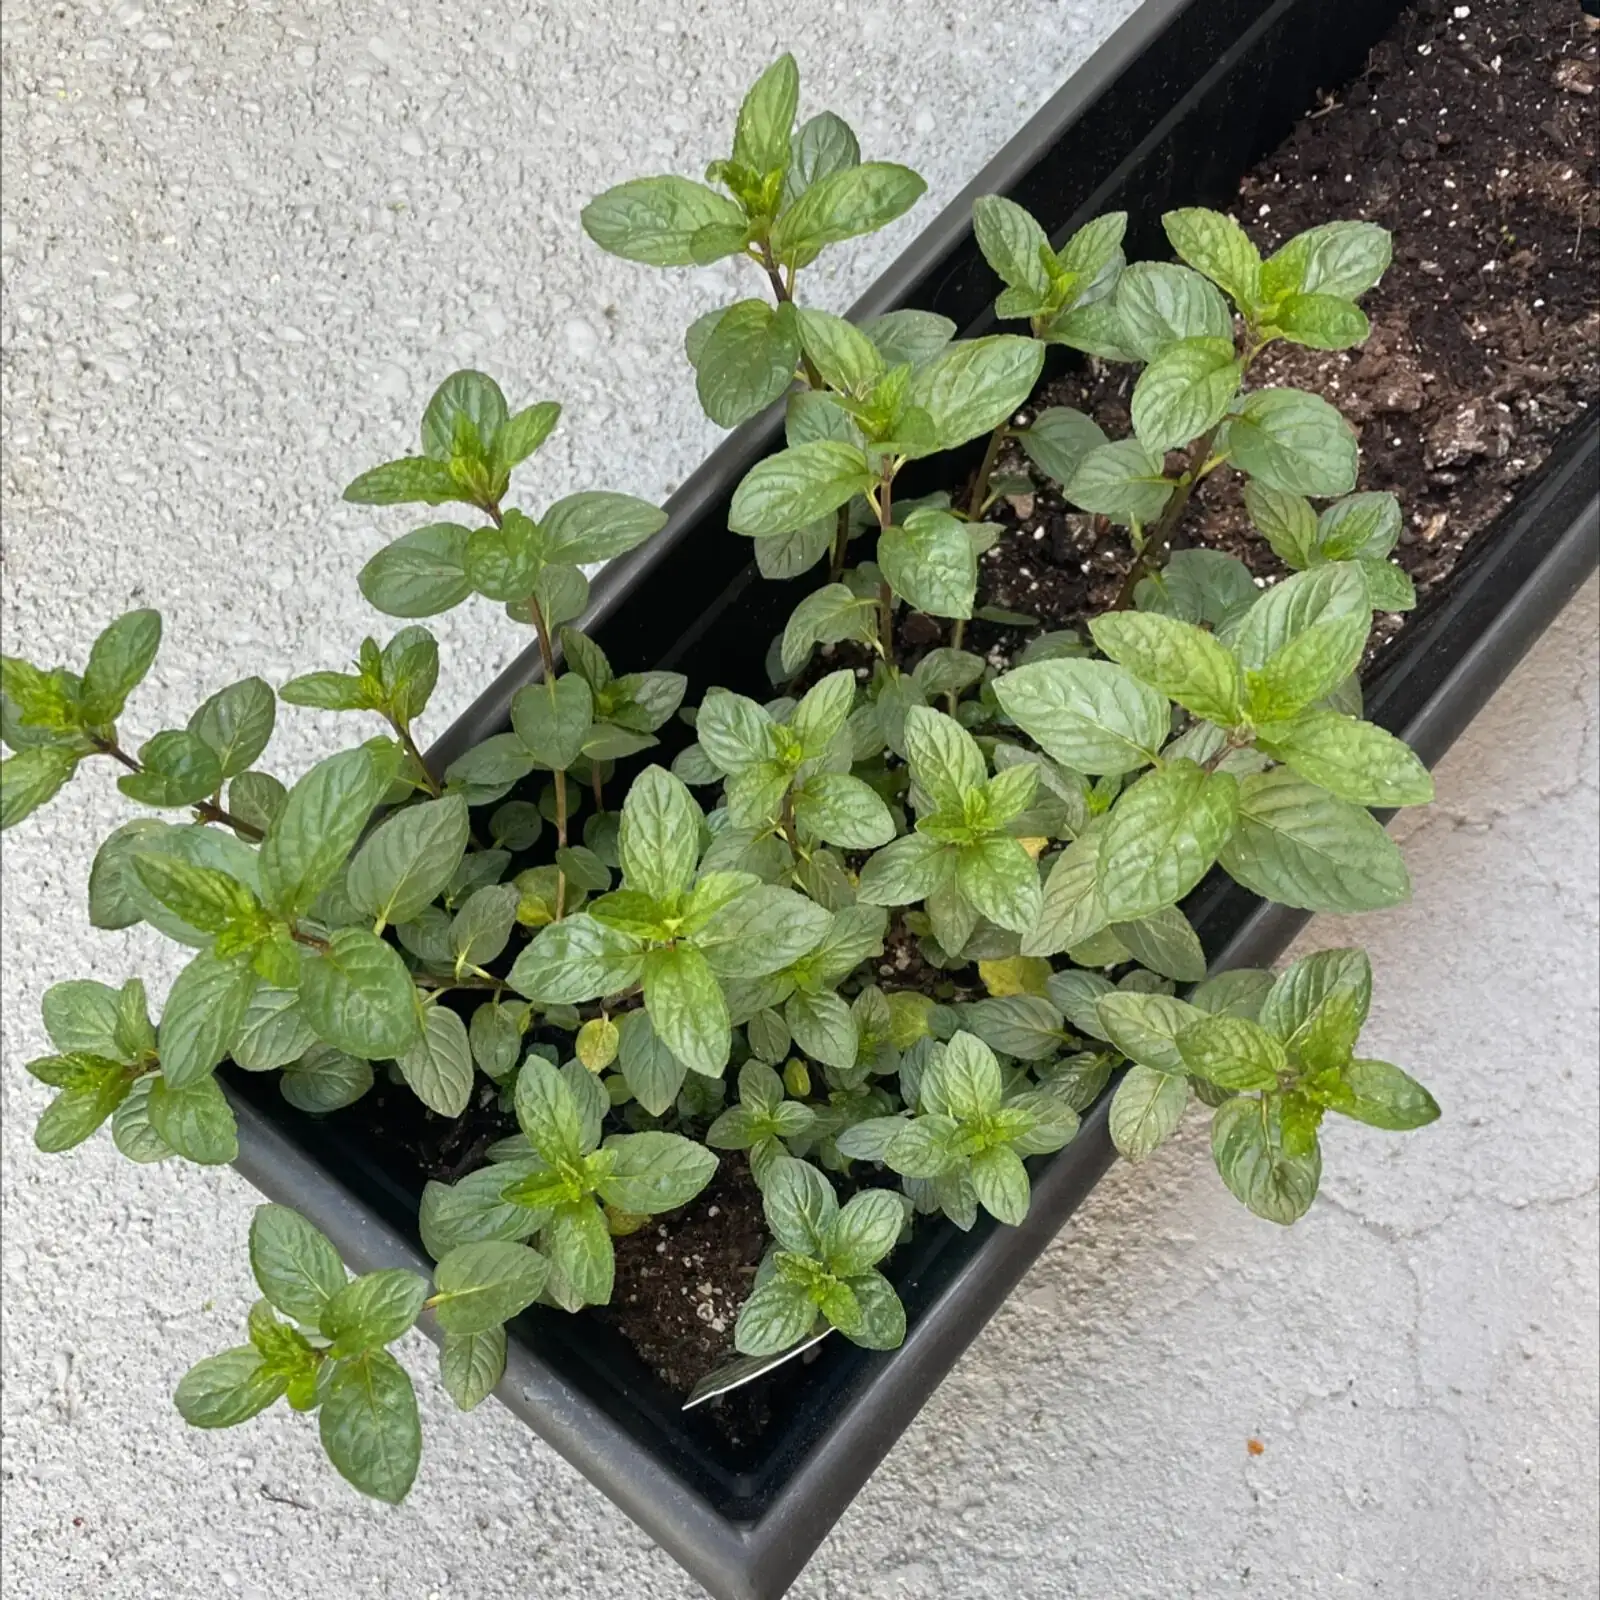
Step 5: Pinch, Prune, and Harvest—The Cut-and-Come-Again Playbook
Peppermint loves a haircut. Trimming makes it bushy and keeps leaves tender.
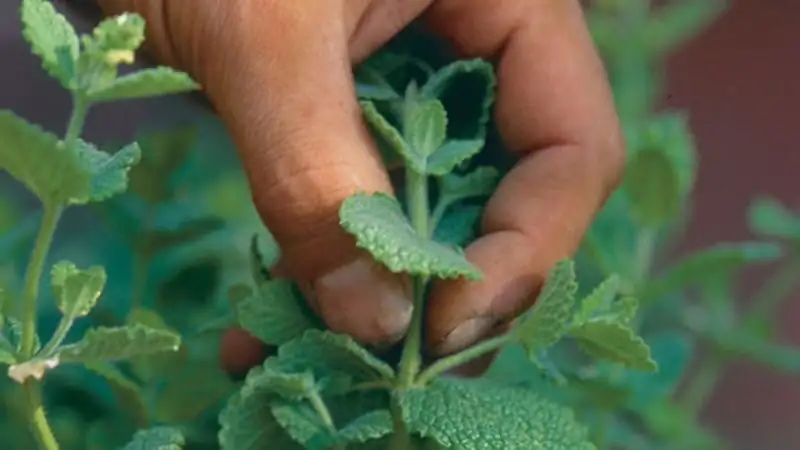
- Start pinching when plants reach 15–20 cm (6–8 in).
- Pinch out the top 2–3 cm, just above a leaf pair, to trigger branching.
- Harvest method:
- Use clean scissors to cut stems, leaving about 10 cm (4 in) above the soil.
- Aim to harvest before flowering for peak oil intensity.
- Frequency:
- Light pinches every 7–10 days in active growth.
- Full cuts: Once established, you can usually harvest 3–4 times per season.
- If flower spikes appear:
- Snip them promptly if your focus is leaf quality.
- Drying tip:
- Harvest mid-morning after dew dries. Bundle small bunches and dry in airy shade.
Step 6: Lock Up the Rhizomes—Foolproof Escape-Proofing
Peppermint’s rhizomes are adventurous. Keep your plant in “rhizome jail” with these proven tactics:
- Use a solid-bottom pot with a mesh over the drainage hole so roots can’t exit.
- Double-potting: Grow peppermint in a nursery pot, then drop it into a slightly larger cachepot. Easy to lift, inspect, and trim.
- Pot feet: Elevate the pot so rhizomes can’t root into the ground through drainage holes—and so the pot never sits in water.
- If sinking the pot into a bed: Keep the rim 3–5 cm (1–2 in) above soil level to stop rhizomes from vaulting out.
- Annual rhizome haircut (ideal around March):
- Lift the plant, shake off old soil, discard tired/weak rhizomes, and keep the thick, pale, vigorous ones.
- Replant into fresh, fertile mix. Keep in partial shade a week to recover, then resume light feeding.
Step 7: A Simple Year-Round Calendar
- Early spring (March):
- Repot/divide, refresh soil, and give a light feed after one week.
- Spring–autumn:
- Keep consistently moist, feed every 2 weeks (weekly, diluted, in summer), pinch for bushiness.
- May–July:
- Take 10 cm (4 in) tip cuttings; they usually root in about 2 weeks in sand or vermiculite.
- April–May or early November:
- Divide rhizomes to propagate or rejuvenate.
- Winter:
- Water sparingly; keep slightly moist only if actively growing.
- Indoors, a cool bright spot around 10–12°C (50–54°F) suits overwintering nicely.
Quick Troubleshooting
- Weak flavor, floppy stems:
- Increase light; pinch tops to stimulate branching; avoid overfeeding.
- Wilting midday but soil is moist:
- Heat stress. Provide light afternoon shade; improve airflow.
- Leaves yellowing from the base:
- Overwatering or spent soil. Let the surface dry between waterings; refresh mix at next repot.
- Powdery mildew or gray mold:
- Improve airflow, avoid late-day leaf wetting, remove affected leaves promptly; use locally approved controls if needed.
- Rust or leaf spot:
- Prune to open the canopy; water at soil level; remove diseased foliage.
- Caterpillars (cutworms/armyworms) in warm months:
- Hand-pick or use approved controls; encourage beneficial insects.
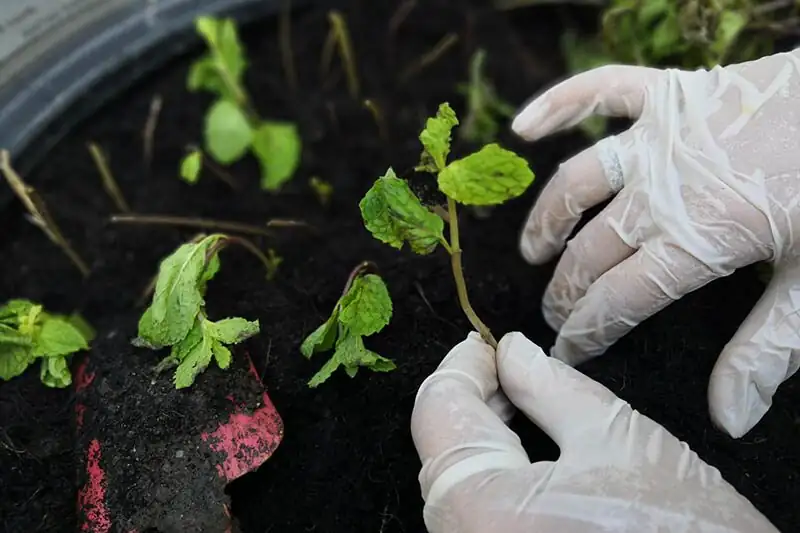
Propagation, Fast and Fun
- Cuttings (May–July): 10 cm tips, lower leaves removed, soak 1–2 hours, then stick into sand/vermiculite; roots form in ~2 weeks.
- Division (April–May or early November): Replant sturdy, pale rhizome sections.
- Seed: Surface-sow indoors; keep evenly moist with bottom-watering and bright, indirect light until germination.
Where to Grow It
- Balcony, sunny patio, or bright windowsill.
- Near reliably moist garden spots if you’re using containers or strong root barriers.
- Often suited to many temperate regions; pot culture makes overwintering and spread-control easy.
Safety Note
Peppermint leaves are generally considered non-toxic as a culinary herb. However, keep concentrated peppermint essential oil away from children and pets; it can irritate skin and mucous membranes if misused.
A Dash of Meaning—and How to Use the Harvest
Peppermint has long symbolized freshness, clarity, and hospitality—likely a nod to its clean scent and a history of welcoming guests with fragrant herbs. In the kitchen, use leaves and tender stems fresh or dried for teas, sauces, desserts, and savory dishes. Bonus home-style treat: simmer fresh leaves in water, strain, and stir the infusion into rice porridge for a gentle, cooling twist.
The 5-Minute Peppermint Plan
- Plant in a draining pot with rich, moisture-retentive mix.
- Bright light for bold flavor; partial shade for gentler leaves.
- Water when the surface just dries; never let it stay parched or soggy.
- Pinch at 15–20 cm tall; harvest leaving 10 cm stems; repeat 3–4 times per season.
- Contain the rhizomes with mesh, pot feet, and an annual “rhizome haircut.”
Do this, and your peppermint becomes a dependable, delicious, cut-and-come-again companion—always ready to freshen up your day.