

Rosemary (Salvia rosmarinus, syn. Rosmarinus officinalis)—a name synonymous with culinary delight and aromatic grace—is a staple in many gardens, celebrated for its fragrant foliage and beautiful blooms. But did you know that with just a little know-how, you can turn a single plant into a thriving rosemary forest? Let’s dive into the art of propagating rosemary using cuttings and layering, ensuring that your garden remains lush and aromatic year-round.
The Magic of Multiplication: Why Propagate Rosemary?
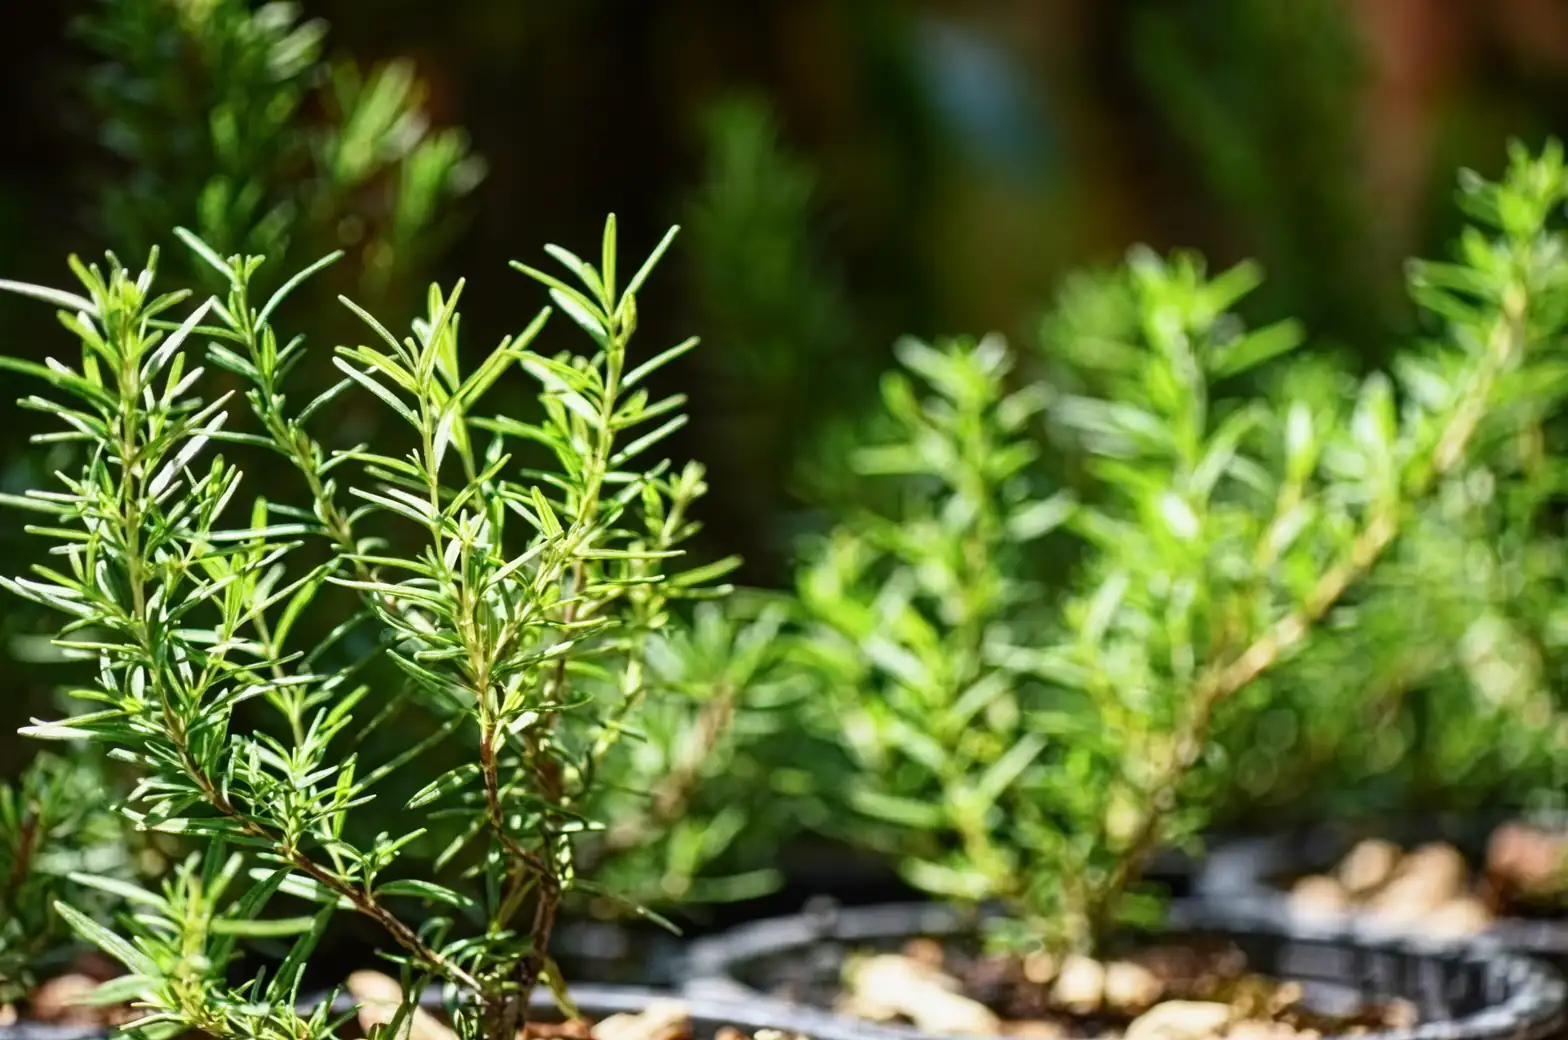
Imagine this: a dance of bees around pale blue flowers, the invigorating scent of piney leaves as you brush past, and the ability to share this beauty with friends and family. Propagating rosemary is not just about expanding your garden; it’s about perpetuating joy, memory, and flavor. Whether you’re a seasoned gardener or a green-thumbed novice, propagation is a rewarding, almost magical process that allows you to generate new plants from existing ones.
Propagation Methods: Cuttings and Layering
Propagating Through Cuttings
Step 1: Choose Your Cuttings Wisely
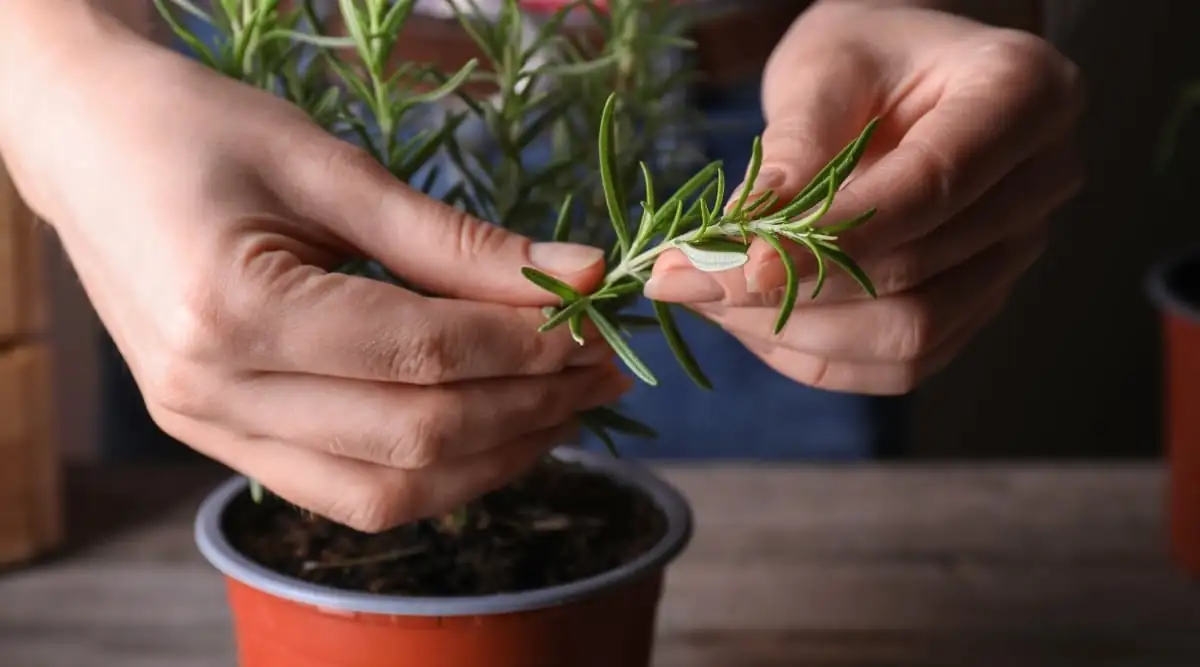
Timing is everything. For best results, take cuttings in late spring or early summer when the plant is actively growing. Look for vibrant, non-woody stems, and snip 4–6 inch sections from the green tips. Ensure each cutting has at least a few nodes—these are the points where leaves attach, and where roots are most likely to form.
Step 2: Prepare the Cuttings
Trim the cuttings at a 45-degree angle to increase water absorption. Strip the lower leaves, leaving a few at the top to continue photosynthesis. If you’re feeling scientific, dip the cut end in rooting hormone to enhance root development.
Step 3: Plant the Cuttings
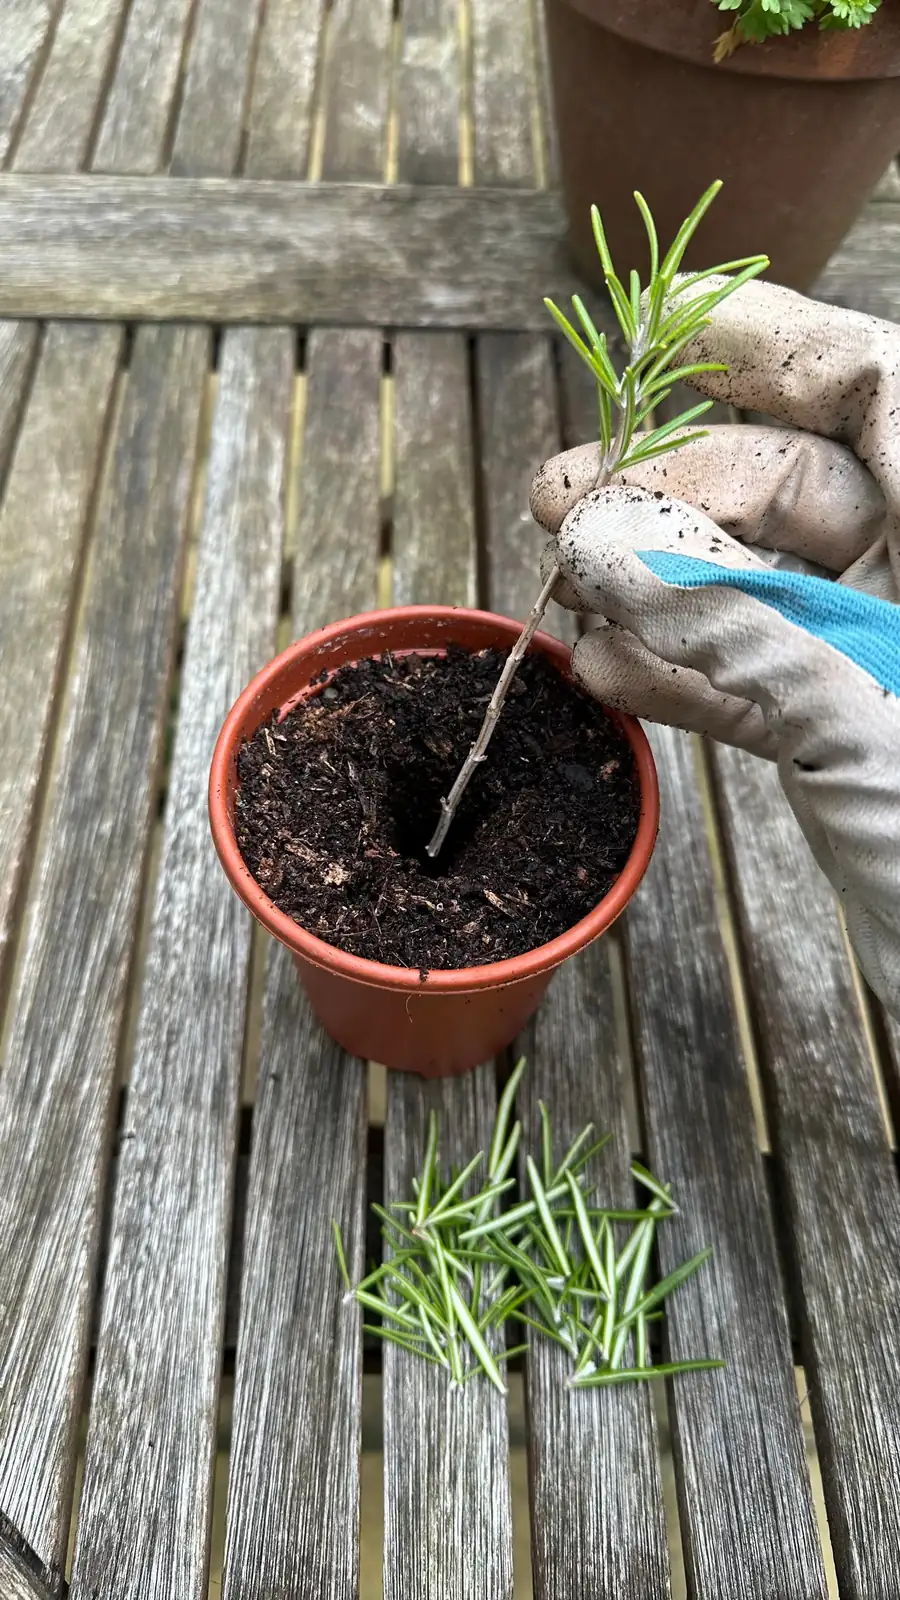
Place your cuttings in a small pot filled with a gritty, free-draining medium like coarse sand or a mix of potting soil and perlite. Ensure the pot has excellent drainage; rosemary abhors wet feet.
Step 4: Nurture with Care
Maintain a warm environment, ideally around 20-25°C (68-77°F), and keep the medium slightly moist but never soggy. Within 3-4 weeks, you should notice new roots forming. A gentle tug will confirm if the roots have taken hold. Once rooted, acclimatize your young plants to the outdoor environment gradually.
Layering: The Lazy Gardener’s Trick
Layering is nature’s gift to the busy gardener. This method involves encouraging a low branch to root while still attached to the parent plant.
Step 1: Select and Prepare a Stem
Choose a healthy, flexible stem close to the ground. Gently scratch the underside of the stem to expose some of the cambium, which will encourage rooting.

Step 2: Bury the Stem
Bend the stem to the soil, covering the scratched area with earth, and secure it with a small peg or stone. Keep the area moist, and in a few months, roots will develop.
Step 3: Cut and Replant
Once a robust root system forms, sever the new plant from the parent and transplant it to its new home.
Tips for a Thriving Rosemary Garden
- Sunshine is Key: Rosemary loves at least 6–8 hours of direct sunlight daily. Position your pots or garden bed where they can soak up the sun’s rays.
- Drainage, Drainage, Drainage: Ensure your soil is well-draining. A gritty or sandy mix mimics rosemary’s native Mediterranean environment.
- Prune for Shape: Light pruning encourages bushy growth and prevents legginess. Avoid cutting back into old, leafless wood.
Fun Facts and Historical Tidbits
Rosemary has been cherished for centuries, not just for its culinary uses but for its symbolic meanings. In ancient Greece, students wore rosemary garlands, believing it sharpened their memory—a tradition that inspired its nickname, the “Herb of Remembrance.” It’s also linked with love and fidelity, often used in weddings and ceremonies.
Conclusion
Propagating rosemary can transform a single plant into a vibrant patch of greenery, offering endless culinary possibilities and a touch of Mediterranean magic to your garden. Whether through cuttings or layering, these propagation techniques empower you to multiply your rosemary, ensuring a garden that’s as bountiful as it is aromatic. So grab your shears, roll up your sleeves, and let the magic of propagation begin!


