If you love your zonal geraniums enough to want them back next summer, winter is a strategy game—and you’re about to win it. Pelargonium × hortorum (the classic “zonal geranium”) doesn’t like frost, but it absolutely can cruise through the cold season if you time the move indoors, keep it cool and bright, water sparingly, and take a few “insurance” cuttings for spring. Here’s your practical, step‑by‑step playbook.
Meet Pelargonium × hortorum (Zonal Geranium): why it’s worth saving
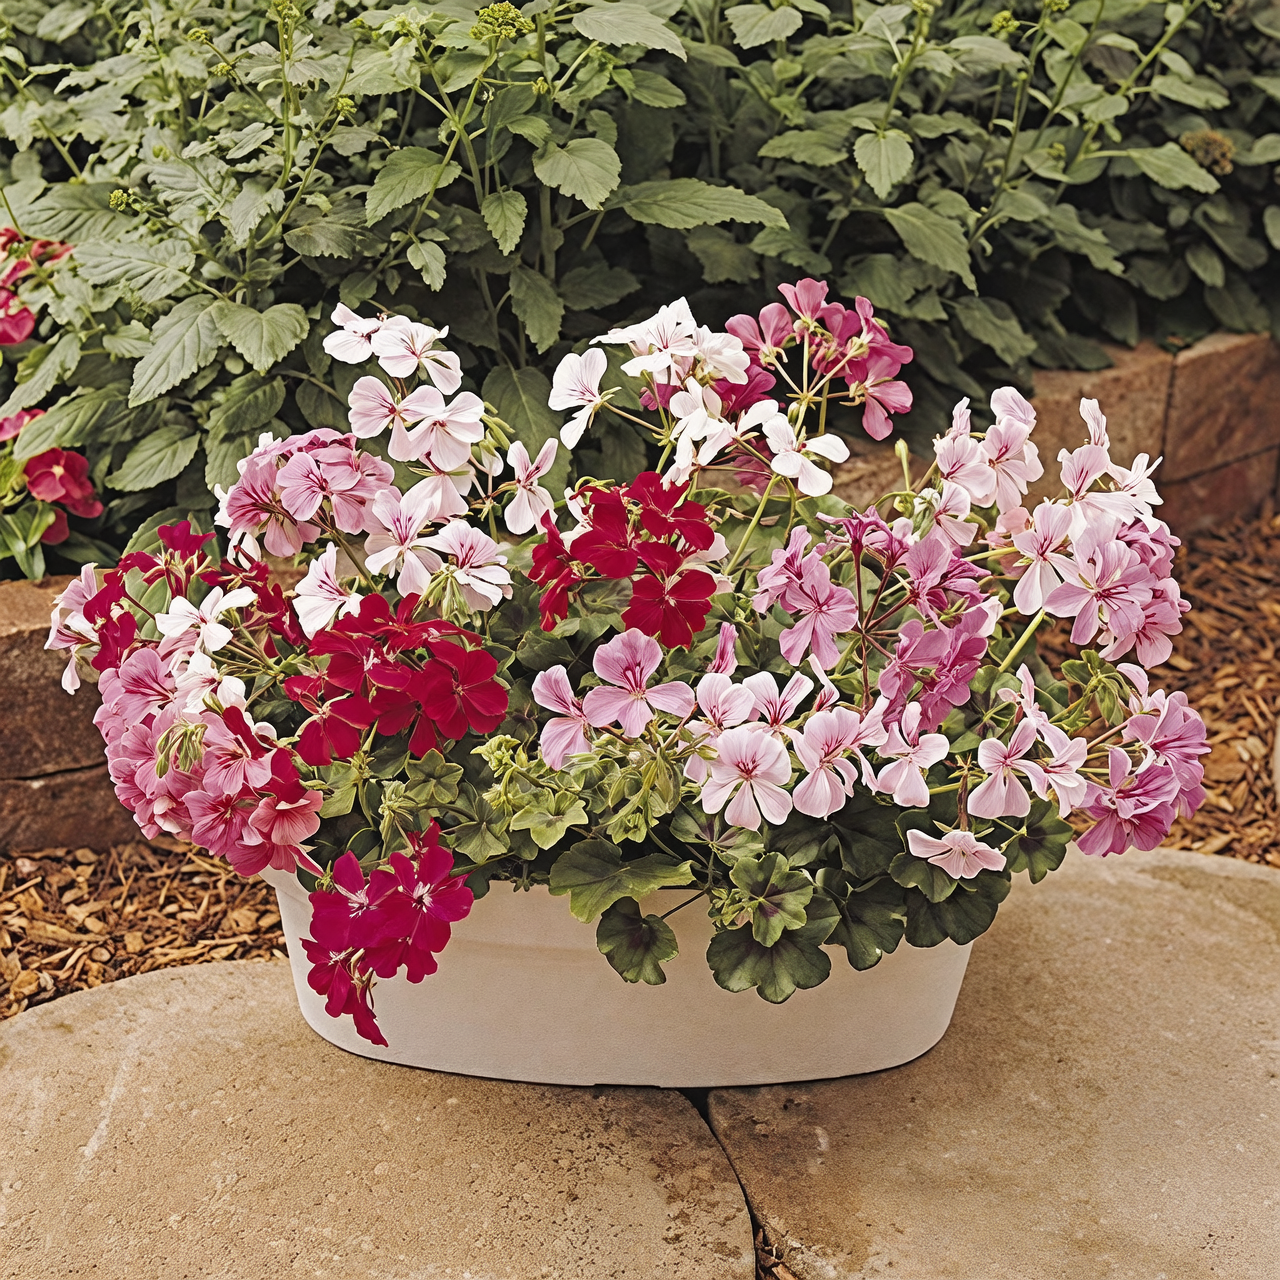
- Look: Compact, bushy plants with rounded, softly scalloped leaves often marked by a darker circular “zone.” Umbrella-like flower clusters in reds, pinks, orange-reds, and whites, from singles to frilly doubles.
- Habit: Tender perennial/subshrub; stems start fleshy and green, then turn semi-woody with age.
- Size: Typically 30–60 cm tall and 30–50 cm wide in containers.
- Personality: Sun-loving, drought-tolerant once established, generous bloomer, roots from cuttings in weeks.
- Roots: Many parent species hail from Southern Africa, especially South Africa—no surprise they demand bright light and excellent drainage.
Your winter game plan at a glance
- Timing: Bring plants indoors before frost; don’t gamble below 5°C (41°F).
- Target conditions: Cool and bright—ideally 10–15°C (50–59°F) with maximum light and good airflow.
- Watering: Sparing. Let the top 2–3 cm (about 1 in) of mix dry before watering; aim for “almost dry, never soggy.”
- Feeding: Minimal or paused until daylength increases; resume lightly in late winter/early spring.
- Insurance: Take 10–15 cm (4–6 in) cuttings now so you’re guaranteed fresh, vigorous plants for spring.
Countdown to frost: making the move indoors
Two weeks before the first frost
- Scout and clean: Remove dead flowers/leaves, check under leaves and along stems for whiteflies, aphids, spider mites, or mealybugs. Rinse, then treat early with insecticidal soap or horticultural oil if needed.
- Groom and shape: Lightly trim or pinch to prevent legginess indoors; you can cut back by about one-third if plants are sprawling.
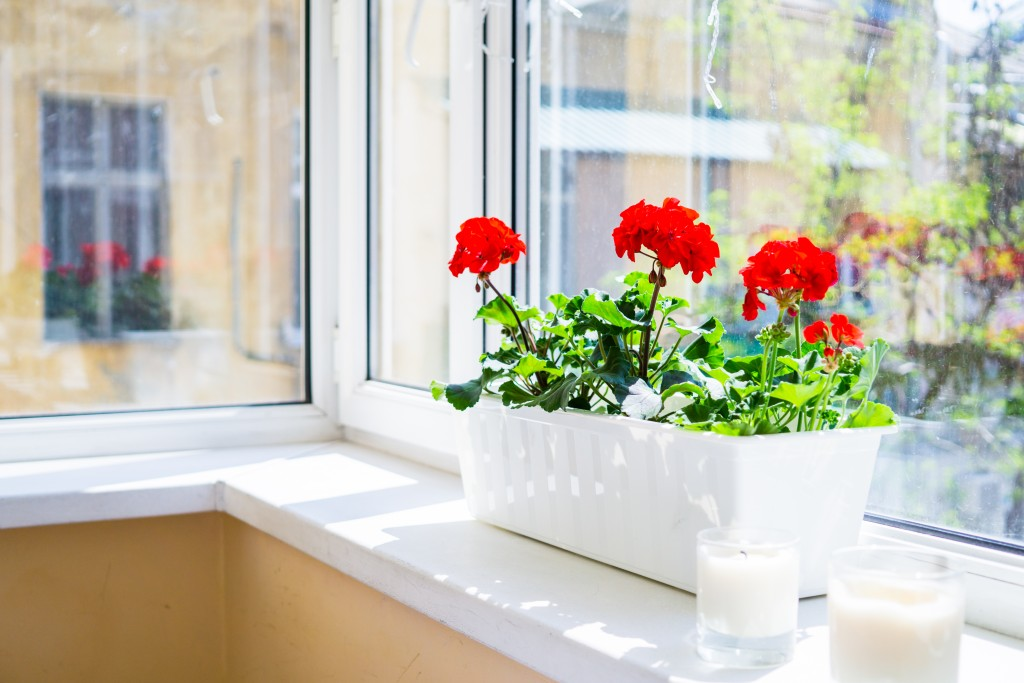
- Prep a spot: Brightest possible window (south or east) or supplement with a small LED grow light. Keep plants away from heat vents and fireplaces—warm, dry blasts encourage pests and stress.
Moving day
- Bring in before any frost event. If plants were in ground beds, pot up into a free-draining mix (potting soil plus coarse sand/grit/perlite and a little composted bark).
After arrival: quarantine and settle
- Isolate newly moved plants from your other houseplants for 10–14 days while you monitor for hitchhikers.
- Water thoroughly once to settle soil, then let the mix dry slightly before the next drink.
The winter playbook: cool, bright, nearly dry
Light
- Aim for 4–6+ hours of direct sun indoors. South-facing windows are gold; east-facing is solid. If light is weak, add a small LED grow light (12–14 hours daily).
- Leggy growth? Pinch stems just above a node to promote branching.
Temperature
- Sweet spot: 10–15°C (50–59°F). Plants stay compact, resist pests, and set buds more reliably as days lengthen. Up to ~18°C (64–65°F) is fine, but cooler is better than warm and dim.
Watering
- Rule of thumb: Water when the top 2–3 cm (about 1 in) of mix is dry. In winter this can be every 7–10 days—sometimes longer in a cool room.
- Always: Water at the base, never let pots sit in a full saucer, and avoid wetting flowers/leaves.
Airflow and humidity
- Low to moderate humidity with good airflow is ideal. Stagnant, damp air invites gray mold (botrytis) and leaf spots.
Feeding
- Pause or keep it very light until late winter. When growth picks up, feed modestly; as buds form in spring, switch to a higher‑potassium “bloom” fertilizer to favor flowers over foliage.
Potting mix and pots
- Use a free‑draining, airy mix (all-purpose potting mix amended with coarse sand/grit/perlite and some composted bark). Pots must have drainage holes.
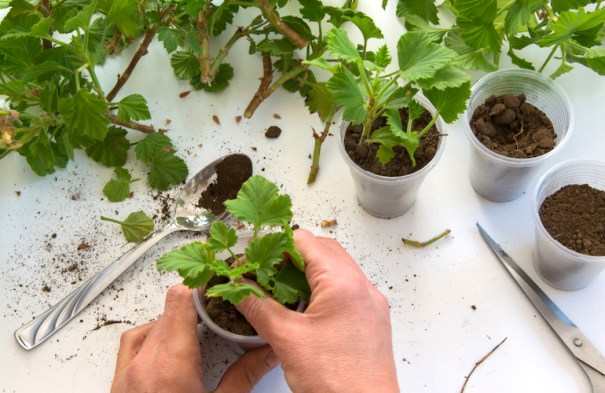
Take “insurance” cuttings now: guaranteed spring backups
Even expert growers hedge their bets. Cuttings root fast and give you compact, floriferous plants for spring containers.
What to cut
- Take 10–15 cm (4–6 in) non‑flowering tip cuttings from healthy shoots. Remove lower leaves; keep 2–3 leaves at the top.
How to root
- Let cut ends air-dry for 30–60 minutes to callus slightly.
- Insert into a free-draining medium (peat/coco plus perlite or sand). Rooting hormone is optional but can speed things up.
- Keep in bright, indirect light at 13–18°C (55–64°F).
- Expect roots in about 2–3 weeks (often 14–21 days).
After rooting
- Pot individually into a gritty mix. Grow cool and bright; water sparingly. Pinch once they settle to encourage bushiness.
Common winter pitfalls—and easy fixes
- Leggy stems: More light, cooler room, and a pinch back above a leaf node.
- Yellowing lower leaves: Usually overwatering or compacted/tired mix. Let the medium dry slightly more and consider repotting into a fresh, airy blend.
- Few or no blooms later: Increase light, avoid excessive nitrogen, let the mix dry between waterings, and use a bloom‑leaning feed as daylength returns.
Winter pest and disease watchlist
- Whiteflies, aphids, spider mites, mealybugs: Catch early. Isolate, rinse with lukewarm water, then use insecticidal soap or horticultural oil. Sticky traps help monitor whiteflies.
- Botrytis/gray mold: Papery browning flowers with gray fuzz. Improve airflow, remove spent blooms promptly, and avoid overhead watering.
- Rust (on zonal types): Yellow specks above, brown pustules beneath. Remove infected leaves, improve circulation, keep foliage dry.
- Root rot: Nearly always from soggy mix. Drainage is non‑negotiable—let the top layer dry before rewatering.
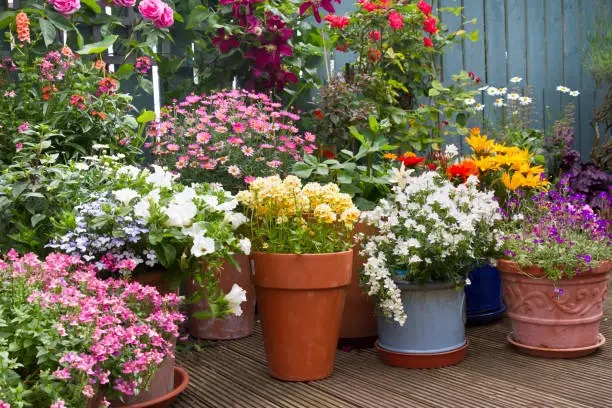
Spring restart: from cool bench to balcony brilliance
- Late winter: Increase light hours (or raise grow light intensity), resume light feeding, and give a structural prune if needed.
- Repot: Best after a flowering lull—often March–April—only one pot size up.
- Harden off: Move plants outdoors gradually after frost danger passes; start in bright shade, then step up to morning sun, then full sun.
- Feeding for flower power: Shift to a higher‑potassium fertilizer as buds form to maximize bloom clusters.
Quick safety note
Pelargoniums are generally low to mildly toxic. Chewing can upset pets’ stomachs, and the sap may irritate sensitive skin. Keep out of nibblers’ reach and wash hands after heavy pruning if you’re prone to dermatitis.
A note on “flower language” and what geraniums mean
In Victorian floriography—the 19th‑century practice of sending coded messages with flowers—zonal “geraniums” came to symbolize good wishes, friendship, and warm thoughts. Color nuances evolved with the tradition: red often meant “you’re on my mind,” pink conveyed companionship, and white signaled sincerity. Treat these meanings as cultural poetry rather than botany—but they do pair nicely with the plant’s sunny, long‑blooming character.
Your winter toolkit
- Bright south/east window or LED grow light
- Thermometer for a cool 10–15°C (50–59°F) zone
- Free‑draining potting mix + perlite/grit
- Clean shears for pinching and cuttings
- Insecticidal soap/horticultural oil and sticky traps
- Small pots or trays for rooting 10–15 cm cuttings
The bottom line
Beat winter with three smart moves: bring Pelargonium × hortorum in before frost, keep it cool-bright and almost dry, and root a handful of cuttings as your spring insurance policy. Do that, and your “zonal” will pay you back with dense, leafy mounds and fireworks of flowers the moment the days lengthen.