

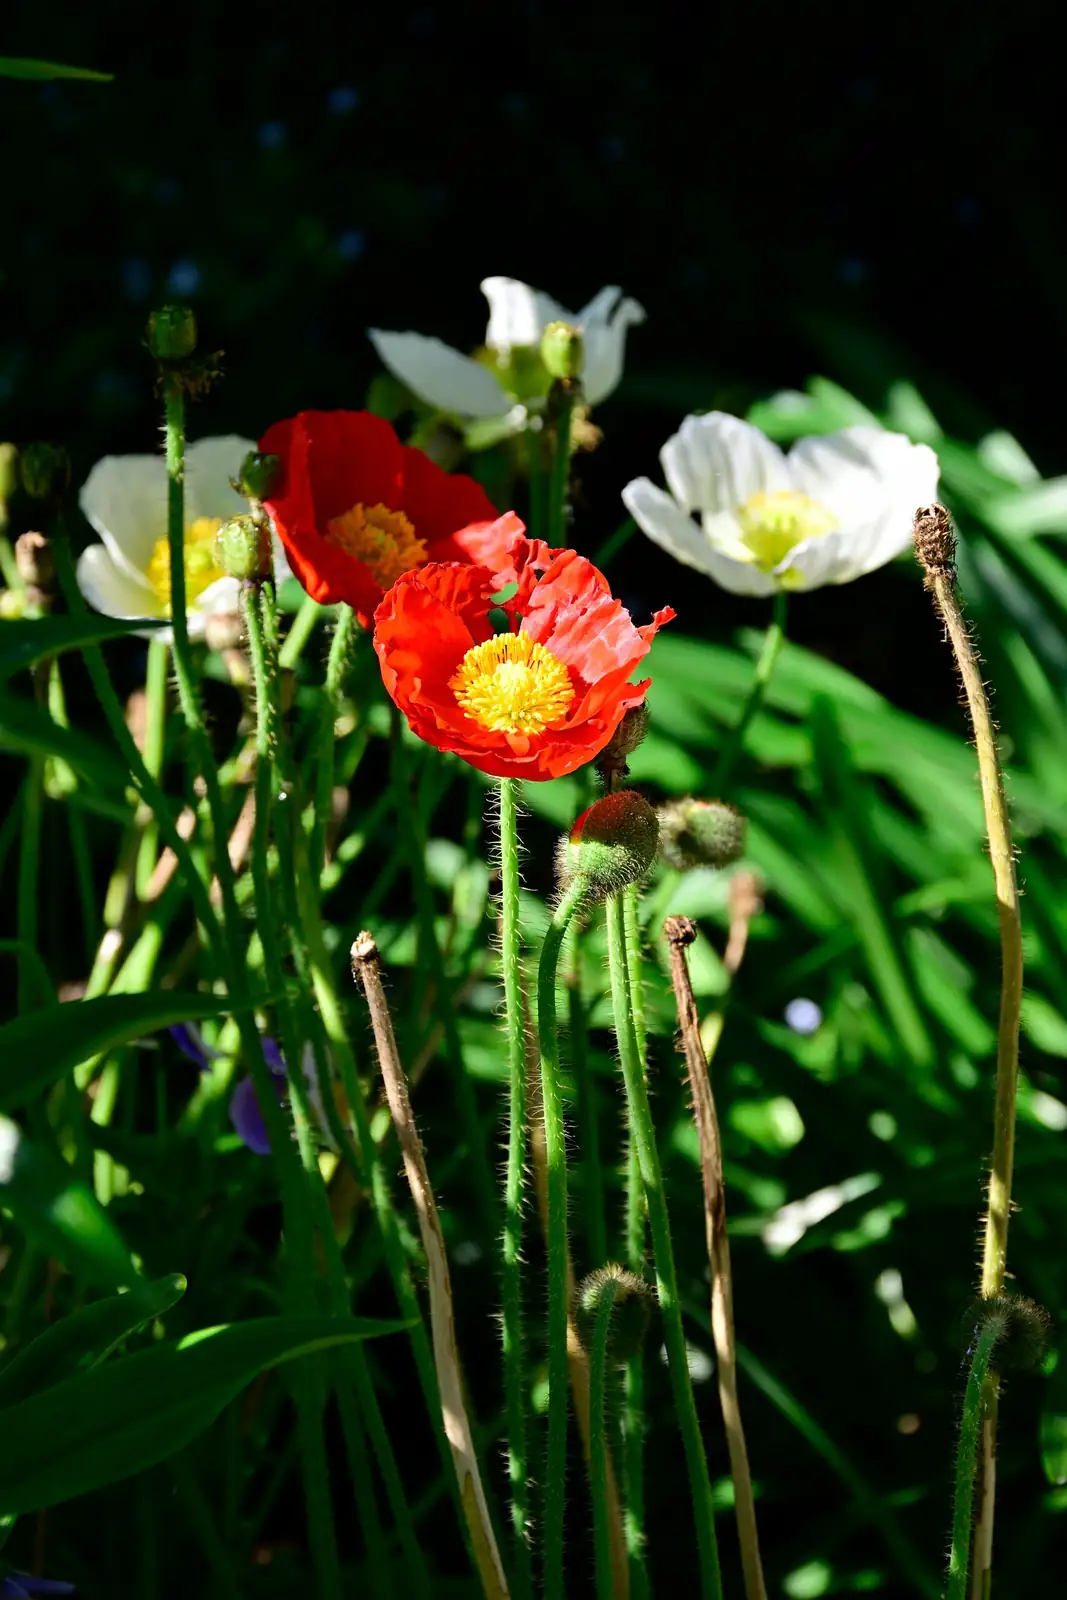
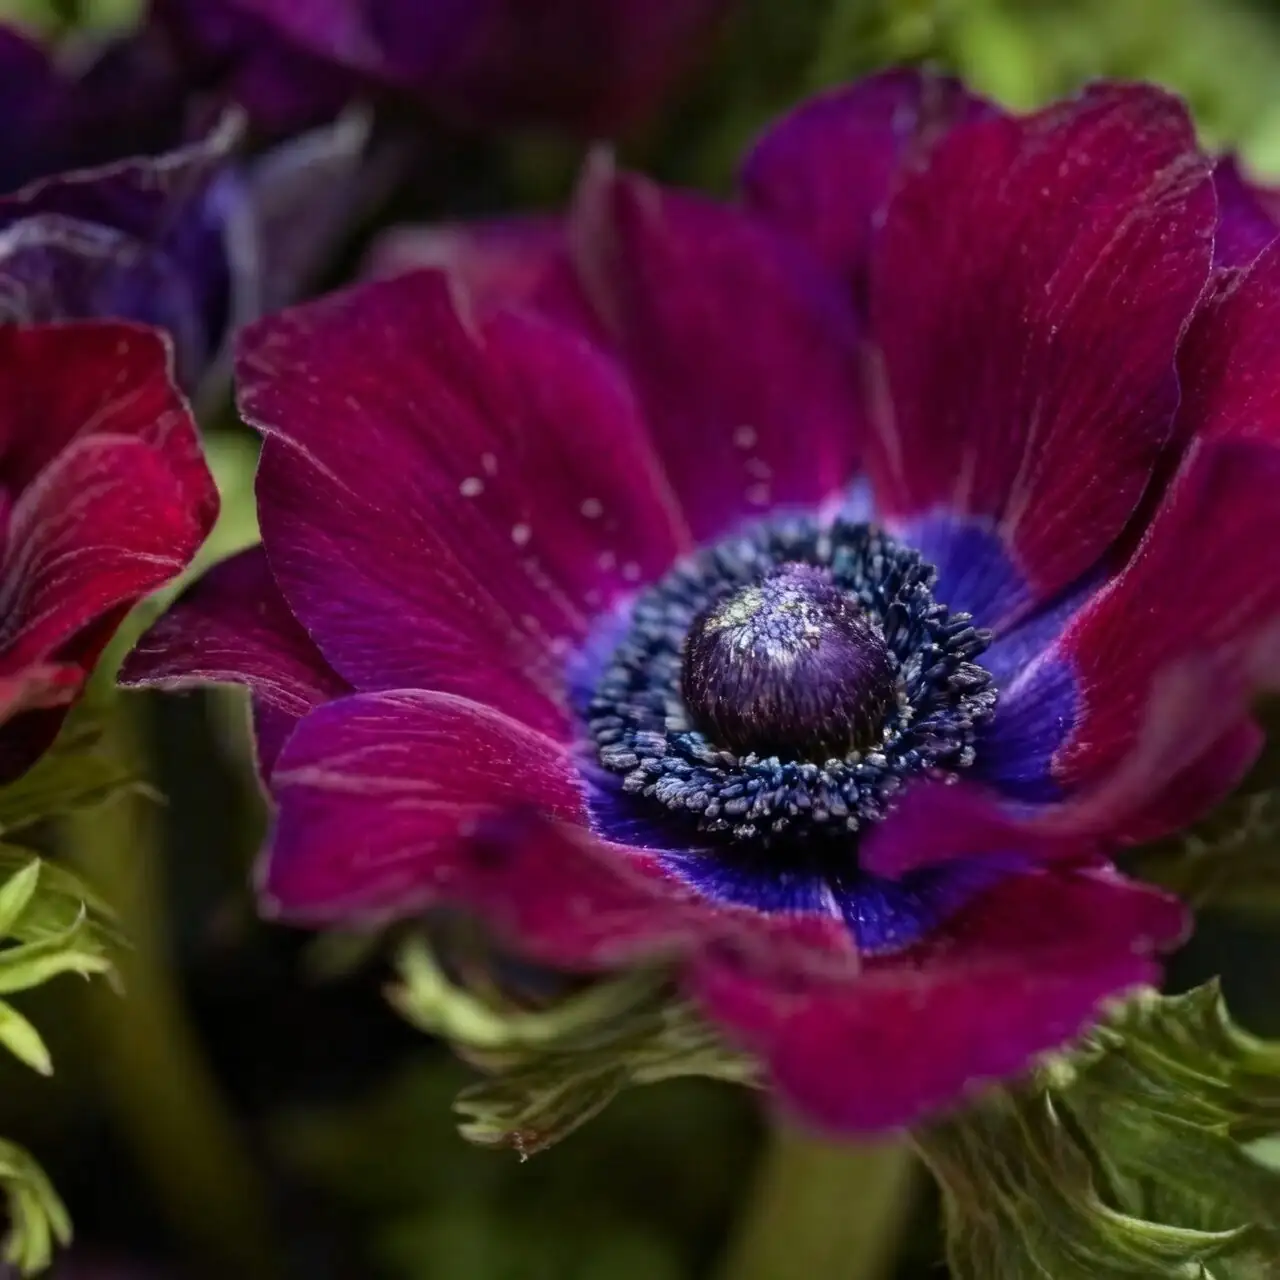
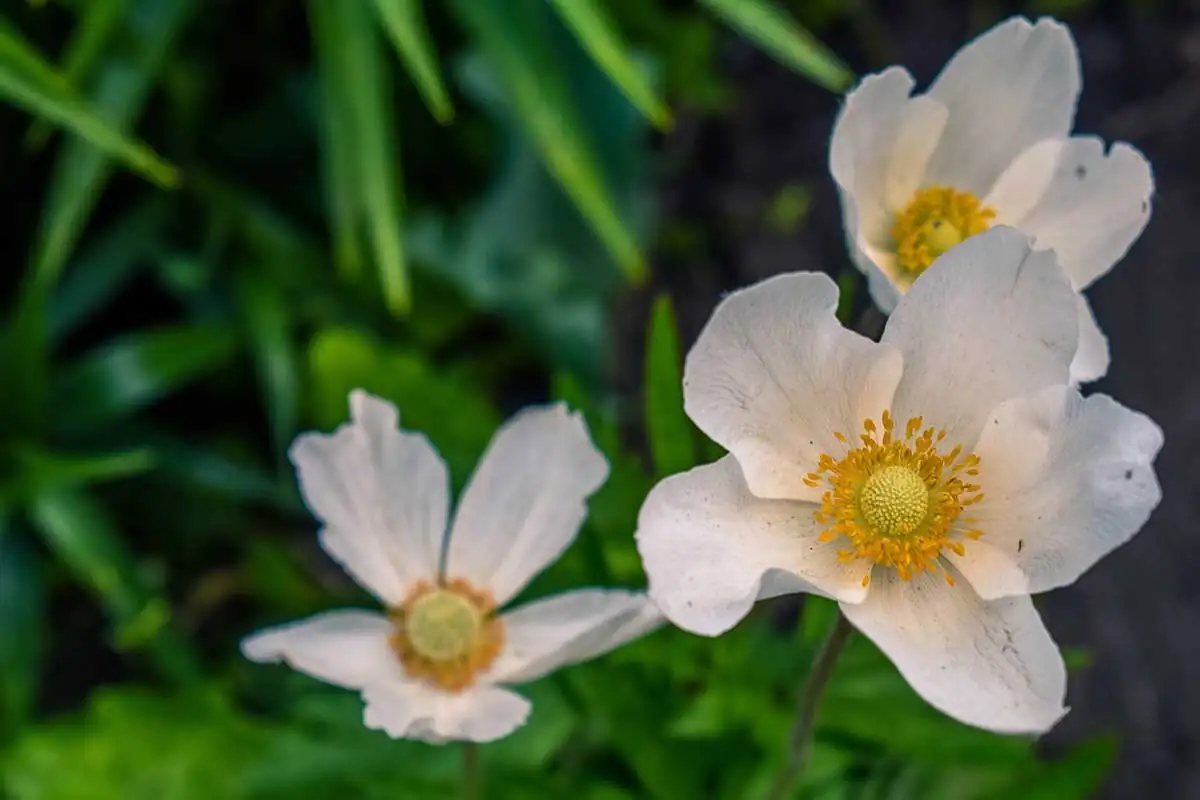
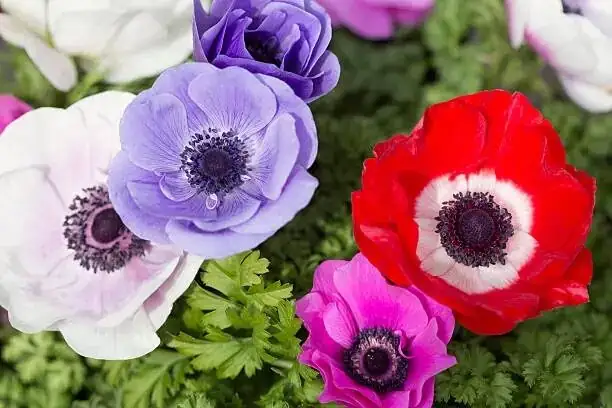
If you’ve ever fallen for the jewel-bright poppy anemone, here’s the good news: you can multiply that spring magic at home. The secret lies in working with the plant’s natural rhythm—let it rest when it wants to, then wake it gently. Below is a step-by-step propagation game plan built around lifting and dividing after June dieback, storing in dry sand, rehydrating before autumn planting, and sowing fresh seed at cool temperatures for a future flush of blooms.
Meet the plant you’re teaming up with
- Name: Anemone coronaria (Poppy Anemone; also called Crown Anemone or Windflower)
- Type: Herbaceous, tuberous perennial
- Habit: A cool-season grower with spring flowers; tubers enter summer dormancy (and may pause in cold snaps, then restart when conditions soften)
- Ideal growing window: 15–20°C (59–68°F)
- Light: Full sun for sturdiness and bloom power; tolerates partial shade. In hot spells, provide 50–60% shade.
The annual rhythm (Northern Hemisphere timeline)
- Spring: Peak flowering
- June: Foliage naturally dies back; tubers slip into dormancy
- Late June–July: Lift, divide, and store in dry sand
- Late summer to early autumn: Pre-soak to rehydrate; plant for the cool season
- Autumn–winter: Growth resumes in mild spells; keep conditions bright, cool, and evenly moist (not soggy)
Step-by-step: Lifting, dividing, and storing tubers after June dieback
1) Wait for true dormancy
- Target time: Around June, when foliage has completely yellowed and comes away easily.
- Don’t rush. Lifting too early robs the tuber of stored energy.
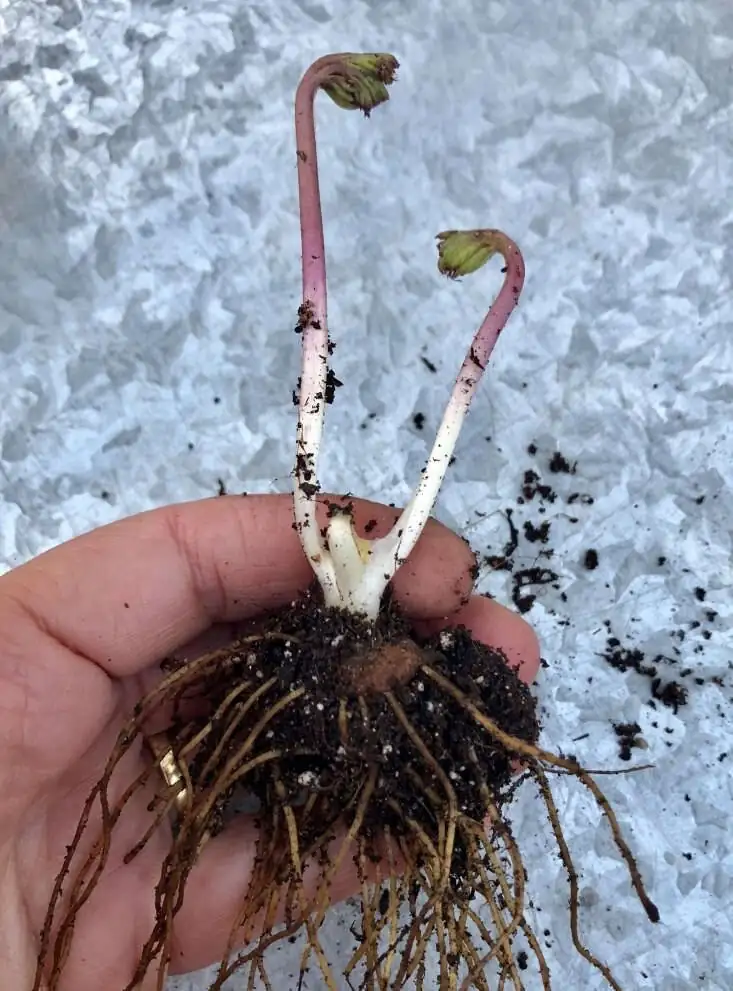
2) Lift carefully
- Use a garden fork to loosen soil well beyond the clump’s edge. Lift gently so you don’t spear or snap tubers.
3) Divide what’s divisible
- Separate natural offsets/clusters with your fingers. Avoid slicing single tubers; they don’t respond well to being cut.
4) Clean and briefly cure
- Brush off loose soil; don’t wash.
- Trim away dead tops. Cure the lifted tubers in airy shade for 3–5 days to dry the skins.
5) Store in dry sand
- Nestle tubers in dry sand (or another free‑draining, dry medium) in a breathable box, label clearly, and keep in a cool, shaded, well‑ventilated place.
- Check monthly. Discard any that feel soft or smell “off.” Keep them dry until pre‑planting.
Reawaken the treasures: Pre-soaking and autumn planting
1) Rehydrate before planting
- Timing: By early autumn.
- Method: Pre-soak in room‑temperature water for 4–12 hours, or bury in moist (not wet) sand until they plump slightly. Drain thoroughly.
- Optional health step: Many growers give a labeled fungicide dip (often around 1:1000, per label) just before planting to discourage rot.
2) Potting mix and depth
- Mix: Fertile and free‑draining (think leaf mold/compost + rich loam + coarse sand).
- In pots: Use 12–15 cm (4.7–5.9 in) containers; plant 3 tubers per pot at about 1.5 cm (0.6 in) deep.
- In ground: Plant 5–7 cm (2.0–2.8 in) deep in a well‑drained bed. Raised positions shine in rainy regions.
3) Orientation
- The tubers are knobbly; exact “up” can be hard to read. Plant on their side if in doubt—roots and shoots will sort themselves out.
4) Watering on day one—and after
- Water once to settle the soil, then take it easy. The biggest early pitfall is overwatering dormant or just‑rehydrated tubers.
- As growth starts, increase watering gradually. During stem elongation and flowering, keep the mix evenly moist (never sodden).
5) Light, temperature, and airflow
- Aim for bright light and cool, fresh air. 15–20°C (59–68°F) is the sweet spot.
- In heat waves, provide 50–60% shade. Avoid hot, humid, stagnant conditions.
6) Feeding for performance
- During active growth, feed monthly with a mild organic liquid fertilizer.
- At first buds/flowers: one extra boost higher in P and K (for instance, a bloom formula around 15‑15‑30) to support flowering and tuber strength.
Fresh seed, fresher results: Sowing at 15–20°C
Seed gives you genetic diversity—and patience is essential. Seed‑grown plants often need 2–3 years to flower, but the payoff can be spectacular.
1) Collect and prep the seed
- Ripening: Around June.
- Use it fresh. These seeds can be slightly hairy and clump. Rub gently with dry sand to “declump” and distribute more evenly.
2) Sow lightly
- Medium: Fine‑textured, free‑draining seed mix.
- Sowing: Scatter thinly in pots/flats and cover only lightly.
- Temperature: 15–20°C (59–68°F) is the germination lane; seedlings usually emerge in 3–6 weeks. High heat can stall them.
3) Humidity and light
- Keep the mix evenly moist—never waterlogged. Good air movement is your friend.
- Once seedlings emerge, give bright light and cool conditions to avoid stretching.
4) Growing on
- Prick out when sturdy, then step up pot sizes gradually. Protect from heat spikes.
- Expect 2–3 years to flowering size; keep plants cool, bright, and evenly moist through their cool‑season growth cycles.
Pitfalls to dodge (and what to do instead)
- Overwatering right after potting tubers: Most common cause of rot and “no‑show” sprouts. Water once to settle; then hold back until growth begins.
- Poor drainage: A fast road to tuber loss, especially in winter or wet spells. Use free‑draining mixes and raised beds; never allow standing water.
- Planting too deep in pots: In containers, stick to about 1.5 cm deep.
- Hot, humid, stagnant air: Encourages gray mold and other diseases. Ventilate well and avoid crowding.
- Old or overheated seed: Fresh seed at 15–20°C germinates best. Store cool and dry if you must delay sowing.
- Heavy shade in cool seasons: Leads to weak, stretched stems and fewer blooms. Aim for bright, direct light when temperatures are mild.
Pro tips from the bench
- Label everything at lifting time—colors and strains look similar when dormant.
- Cure tubers briefly after lifting, then store bone‑dry in sand; check monthly.
- Before planting, a short rehydration (moist sand or a few hours in water) evens out sprouting.
- For containers, plant three tubers per 12–15 cm pot for a fuller look.
- Deadhead during bloom if you aren’t saving seed; it helps tubers bank energy.
- Avoid wetting open flowers; petals stay crisper and cleaner that way.
A quick propagation calendar (Northern Hemisphere)
- June
- Foliage dies back; lift, divide clusters, cure, and store in dry sand.
- Collect ripe seed; sow fresh at 15–20°C, cover lightly.
- July–August
- Stored tubers rest. Monitor for rot; keep them dry and cool.
- Seedlings from June sowings emerge in 3–6 weeks; grow on cool and bright.
- Late August–September (early autumn)
- Pre‑soak tubers to rehydrate; consider a brief labeled fungicide dip.
- Plant tubers: 1.5 cm deep in pots (3 per 12–15 cm), 5–7 cm in ground.
- Water once to settle, then go light until shoots appear.
- Autumn–winter
- Maintain bright light, cool temps (ideally 15–20°C), even moisture, and airflow.
- Feed monthly during active growth; give a P–K boost at first buds.
- Spring
- Main flowering season. Keep evenly moist; avoid wetting open blooms.
- June
- Repeat: lift, divide, store; or save seed for the next generation.
Pests, diseases, and safe handling
- Watch for rust, gray mold (Botrytis), and Sclerotinia; good airflow and avoiding soggy media are your best defenses. If needed, use a suitable broad‑spectrum fungicide as labeled.
- Aphids can target flowering stems; rinse off, encourage beneficial insects, or use a labeled control such as imidacloprid where appropriate.
- Sap can irritate skin and the plant is potentially toxic if ingested. Keep away from pets and children; wear gloves if you have sensitive skin.
A short note on symbolism
Called “windflower,” Anemone coronaria is often linked with anticipation and protection—its blooms seem to arrive with the gentler winds of spring and close again when conditions turn. That dance with the weather captures the plant’s essence: rest, wait, then dazzle. Propagation is simply your way of keeping that hopeful rhythm going, season after season.