

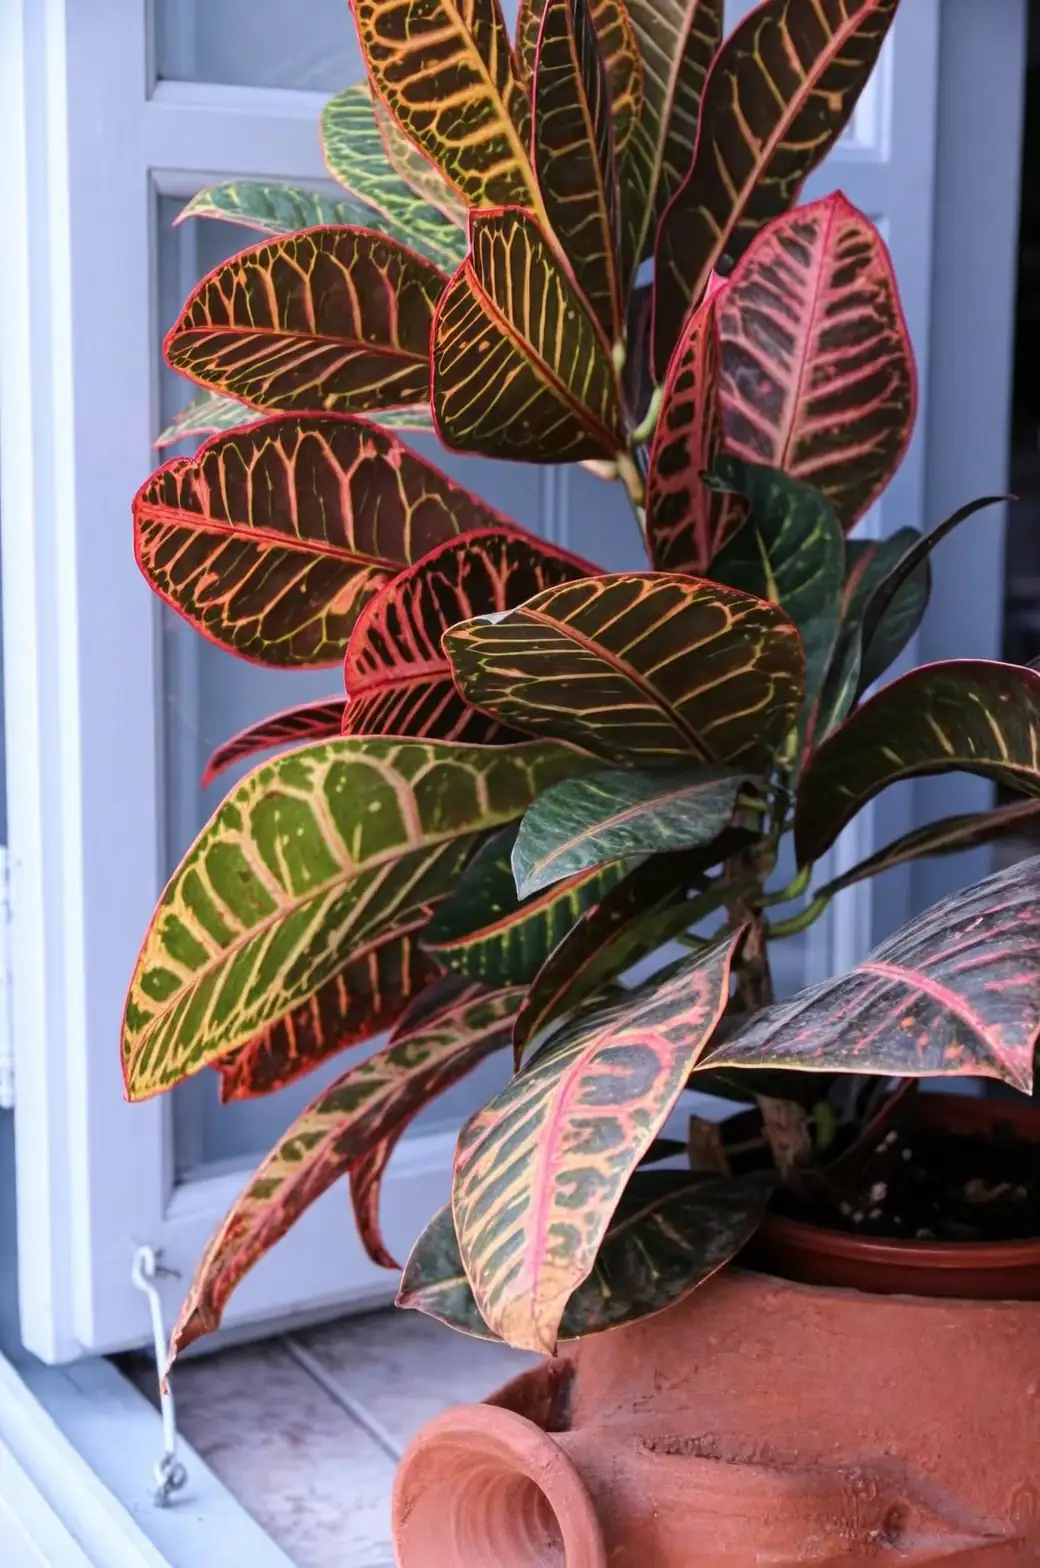
If you’ve ever wished you could clone your favorite croton—exactly the same flaming reds, hot oranges, acid yellows, and wild leaf shapes—this masterclass is for you. Codiaeum variegatum (garden croton) is a propagation-friendly diva: demand steady warmth, give it high humidity and bright filtered light, and it rewards you with vigorous, true-to-cultivar offspring. Below, you’ll find in-depth, step-by-step protocols for stem cuttings and air layering, the ideal rooting temperatures (21–27°C), how to use humidity domes without rotting your efforts, and the genetic reason seeds don’t “come true.”
Propagation at a Glance
- Best seasons: Late spring through summer, when light and temperatures are reliably warm.
- Root-zone temperature: 21–27°C (70–80°F). Bottom heat is a big advantage.
- Light during rooting: Bright, indirect (filtered) light; avoid hot, direct midday sun.
- Humidity: Moderate-to-high. Under a dome, aim for a gently humid, vented environment (about 70–80%) to curb wilting without inviting rot.
- Why vegetative methods: Only cuttings and air layering guarantee an exact match to the parent cultivar. Seedlings will vary.
Tools, Media, and Setup
- Clean, sharp pruners or a razor (sterilize with isopropyl alcohol).
- Gloves and eye protection (croton’s milky sap can irritate skin and eyes).
- Rooting hormone (optional but helpful): a light dusting of IBA or a gel formulation.
- Propagation medium (well-draining, airy):
- Option A: 1:1 perlite and peat or coco coir
- Option B: 50% perlite, 25% fine orchid bark, 25% peat/coco
- Small nursery pots or a propagation tray with drainage.
- Humidity dome or a clear vented cover (even a loose plastic bag over stakes).
- Heat mat with thermostat (set the root zone to ~24°C/75°F).
- Bright, filtered light (a sheer-curtained window or gentle grow light).
Method 1: Stem Cuttings (the Workhorse)
Croton cuttings root reliably if you control sap bleed, temperature, moisture, and leaf area.

1) Select the right material
- Choose a healthy, semi-woody stem with strong color and no pests.
- Length: 10–15 cm (4–6 in), with at least one or two nodes.
- Time: Late spring to summer for fastest takes.
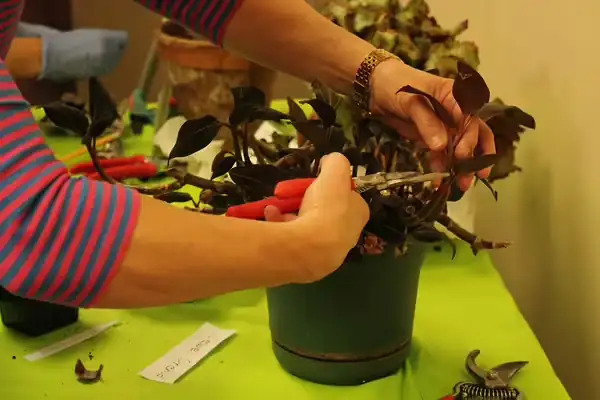
2) Take the cutting cleanly
- Cut just below a node at a slight angle with sterilized blades.
- Gently blot the milky sap. Let the cut end dry for 10–20 minutes to reduce sap issues and lower infection risk.
3) Reduce transpiration
- Strip off lower leaves so no foliage sits below media level.
- Halve the remaining leaf blades (cut across the lamina) to reduce water loss while leaving enough chlorophyll to “power” rooting.
4) Optional hormone
- Lightly dip the basal 1–2 cm (0.5–0.75 in) of the stem in rooting hormone. Tap off excess.
5) Stick the cutting
- Pre-dibble a hole in the pre-moistened medium so hormone isn’t rubbed off.
- Insert deep enough to bury at least one node; firm gently for stem-to-media contact.
6) Create a humid but breathable microclimate
- Cover with a clear dome or a loose plastic tent. Vent daily to exchange air.
- Target: 70–80% humidity inside; you want a faint film of moisture, not dripping walls.
7) Light and temperature
- Place in bright, filtered light. Avoid harsh sun that overheats domes.
- Keep the root zone at 21–27°C (70–80°F). Don’t let temperatures fall below ~15°C (59°F).
8) Watering during rooting
- Keep the medium evenly, lightly moist—never waterlogged.
- Use lukewarm water to avoid chilling the cut base.
- If condensation is heavy, vent more; if leaves flag by afternoon, increase humidity slightly or trim leaf area a bit more.
9) Timeline and checkpoints
- Callus formation: ~1–3 weeks.
- Roots: Often 4–8 weeks. Perform a gentle “tug test”—resistance suggests new roots.
- New leaf push is an excellent sign the cutting has transitioned from survival to growth mode.
10) Potting on and hardening
- Pot rooted cuttings into a similarly airy, well-draining mix, only one size up.
- Stake if needed; croton stems can be top-heavy at first.
- Maintain higher humidity for the first 7–10 days, then gradually vent longer each day to harden off.
- Begin light feeding (half-strength balanced fertilizer) after 2–3 weeks of active growth.
Pro tip: Water rooting is possible, but transitions from water to soil can shock crotons. If you do water-root, move to a mix as soon as early roots appear so they can adapt to soil texture while still young.
Method 2: Air Layering (for Leggy Keepers and Choice Cultivars)
Air layering lets you root a piece while it’s still attached and fed by the parent—great for chunky, woody, or ultra-cherished stems.
1) Choose the stem
- Pencil-thick or a bit larger, healthy, and well-lit growth.
- Work 15–30 cm (6–12 in) back from the tip.
2) Make the rooting window
Two effective options:
- Ring-bark/girdle: Remove a 1–1.5 cm (0.5 in) ring of bark down to the wood. Scrape the exposed area lightly to disrupt the cambium so it can’t bridge.
- Slant cut: Make an upward 2–3 cm (1 in) slice, prop it slightly open with a sliver of plastic/toothpick.
Blot sap and allow a few minutes for the surface to tack up. You can dust the wound with a rooting hormone if you like.
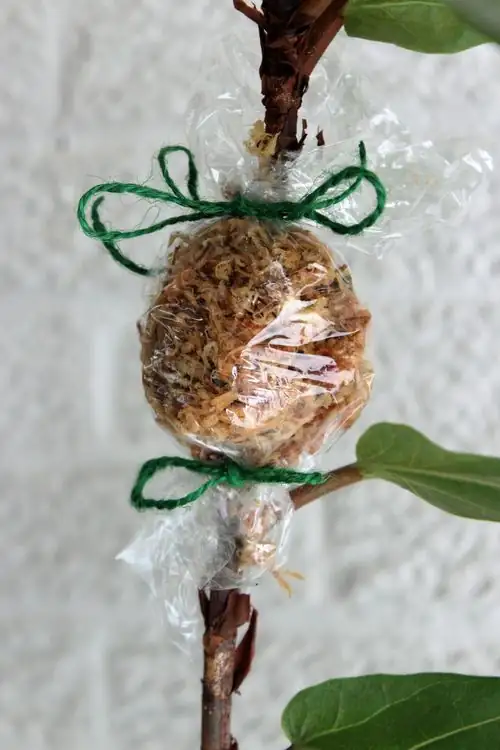
3) Pack the moss
- Soak long-fiber sphagnum, then wring to barely damp.
- Wrap a generous handful around the wound, fully covering it.
- Seal with plastic wrap; secure the ends snugly. Add a foil wrap to keep the zone cool and dark.
4) Maintain the microclimate
- Keep the moss evenly moist, not soggy. Use a syringe or eyedropper to re-wet if it begins to dry.
- Provide bright, filtered light and stable warmth—root zone in the same 21–27°C sweet spot.
5) Detach and pot
- Expect roots in 4–8+ weeks, depending on thickness, temperature, and light.
- When you see a healthy mass of roots through the moss, cut 2–5 cm (1–2 in) below the root ball.
- Carefully remove plastic, leaving moss intact if roots are woven through it.
- Pot into a small container of airy mix; stake for stability.
- Keep humidity elevated for 1–2 weeks and then wean gradually. Resume normal croton care as new leaves unfurl.
Pro tip: After removal, prune the parent just above a node below the layer to encourage branching and a bushier form.
Humidity Domes Without the Downsides
- Vent daily. Stale, saturated air invites rot and leaf spotting.
- Aim for light condensation that clears shortly after lights come on or the room warms.
- If leaves are collapsing, increase humidity slightly or reduce leaf area; if stems are blackening, you’re likely too wet or too cool—improve aeration and nudge the temperature up within 21–27°C.
Troubleshooting Like a Pro
- Wilting cuttings hours after sticking:
- Too much leaf area, too little humidity, or too warm under direct sun. Trim leaves, improve gentle humidity, and ensure only filtered light.
- Blackened stem bases:
- Overwatering, cold media, or poor sanitation. Refresh with sterile tools, use a coarser mix, and keep the root zone warm.
- No roots after 8–10 weeks:
- Temperatures likely below target or light too dim. Move to warmer, brighter (filtered) conditions and re-stick into fresh medium with a light hormone.
- Variegation fading on new growth:
- Increase light intensity (still filtered). Stronger light yields stronger color.
- Pests during propagation:
- Don’t take cuttings from infested stock. Watch for spider mites, scale, and mealybugs; treat early with insecticidal soap or horticultural oil.
- Safety:
- Croton sap can irritate; wear gloves and avoid touching eyes. Keep all parts away from pets and children—this plant is toxic if ingested.
Why Seeds Don’t Come True to Cultivar
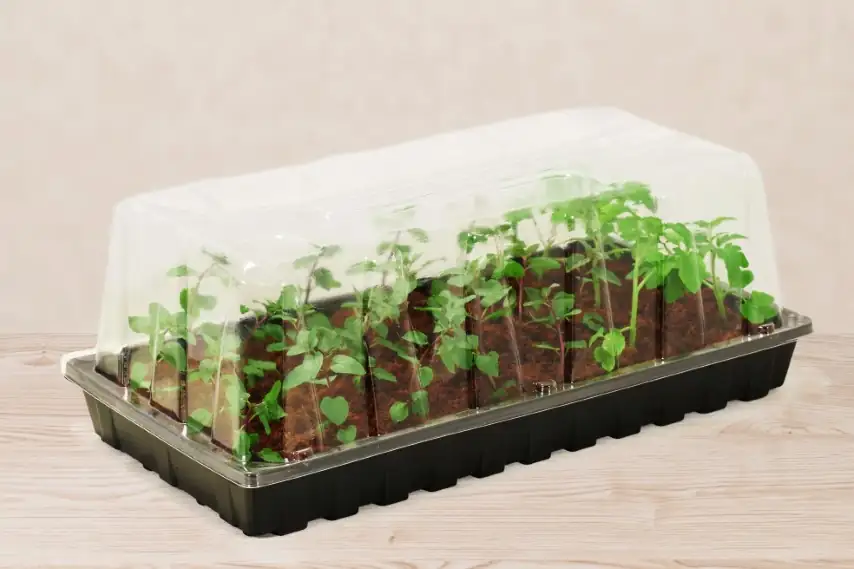
Those flamboyant croton cultivars are selections with complex genetics—and many show variegation patterns that are chimeral (layered in different tissues). When you grow from seed:
- Genetic reshuffling: Sexual reproduction recombines genes, so seedlings segregate into a mix of traits rather than cloning the parent.
- Loss of chimeras: Chimeral variegation typically can’t be replicated via seed because the layered tissues don’t transmit in the same arrangement.
- Result: Even if a seed germinates, you’ll likely get novel, variable offspring—sometimes greener, sometimes just “different.”
Seeds are fascinating for breeding and discovery, but if you want an exact copy of ‘Mrs. Iceton,’ ‘Petra,’ or your favorite heirloom croton, stick to cuttings or air layering.
Quick Reference: Your Rooting Recipe
- Cuttings
- Stem: 10–15 cm, semi-woody, 1–2 nodes
- Prep: Reduce leaves, let sap dry briefly
- Hormone: Optional light dip
- Media: Airy, fast-draining; keep evenly moist
- Temp: 21–27°C; bright, filtered light
- Humidity: Vented dome, ~70–80%
- Rooting: ~4–8 weeks; harden off gradually
- Air Layering
- Wound: Ring-bark 1–1.5 cm or slant cut
- Moss: Barely damp sphagnum, wrapped and sealed
- Temp/Light: Same warm, bright-filtered sweet spot
- Detach: When roots fill the moss; pot small, stake, and wean humidity
A Note on Meaning and Mood
Croton’s color-shifting leaves have long symbolized transformation and bold new chapters—apt for a plant that literally changes its look as leaves mature and light intensifies. Whether you read that “language” as folklore or an artist’s metaphor, there’s a practical poetry here: nurture it with warmth, light, and consistency, and it answers with radiant change.
Clone your favorites, shape them to your space, and enjoy the satisfaction of raising living color from a single stem. With the right warmth, a vented dome, and patient hands, croton propagation feels less like a gamble and more like a guarantee.


