


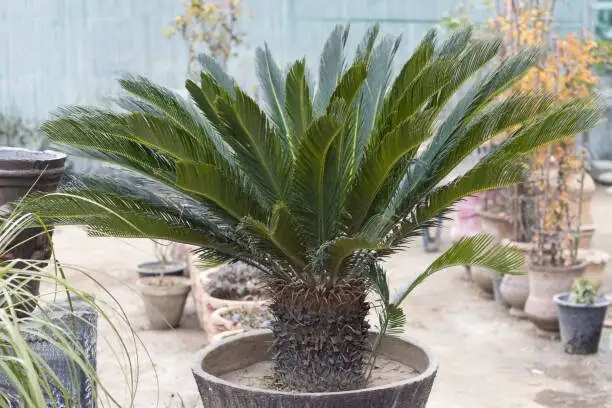
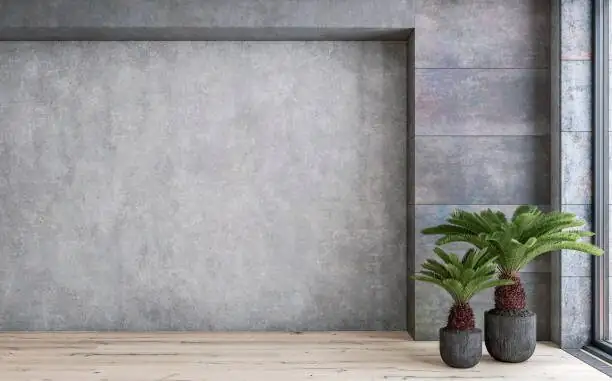
Think of Cycas revoluta—the so‑called “sago palm”—as a living fossil that rewards patience with sculptural grace. A slow, steady caudex (trunk) hoists a precise rosette of glossy, armored fronds. If yours is a “bald” caudex from a market stall (no leaves, perhaps no roots), don’t fret. With the right timing, substrates, humidity, and aftercare, you can coax it back into a vigorous specimen. Below is a practical, step‑by‑step guide to propagating from offsets, seed, and even trunk sections—plus a rehab plan for leafless caudexes.
Meet the plant you’re working with
- Not a true palm, but a cycad—ancient, slow, and remarkably long‑lived.
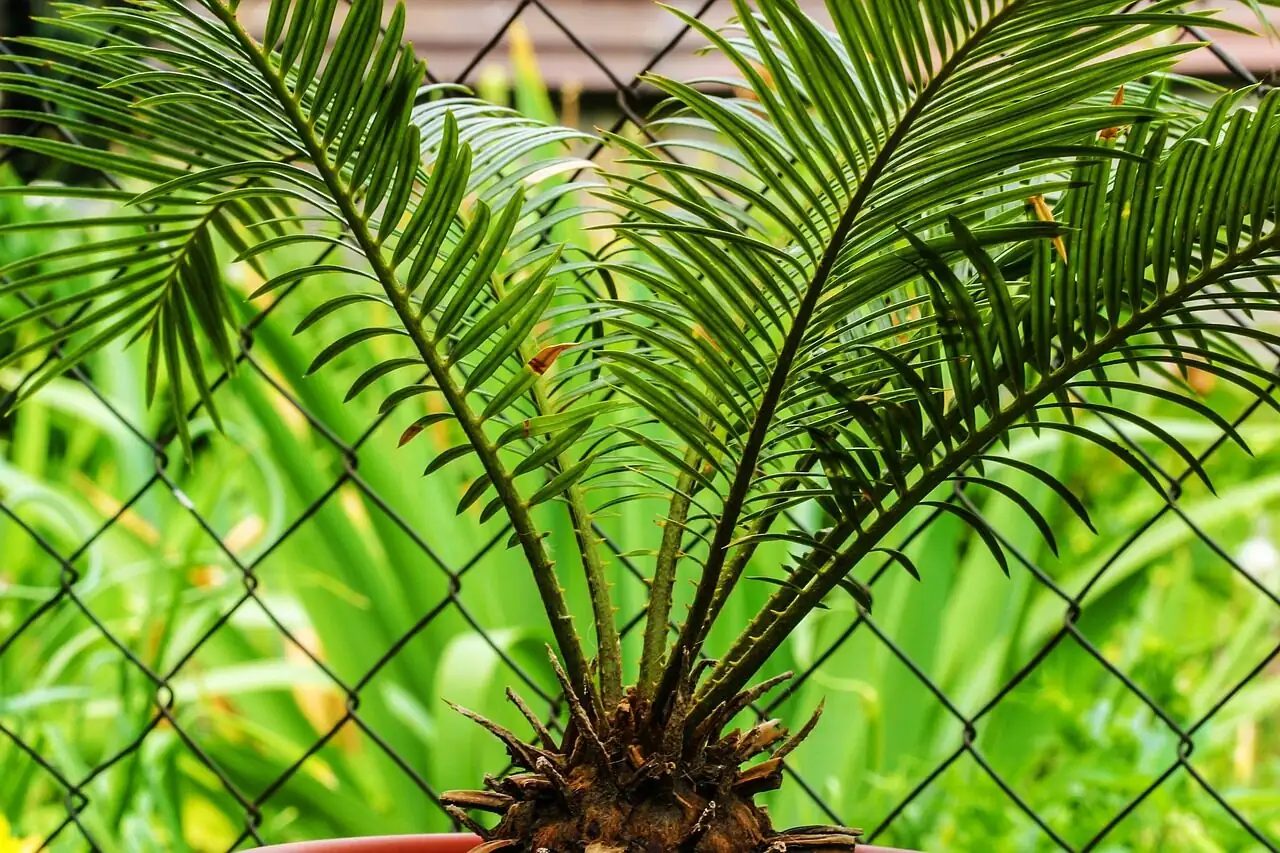
- Grows upright and compact, building a stout caudex topped by a tidy crown of rigid fronds.
- Adaptable to bright light through full sun if acclimated; shade‑tolerant, but too little light during a flush can stretch new fronds.
- Very sensitive to staying wet in cool conditions; overwatering is the fast track to rot.
Propagation overview: three reliable routes
- Offsets (pups): quickest and most straightforward for home growers.
- Seeds: satisfying, slow, and great for producing numbers (male and female plants are separate).
- Trunk sectioning: an advanced technique to induce pups from slices of caudex.
Before you start:
- Best season: spring to early summer (the plant’s main growth window).
- Ideal temperatures: 13–27°C (55–81°F); warmth speeds rooting.
- Air and humidity: bright, airy location; moderate humidity with gentle misting in warm rooms. Avoid cold, damp air.
- Safety: all parts are highly toxic if ingested (seeds especially). Wear gloves, keep away from pets and children, and sanitize tools to prevent disease.
Substrates that set you up for success
- For established plants: a fertile but sharply draining mix. Example: loam or garden soil + peat/coir, plus added sand or grit for real drainage.
- For pups (first pot): a 50/50 sand‑and‑soil mix that breathes yet holds a hint of moisture.
- For leafless “bald” caudex or trunk slices: clean, coarse sand only (temporarily) to minimize rot risk while new roots or pups form.
Route 1 — Offsets (pups): divide and grow
When
- Spring during repotting is prime time. Choose pups that have formed for about 2–3 years and feel firm.
How
- Unpot and expose the base. Brush away mix to see where a pup joins the mother caudex.
- Separate cleanly with a sterilized knife or saw, keeping as much of the pup’s basal tissue as possible.
- Trim ragged edges to sound, hard tissue. Let the cut surfaces dry and callus in bright shade with airflow for 3–7 days.
- Pot each pup into a small, shallow container of 50/50 sand‑and‑soil. Set the base just at or slightly above the surface—don’t bury deeply.
- Place in bright shade with good ventilation. Keep the medium barely moist; never soggy.
Aftercare and timeline
- Humidity: moderate; light daily misting when indoor temps exceed ~18°C (64°F).
- Watering: let the top of the mix dry before watering. Err dry while roots initiate.
- Feeding: wait until you see fresh roots and the first new frond. Then feed monthly at a conservative dose during spring–summer.
- Light: once established, gradually acclimate toward brighter light.
- Expect root establishment in several weeks to a few months; a healthy first leaf flush often arrives the following growing season.
Route 2 — Seeds: from hard kernels to baby cycads
When
- Sow indoors in late spring to early summer.
How
- Containers: shallow trays or small pots with a fast‑draining, fertile mix.
- Depth: cover seeds with about 2 cm (0.8 in) of mix.
- Warmth: aim for ~15–29°C (59–84°F). Bottom heat can help in cooler rooms.
- Moisture: keep the medium evenly, lightly moist—never waterlogged. Good airflow is essential.
Germination and beyond
- Under ideal warmth, germination may begin in about two weeks, but it’s normal for seeds to stagger and take longer.
- Light: bright shade at first. As leaves form, move toward brighter light without sudden full sun.
- Potting up: once seedlings have a firm little caudex and roots, shift each to its own small pot with a sharply draining mix.
- Feeding: begin very lightly after the first true leaf hardens.
Advanced note on dormancy
- Research settings sometimes use hot‑water and acid scarification to speed and increase germination in this species. These methods are hazardous and not recommended for home use. Warmth, patience, and careful moisture management are safer and effective for hobbyists.
Route 3 — Trunk sectioning: coaxing pups from slices
This is an advanced, nursery‑style technique that turns a healthy caudex into multiple propagules.
When
- Early summer is ideal for rapid healing and pup formation.
How
- Select a firm, disease‑free caudex. Remove fronds.
- Slice into 2–3 cm (0.8–1.2 in) thick sections with a sterilized saw or knife. Keep track of orientation if possible; many growers lay sections flat.
- Air‑dry the slices in bright shade with airflow for several days until cut faces are dry and callused.
- Lay sections on moist, clean coarse sand (don’t bury). Maintain high humidity and bright shade with excellent ventilation.
- Maintain warmth within the plant’s comfort zone; avoid cold, wet conditions.
Timeline and next steps
- Pups typically appear in about 3–4 months.
- Once pups are large enough to handle, detach carefully, allow the pup’s base to dry/callus, then root in a 50/50 sand‑and‑soil mix in bright shade.
- After establishment, transition, feed lightly, and increase light gradually.
Rehab plan: turn a “bald” caudex into a vigorous specimen
Choosing your patient
- Pick a hard, symmetrical caudex with no soft spots, lesions, or sour smell. Firmness is non‑negotiable.
Step‑by‑step revival
- Clean and inspect: brush off old mix and dead roots. Trim back to hard, healthy tissue if rot is present.
- Dry and sanitize: allow the caudex to dry in bright shade with airflow for 3–7 days.
- Temporary medium: set into a pot of clean coarse sand. Use a slightly shallow pot with generous drainage. Bury only the base; keep much of the caudex exposed.
- Placement: bright light (avoid harsh midday sun at first) and steady airflow. Warm room temperatures are your friend.
- Humidity: moderate; light misting in warm rooms helps, but keep the sand on the dry side at the start.
- Watering rhythm:
- Weeks 0–2: no watering; just ambient humidity.
- Weeks 3–8: dribble a small amount of water around the perimeter when the top sand is bone dry; never soak.
- Weeks 6–12: tug‑test for rooting. If there’s resistance and small roots are visible, begin slightly deeper watering—but still let the top dry first.
- Transition: once you see new roots and the first frond(s), shift to a fertile, sharply draining cycad mix. Resume a conservative monthly feed during the growing season.
- Energy management: if a cone appears on a stressed plant, remove it after it finishes (male) or after seeds mature (female) so energy shifts back to leaf growth.
Light, temperature, and humidity—get the feel right
- Light: bright and airy is best. Full sun is fine outdoors if acclimated gradually. Low light during a flush makes new fronds long and narrow.
- Temperature: best growth at 13–27°C (55–81°F). Can tolerate heat up to about 40°C (104°F) if the mix drains well and isn’t kept wet. In winter, keep above 7–10°C (45–50°F).
- Humidity: enjoys warm, moderately humid air. In warm rooms, light daily misting helps. Keep the plant noticeably drier in winter; cold + wet is the rot combination to avoid.
Watering and feeding: steady, not soggy
- Watering:
- Spring–summer: water more regularly but let the top of the mix dry between waterings; never leave the pot sitting in water.
- Autumn: taper as temperatures drop.
- Winter: keep on the dry side.
- Feeding: during active growth, feed about once a month with a balanced fertilizer at a conservative dose or a gentle organic feed. Avoid heavy feeding in winter.
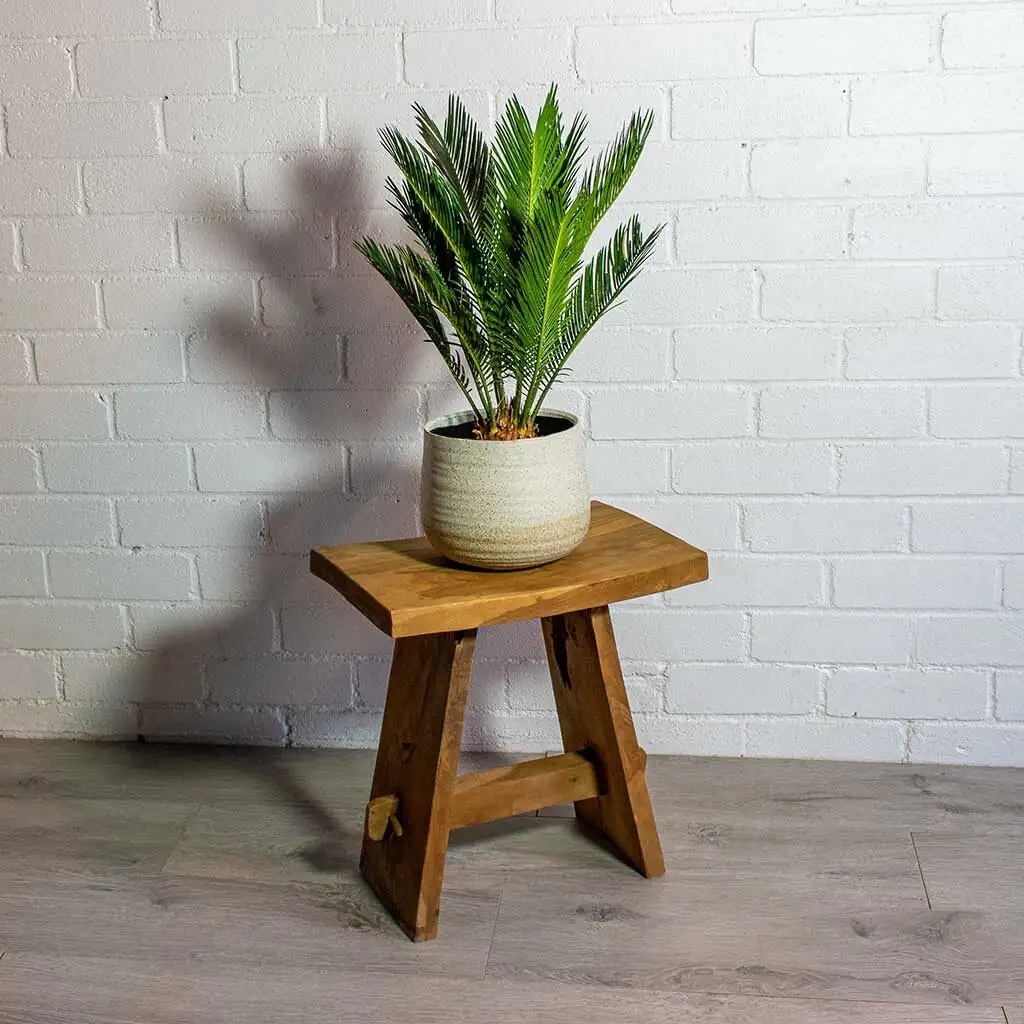
Potting and repotting
- Pot size: commonly 15–50 cm (6–20 in) wide; choose slightly shallow shapes with excellent drainage.
- Cadence: repot small to medium plants every 2–3 years; large specimens every 5–6 years.
- Mix refresh: upgrade to a fertile, fast‑draining blend; avoid overpotting slow roots into a big mass of wet soil.
Quick troubleshooting
- Yellowing from the outside in: often natural aging of outer fronds; remove once the newest fronds have fully hardened.
- New fronds weak or stretched: increase light and airflow during the flush.
- Scale insects: common indoors. Improve ventilation, wipe off, and treat with horticultural oil or insecticidal soap; repeat as needed.
- Mushy caudex or crown: overwatering, especially in cool weather. Unpot, cut back to firm tissue, dry thoroughly, and restart in coarse sand.
Safety first
- Highly toxic if ingested by humans or pets; seeds are especially dangerous. Wear gloves, keep all parts out of reach, and dispose of debris securely.
A brief note on symbolism
Linked with longevity, good fortune, and steadiness, Cycas revoluta’s symbolism mirrors its nature: patient, enduring, and architecturally composed. Gardeners prize it as a living heirloom—shaped slowly, kept for decades, and increasingly handsome with time.
Seasonal snapshot (what to do when)
- Late spring–early summer: sow seeds (15–29°C); ideal window for pup division and trunk‑sectioning.
- Spring–summer: main growth; water more, raise humidity, and ensure bright light with airflow.
- Autumn: ease off watering; prepare to bring container plants in before cold.
- Winter: bright spot, drier mix, and temperatures above 7–10°C; avoid cold drafts and wet soil.
With patience and precise moisture control, even a bare caudex can return to full, prehistoric splendor. Start with clean cuts, quick‑draining substrates, and warm, airy conditions—and let time work its quiet magic.