

A Hands-On Guide to Propagating Dracaena fragrans: Your Green Companion Awaits
Ever wondered how to multiply the lush beauty of your Dracaena fragrans, also charmingly known as the Corn Plant? Whether you’re a seasoned green thumb or a curious novice, propagating this indoor favorite is simpler than you might think. Let’s dive into a step-by-step guide that’s as engaging as it is informative, ensuring your propagation journey is a blooming success!
Why Propagate Dracaena fragrans?
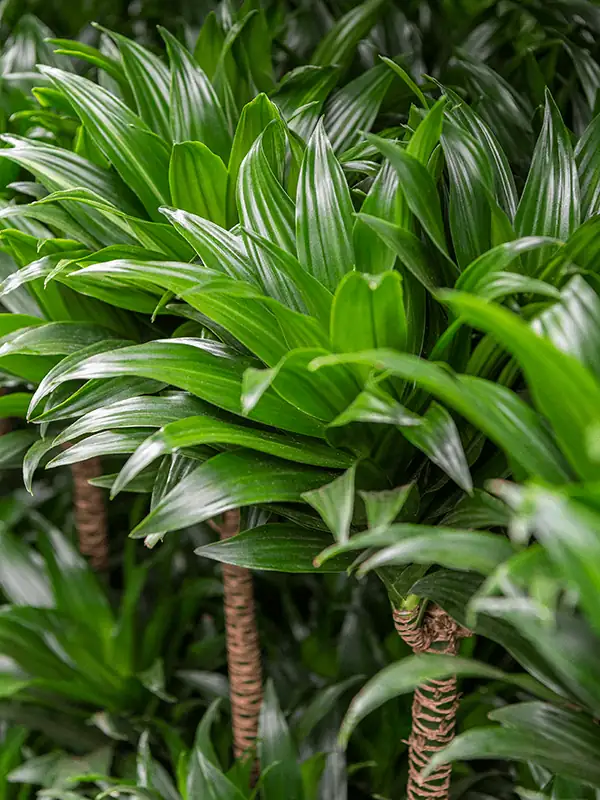
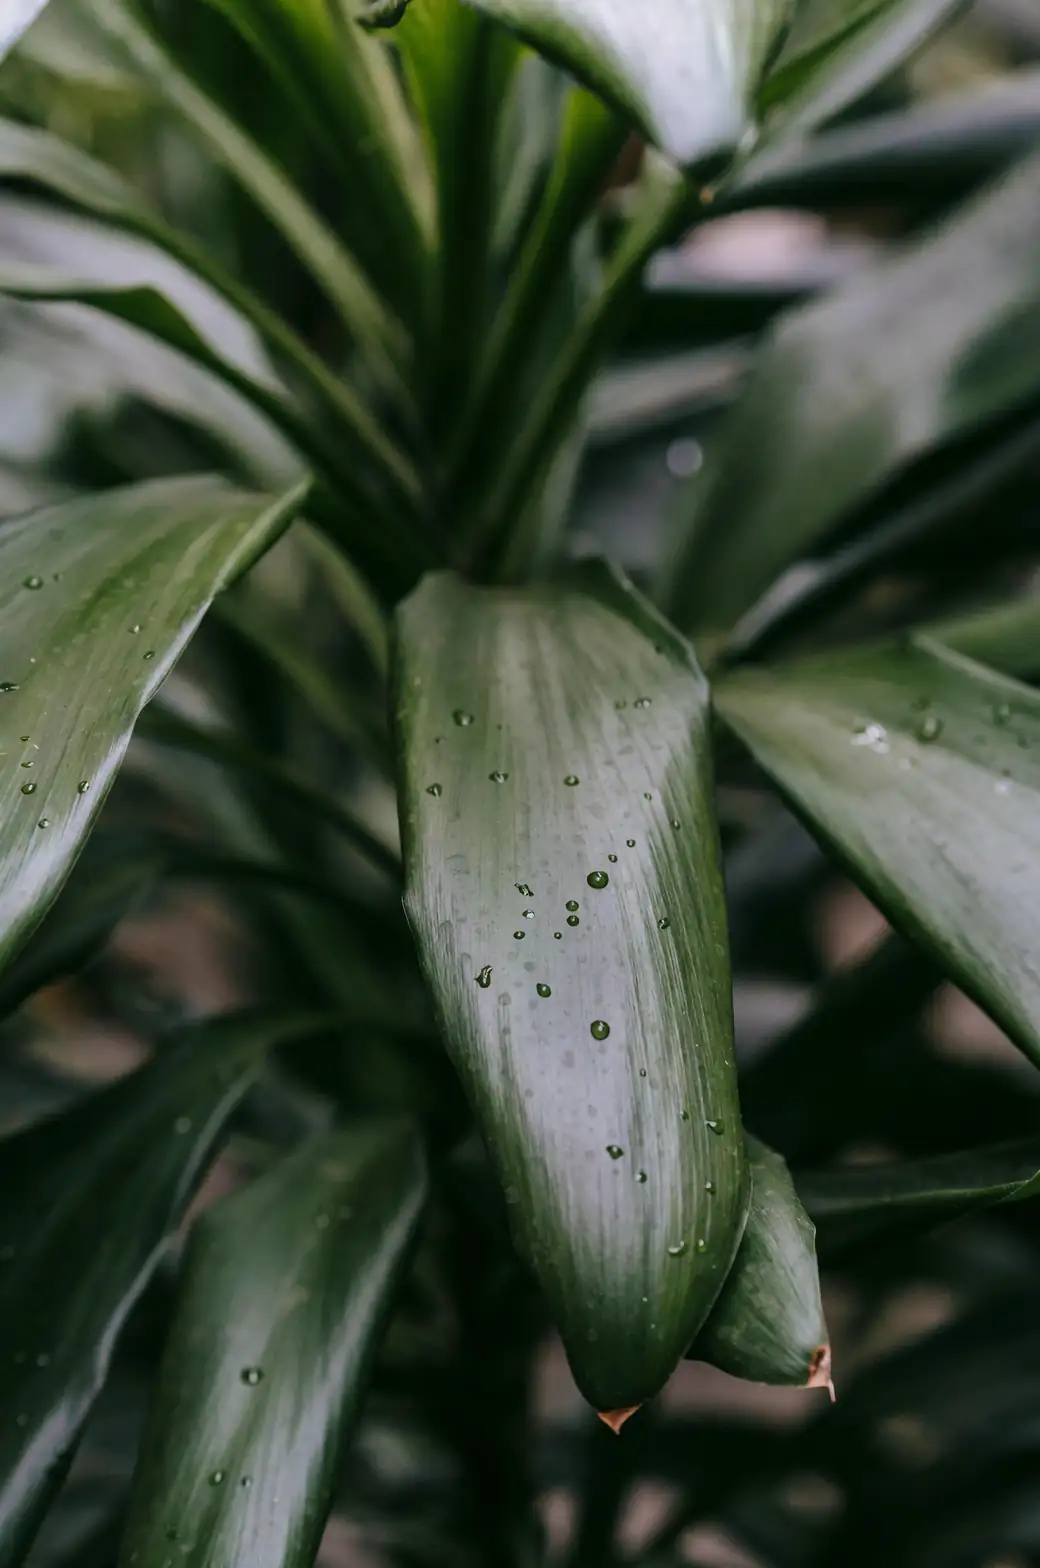
Before we get our hands dirty, let’s ponder why this plant deserves a spot in your propagation project list. Dracaena fragrans isn’t just an aesthetic marvel with its glossy, sword-like leaves—it’s a symbol of resilience and steady growth. This plant is a low-maintenance delight, perfect for brightening offices and homes alike. Plus, when it occasionally surprises you with creamy-white blooms, the fragrance is simply enchanting.
Getting Started: Tools and Preparation
Just like preparing for an art project, having the right tools will set the stage for success. Here’s what you’ll need:
- Sharp, sterile knife or pruners: Ensure cleanliness to prevent infection.
- Well-draining potting mix: A peat- or coir-based mix with perlite or sand works wonders.
- Vermiculite or moss: Helps in keeping the rooting medium airy and moist.
- Containers: Pots with drainage holes or clear glass for water propagation.
Step-by-Step Propagation Process
1. Choosing the Right Time
Spring to summer is prime time for propagation as the plant is in its active growth phase. This period ensures quicker and more robust root development.
2. Selecting and Preparing Cuttings
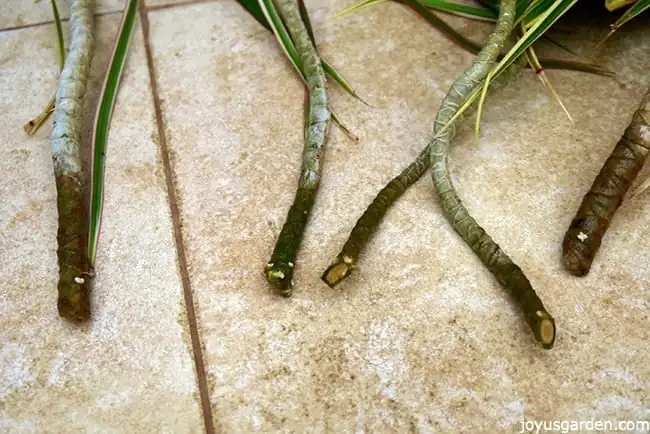
- Top Cuttings: Locate a healthy cane and make a clean cut just below a leaf node, taking about 4 to 6 inches of stem. Remove all but the top two or three sets of leaves to minimize water loss.
- Stump Cuttings: If your plant is leggy, consider cutting a long cane into 3 to 4-inch sections. Ensure each piece has several nodes, which are critical for new growth.
3. Rooting the Cuttings
- Soil Method: Mix a handful of vermiculite into your potting mix. Plant the cuttings upright in pre-prepared holes, firming the soil to keep them steady. Place them in a location with bright, indirect light, and maintain a cozy temperature of 25–30°C (77–86°F).
- Water Method: For a more visual experience, place the cuttings in a clear glass of water, ensuring temperatures are warm. Change the water every few days to prevent stagnation.
4. Nurturing New Growth
Check your cuttings regularly. Gently tugging will indicate root development when resistance is met. Within about 4 to 5 weeks, roots should form, and you can transition your cuttings to soil if they began in water.
Tips for Success
- Humidity Is Key: Maintain a humid environment around your cuttings. This mimics their native tropical conditions and encourages faster rooting.
- Avoid Overwatering: Dracaena fragrans prefers moist but not soggy conditions. Ensure excess water can drain freely from pots.
- Monitor Light Conditions: Bright, indirect light is ideal. Avoid direct sunlight, which can scorch the leaves.
Troubleshooting Common Issues
- Yellowing Leaves: This can be a sign of overwatering or insufficient light. Adjust your care routine accordingly.
- Pest Control: Keep an eye out for scale insects and mealybugs. Regularly check the undersides of leaves and treat with insecticidal soap if needed.
A Few Fun Facts
Did you know that many Dracaena fragrans sold under the trade name “Brazil wood” are not Brazilian at all? These plants hail from tropical Africa, and their resilience makes them a staple in homes worldwide. Plus, they’re not just ornamental—when they do flower, their fragrance is so delightful it’s even used in perfumes!
Conclusion
Propagating Dracaena fragrans is not just about expanding your plant collection; it’s about nurturing a living symbol of resilience and growth in your space. With a bit of patience and care, you’ll soon find yourself surrounded by these easy-going green companions, each one a testament to your growing gardening prowess. So roll up those sleeves and get propagating—your indoor oasis awaits!


