

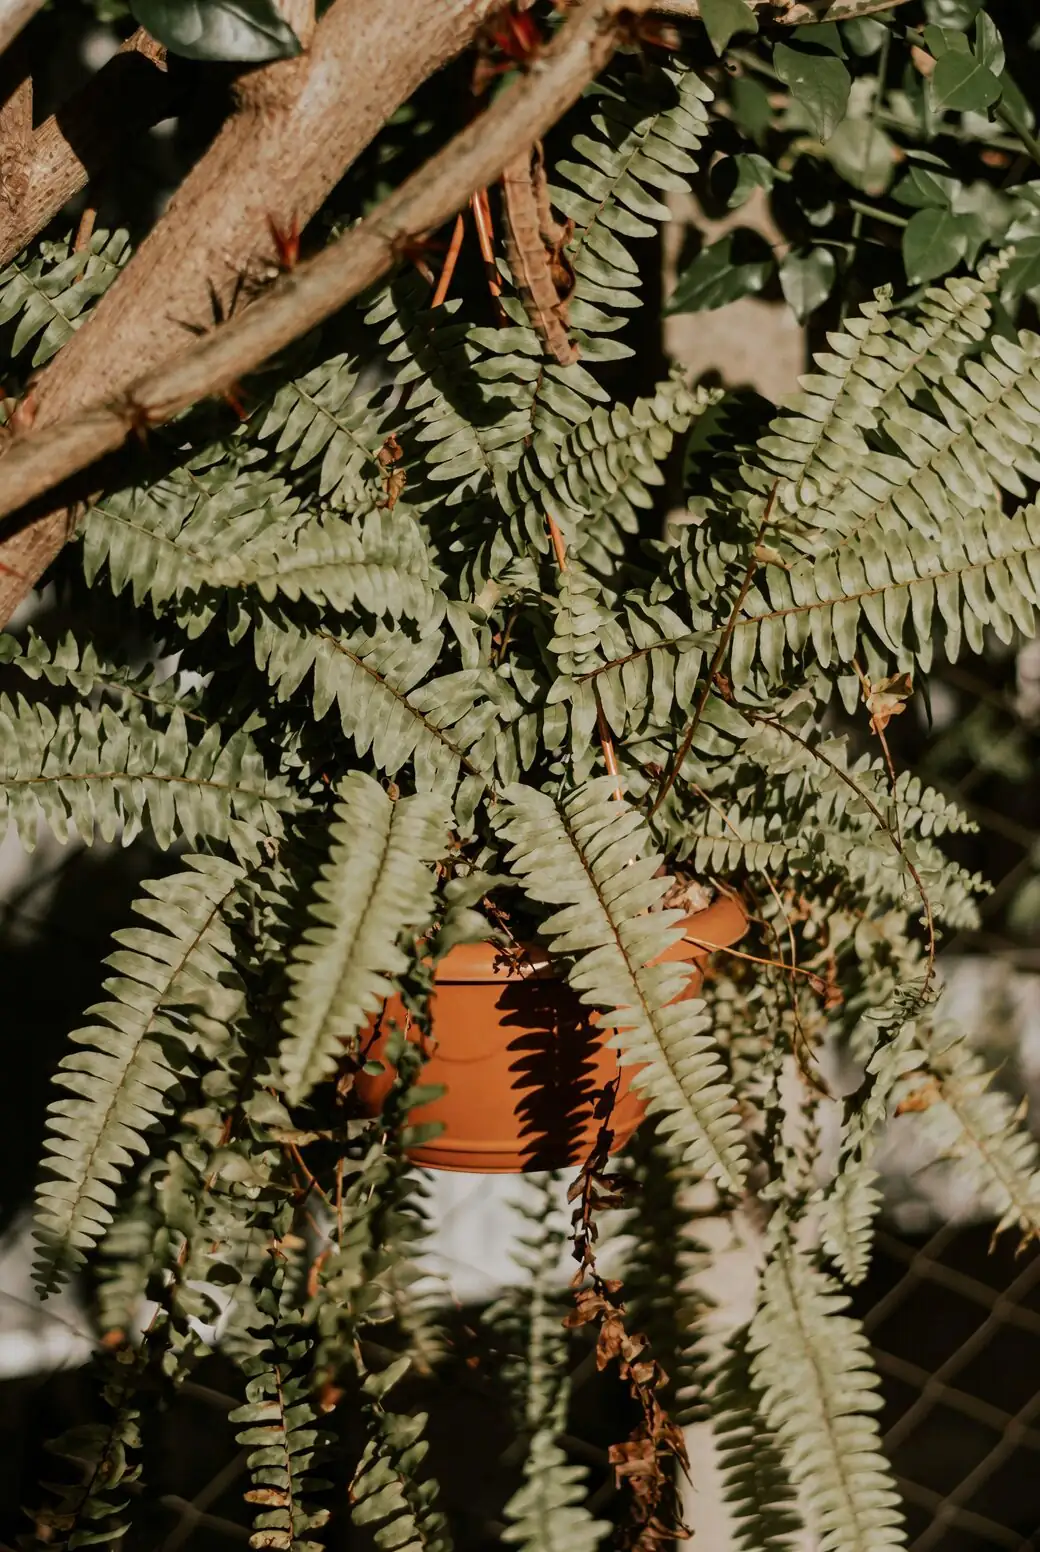
Feathery, forgiving, and fabulously tough, Asparagus densiflorus (aka Asparagus Fern, Foxtail Fern, Sprenger’s Asparagus) rewards a little hands-on time with armfuls of fresh, green sprays. If your plant is pot-bound or you’re itching to multiply that lush look, division is your fastest, most reliable path. Here’s a confident, step-by-step walkthrough—tools, how to split a dense root ball with tubers, potting mix recipes, and stress-free aftercare.
Why divide your Asparagus Fern?
- Rejuvenation: Older, crowded plants bounce back with fresh, vigorous growth.
- Multiplication: Create instant, full new plants that look good right away.
- Rescue: Root-bound, yellowing plants perk up when given breathing room.
- Best timing: Spring is prime, when brighter days fuel quick root recovery and new top growth.
Gear up: tools and prep
- Gloves: Sap can irritate sensitive skin; older stems may have tiny prickles.
- Tarp or newspaper: For easy cleanup—those tuberous roots can crumble a bit.
- Clean, sharp cutting tools: Hori-hori, serrated knife, pruning saw, or heavy-duty pruners.
- Alcohol wipes or 70% isopropyl: Disinfect blades before and between cuts.
- Flexible pot-release tool: Butter knife or thin spatula to free the root ball.
- Container of water or gentle hose: Optional, to rinse soil and reveal natural seams.
- Fresh pots with drainage holes: One per division. Don’t oversize.
- Labels: If you’re making several divisions or noting dates.
- Optional: Cinnamon or powdered sulfur to dust cut surfaces.
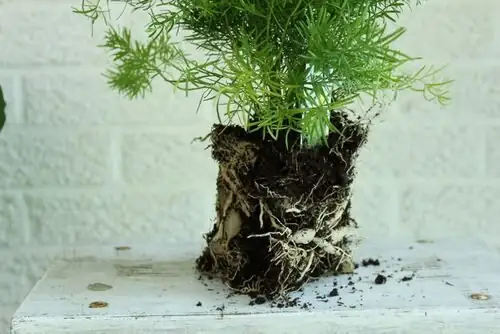
Know your plant’s below-ground anatomy
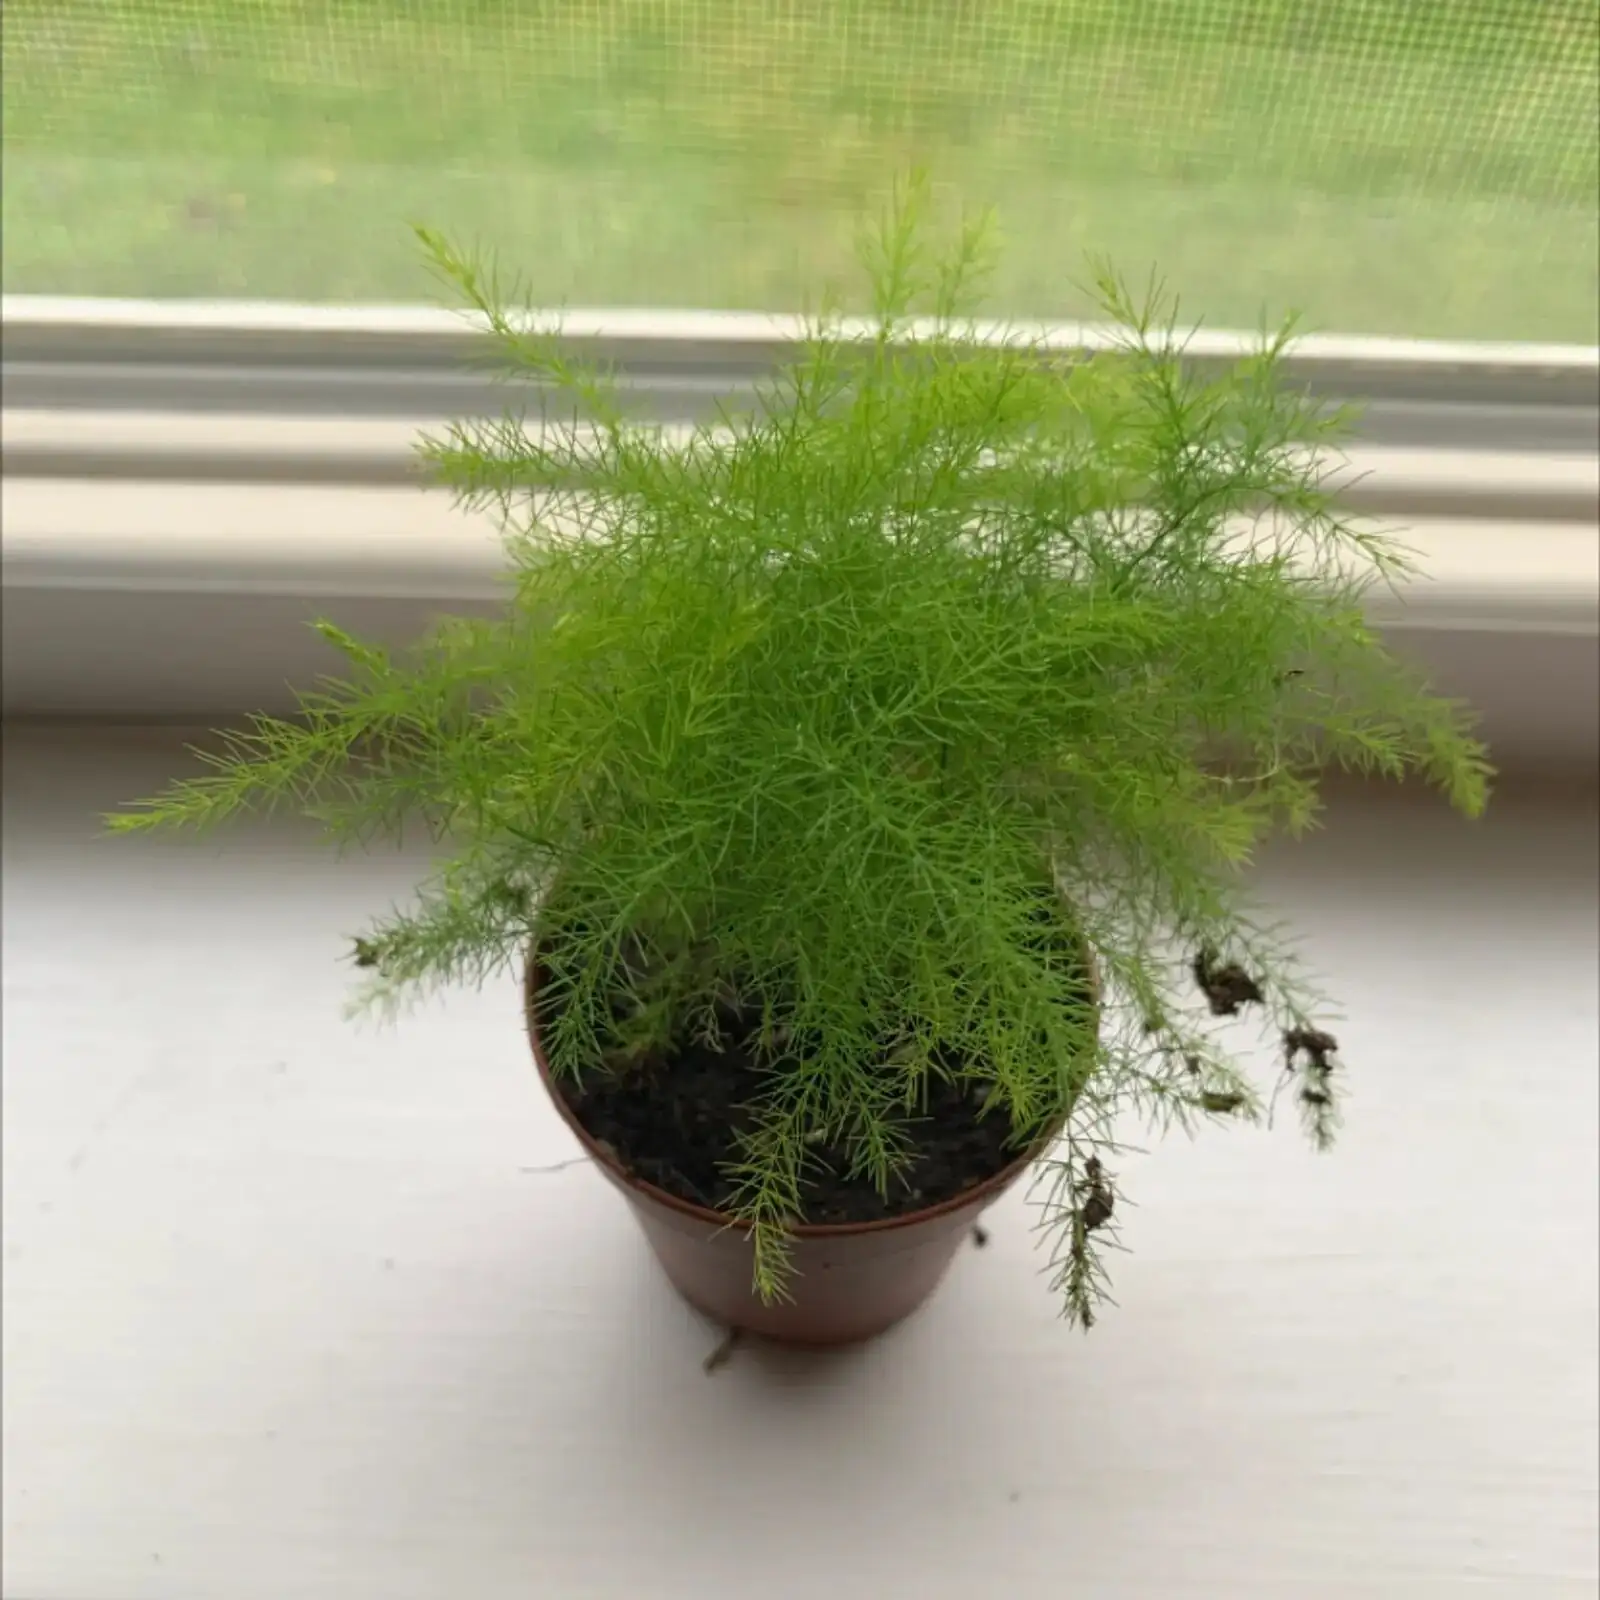
Asparagus densiflorus isn’t a true fern—what look like leaves are actually fine, soft cladodes (modified stems). Below the surface, you’ll meet:
- Tuberous, water-storing roots: Think clusters of small, pale “beads” or “sausages.”
- A dense fibrous root mat: Often pressed tight against the pot.
- Natural seams: Clumps of stems that naturally separate into sections.
Step-by-step: how to divide a dense root ball
1) Water the day before
Moist, not soggy, soil lessens shock and makes the root mass more pliable.
2) Unpot with care
- Tip the plant sideways, support the base, and gently squeeze or tap the pot.
- If stuck, slide a blunt knife between pot and root ball. Avoid ripping roots free in big chunks.
3) Loosen and “map” the clumps
- Tease away loose soil at the edges with your fingers.
- Optional: Rinse the outer inch of soil. This reveals where stem clusters and tubers group naturally.
4) Plan your cuts
- Aim for divisions about the size of two cupped hands, each with:
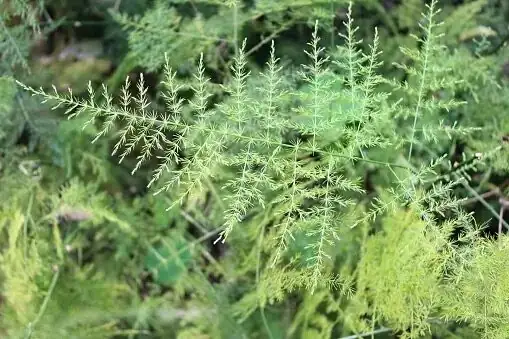
- Several healthy stem clusters (green, feathery cladodes)
- A good share of tuberous roots and fibrous roots
- Tiny “slivers” struggle; slightly larger pieces establish faster.
5) Make the split
- For compact mats, start by scoring vertically from the top, then pry gently apart.
- On extremely dense balls, use a serrated knife or pruning saw to slice cleanly through the mat and tubers. It’s okay to cut some tubers; just ensure each piece keeps plenty of them plus fibrous roots.
- Remove any mushy, dark, or foul-smelling roots/tubers. Healthy tubers are firm and pale.
6) Clean the cuts (optional but helpful)
- Dust fresh cuts with cinnamon or powdered sulfur to discourage pathogens.
- Wipe tools with alcohol between divisions.
7) Right-size the new homes
- Choose pots only 2–5 cm (1–2 in) wider than each division’s root mass.
- Ensure drainage holes; skip “drainage layers” (they trap water). A bit of mesh over the holes is fine.
Potting mix recipes this fern loves
Loose, well-draining mixes keep those tuberous roots happy. Try one of these:
- Airy, barky houseplant blend (great for hanging baskets)
- 2 parts peat or coco coir
- 1 part perlite or pumice
- 1 part fine orchid bark or pine bark fines
- Lightweight, soil-based blend (extra nutrient buffer)
- 1 part high-quality potting soil
- 1 part coco coir or peat
- 1 part perlite, pumice, or coarse sand
- Optional: a small handful of compost for mature plants
- “No-peat” easy mix
- 2 parts coco coir
- 1 part perlite or pumice
- 1 part shredded bark or coarse coco chips
Potting technique
- Position each division at the same depth it grew before—don’t bury the crown or stems.
- Backfill and gently firm to remove voids (don’t compact hard).
- Water thoroughly to settle the mix; top up if the surface sinks.
- Label and admire—instant new plants!
Aftercare: the first 6 weeks (and beyond)
Light
- Bright, indirect light to partial shade is perfect.
- A little gentle morning or late-afternoon sun is fine; avoid harsh midday rays.
Temperature
- Target 13–24°C (55–75°F). Keep away from cold drafts; avoid drops below ~10°C (50°F).
Watering
- Keep evenly moist, not soggy. Let the top 1–2 cm (0.4–0.8 in) dry slightly between waterings.
- Those tuberous roots store water; err slightly drier rather than constantly wet.
Humidity and airflow
- Average indoor humidity is fine. Occasional misting or a pebble tray is a bonus, not a must.
- Good airflow helps deter spider mites and encourages faster recovery.
Feeding
- Wait 4–6 weeks after division, then feed monthly in spring through autumn with a balanced liquid fertilizer at half strength.
- Pause or greatly reduce in winter.
Pruning and grooming
- In spring, snip away brown or leggy stems at the base to tidy and channel energy to new growth.
- Don’t overprune right after division; let the plant re-root first.
Placement and pot choice
- Hanging baskets or tall planters show off the cascading habit.
- Indoors, place near an east- or north-facing window, or set back from bright south/west light with a sheer curtain.
Common pitfalls and quick fixes
- Yellowing or needle drop? Most often due to overwatering, low light, or spider mites.
- Fix: Brighten the light, let the top centimeter of mix dry before rewatering, and check for pests.
- Scorched, bleached fronds? Too much direct midday sun.
- Fix: Move to filtered light and trim damaged stems at the base.
- Division too small and sulking? They can survive but establish slowly.
- Fix: Next time, keep divisions moderately sized with ample tubers and stems.
- Root rot worries? Mushy, smelly roots signal waterlogging.
- Fix: Repot into a faster-draining mix and right-size the pot; adjust watering rhythm.
- Pest pressures (mites, mealybugs, scale):
- Fix: Rinse foliage, improve airflow, and treat with insecticidal soap or horticultural oil as needed.
Safety notes (for you and your household)
- Mildly toxic if ingested; berries and foliage can cause gastrointestinal upset in people and pets.
- Wear gloves if you have sensitive skin; sap can irritate, and older stems may have tiny prickles.
- Keep out of reach of children and curious cats/dogs.
A quick seasonal cheat sheet
- Spring: Best time to divide or repot; prune, then resume regular watering and monthly half-strength feeding.
- Spring–autumn: Keep evenly moist; bright, filtered light; feed monthly.
- Winter: Water less (allow the surface to dry between waterings), keep warm and bright, and hold fertilizer.
FAQ: fast answers
- Is division really the best method? Yes—division in spring is the most reliable. Each new plant needs roots plus tuberous storage to thrive.
- Can I root stem cuttings? Not reliably. Go with division for consistent success.
- How often should I divide? Typically every 1–2 years when the plant is root-bound or growth slows.
- Can I grow it outside? In mild regions it can be grown outdoors; as a general guide, it’s suited to USDA Zone 9–11. In cooler climates, enjoy it as a houseplant.
Confidence boost for your first split
If you hear a few snaps while separating the root ball, don’t panic. Asparagus Ferns are remarkably resilient. Give each division enough roots and a roomy, well-draining mix, park them in bright, gentle light, and keep the moisture steady. In a few weeks, you’ll see fresh, airy plumes that prove you did it right.