

If your cast-iron plant (Aspidistra elatior) has grown into a dense, handsome clump, repotting day is the perfect time to divide it—so you get more plants without losing that elegant, tidy look. Below is a clear, tool-savvy, step-by-step guide with exactly how big to split, how to pot each piece, what to expect afterward, and how long the bounce-back takes.
Quick profile at a glance
- Botanical name: Aspidistra elatior (cast-iron plant, bar-room plant)
- Origin: Japan (especially the Ryukyu Islands) and Taiwan
- Family/Genus: Asparagaceae/Aspidistra
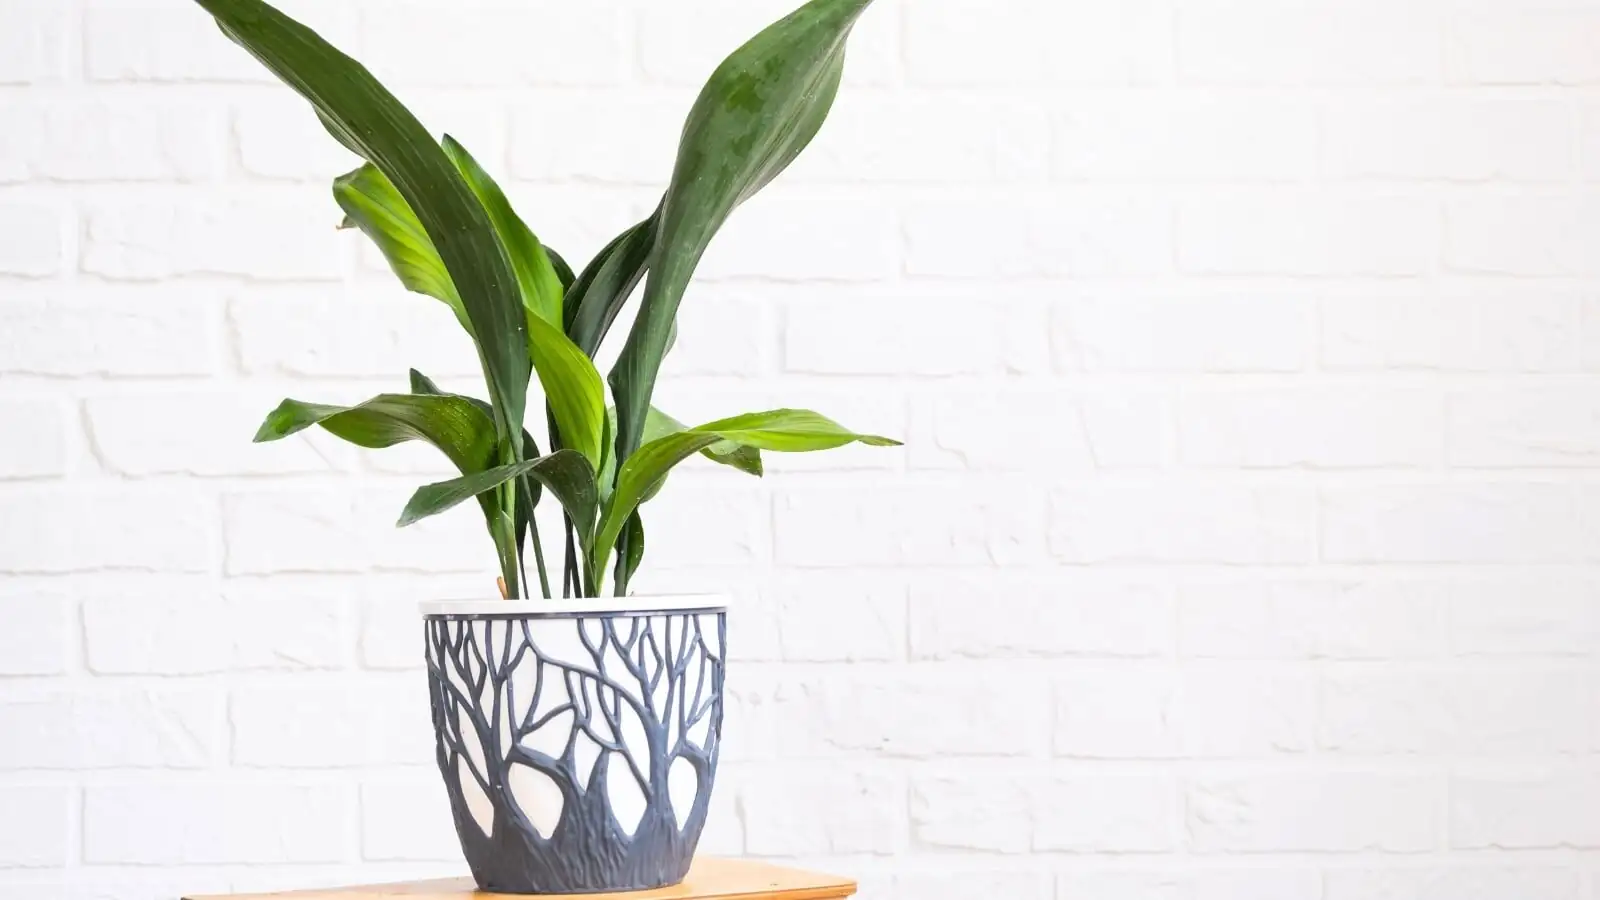
- Size indoors: about 60 × 60 cm (24 × 24 in)
- Light: Partial to full shade; bright, indirect light is fine. Avoid harsh direct sun.
- Temperatures: 5–20°C (41–68°F)
- Soil: Loose, well-draining mix; avoid waterlogging
- Vibe: Famously tough, slow-growing, shade-loving
Why divide during repotting?
- It’s the least stressful time: roots are already being disturbed.
- You can refresh the potting mix while multiplying your plant.
- You’ll restore space between rhizomes so leaves stay upright and tidy.
Preparing to divide: perfect timing and tool prep
When to divide
- Best season: Spring to early summer. Warm, brighter days help new roots form.
- Frequency: Every 2–3 years, or when the pot is crowded and watering runs straight through.
Tools and supplies
- Clean, sharp knife or pruning saw (for thick rhizomes)
- Bypass pruners (to remove tired leaves/roots)
- 70% isopropyl alcohol or a 10% bleach solution (for sterilizing blades between cuts)
- New pots with drainage holes (typically 12.5–20 cm / 5–8 in)
- Fresh potting mix: 1:1 standard potting soil and a multi-purpose mix; add perlite for extra airiness
- Optional: powdered cinnamon or garden sulfur to dust fresh cuts
- Gloves, a tarp or newspaper, and plant labels
Pre-hydrate for a smoother split
- Water the mother plant 24 hours before division. Slightly moist mix cushions roots and reduces breakage.
Step-by-step: division during repotting
1) Unpot gently
- Tip the plant on its side, squeeze the pot, and slide the clump out. Support the crown (where leaves emerge).
2) Loosen and inspect
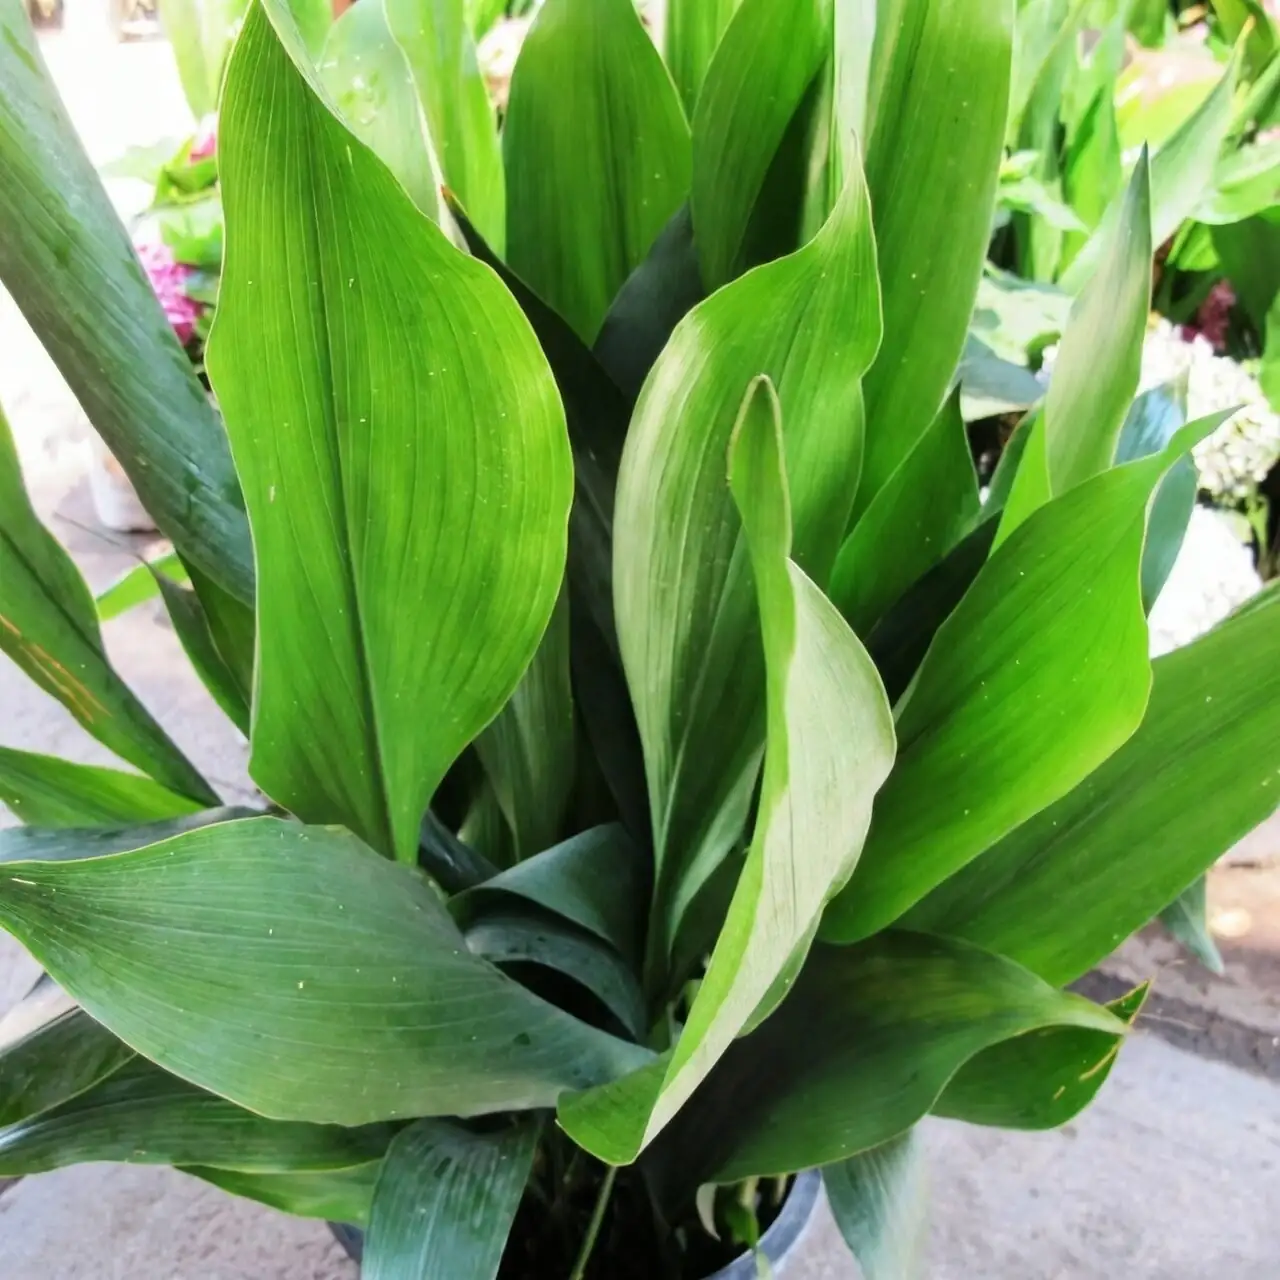
- Crumble away old mix with your fingers. Identify the firm, creeping rhizomes (they look like knobby, horizontal “fingers”) and the natural clumps of leaves.
3) Plan your cuts
- Aim to separate along natural gaps. Avoid tearing; make decisive, clean cuts through the rhizome.
4) Sanitize, then slice
- Sterilize your blade. Cut the rhizome into sections, each with healthy roots and foliage.
- Trim away any black, mushy roots and remove yellow or damaged leaves at the base.
5) Size check (don’t overdo it)
- Keep divisions substantial—see “How big to split” below.
6) Seal the deal (optional but helpful)
- Lightly dust fresh rhizome cuts with cinnamon or sulfur to discourage rot. Let cuts air-dry for 10–15 minutes.
7) Potting setup
- Choose a pot that’s just one size larger than the root mass of each division (cast-iron plants prefer a snug fit).
- Add a drainage layer only if the pot’s holes are prone to clogging (not strictly necessary). Fill with your airy mix.
8) Plant at the right depth
- Set rhizomes so the leaf bases/crowns sit at the same height they were before—do not bury them.
- Backfill, firming gently. Water to settle the mix, then let excess drain completely.
How big to split: the sweet spot
- Rule of thumb: 3–6 leaves per division with a chunky rhizome segment and a good root pad is ideal.
- Minimum viable: 2 leaves with multiple active rhizome “eyes” (growing points). Smaller pieces survive but sulk for months.
- For variegated forms: keep larger divisions to preserve vigor and coloring.
- How many pieces from a full, 20 cm (8 in) pot? Typically 2–3 healthy divisions. Resist the urge to make many tiny starts—Aspidistra is slow and appreciates mass.
Potting each division: details that matter
- Pot size: 12.5–20 cm (5–8 in) is typical; match pot to root mass, not leaf count.
- Mix texture: loose and well-draining. A 1:1 potting soil to multi-purpose blend is practical; add perlite until it feels airy.
- Planting depth: crowns just at or slightly above the surface; never sink them.
- First drink: water thoroughly once. Then allow the surface of the mix to dry before watering again. Never let the pot sit in water.
Post-division care: the calm, steady routine
Light
- Place in bright, indirect light or good shade. Avoid harsh direct sun.
Temperature and humidity
- Keep between 5–20°C (41–68°F). Normal indoor humidity is fine.
Watering
- After the initial watering-in, let the surface of the mix dry before watering again.
- Slightly drier is safer than soggy while wounds are healing.
Feeding
- Hold fertilizer for 4–6 weeks post-division.
- Thereafter, from spring through late summer, feed monthly at half-strength.
Pruning and grooming
- Remove any yellowing leaves by cutting cleanly at the base.
- Wipe leaves with a damp cloth to keep them glossy and dust-free.
Bounce-back timeline: what to expect
- Days 1–7: Leaves may look a touch limp from handling—normal. Keep in shade/bright indirect light and avoid overwatering.
- Weeks 2–3: Divisions stabilize; leaf turgor improves as new feeder roots begin.
- Weeks 4–8: Root regrowth is underway. If growth season, you may see a new leaf sheath starting.
- Months 2–4: First new leaves typically appear on well-sized divisions.
- Months 6–12: Clumps fill out and look properly “settled.” Smaller cuts may take the full year to regain density.
Troubleshooting after division
- Yellowing from the base, soggy mix, or a sour smell: overwatering. Let the surface dry between waterings and check drainage.
- Browning tips: underwatering, salt buildup, or very low humidity. Flush the pot with clean water and adjust your watering rhythm.
- Leaf scorch: too much direct sun. Move to shaded, indirect light.
- Stalled growth for months: the division may be too small, too cold, or overpotted. Use a snug pot and stay within 5–20°C (41–68°F).
- Pests (uncommon but possible): check for scale, mealybugs, spider mites—especially in dry rooms. Treat early and improve airflow.
FAQs for smooth success
- Can I divide in winter? You can, but recovery is slower. Spring to early summer is kinder.
- Rooting hormone—use it? Not necessary for rhizomatous Aspidistra, but it won’t hurt if applied lightly to cut surfaces.
- Should I bag the plant for humidity? Usually not needed; this species tolerates average indoor air well.
- How tight should the pot be? Quite snug—only one pot size up. They dislike sprawling in oversized containers.
Care snapshot beyond division
- Water: Let the surface of the mix dry between waterings. Reduce in winter. Never allow waterlogging.
- Light: Partial to full shade; bright, indirect is fine. Avoid harsh direct sun.
- Fertilizer: Monthly, half strength, spring through late summer.
- Repot: Every 2–3 years; increase pot size by just one step.
- Hardiness outdoors: Generally hardy in USDA Zone 8–11 (protect from severe freezes).
- Safety: Commonly regarded as non-toxic to cats, dogs, and people.
Symbolism and “flower language”
Cast-iron plants are often linked with endurance and resilience—fitting, given their shade tolerance and ability to thrive on the leanest of care. While not part of the classic Victorian floriography canon, the modern “flower language” attached to Aspidistra celebrates steadiness: a plant that keeps its poise in dim corners and still bounces back after a rough patch.
A final dividing checklist
- Time it for spring/early summer.
- Sanitize, sharpen, and stage all tools.
- Keep divisions generous: 3–6 leaves with a solid rhizome piece.
- Plant crowns at the original height in a snug, well-draining mix.
- Water once to settle; then let the surface dry before the next drink.
- Pause feeding 4–6 weeks; expect a new leaf in 2–4 months and full poise within a year.
Handled this way, Aspidistra elatior lives up to its cast-iron reputation—quietly tough, elegantly simple, and endlessly patient as it becomes several beautiful plants from one.