

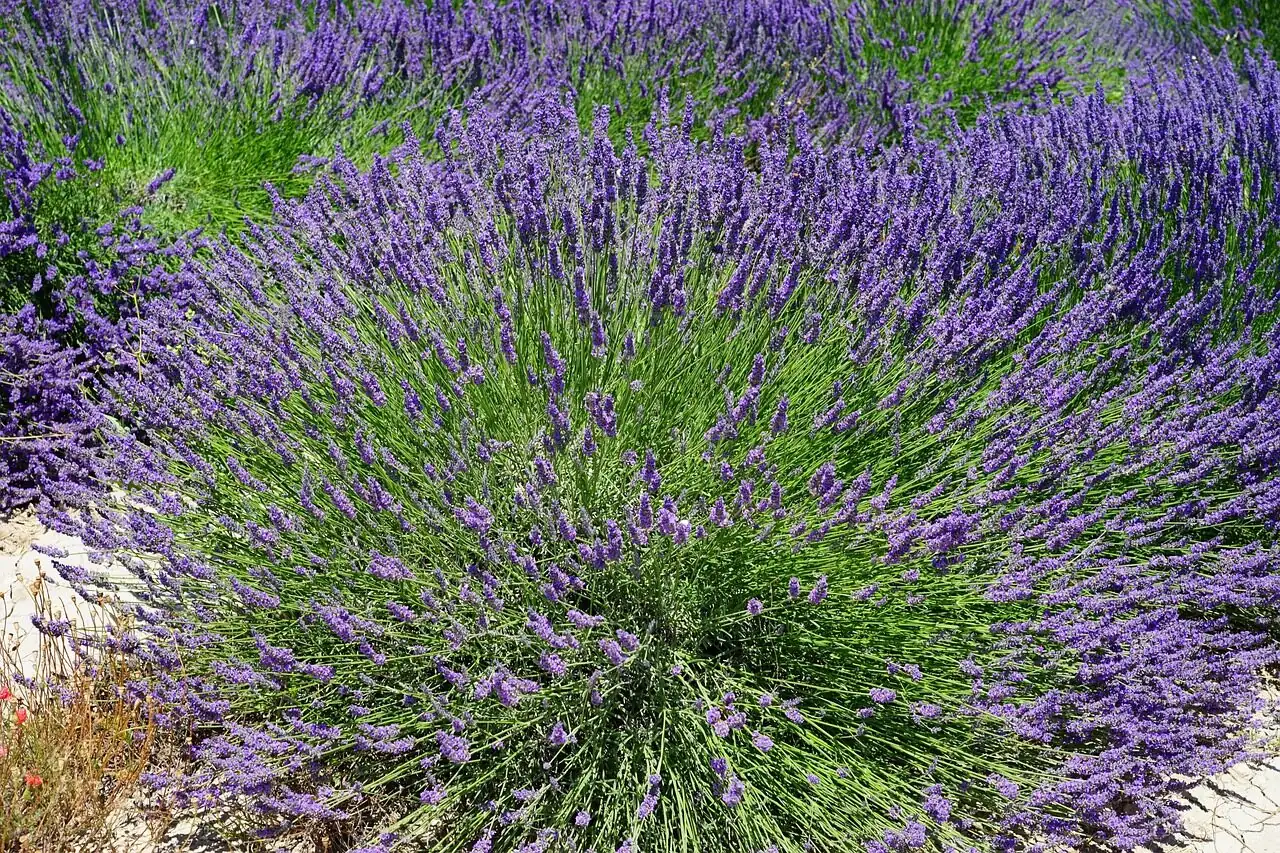
Breathe in: that unmistakable, calming scent of English lavender (Lavandula angustifolia) can be yours in multiples—without buying a single extra plant. With a couple of careful snips and a gritty, fast-draining medium, semi-ripe cuttings root reliably in 3–6 weeks (often faster). Prefer to watch roots form? Lavender will also strike in clean water in about 2–3 weeks, then pot up to grow on. Below is a friendly, field-tested guide to both methods, complete with media recipes, timing, and pro tips for sturdy, sun-ready young plants.
Why cuttings for lavender?
- You clone the exact plant you love—fragrance, flower color, and habit.
- It’s faster and more reliable than seed for most home growers.
- Lavender thrives in lean, airy media; once you nail drainage and airflow, success skyrockets.
Meet the plant in brief
- Botanical: Lavandula angustifolia (aka English/True/Common lavender), family Lamiaceae.
- Origin/love-language of care: Sun-soaked Mediterranean slopes. Give it maximum light, excellent airflow, and sharply drained media.
- Habit: A compact, woody subshrub that becomes increasingly woody with age—perfect for propagation via semi-ripe cuttings.
When to take semi-ripe cuttings
- Best window: Early summer through early autumn, when new growth has begun to firm (semi-ripe).
- Sweet spot: Right after peak bloom or as the first flush finishes—choose non-flowering side shoots.
- Time of day: Cool morning, after dew dries.
- Temperature goals: Air 15–25°C (59–77°F); steady, bright conditions with good ventilation.
Tools and setup
- Clean, sharp snips or a razor; isopropyl alcohol for sterilizing.
- Small pots or cell trays with large drainage holes.
- Rooting hormone (optional but helpful): a light-touch auxin powder or gel.
- Gritty, free-draining medium (recipes below).
- Labels and a pencil.
- A bright, airy spot out of harsh midday sun; a small fan is a big ally.
- Optional: Bottom heat (gentle 18–22°C) can speed rooting. Avoid closed, steamy humidity domes; if you must use one, vent generously and often.
Media recipes lavender loves
Pre-wet mixes lightly; they should feel barely moist and ultra-aerated.
1) Classic Mediterranean grit (peat-free)
- 50% perlite or pumice
- 30% coarse horticultural sand or fine grit
- 20% loam-based compost
Why it works: Exceptionally fast drainage with just enough fines to hold shape.
2) Barky breeze blend
- 50% perlite
- 30% fine orchid bark or screened composted bark
- 20% coir or leaf mold
Why it works: Airy structure that resists compaction; bark moderates moisture without staying wet.
3) Ultra-aerated “strike” mix (for quick rooting, pot up early)
- 70–100% perlite (or a perlite:pumice 1:1)
Why it works: Maximum oxygen. Because there are no nutrients, pot on to a proper lavender mix once roots are 3–5 cm (1–2 in).
Step-by-step: Semi-ripe cuttings in a medium (3–6 weeks)
1) Choose and cut
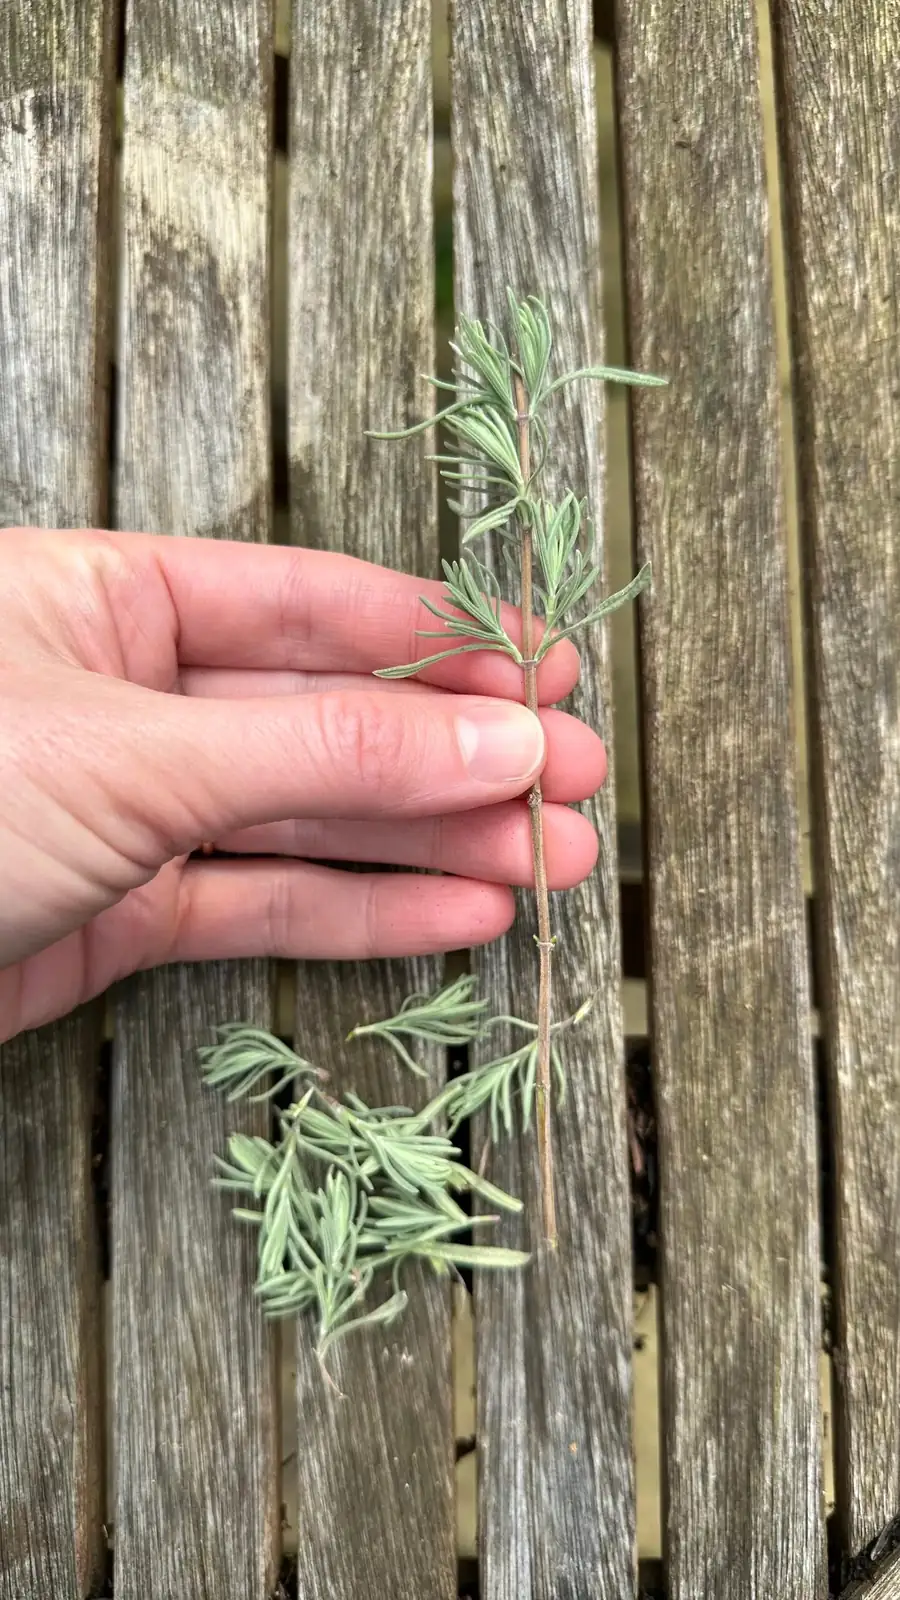
- Pick healthy, non-flowering side shoots 6–10 cm (2.5–4 in) long, semi-firm (not floppy-soft, not hardwood).
- Cut just below a node. A “heel” (a small sliver from where the side shoot tears from older wood) can improve success.
2) Strip and shape
- Remove all flower buds (if any) and leaves from the lower half of the cutting.
- Lightly wound: shave a 1–2 cm sliver of bark/cambium on one side near the base to encourage callus and roots.
3) Optional hormone
- Dip the base lightly in a low-dose rooting hormone; tap off excess. Lavender benefits from a gentle boost, not a heavy coat.
4) Insert
- Pre-dibble holes in your mix; insert the lower 2–3 cm (1 in) so at least one node is buried.
- Firm gently so the cutting stands upright and has good stem-to-media contact.
- Space so leaves don’t touch (airflow, airflow, airflow).
5) Environment and moisture
- Light: Bright shade/indirect light. Avoid hot, direct midday sun.
- Air: Keep air moving; a light, continuous breeze helps deter Botrytis.
- Watering: Moisten the medium at insertion, then allow the surface to dry lightly between light waterings. Never waterlog. Bottom-water if possible to keep foliage dry.
6) Timeline
- Days 5–10: Callus forms.
- Weeks 2–4: First roots on eager cuttings.
- Weeks 3–6: Most cuttings root; tug-test gives gentle resistance.
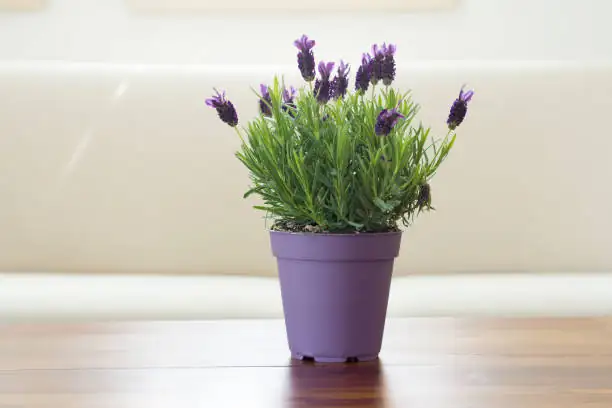
7) Potting on and hardening
- Pot up once roots are 3–5 cm (1–2 in) and branching.
- Use a free-draining container mix (e.g., 40% loam-based compost, 30% perlite/pumice, 30% coarse sand/bark).
- Move to brighter sun gradually over 7–10 days. Water deeply, then let the top layer dry before the next drink.
Step-by-step: Water propagation (2–3 weeks to root)
Great for curiosity and quick visual checks—then transition to mix for strength.
1) Prepare the cutting as above (non-flowering, semi-ripe, 6–10 cm).
2) Strip leaves from the lower half; keep all foliage above the waterline.
3) Use clean, room-temperature water in a narrow glass or small jar. Submerge 1–2 nodes; keep leaves dry.
4) Place in bright shade; change water every 2–3 days to keep it oxygenated and clean. Wrap the jar to block light if algae appears.
5) Timeline: Tiny roots often appear in 10–14 days; wait until they reach 2–4 cm (¾–1½ in).
6) Pot up gently into a gritty mix; bury only to the original stem base. Keep slightly moist (not wet) for the first week, then shift to lavender’s preferred “wet–dry” rhythm.
Pro tips for high strike rates and sturdy plants
- Pick the right wood: Semi-ripe is key—springy but not soft. Avoid flowering stems.
- Take more than you need: Lavenders strike well, but having extras ensures a full, even hedge or pot.
- Hygiene is everything: Sterilize blades and pots; keep foliage dry; remove any failed cuttings promptly.
- Air beats steam: Skip closed domes. If you must cover, vent wide and often to avoid fungal pressure.
- Heel or wound: A small heel or a shallow side wound at the base often boosts rooting.
- Gentle bottom heat: 18–22°C (64–72°F) at the root zone speeds rooting without encouraging rot.
- Light feeding later: Once potted, feed lightly (about monthly during active growth) to avoid floppy, low-fragrance growth.
- Pinch to build bones: Tip-prune rooted babies 2–3 times as they grow to encourage branching and a dense, rounded mound.
- Legal check: Some named cultivars are protected—propagation may be restricted. When in doubt, grow unpatented selections or obtain permission.
Aftercare: shaping, sun, and watering
- Sun: Aim for full sun—6–8+ hours/day once well-rooted and hardened.
- Water: Deeply, then let the mix dry noticeably before watering again. In cool seasons, reduce frequency.
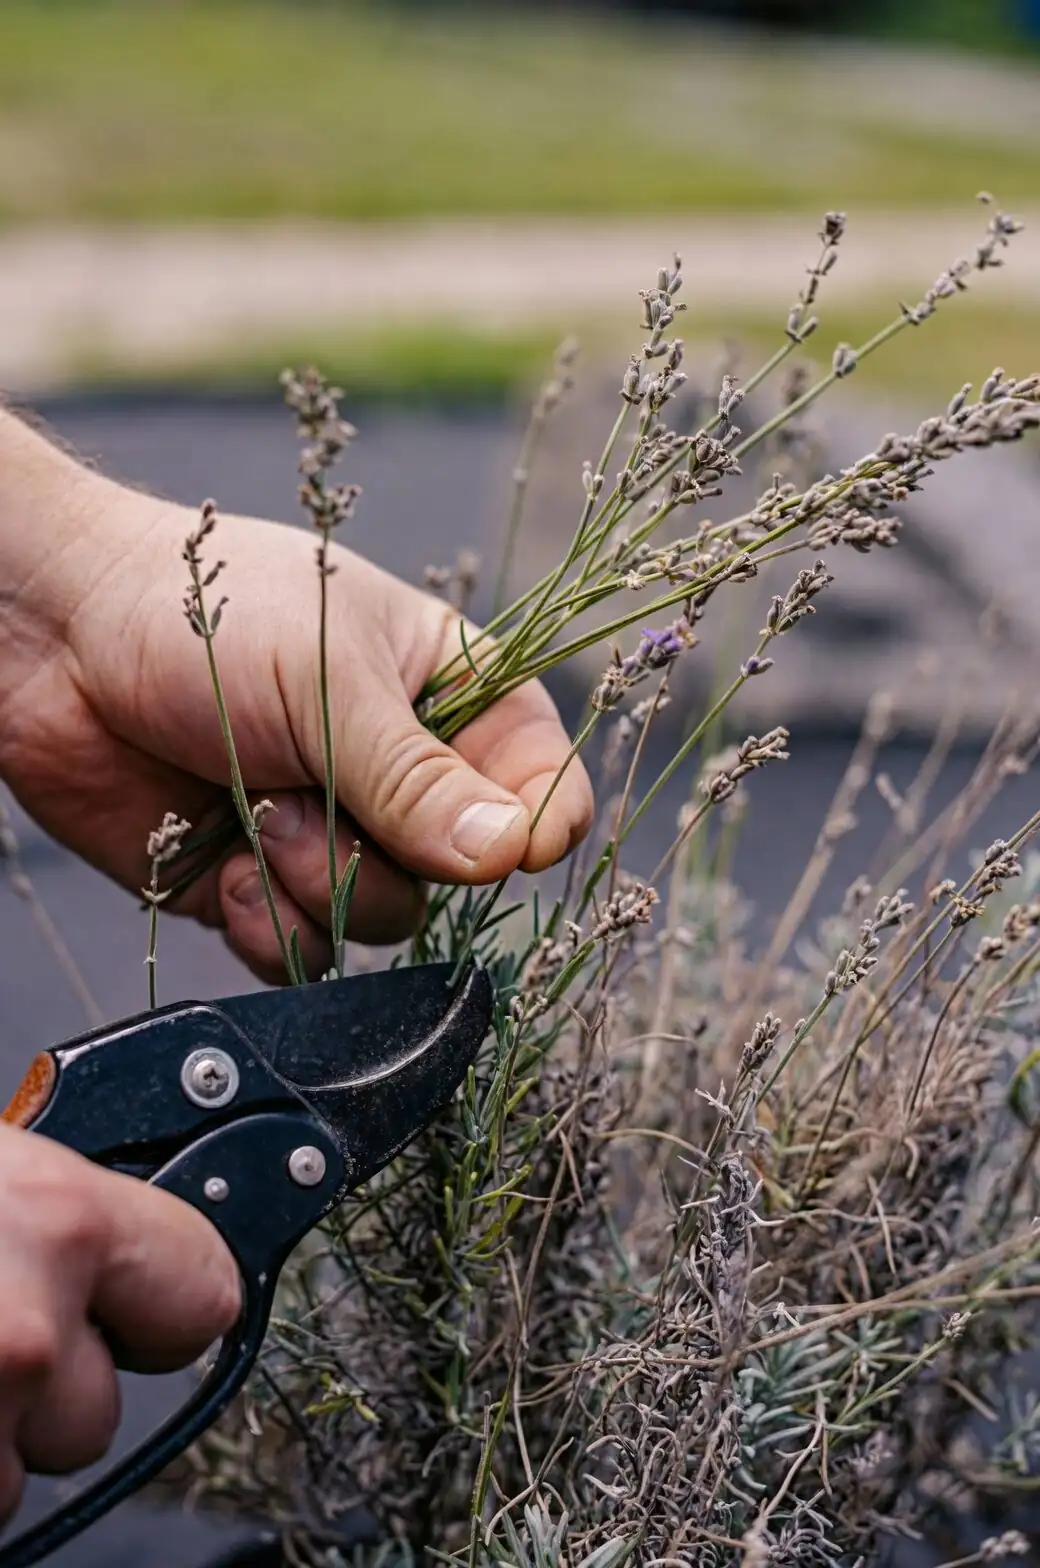
- Pruning: After flowering, remove spent spikes and lightly clip the green growth to keep a neat dome. Don’t cut into bare, old wood.
- Pot size: Start in 7–9 cm (3–3.5 in) pots; step up gradually. Always choose containers with excellent drainage.
Troubleshooting quick guide
- Grey fuzz on leaves/stems (Botrytis): Reduce humidity, increase airflow, space cuttings, water at the base in the morning, and remove affected parts. Use a labeled fungicide only if necessary and permitted.
- Yellowing leaves on cuttings: Usually too wet or too dim. Brighten light (indirect) and let the top mix dry more between sips.
- Blackened stem bases: Waterlogged or contaminated medium. Discard, refresh with a grittier mix, sterilize tools, and water more sparingly.
- Wilting despite moist mix: Over-wet roots or poor aeration. Improve drainage and airflow; check for rot.
A quick calendar
- Spring to summer: Take semi-ripe cuttings; root in gritty media (3–6 weeks) or water (2–3 weeks).
- Summer bloom: Keep mother plants sunny and airy; avoid taking flowering tips.
- Late summer to early autumn: Prime time for cuttings; lightly prune mother plants after flowering.
- Autumn to winter: Grow on rooted plants cool and bright; water sparingly and never let pots sit in water.
A small note on symbolism
Lavender is often linked with calm, devotion, remembrance, and—in some Victorian “language of flowers” lists—anticipation or “waiting for love.” Flower language (floriography) blossomed in 19th‑century Europe and the meanings were anything but universal, shifting between authors and cultures. Think of these associations as literary color rather than botanic law—lovely to know, but your plant’s real story is the sun on its leaves and the breeze in its silvery-gray stems.
Rooting at a glance (your cheat sheet)
- Semi-ripe in mix: 3–6 weeks
- Water method: 2–3 weeks, then pot to a gritty mix
- Cutting size: 6–10 cm, non-flowering side shoots
- Environment: Bright shade to bright indirect light, excellent airflow, 15–25°C air
- Media: Gritty, fast-draining; never soggy
- Shape: Pinch young plants 2–3 times for dense, rounded growth
With a sunny spot, a handful of clean cuttings, and an airy medium, lavender practically teaches you how it wants to grow: lean, bright, and breezy. Start a batch this season and you’ll have armfuls of fragrant, sturdy plants before you know it.