

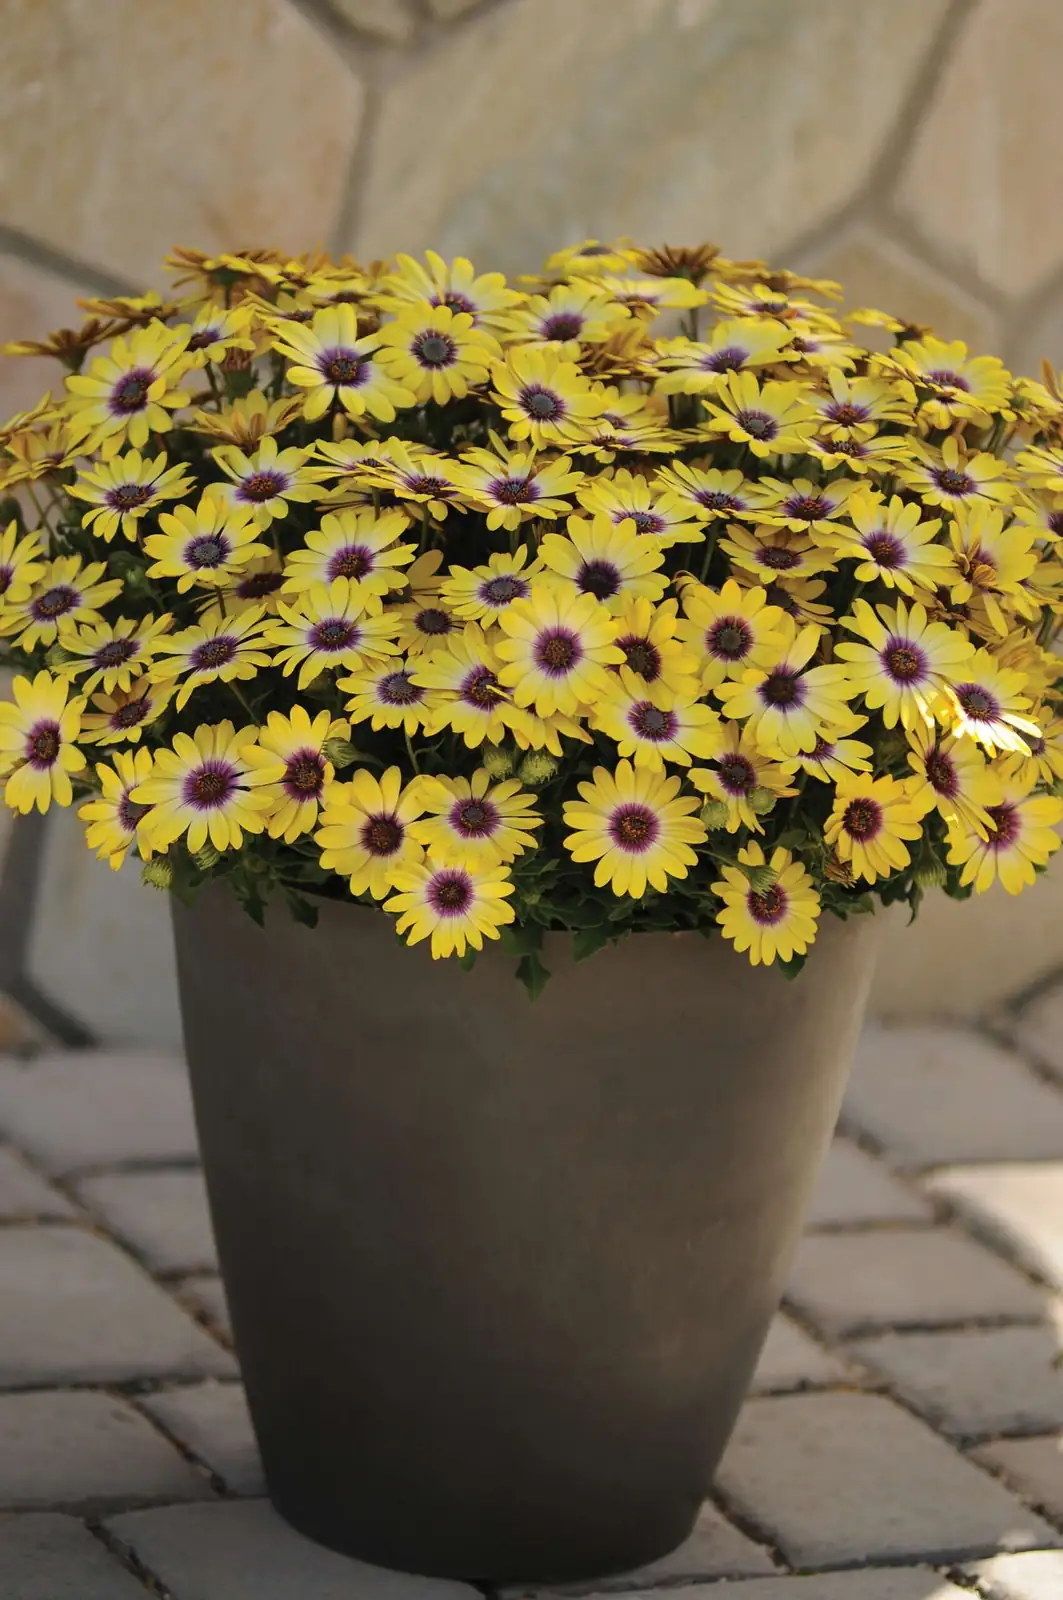
Think of Falling Stars Cape Daisy (Osteospermum ecklonis) as your fast-lane to months of sky-blue daisies with that irresistible darker “eye.” Native to South Africa’s Cape region, it thrives in sun, mounds neatly in containers and borders, and blooms from early spring well into fall in mild weather. The quickest way to multiply that look? Softwood cuttings. Here’s your confident, photo-ready how-to—timing, node-by-node precision, rooting media that just works, humidity control, and the aftercare that turns small starts into showy mounds in record time.
Best timing for softwood cuttings
- Prime window: late spring through summer, when shoots are fresh, flexible, and non-woody.
- Bonus window (for backup plants): late summer to early autumn in mild climates, then overwinter the rooted babies frost-free.
- Time of day: morning, when shoots are fully hydrated.
Temperature guide for success:
- Rooting sweet spot: 15–20°C (59–68°F) at the media; air 18–22°C (64–72°F).
- Protect from hard frost at all times; O. ecklonis is typically hardy in USDA 9–11 and dislikes prolonged freezing.
Kit and setup
- Clean, sharp snips or a sterile scalpel
- Labels and a fine dibber (or the blunt end of a pencil/paintbrush)
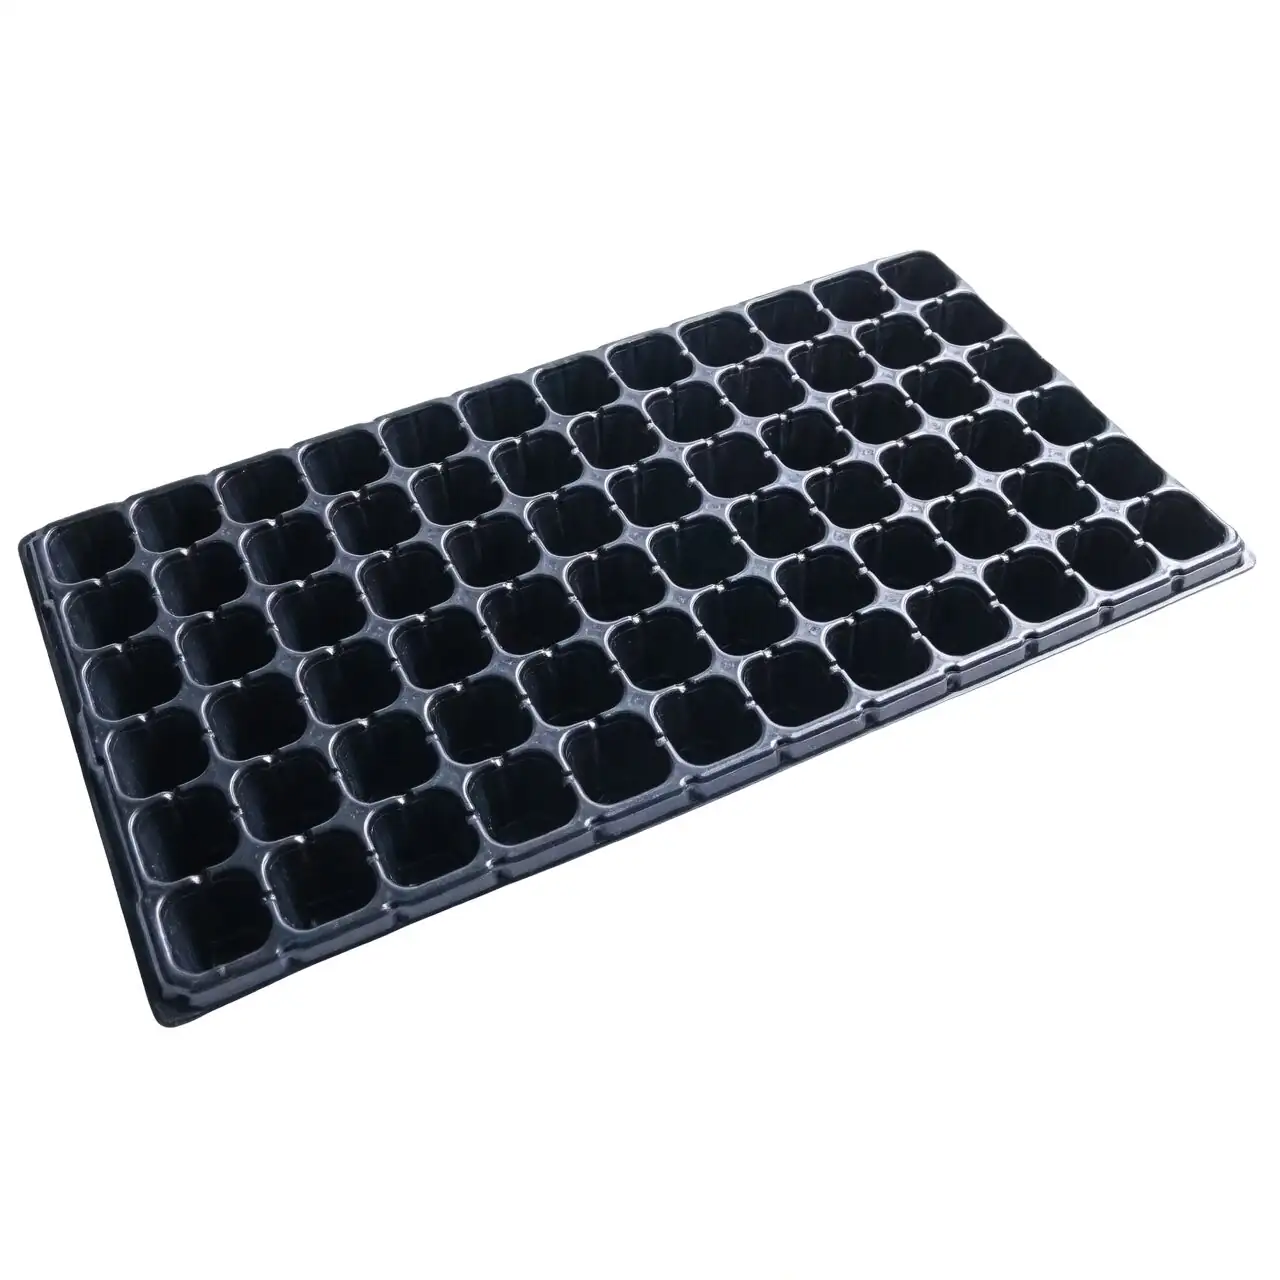
- Module tray with small cells or 7–9 cm pots
- Low-nutrient, fast-draining cutting mix (see next section)
- Optional: rooting hormone (a powder or gel with fungicide can reduce basal rot)
- Clear humidity dome, lidded propagator, or a loose plastic bag with vent holes
- Bright, indirect light (avoid direct midday sun on unrooted cuttings)
- Gentle bottom heat (heat mat) if your space is cool
Mixes that root fast
Choose a light, airy, low-feed mix so stems don’t sit soggy:
- 50:50 perlite and vermiculite
- 50:50 perlite and peat or coco coir
- Seed-and-cutting compost with 30–50% extra perlite or horticultural grit
Moisten to “wrung-out sponge” damp—never dripping.
Pick the perfect shoot and make the cut
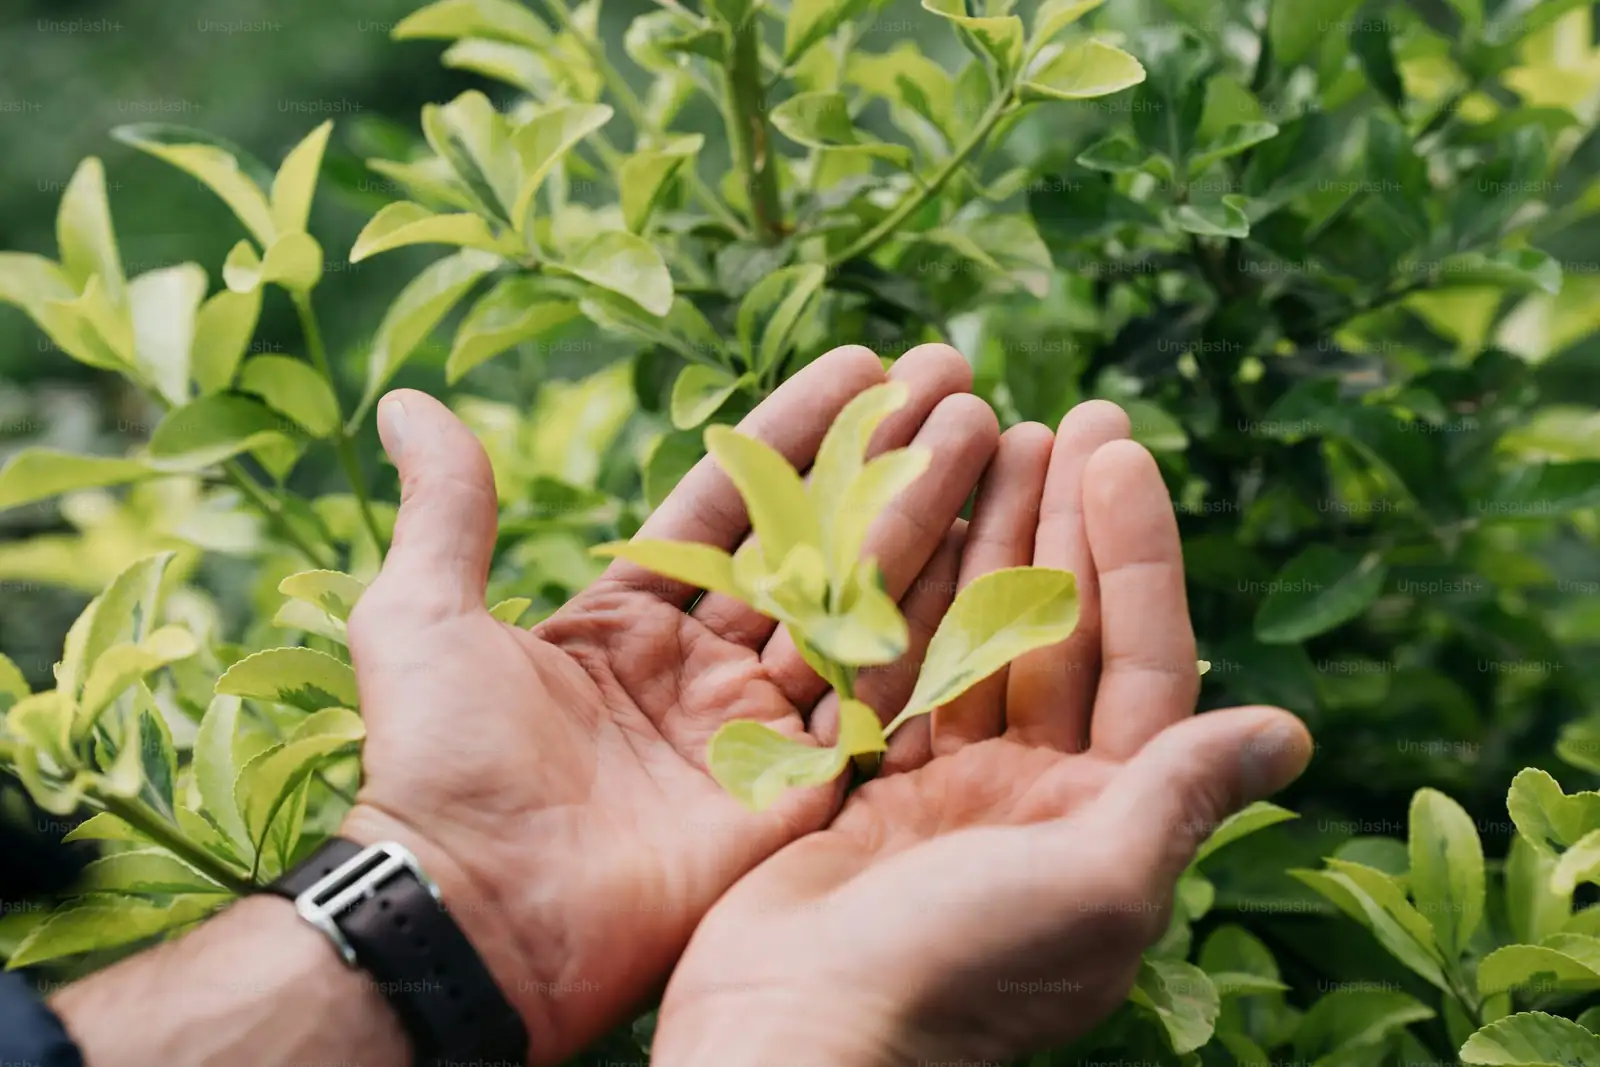
- Choose non-flowering side shoots: soft, springy, and pest-free.
- Length: 5–8 cm (2–3 in).
- Nodes: aim for 2–3 visible nodes; cut just below a node to maximize rooting tissue.
- Prep:
- Strip off the lowest pair of leaves to expose at least one node for insertion.
- Remove any buds—flowering diverts energy from roots.
- Optionally reduce large remaining leaves by a third to cut transpiration.
- Dip the basal 1 cm in rooting hormone (tap off excess).
Pro tip: If a shoot is very soft at the tip, make a tidy trim to firmer tissue; “too floppy” tops wilt fastest.
Stick, cover, and keep them happy (humidity & light)
- Pre-dibble a hole so you don’t scrape off hormone.
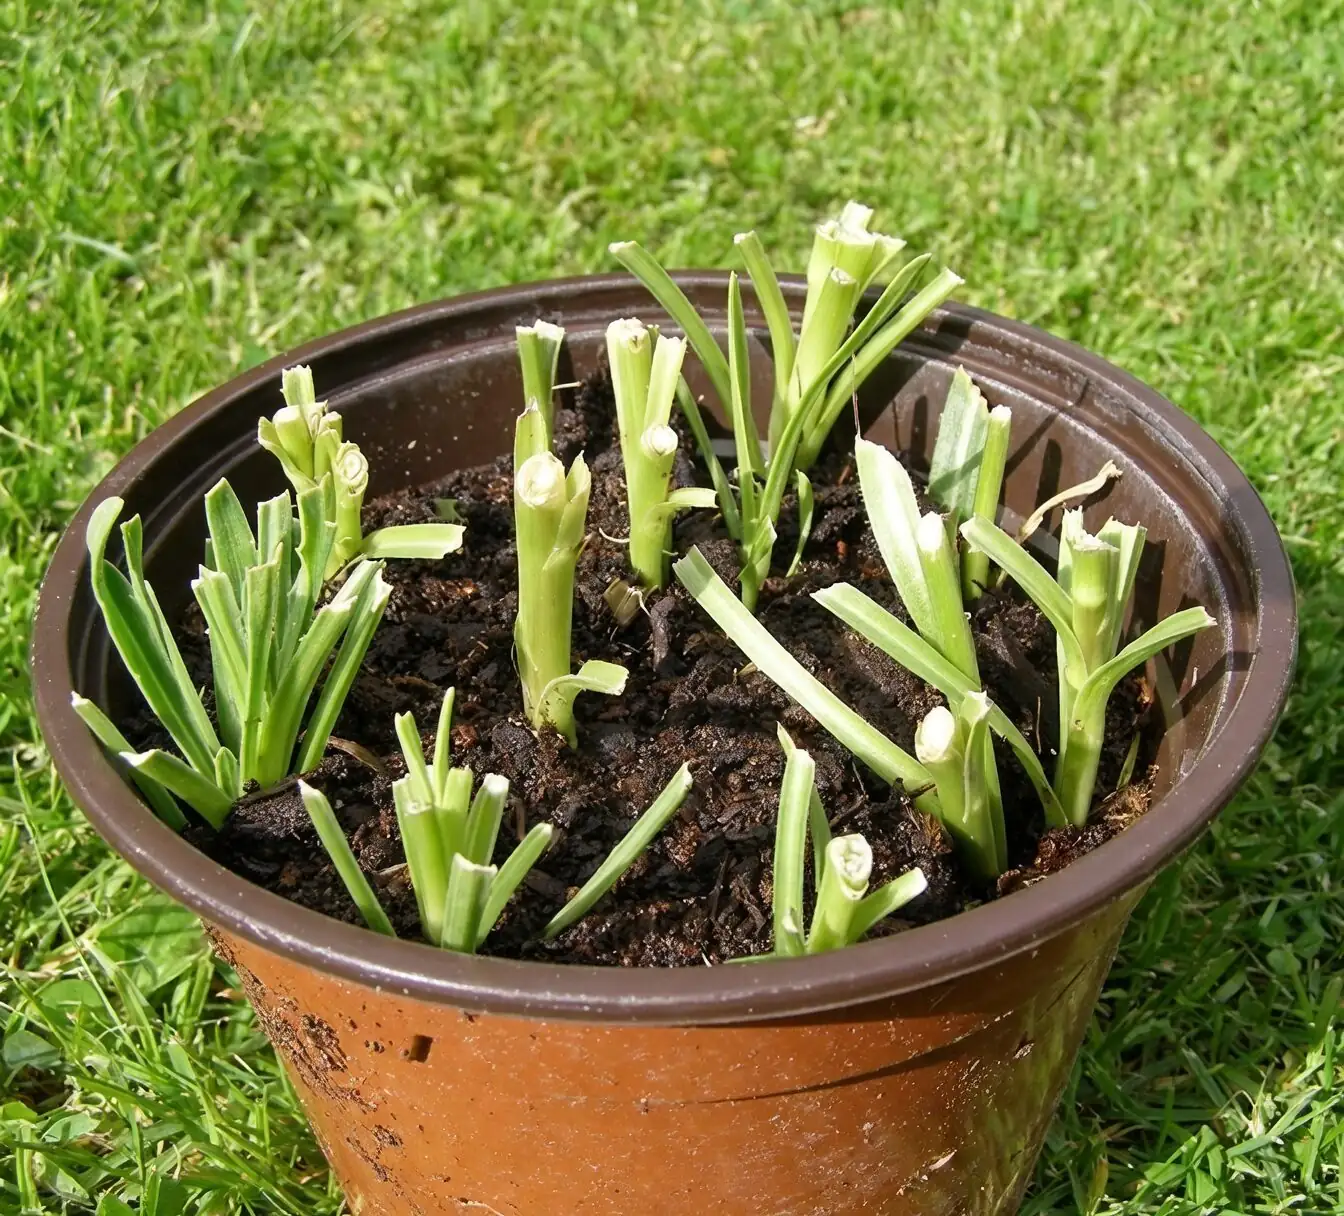
- Insert so at least one node is below the surface; firm gently.
- Space cuttings to avoid leaves touching—good airflow prevents disease.
- Water in to settle media; let excess drain.
- Cover with a clear dome or vented bag to hold high humidity without dripping.
- Light: bright but indirect; a sheer-curtained window, shaded greenhouse bench, or bright grow lights at 30–40 cm above the canopy.
- Humidity rhythm:
- Days 1–7: high humidity (think 85–95%) with daily brief venting.
- From Day 8: increase ventilation gradually to toughen cuttings.
- Temperature: keep media 15–20°C (59–68°F). Avoid hot sun—unrooted tips can collapse in minutes.
Watering during rooting:
- Keep the mix evenly moist but never sodden. Bottom-water or mist the media surface; avoid nightly leaf-wetting.
- If condensation sheets on the dome, wipe it and increase ventilation.
The rooting timeline (what “success” looks like)
- Days 3–5: cuttings perk up; leaves feel firm (turgid).
- Weeks 2–3: gentle “tug test” meets light resistance—roots are forming.
- Weeks 3–4: white roots visible at drain holes or along cell edges. You’re ready to pot on.
If bases blacken or stems collapse, you’re overwatering, too cool, or under-ventilating. Remove any failed cuttings immediately.
Potting on, pinching, and shaping
- Pot size: move each rooted cutting to a 9 cm pot filled with a free-draining, moderately fertile mix (multi-purpose compost plus 20–30% perlite or grit).
- First pinch: nip out the very tip once they’re growing in the new pot—this encourages branching and a rounded, container-ready habit.
- Light and temps: step them into brighter light, aiming for full sun (6+ hours) by hardening off gradually over 7–10 days.
- Feeding: a balanced liquid feed at half strength every 2–4 weeks in active growth. Ease off in cool, low-light periods.
Planting out: containers and borders that fill up fast
- Sun: full sun for the most flowers.
- Spacing in beds: 30–40 cm (12–16 in) apart; they’ll mound to 20–45 cm tall and 30–60 cm wide, depending on cultivar and conditions.
- Pots: a 30 cm (12 in) wide container with sharp drainage is a sweet spot for a single plant’s best show.
- Soil: well-drained, sandy or loamy, moderately fertile. Avoid waterlogging at all costs.
Aftercare for nonstop bloom
- Watering: soak, then let the top 2–3 cm (about 1 in) dry before the next drink. Never leave pots standing in water.
- Grooming:
- Deadhead regularly—snip just below spent blooms to keep buds coming.
- Trim lightly after a heavy flush to cue a fresh round of flowers.
- Heat pause? In very hot spells, flowering can slow. Stay the course with sun, steady moisture (not soggy), and grooming; blooms bounce back as temperatures ease.
- Cool-season strategy (cold regions): before frost, bring containers to a bright, cool (10–15°C / 50–59°F) spot and water sparingly. In mild climates, plants can be evergreen to semi-evergreen.
Common pitfalls & quick fixes
- Floppy, wilting cuttings: humidity too low or light too intense—shade more, vent smartly, and avoid midday sun.
- Blackened bases: overwatering or cold media—warm the root zone and water less often.
- Pale, stalled rooted cuttings: pot on, brighten light, and start a light feed.
- Leggy young plants: pinch more and increase sun.
Pests, health, and hygiene
- Usual suspects: aphids, whiteflies, spider mites, thrips.
- Prevent with sun, airflow, and clean starts. Treat early with insecticidal soap or horticultural oil.
- Rot risks rise in soggy soil—keep drainage sharp from propagation to planting.
Why choose cuttings over seeds?
- True-to-type color and form for named varieties.
- Faster, fuller displays—cloned plants hit uniform bloom together.
- Seeds are possible, but offspring can vary; cuttings keep your favorite sky-toned “blue eye” look consistent.
A quick, photo-ready checklist
- Timing: late spring–summer (plus late summer/early autumn for backup).
- Shoots: non-flowering, 5–8 cm with 2–3 nodes; cut below a node.
- Media: ultra-draining, low-nutrient (e.g., 50:50 perlite:vermiculite).
- Conditions: bright, indirect light; high humidity with daily venting; 15–20°C media.
- Rooting: 3–4 weeks is typical; pot on when roots show.
- Pinch: after potting to build a dense, rounded plant.
- Plant out: sun-soaked spots; 30–40 cm spacing; never waterlog.
- Care: water deeply, let the top 2–3 cm dry, deadhead often, light feeding every 2–4 weeks.
A note on meaning and mood
Falling Stars Cape Daisy is widely linked with cheerfulness and optimism—those sky-blue, starry faces read like a patch of good weather you can plant. This “flower language” is modern and cultural rather than ancient lore, but it fits: blooms open widest in bright sun, close in low light, and practically broadcast a sunny disposition. Use them by doors and along paths where that little lift of color meets you every day.
Aliases you’ll see on tags: African Daisy, Blue-Eyed Daisy, Cape Daisy, and simply Falling Stars. Whichever name you use, softwood cuttings now mean brimming pots and borders a few weeks from today.