


If you love peppermint for its cool snap in tea, desserts, and summer drinks, the secret to truly vibrant, aromatic leaves is all in the timing and touch. Mentha × piperita rewards the right cut with lush regrowth and powerful flavor—again and again. Here’s your friendly, field-tested guide to when to harvest, how low to cut (leave about 10 cm), and the gentlest ways to dry and store those emerald leaves so they stay bright and beautifully minty.
Meet peppermint, briefly
- Botanical: Mentha × piperita (Lamiaceae)
- Habit: Herbaceous perennial with square stems and vigorous, spreading rhizomes; quick to fill a pot or run through a border if not contained
- Size: Typically 30–90 cm tall; in containers often kept 15–30 cm with regular cutting
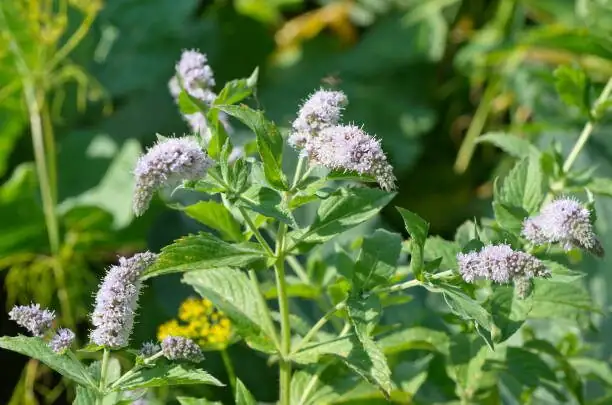
- Flowers: Nectar-rich pink to pale purple summer spikes beloved by bees
Bright light brings the best flavor, and frequent harvesting keeps it bushy and tender.
Timing is everything: morning and pre-bloom are your edge
Two clocks matter for flavor—time of day and stage of growth.
- Time of day: Aim for mid-morning, after the dew has dried but before heat builds. That sweet spot preserves essential oils and avoids water-soggy leaves.
- Stage of growth: Cut just before the first flower buds open in summer. Pre-bloom stems hold peak essential oils, making for the boldest, cleanest peppermint punch.
- Frequency: Once established, you can usually take 3–4 generous cuts per season. Peppermint rebounds fast when well watered and fed during active growth.
Tip: Love your pollinators? Let a few stems bloom for bees and butterflies, and keep the rest on a pre-bloom harvest schedule for kitchen use.
Exactly how to cut (and how much): leave about 10 cm
Think of peppermint as a “cut-and-come-again” herb. The more strategically you cut, the more it gives back.
Tools and prep
- Clean, sharp snips or shears (wipe with alcohol or hot soapy water, then dry)
- A clean basket or tray lined with a dry towel
Step-by-step cut
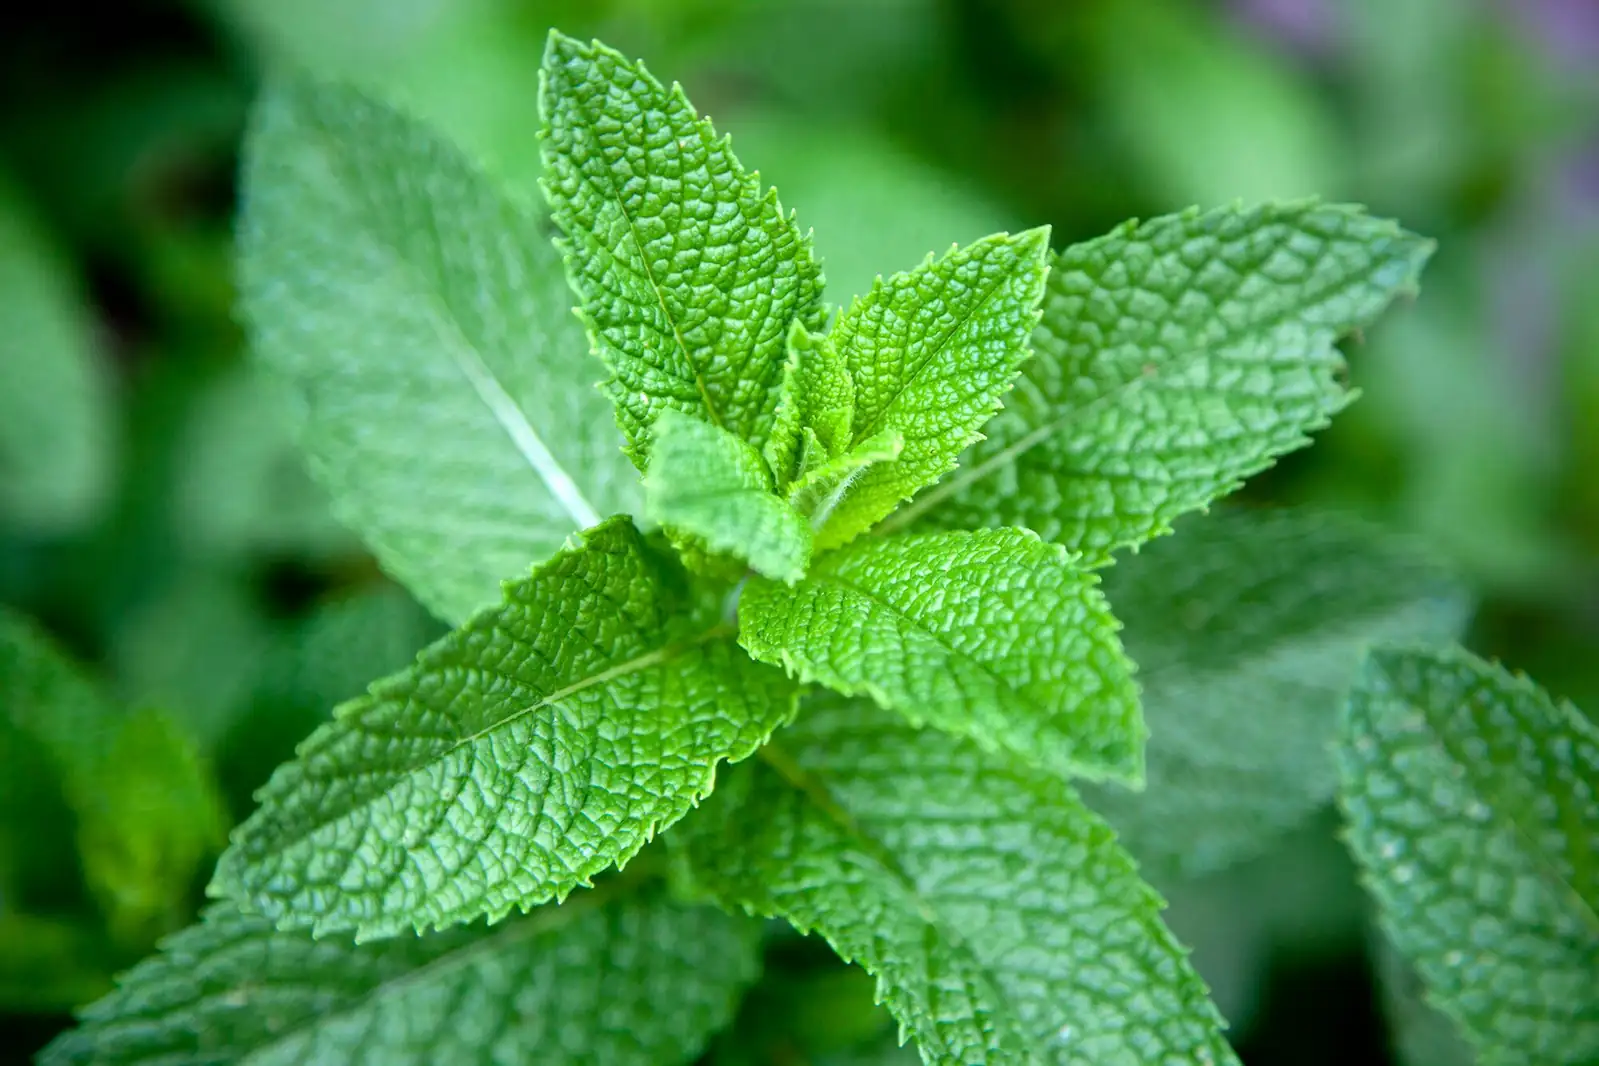
- Choose healthy, tall stems: 20–30+ cm with fresh green leaves.
- Find a leaf node: where a pair of leaves meets the square stem. New shoots sit here.
- Measure your leave-behind: You want to leave about 10 cm (4 in) of stem above the soil after cutting.
- Make the cut: Snip just above a node, at a slight angle so water sheds.
- Harvest in waves: Take the taller stems first for an even “haircut.”
- How much to remove: For a big harvest, you can cut most of the plant back—as long as you leave that 10 cm stub across all stems. Avoid stripping every single stem in year one; keep a little canopy where plants are still young.
Why 10 cm? Those short, leafed stubs hold energy and growing points. Leave them, and the plant will resprout quickly and bushily.
Pro move: Avoid random leaf-plucking. Whole-stem cuts above nodes trigger fuller, faster regrowth and keep plants looking and tasting their best.
Aftercare: help it bounce back fast
- Water: Keep soil evenly moist—never bone dry—during active regrowth.
- Light: Full sun to bright partial shade gives the boldest flavor.
- Feeding: During peak growth, a light, regular feed keeps leaves lush (pause feeding when tops naturally wither late season).
- Airflow: Good spacing and clean cuts help deter powdery mildew and leaf spots.
Clean and prep for drying
- If plants are clean, skip washing—dry leaves retain oils better.
- If dusty, give a quick, cool rinse, then dry thoroughly: shake, spin (salad spinner), and pat with a towel. Any lingering surface moisture slows drying and can cause browning.
Strip the healthiest leaves and tender stem tips; discard any yellowed or damaged pieces.
Gentle drying that keeps color and aroma
Sun and high heat drive off those precious oils. Go low and slow.
Air-drying (best for flavor)
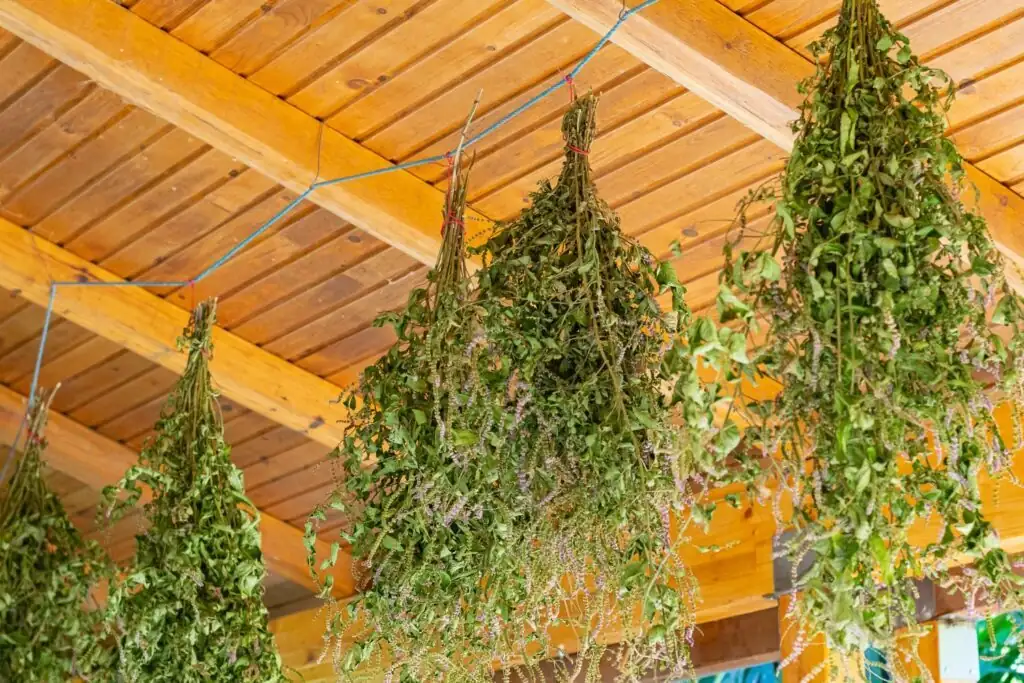
- Method: Tie very small, loose bundles or spread in a single layer on mesh racks.
- Conditions: Dry, shaded, well-ventilated spot out of direct sun.
- Time: Typically 3–7 days. Turn trays daily.
- Done when: Leaves shatter crisply, and thin stems snap.
Dehydrator (fast, controlled)
- Setting: Low—about 30–40°C (95–105°F).
- Time: 2–6 hours depending on load and humidity.
- Rotate trays for even drying; check often to avoid over-drying or heat damage.
Oven (only as a last resort)
- Set to the lowest temperature; prop the door slightly ajar.
- Watch constantly. Even at low temps, ovens can dull aromatics quickly.
Skip the microwave if you want peak aroma; it tends to scorch or mute flavors.
The conditioning step (small effort, big payoff)
Once leaves are fully dry:
- Loosely pack into a glass jar for 3–7 days.
- Shake daily. If condensation appears or leaves feel pliable, return them to the drying rack and finish off. This equalizes moisture and prevents hidden mold.
Airtight storage for long-lasting vibrancy
The enemies: air, heat, light, and moisture. Defeat them, and your peppermint stays bright and punchy.
- Keep leaves whole: Crush only at the moment of use to preserve volatiles.
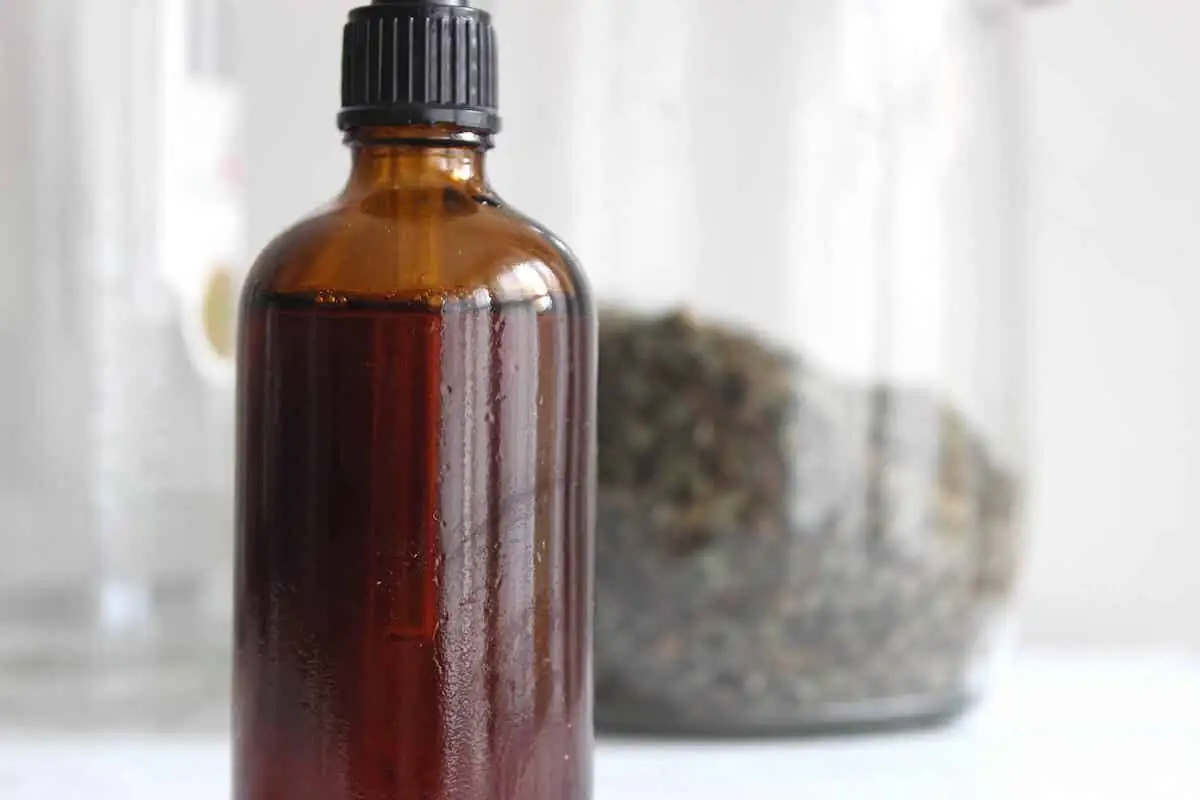
- Container: Airtight glass or metal; opaque or stored in darkness. Amber jars or tins are ideal.
- Headspace: Fill the container to reduce oxygen. Add a food-safe desiccant or a small sachet of dry rice for extra insurance.
- Placement: Cool, dry cupboard away from stove and sunlight.
- Label: Name and date. Peak flavor is within 6–12 months; still usable after, but expect some fade.
Aroma check: Rub a leaf. If the scent is shy, it’s time to use more per recipe or pivot to infused syrups and teas.
Short-term storage for fresh sprigs
- Refrigerator bouquet: Stems in a glass of water, loosely covered with a bag; change water every day or two. Stays perky 4–7 days.
- Wrapped method: Roll in a lightly damp towel, slip into a breathable bag, and refrigerate.
- Freezing option: Freeze whole sprigs in a bag or tuck chopped mint into ice cubes. Texture changes, but color and minty kick remain great for drinks and cooking.
A simple harvest calendar (temperate climates)
- Late spring: Pinch tips at 15–20 cm to branch and thicken.
- Early summer: First big pre-bloom cut, leaving ~10 cm.
- Mid–late summer: Second and often third cut after vigorous regrowth.
- Early autumn: Final tidy cut, still leaving ~10 cm. As weather cools, top growth may fade; hardy rhizomes ride out winter and return next year.
With good moisture and light feeding during the growing season, expect fast resprouts after each cut.
Troubleshooting common pitfalls
- Leaves brown or taste dull after drying: Likely dried in sun or at too high a temperature. Switch to shade or a low-temp dehydrator.
- Mold in the jar: The batch wasn’t fully dry or wasn’t conditioned. Redry until leaves are brittle and stems snap.
- Weak regrowth: Cutting below 10 cm or allowing the pot to dry out. Raise your cutting height, and water consistently.
Quick, joyful uses for your harvest
- Fresh: Mojitos, mint lemonade, watermelon salads, herbed yogurt, and skewers with lamb or halloumi.
- Dried: Cooling teas, hot chocolate toppers, mint-sugar for baking, or a soothing bedtime tisane.
Peppermint is one of the easiest kitchen allies you’ll ever grow. Harvest on a cool mid-morning, cut back cleanly while leaving that magic 10 cm, dry with kindness, and seal away the scent in an airtight, light-safe jar. Do this, and every cup of tea or dessert will taste like summer itself—fresh from your garden.