

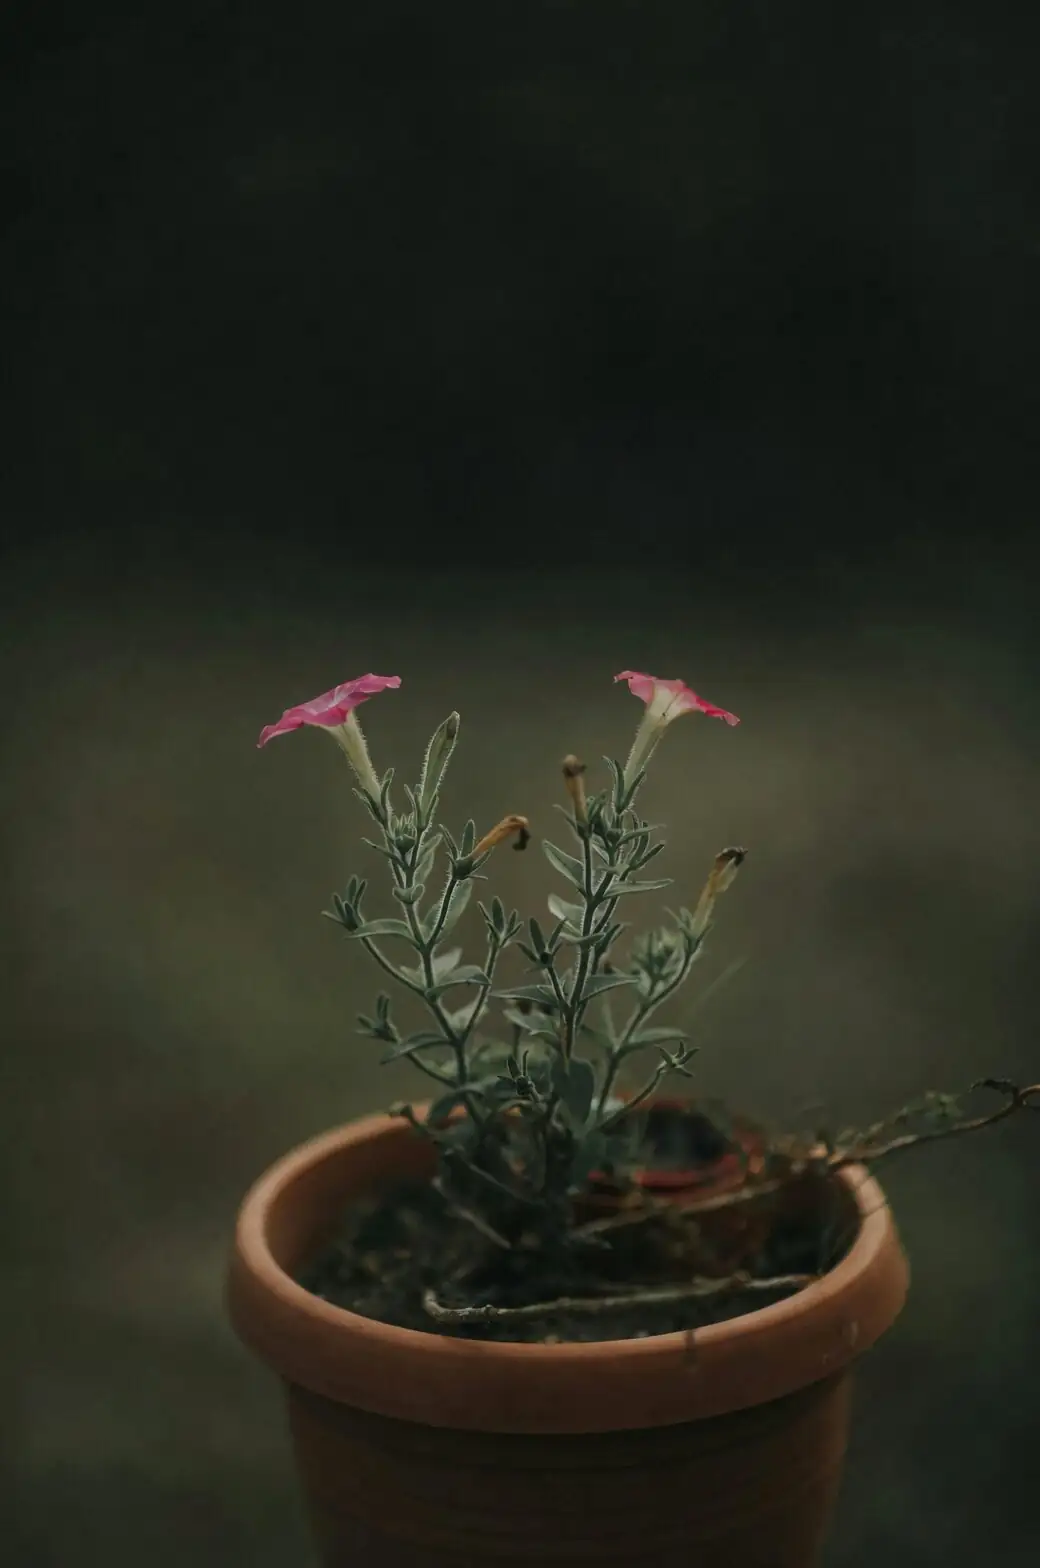
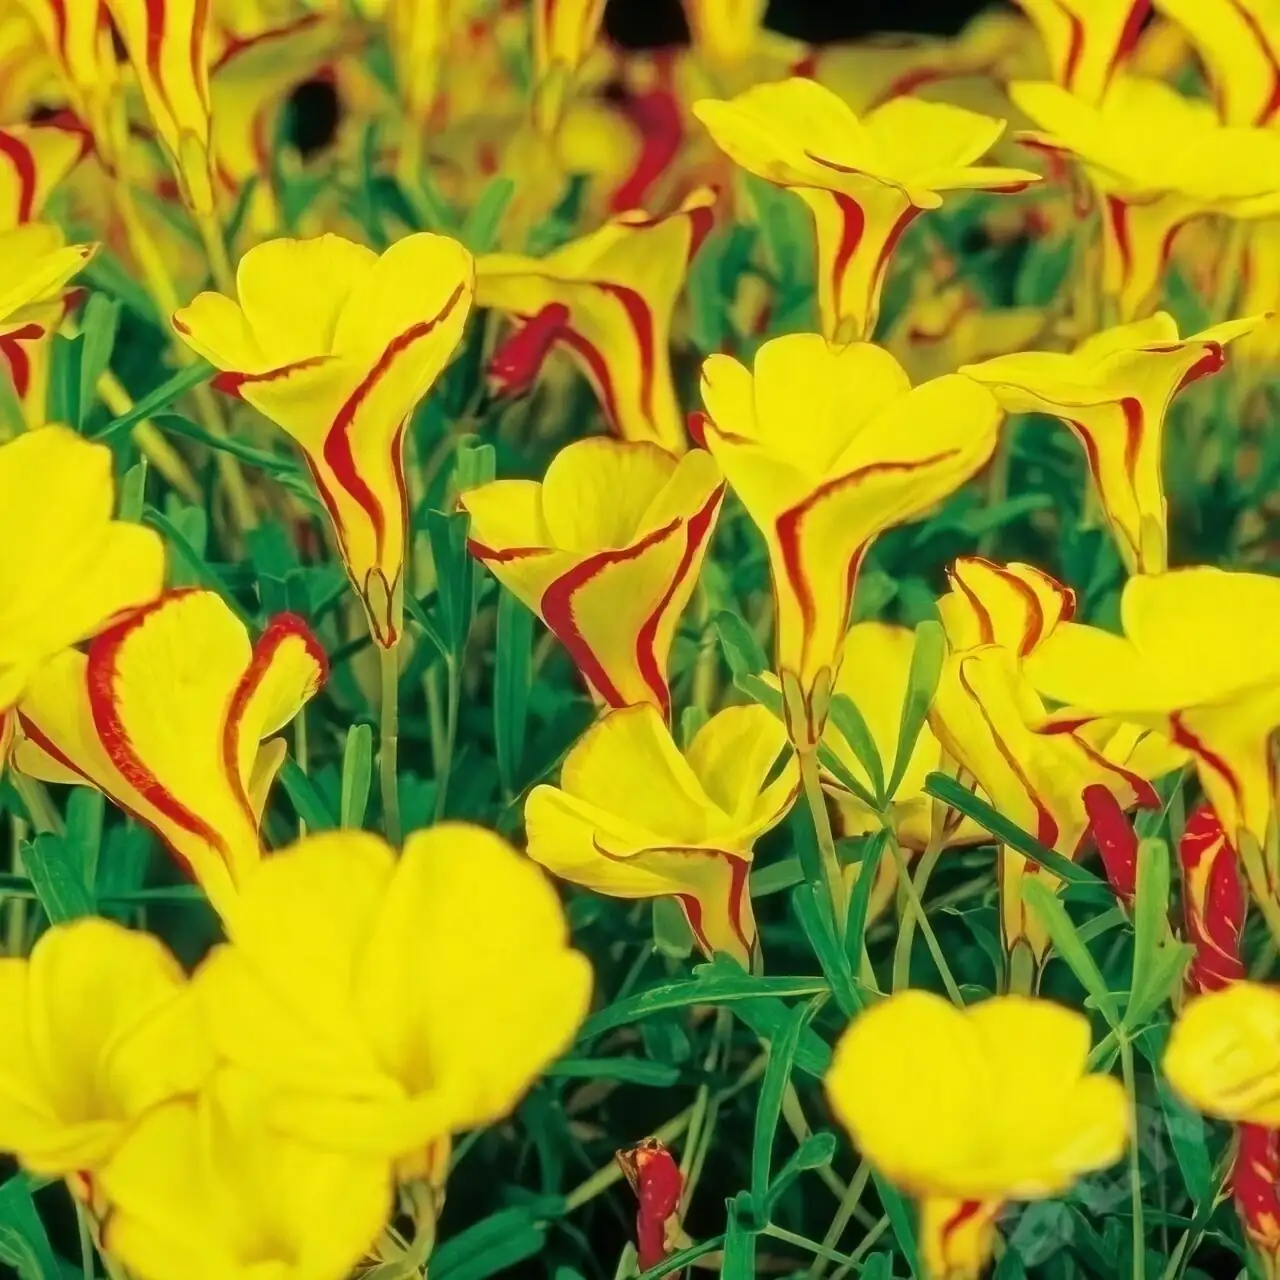
Cape shamrock’s lemony trumpets are pure joy from fall through spring—but the bulbs are crafty little hitchhikers. With a smart containment setup, you can savor Oxalis pes-caprae in full bloom and send zero bulbs wandering into your garden beds or neighborhood. Here’s a practical, field-tested playbook for growing it beautifully in pots without the headaches.
H2: Meet your plant, know its tricks
- Names: Cape Shamrock, Bermuda Buttercup, Buttercup Oxalis, Soursob (Oxalis pes-caprae)
- Origin: Southern Africa’s Cape region
- Habit: Bulb-forming perennial with shamrock-like leaves, typically 10–30 cm tall; clumps expand over time via offsets
- Season: Peak bloom from autumn to spring in bright, airy conditions
- Temperament: Wonderfully vigorous in containers; in some regions it spreads so readily it’s considered invasive—so prevention is everything
H2: The Containment Blueprint
Think of containment as five “C”s: Clean media, Correct depth, Contained hardware, Careful handling, Conscientious disposal.
H3: 1) Clean media and a pot that can’t leak bulbs
- Use a free-draining, airy mix: a peat-based potting mix amended with perlite and vermiculite (or similar drainage-boosters). This keeps bulbs healthy without waterlogging.
- Never use garden soil. Even a handful may hide tiny bulb offsets.
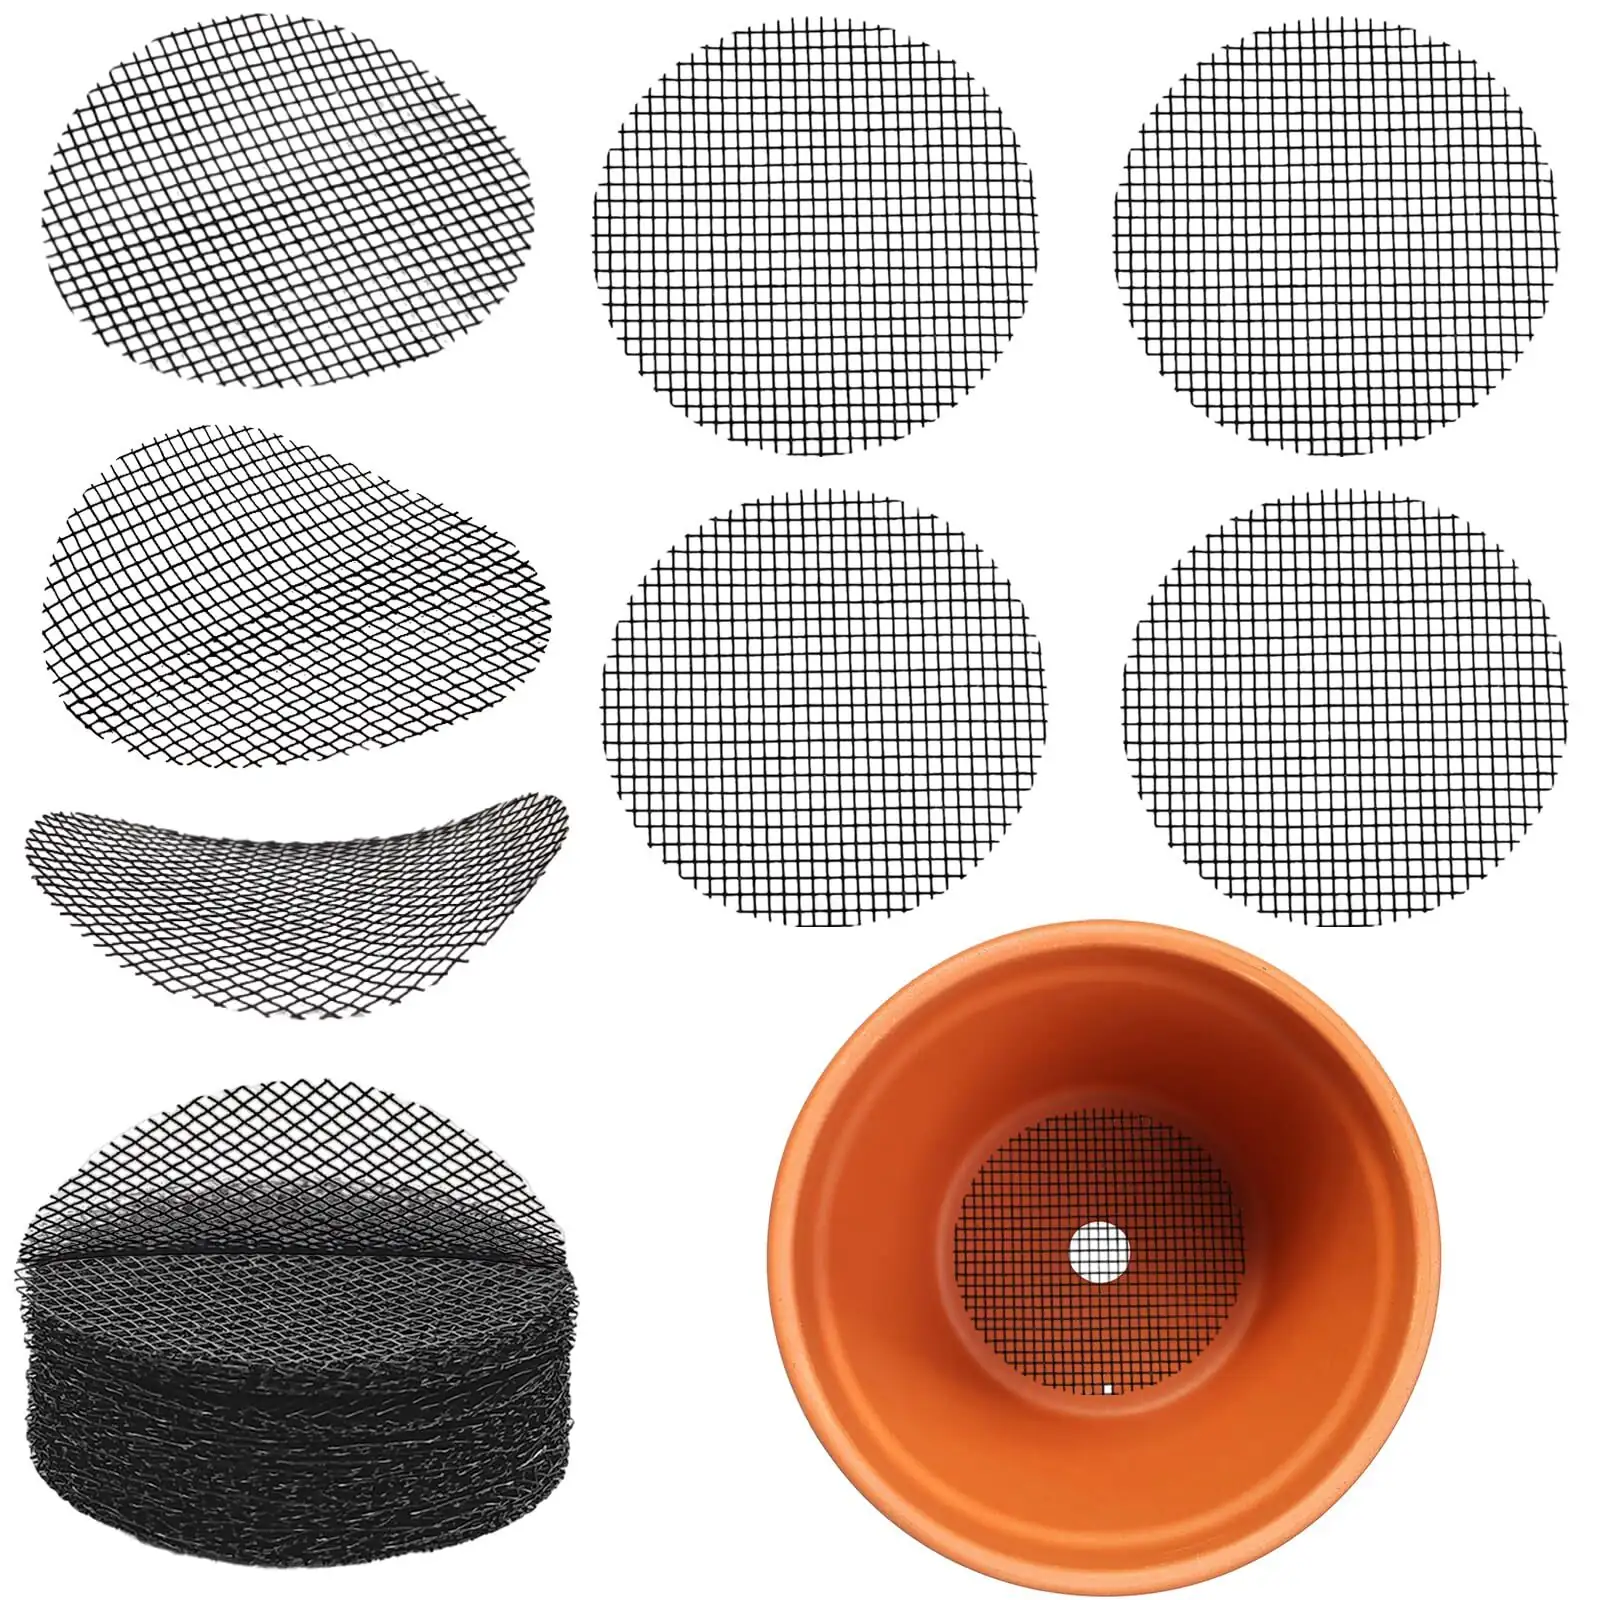
- Line drainage holes: Place a fine mesh, coffee filter, or a circle of landscape fabric over the pot’s drainage holes before filling. This allows water out but stops small bulbs from washing through.
- Add a saucer or use a cachepot: Catch any stray mix and make spills obvious.
- Choose a sensible size: A 15–20 cm (6–8 in) wide pot suits a small planting. Overpotting encourages lots of offsets.
H3: 2) Correct depth and spacing keep plants tidy (and predictable)

- Standard planting depth: 2–3 cm (0.8–1.2 in) of mix above the bulb.
- For offsets or cut bulb sections with at least one “eye”: plant a bit deeper—about 4–5 cm (1.6–2.0 in) for offsets, 2–3 cm (0.8–1.2 in) for bulb sections.
- Spacing: 1–3 bulbs per 15–20 cm pot for a full, clumping look without crowding.
- Top-dress with 1–2 cm of horticultural grit or small pebbles: This neatens the display, reduces soil splash, and discourages bulbs from shifting during watering.
H3: 3) Contained hardware and placement
- Pot-on-hardscape rule: Keep containers on patios, paved paths, or shelves—not on bare soil. It eliminates accidental bulb drop and easy spread.
- Pot-in-pot: Slip your grow pot into a solid-sided cachepot for a double barrier to soil escape.
- Outdoor staging: If you display pots outdoors, set them on a tray or mat so you can quickly spot and collect any spilled mix.
H3: 4) Careful handling (bulb hygiene)
- Quarantine new arrivals: Keep new oxalis or gifted bulbs separate for 4–6 weeks. Repot into sterile mix right away and discard original soil responsibly (see disposal below).
- Inspect bulbs: Plant only clean, firm bulbs with visible eyes. Skip any with rot or blemishes.
- Gentle grooming: Oxalis multiplies quickly from bulbs and tiny offsets. When dividing or tidying, work over a tray so any loose offsets don’t get away.
- Tool hygiene: Brush and rinse tools, gloves, and the potting bench after working with oxalis. Don’t share used mix between pots.
- Label the pot: “Oxalis—keep contained.” Future-you will thank present-you.
H3: 5) Conscientious disposal (no composting)
- Never compost bulbs, offsets, or spent potting mix at home. Many backyard piles won’t get hot enough to kill them.
- Best options:
- Bag-and-bin: Seal bulbs, offsets, and contaminated mix in a sturdy bag and place in the trash.
- Solarize small volumes: Spread suspect soil thinly on a tray, cover tightly with clear plastic, and leave in full sun for several hot weeks. Soil solarization has been effective at small scales—great for home cleanup.
- Check local green-waste rules: Some municipal programs reach high enough temperatures to neutralize bulbs; follow local guidance.
H2: Enjoying blooms without boosting spread
H3: Light, temperature, and airflow
- Light: Full sun to very bright light; tolerates partial shade but blooms best with stronger light and good ventilation.
- Temperature: Thrives around 20–28°C (68–82°F). Potted plants should be protected from hard freezes; brief dips to about -5°C (23°F) may be tolerated by established plants, but don’t risk it in containers.
H3: Watering and feeding (containment-savvy)
- Water: Keep evenly moist during active growth, never soggy. In summer dormancy, reduce to slightly moist.
- Feeding: Every 2 weeks during active growth with a balanced fertilizer (a very dilute organic feed is fine). When flower stems appear, one feed a bit higher in phosphorus and potassium can support the bloom show. Stop feeding during dormancy.
- Bloom care: Avoid spraying water directly on open flowers (it causes spotting). Good airflow promotes longer, cleaner bloom.
H3: Pruning, deadheading, and dormancy logistics
- Tidy as you go: Remove yellowing leaves and spent flowers to keep things neat and reduce mess.
- Dormancy drill (summer): Once foliage retreats, cut back watering and store the pot someplace dry and secure—on a shelf or paved surface where bulbs can’t escape. Keep the mix only slightly moist.
H2: Spill response plan (because accidents happen)
- If a pot tips or breaks:

1) Don’t hose it away—water spreads bulbs.
2) Sweep or shop-vac all mix and visible bulbs (pea- to olive-sized) into a container.
3) Hand-pick any stragglers; sift the area with gloved fingers.
4) Bag and trash the debris. If it fell onto soil, consider solarizing that patch.
- Clean shoes and tools before moving on.
H2: Thinking beyond the pot: barriers in beds (only where appropriate)
If your region allows seasonal groundcover displays and you still want to try it outdoors:
- Use lined planters or raised beds with a bottom barrier (e.g., sturdy landscape fabric plus a fine mesh layer). Seal edges well.
- Keep the display strictly seasonal, then lift and bin the mix and bulbs together—don’t spread it around.
- Many places regard this plant as invasive. When in doubt, keep it container-only.
H2: Quick seasonal calendar for contained success
- Fall–Spring: Bright light, even moisture, feed every 2 weeks; remove spent blooms and yellowing leaves.
- When buds appear: One phosphorus/potassium-leaning feed to support flowers.
- Spring cleanup: If repotting or dividing, capture every offset; refresh top-dressing.
- Summer (dormant): Minimal water, secure storage, no fertilizer.
H2: Safety notes
- Contains oxalates; mildly to moderately toxic if eaten—especially for pets like cats and dogs. Possible symptoms: drooling, vomiting, stomach upset. Keep bulbs and foliage out of reach of children and pets.
- Pests and diseases: Watch for gray mold, leaf spot, and root rot in poorly ventilated, wet conditions. In hot, dry spells, spider mites may appear—raise humidity around the plant and use insecticidal soap/horticultural oil or a suitable miticide as directed.
H2: Why all this fuss about bulbs?
- Oxalis pes-caprae is famously good at multiplying from bulbs and offsets—tiny pieces with an “eye” can sprout, often pushing new leaves in about a month.
- In many invaded regions, spread is driven primarily by these persistent bulbs. That’s why preventing soil movement and practicing good bulb hygiene beats trying to “cure” escapes later.
H2: Smart buying to start clean
- Potted plants: Choose rich green foliage with plenty of buds and ideally a couple of open flowers; avoid pest or disease signs.
- Bulbs: Look for clean, plump, firm bulbs with visible growth points and no blemishes—circumference around 3–4 cm (1.2–1.6 in) or more is a solid benchmark.
- On arrival: Repot into sterile mix; discard original soil thoughtfully.
H2: Flower language, with a pinch of reality
Cape shamrock’s shamrock-like leaves have long tied it—informally—to “good luck,” though it isn’t the true Irish shamrock. If you enjoy the symbolism, embrace it as a pot-sized charm. The deeper meaning here for modern gardeners? Good luck favors the prepared: a clean pot, careful handling, and a tidy exit strategy for every bulb.
H2: Bottom line
If you love those cheerful yellow blooms, keep them close and contained:
- Sterile, free-draining mix
- Shallow but correct planting depth
- Mesh-lined pots on hardscape
- Meticulous bulb hygiene
- No-compost, bagged disposal or solarization
Do that, and you’ll have months of sunshine-bright flowers—without sending a single stowaway bulb beyond the rim of your pot.