


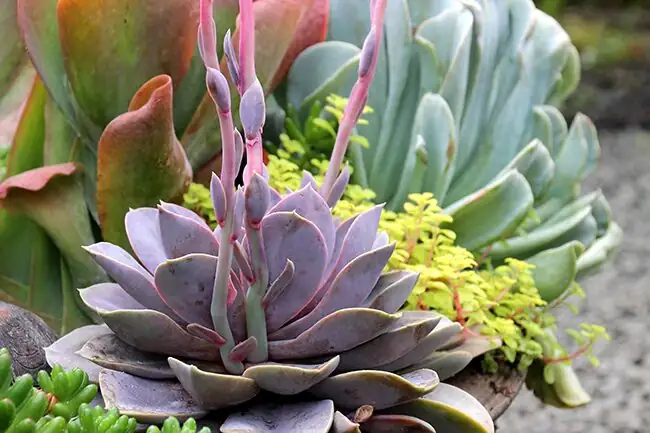
Meet “Meililian” (Echeveria): a compact rosette in gray-to-deep-gray suede that suddenly throws a confetti of pink-to-red, star-shaped flowers on tall, branched stalks. It’s tidy, sculptural, and downright photogenic. Below, you’ll find a complete, shoot-ready guide to make your images look polished, dimensional, and social-worthy—without ever sabotaging those perfect leaves.
Know Your Model: What Makes “Meililian” Pop on Camera
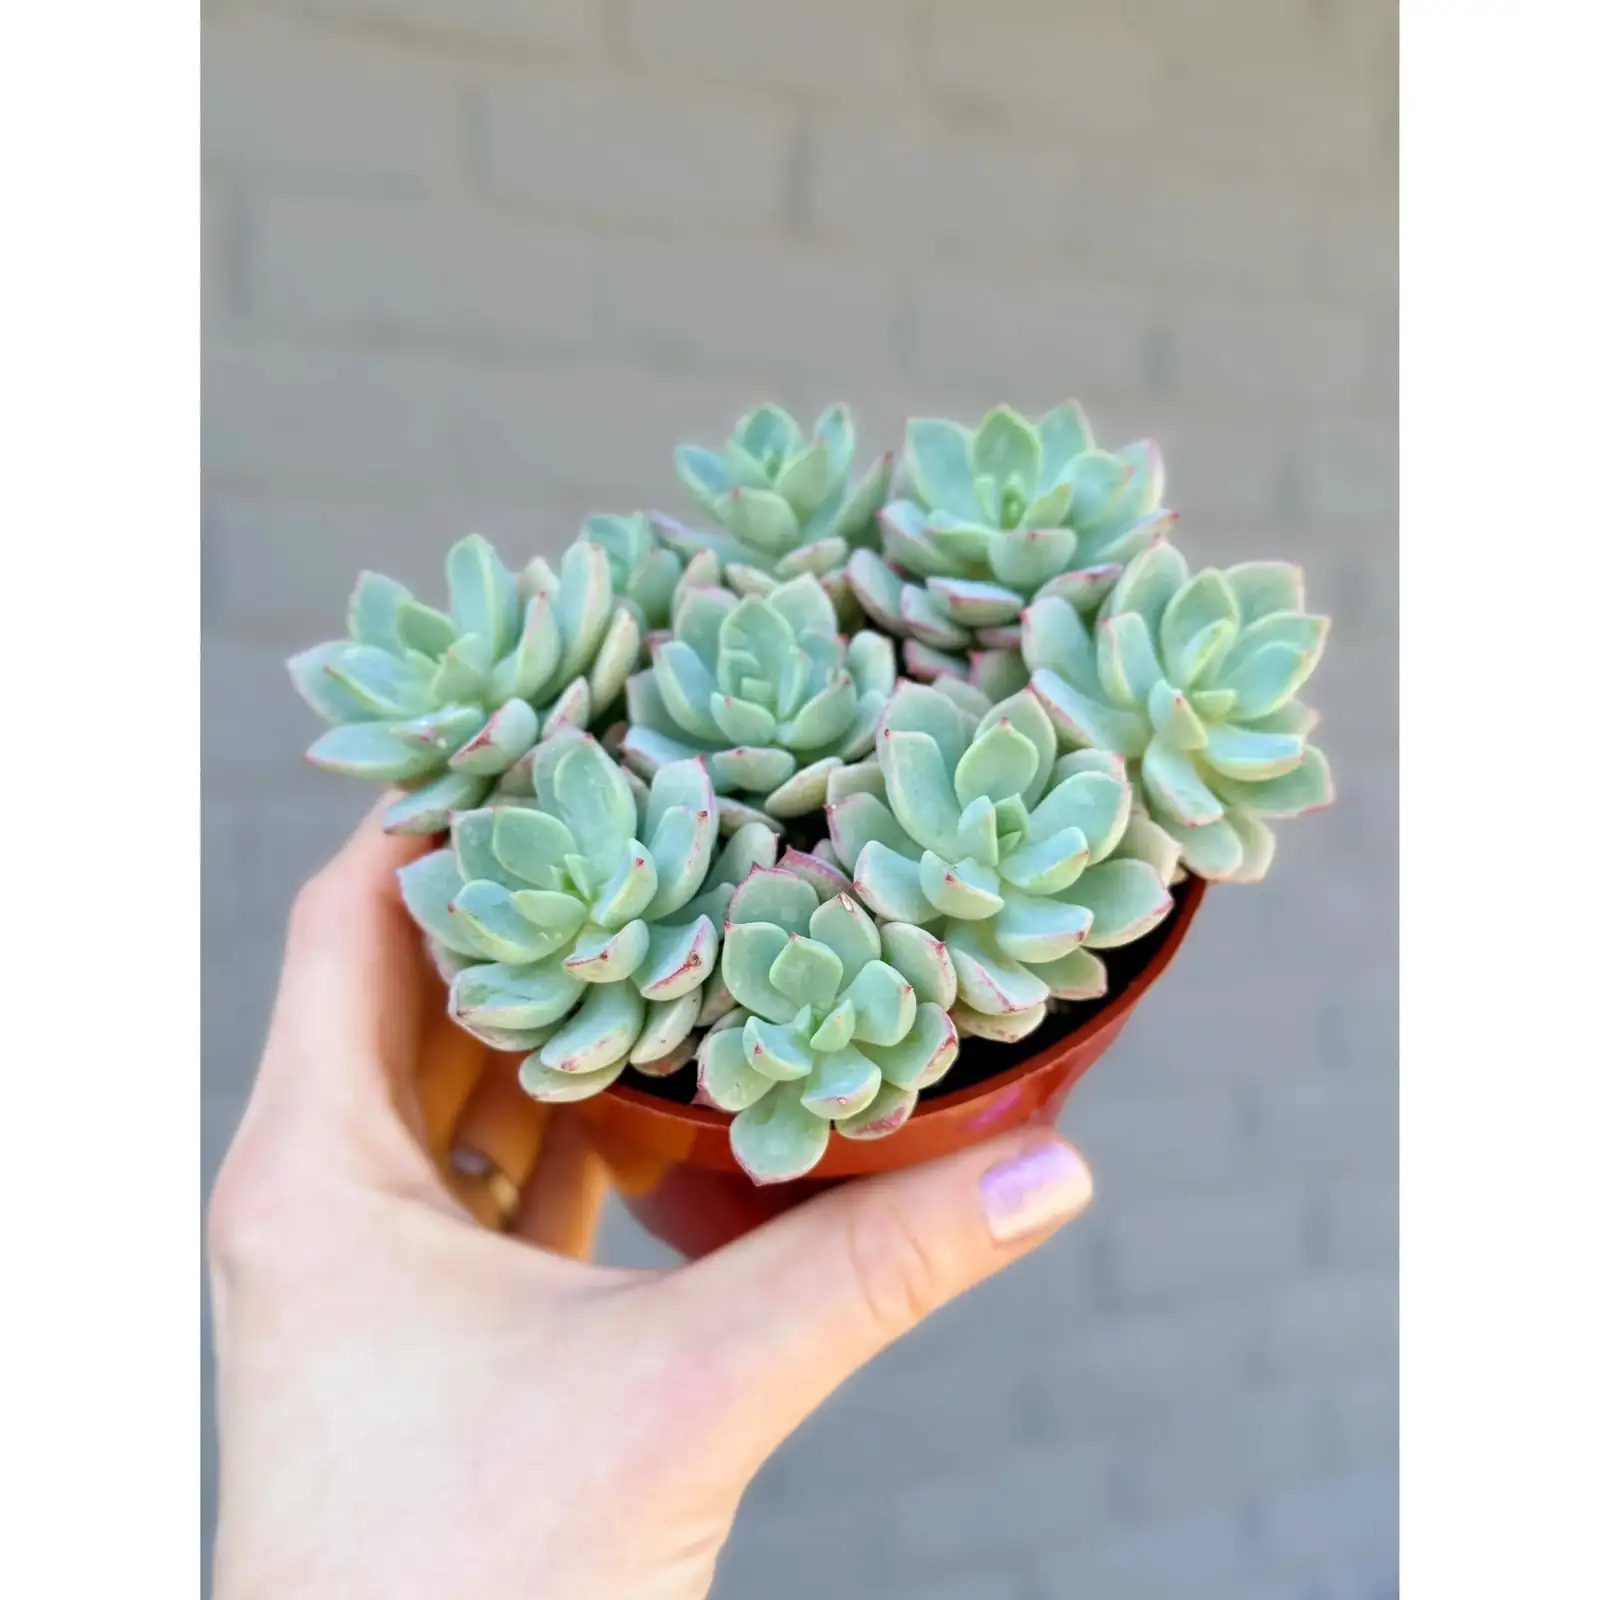
- Form: A neat, symmetrical rosette (about 6 × 4 in) with thick, gray to dark gray leaves, often edged in paler tones for natural contrast.
- Color behavior: Leaf color deepens in stronger light—perfect for dramatic, moody images.
- Flowers: Spring to early summer, long branched stalks with vivid pink-to-red, star-shaped blooms—like fireworks suspended above the rosette.
- Habit: Slow-growing, drought-tolerant, and compact; thrives in full sun to bright partial sun (acclimate to avoid scorch).
Tip: If you’re planning a bloom-focused shoot, track the stalks as they rise; the “floating bouquet” phase is pure magic.
Light Like a Sculptor: Side Lighting for Dimensional Leaves
The fastest way to turn a flat snapshot into art is to give your Echeveria a little theater lighting.
Indoors: Window Sidelight That Chisels
- Place the plant near a bright south- or west-facing window.
- Turn the rosette so light rakes across at roughly 30–60 degrees. This side lighting carves gentle shadows into each leaf, revealing structure and symmetry.
- Use a white card or foam board opposite the window to softly bounce light back and lift detail in the shadows.
- For extra definition, add “negative fill”: hold a black card on the shadow side to deepen edges—especially powerful on pale margins.
Outdoors: Golden Hour Glow
- Early morning or late afternoon adds a warm rim to gray leaves and avoids midday glare.
- Diffuse if needed: a handheld translucent diffuser softens hotspots while keeping that sculpting side light intact.
Backlight for the Blooms
- Let the sun (or window) sit behind the flower stalks. Pink-to-red petals become luminous, and the clustered stars read airy and “firework-like.”
- Add a small reflector in front to keep the rosette from going too dark.
Backgrounds That Flatter Gray Tones
Gray foliage begs for subtle, textural backdrops that whisper instead of shout.
- Charcoal or slate: Deepens contrast and makes pale leaf edges glow.
- Soft beige or linen: Warms the gray and feels organic and clean.
- Weathered wood or concrete: Natural texture adds context without stealing the show.
- Muted blush or dusty rose: Echoes the future bloom color for a cohesive palette.
- Stone or ceramic tabletops: Matte surfaces help avoid specular glare.
Styling details
- Keep distance between subject and backdrop to blur texture (shallow depth of field).
- Match the pot to the mood: matte ceramics, cement, or unglazed clay look refined with gray tones.
- Top-dress with grit, pumice, or fine gravel to continue the neutral palette and keep attention on the rosette.
Macro Angles for Starry Blooms
Those pink-to-red stars deserve close-ups that sparkle without clutter.
- Angle ideas:
- Shoot along the stalk at a slight upward angle to stack stars into soft layers.
- From slightly below, use sky or a bright wall as a high-key backdrop.
- From the side, isolate a single floret with others melting into bokeh “confetti.”
- Lenses and settings:
- Macro lens around 90–105mm (or a smartphone macro attachment).
- Aperture f/4–f/8 for a balance of sharpness on one bloom and soft falloff behind it.
- Use a small reflector to lift shadowed petals; a diffuser helps tame hotspots.
- Composition:
- Rule of odds: 1, 3, or 5 visible florets feel harmonious.
- Diagonals add energy—let the stalk tilt gracefully across the frame.
- Leave breathing room: the open space sells that “floating bouquet” look.
Keep Foliage Flawless: No Dust, No Water Spots
Gray leaves often show everything—dust, fingerprints, and rings from stray droplets—so a little prep goes far.
- Pre-shoot grooming:
- Use a soft makeup brush or a blower bulb to remove dust. Avoid rubbing; many gray Echeverias carry a delicate, powdery surface that marks easily.
- Prune only what’s necessary: remove spent blooms or crispy lower leaves at the base to clean the silhouette.
- Water wisely for photo day:
- Water a couple of days before the shoot, then let the mix dry fully. This keeps leaves plump but the rosette dry.
- Never leave water sitting in the rosette and avoid misting; droplets can spot and, worse, encourage rot.
- If you must water near shoot time, use distilled water and tilt the plant so excess runs off the leaves.
- If a spot happens:
- Don’t rub. Let it evaporate; rotate the plant to hide it or plan to retouch gently in post.
- Quick pest check:
- Mealybugs and scale show up fast in macro. Dab offenders with a cotton swab dipped in alcohol, then let the plant dry thoroughly before shooting.
Compositions That Always Work
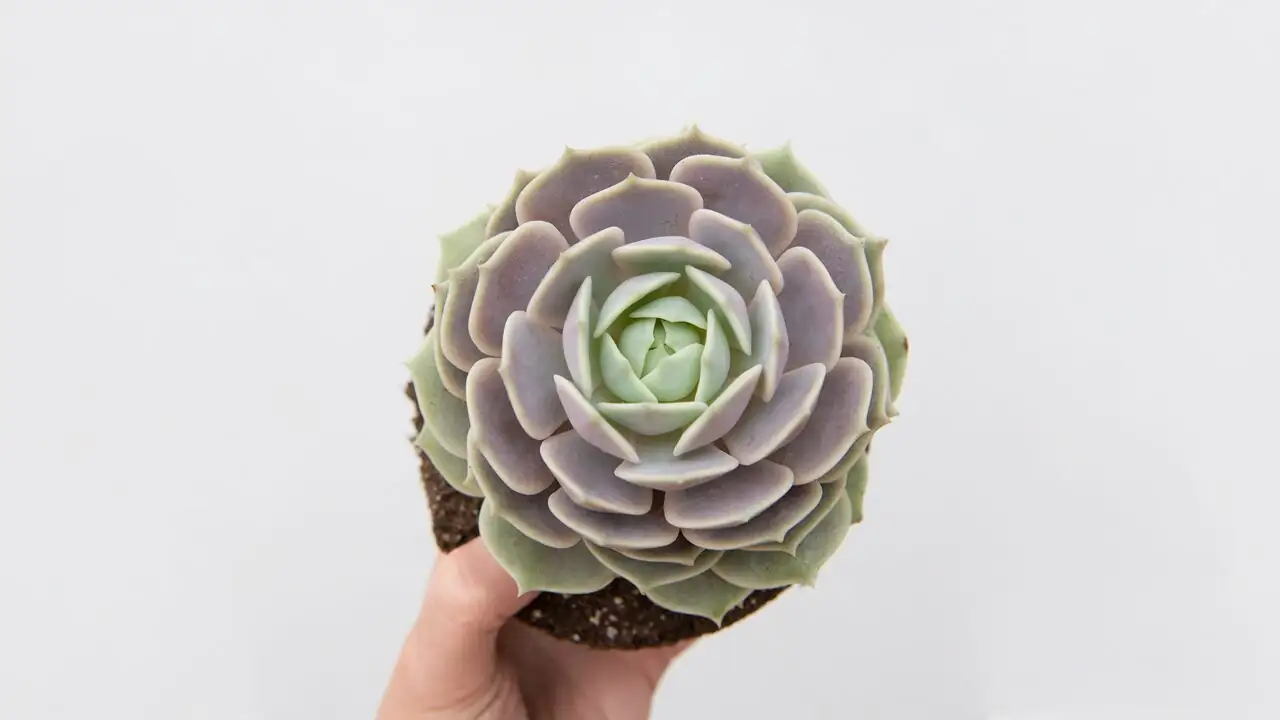
- The mandala: A top-down shot centered on the rosette captures perfect symmetry—great for square or circular crops.
- The 45-degree hero: Shoot from 30–45 degrees with side light to reveal both profile and spiral; place the rosette off-center on the rule of thirds.
- Lead with the line: Use the flower stalk as a leading line into the frame, with the rosette anchoring the opposite corner.
- Pairings and scale: Group two or three rosettes of varying sizes; keep pots coordinated and backgrounds simple for a refined tableau.
Phone or Camera: Quick, Practical Settings
- Smartphones:
- Use AE/AF lock on the rosette center or a chosen bloom; slide exposure down slightly (–0.3 to –1 EV) to protect highlight detail on gray leaves.
- Portrait mode can mimic shallow depth—ensure edges remain crisp.
- Stabilize with a mini tripod and use a 2–3 s timer.
- Add a clip-on macro lens for bloom close-ups; keep the phone parallel for tack-sharp centers.
- Dedicated cameras:
- Macro lens (90–105mm) for blooms; a short telephoto or 50–85mm for rosettes and scenes.
- Aperture guide: f/2.8–f/4 for creamy backgrounds; f/5.6–f/8 for rosette structure; focus-stack if you want front-to-back leaf detail.
- A diffuser and small reflector are more useful than flash; test a polarizer sparingly (gray leaves often look best with gentle, diffused light rather than heavy glare reduction).
Time Your Shoot for Peak Color and Flowers
- Light affects color: Stronger light deepens leaf tone and improves flowering. Acclimate gradually to bright sun to prevent scorch.
- Bloom window: Spring to early summer is the sweet spot for those pink-to-red stars on tall, branched stalks.
- Winter look: Cooler, brighter, and much drier care keeps the rosette compact—great for minimalist, sculptural shots.
Mood and Meaning
Echeveria “Meililian” carries a quiet symbolism of resilience and calm balance—the rosette is serene, the bloom display unexpectedly dramatic. If you lean into that contrast, your images feel both meditative and celebratory: soft gray geometry below, starry fireworks above.
A Fast Pre-Shoot Checklist
- Place: Bright window or golden-hour shade with side light; add reflector/negative fill.
- Prep: Dust gently; ensure rosette is dry and clean; check for pests.
- Style: Matte pot, neutral backdrop, subtle top-dressing.
- Compose: Top-down mandala, 45-degree hero, or diagonal bloom line.
- Shoot: Slight underexposure, steady support, shallow depth for drama, mid apertures for structure.
- Bloom: Backlight the stars; isolate one floret with creamy bokeh.
- Post: Light touch—true-to-life grays, clean whites, minimal saturation; remove tiny specks, not character.
Treat “Meililian” like a small architectural model under beautiful light. Chisel the leaves with sidelight, set the gray tones against a flattering backdrop, celebrate the starry blooms up close, and keep every leaf pristine—your feed will thank you.