

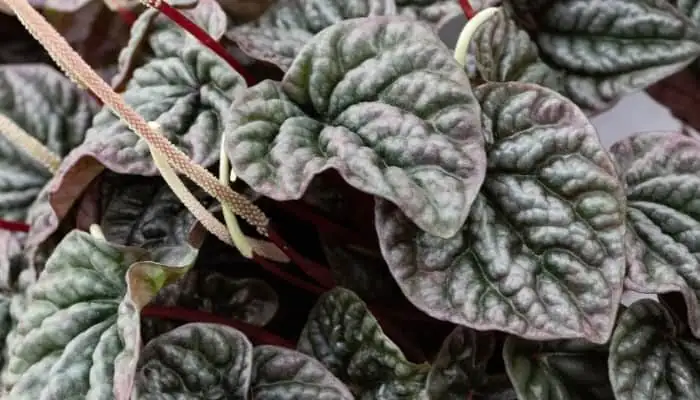
Ripple peperomia (Peperomia caperata) looks tough—those heart-shaped, deeply puckered leaves feel like little shields—but its corrugated charm can hide pests in plain sight and mask the first whispers of rot. Here’s a fast, pet‑friendly rescue-and-prevent guide you can use the moment something looks “off.”
Meet your patient: quick profile
- Light: Partial shade to bright, indirect light; keep harsh midday sun off those leaves.
- Water: Spring–autumn, water when the surface dries; winter, keep almost dry. Overwatering is the main risk.
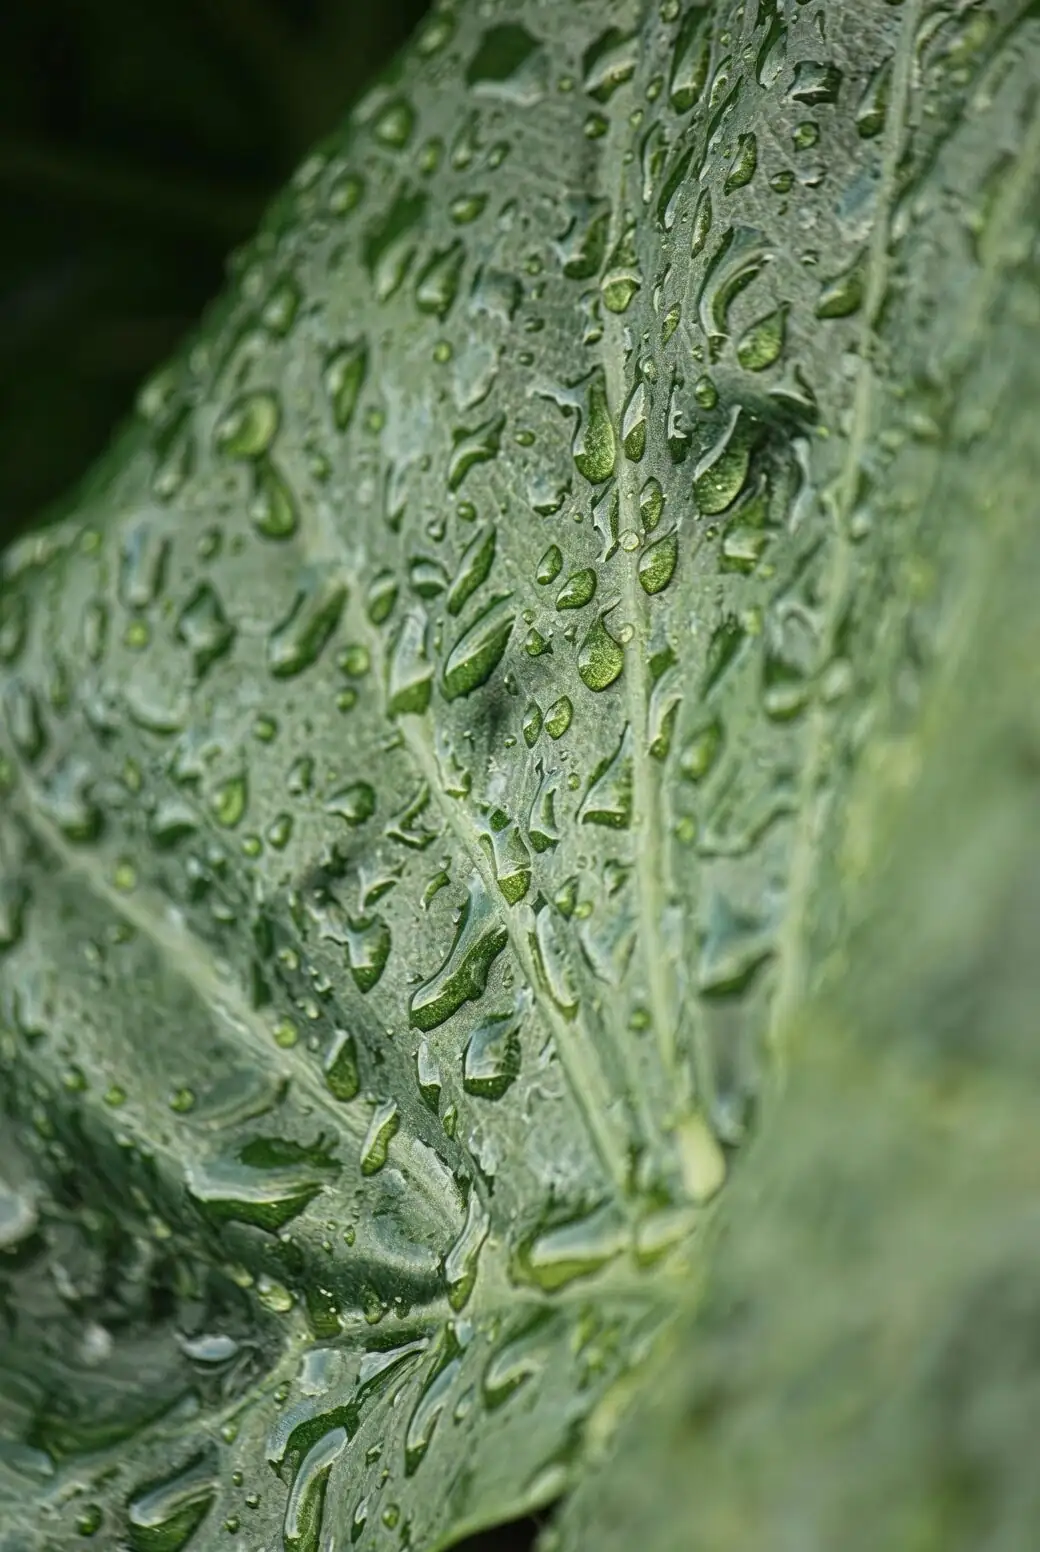
- Humidity: Moderate to high (around 50%+). Use a pebble tray rather than misting—water can sit in the ripples and spot the foliage.
- Temperature: 15–24°C (59–75°F); protect from chills and drafts.
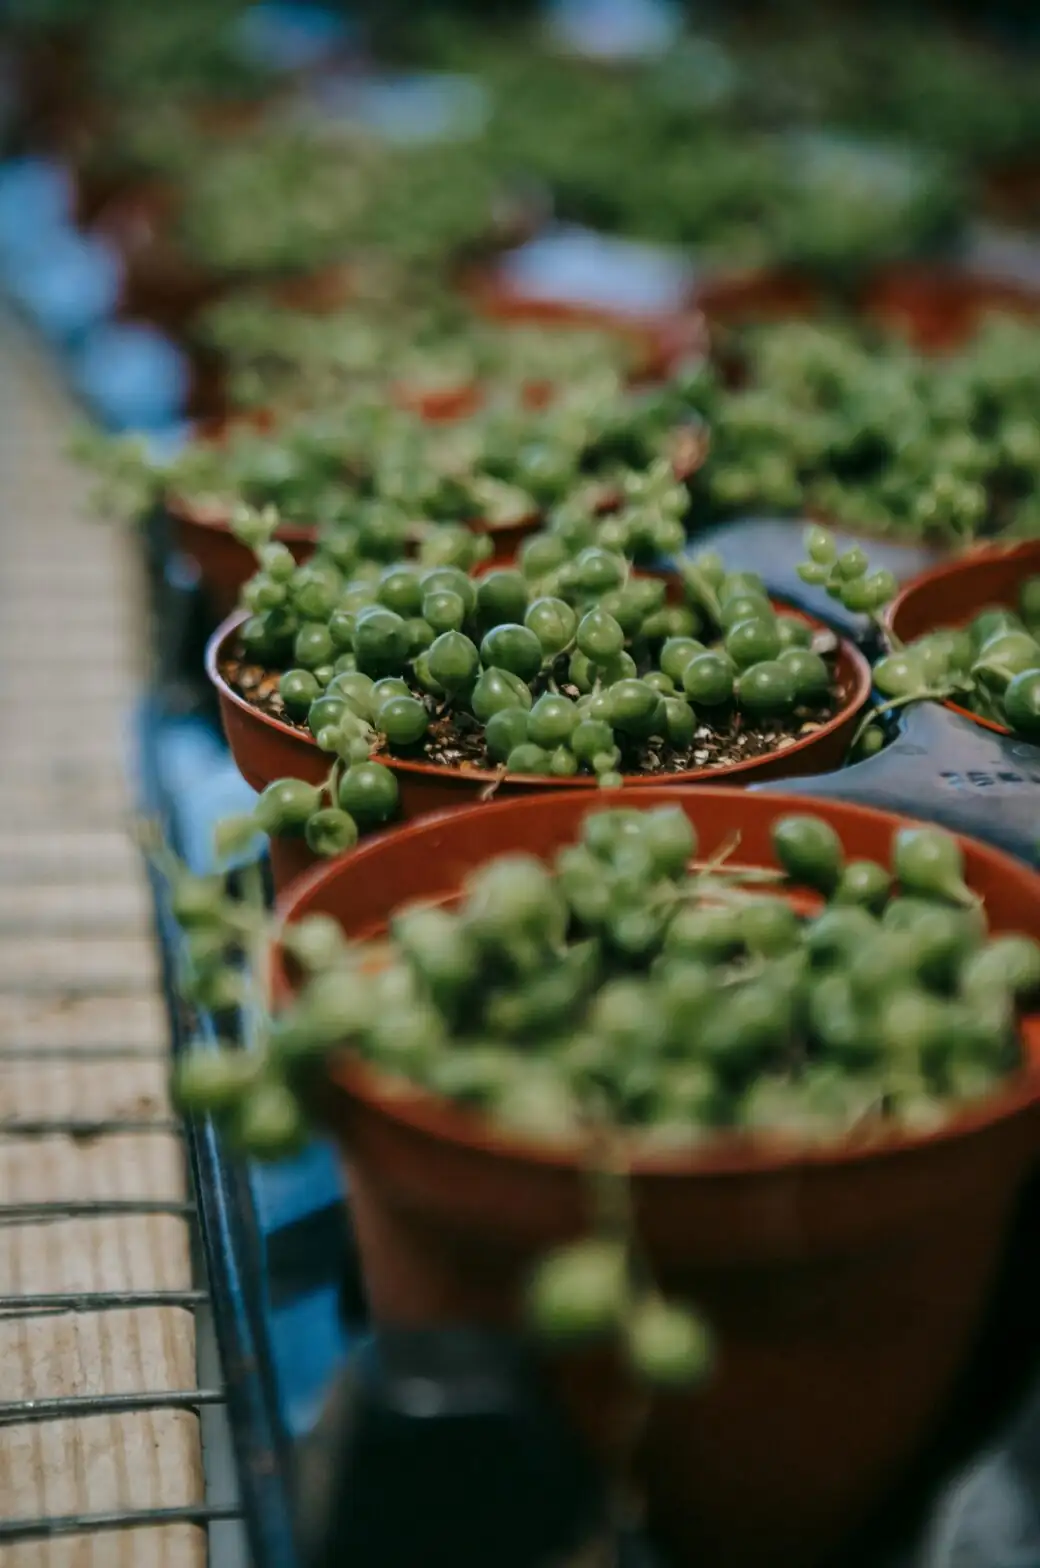
- Growth style: Compact, clump‑forming, about 25 × 25 cm (10 × 10 in). Summer may bring slender, cream-green flower spikes.
The 60‑second early-warning check (weekly)
Sweep your eyes and fingertips leaf-by-leaf:
- Mealybugs: Cottony white tufts in the ripples, at leaf bases, or on flower spikes; sticky honeydew.
- Spider mites: Dusty, pin‑prick speckling and faint webbing tucked into grooves; leaves look dulled or bronzed.
- Scale: Hard, tan/brown “limpet” bumps on stems or undersides; sticky leaves.
- Root/stem rot: Soil stays wet and smells sour; leaves wilt while soil is moist; dark, mushy stems at the soil line.
If you see any of the above, jump to the matching section below.
Mealybugs: the “cotton fluff” culprits
Early signs
- Tiny white cotton spots in leaf corrugations, along petioles, and on new growth
- Honeydew making leaves tacky; may invite sooty mold
10‑minute rescue plan
- Isolate the plant.
- Dry removal: Use a soft artist’s brush or cotton swab to whisk off visible clusters.
- Spot‑dab: Touch remaining bugs with 70% isopropyl alcohol on a cotton swab. The alcohol desiccates them quickly.
- Leaf‑by‑leaf clean: Wipe with a barely soapy, lukewarm water cloth (see “Leaf‑by‑leaf tactics” below). Don’t mist; instead, apply solution to the cloth and blot dry to keep water out of the ripples.
Pet‑friendly treatments (repeat weekly 2–3 times)
- Insecticidal soap (potassium salts of fatty acids) at label rate, applied with a cloth or low‑pressure spray, then gently blot dry from the grooves.
- Horticultural oil (neem‑based or mineral/paraffinic) at label rate to smother stragglers; avoid heavy drips, and keep the plant out of direct sun until dry.
Pro tips
- Test any product on one leaf; wait 24 hours to check for spotting.
- Keep pets away from treated plants until foliage is dry.
Spider mites: the “sandpaper” specklers
Early signs
- Fine stippling that makes leaves look dusty or faded; faint webbing in the corrugations
- Thrives in warm, dry air and low airflow
10‑minute rescue plan
- Isolate the plant.
- Rinse and blot: Give a gentle, lukewarm shower to the leaf undersides and grooves to dislodge mites—then immediately blot water from the ripples and leaf bases so moisture doesn’t sit.
- Follow with a thorough leaf‑by‑leaf wipe using soapy water.
Pet‑friendly treatments (every 4–7 days for 3 cycles)
- Insecticidal soap, carefully worked into the grooves with a soft brush, then blot dry.
- Horticultural oil applied in cool conditions (never in direct sun or heat).
Prevention reset
- Raise humidity to ~50% using a pebble tray (not misting).
- Improve gentle airflow and avoid hot, sun‑baked spots.
Scale: the hard‑shelled hitchhikers
Early signs
- Hard, domed brown/tan bumps on stems and undersides that don’t wipe off easily
- Sticky honeydew and yellowing patches nearby
10‑minute rescue plan
- Isolate.
- Manual removal: Lift off adults with a fingernail, a toothpick, or a cotton swab dipped in alcohol.
- Prune heavily infested flower spikes or small stems.
Pet‑friendly treatments (7–10 day intervals, 2–3 rounds)
- Horticultural oil to smother crawlers and any missed nymphs, with careful coverage of stems and underside grooves.
- Insecticidal soap on new hatchlings; blot after treatment to avoid residue pooling in leaf corrugations.
Root and stem rot: the silent saboteur
Overwatering is the main risk for Ripple peperomia.
Early signs
- Soil stays wet long after watering; sour or swampy smell
- Lower stems darken at the soil line; petioles feel mushy
- Leaves droop despite moist soil
Fast triage
- Unpot gently and inspect roots.
- Healthy: firm, tan/white.
- Rotted: black/brown, soft, smelly.
- Trim away all mushy roots and any blackened stem portions with sterile scissors.
- Repot into a small pot (around 10 cm/4 in) with a loose, airy, fast‑draining mix—quality houseplant soil lightened with a generous handful of perlite.
- Water lightly once to settle the mix, then let the surface dry before watering again. Keep warm (20–24°C / 68–75°F) in bright, indirect light.
- Hold fertilizer until you see perky new growth.
Prevention
- Water when the surface of the mix dries (almost dry in winter).
- Avoid oversized pots and always ensure drainage.
- Improve airflow; never let water sit in the leaf ripples.
Leaf‑by‑leaf cleaning tactics for rippled foliage
Tools
- Microfiber cloth, soft artist’s brush, and cotton swabs
- Bowl of lukewarm water with a drop of mild liquid soap
- 70% isopropyl alcohol for spot‑dabbing pests
- Absorbent towel to catch drips
Method (top and underside)
- Support each leaf from below.
- Use the soft brush to sweep along the grooves, lifting dust and dislodging pests from the corrugations.
- Wipe with the soapy cloth, working from midrib outward; don’t let solution pool in the ripples.
- Use swabs to reach tight creases at the petiole and in the crown.
- Immediately blot dry. Aim a gentle fan nearby for 20–30 minutes to finish drying.
Frequency
- Quick wipe weekly. Deep clean at the first sign of pests, and repeat treatments as scheduled.
A safe, pet‑friendly treatment kit
- Insecticidal soap and horticultural oil: Effective and generally safe for cats and dogs when used as directed. Keep pets away until leaves are dry.
- 70% isopropyl alcohol: For precise spot‑dabbing mealybugs and scale.
- What to avoid indoors: Systemic insecticides and strong essential‑oil DIY mixes. Skip vinegar/baking soda on foliage—both can burn leaves.
Remember: Peperomia caperata is generally non‑toxic to cats and dogs, but any nibbling may still cause mild stomach upset. Keep all plant care products out of paws’ reach.
Environment tune‑up that keeps trouble away
- Light: Bright, indirect light; no harsh midday sun.
- Watering rhythm: Spring–autumn, water when the surface dries; winter, keep almost dry.
- Humidity: Aim ~50%+ with a pebble tray; avoid misting this puckered foliage.
- Airflow: Gentle, steady air reduces pests and rot risk.
- Feeding: Monthly, half‑strength balanced liquid fertilizer spring–autumn; reduce/stop in winter.
- Potting: Keep it snug; repot every 2–3 years into a fast‑draining mix (with perlite).
- Quarantine: Isolate new plants for 2 weeks and inspect with a flashlight.
- Temperature: 15–24°C (59–75°F); keep above ~12°C (54°F) and away from cold drafts.
Quick reference: what you see, what you do
- White cottony bits, sticky leaves → Mealybugs → Dab alcohol, wipe, then soap/oil weekly × 2–3.
- Fine webbing, dusty specks → Spider mites → Rinse + blot dry, wipe, then soap/oil every 4–7 days × 3.
- Hard brown bumps + honeydew → Scale → Scrape/dab alcohol, prune worst bits, then oil 2–3 times.
- Wilting in wet soil, sour smell, dark stem base → Root/stem rot → Unpot, trim, repot into airy mix, water sparingly, warmth and bright indirect light.
Ripple peperomia is wonderfully forgiving if you err on the dry side and keep those sculptural leaves clean. Build the quick weekly check into your routine, and pests and rot won’t stand a chance of turning your living artwork into a headache.