Think of Guzmania insignis as a relay runner. The mother rosette dazzles with bold red bracts, then gracefully hands the baton to her pups. Your mission? Catch that handoff at just the right moment and guide those offsets into strong, stand-alone plants—without a stumble. Here’s a hands-on, confidence-boosting guide to separating Guzmania pups at 10–12 cm, rooting them fast at 20–25°C, and dialing in humidity and mixes that speed establishment.
Meet Guzmania insignis (in a minute)
- Origin: Andes region of South America; family Bromeliaceae; genus Guzmania (aka “Scarlet Star Bromeliad”)
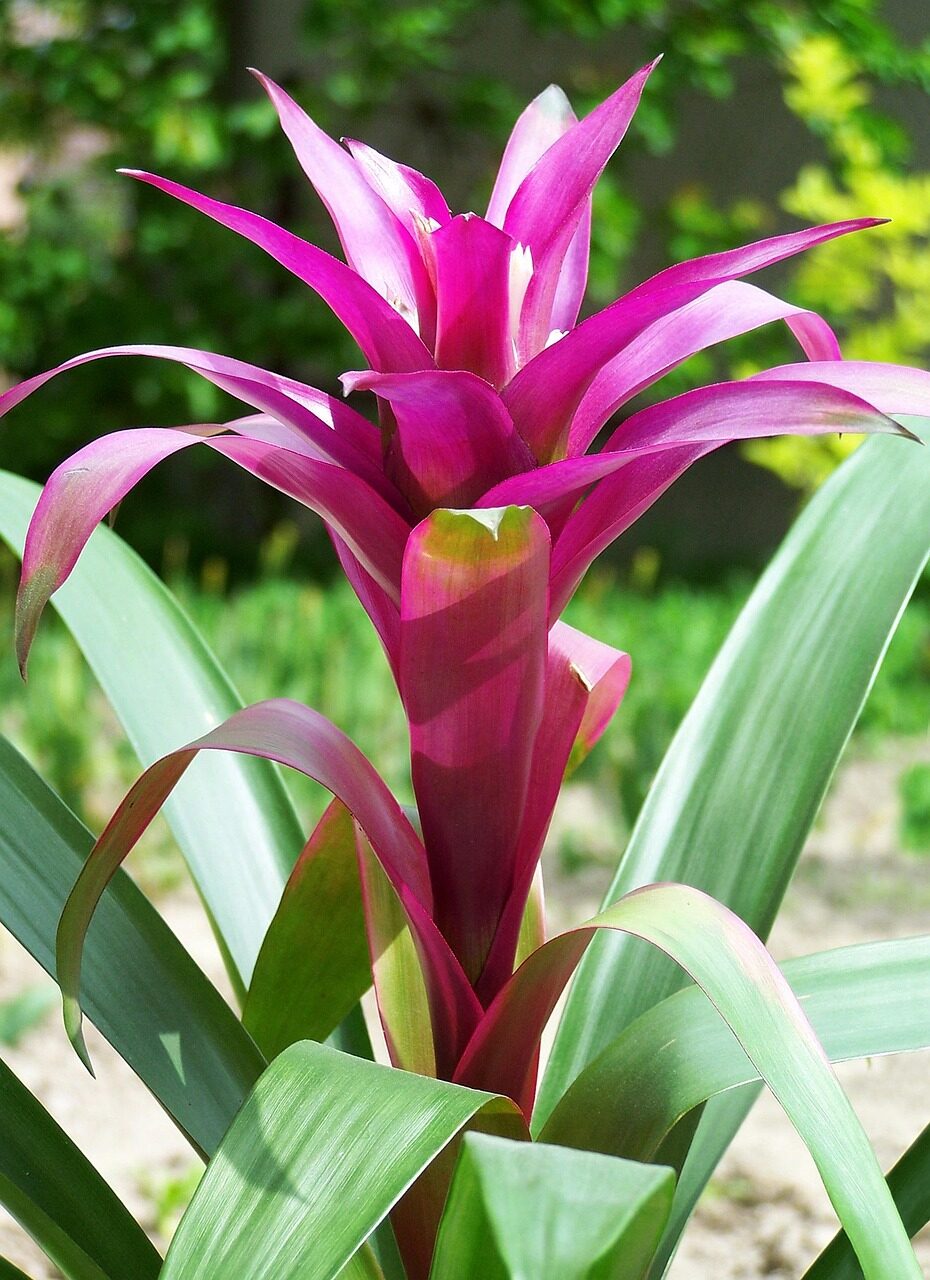
- Look: Glossy green rosette with a central “tank” cup; vivid, long-lasting red bracts
- Light: Bright, filtered/indirect light; keep out of harsh summer sun
- Temperature: Loves warmth—16–28°C (61–82°F); keep above 10°C (50°F) in winter
- Humidity: Moderate to high; good airflow beats a wet, stagnant environment
- Watering quirk: The central cup can hold water—keep it fresh, never stagnant
The right moment: when pups are truly ready
Aim to separate pups in spring when they’re:
- 10–12 cm (3.9–4.7 in) tall
- Beginning to form their own tidy mini-rosette (not just tight tubes of leaves)
- Ideally showing tiny root nubs at the base (nice-to-have, not mandatory)

Why this window? At 10–12 cm, pups are mature enough to strike roots quickly but not yet competing for space and resources with the mother rosette.
Tools and prep
- A sharp, sterilized blade or pruning knife (wipe with alcohol)
- Small pots (5–7 cm / 2–2.75 in) with drain holes
- Stage-1 rooting medium (gritty and airy) and a Stage-2 bromeliad mix (details below)
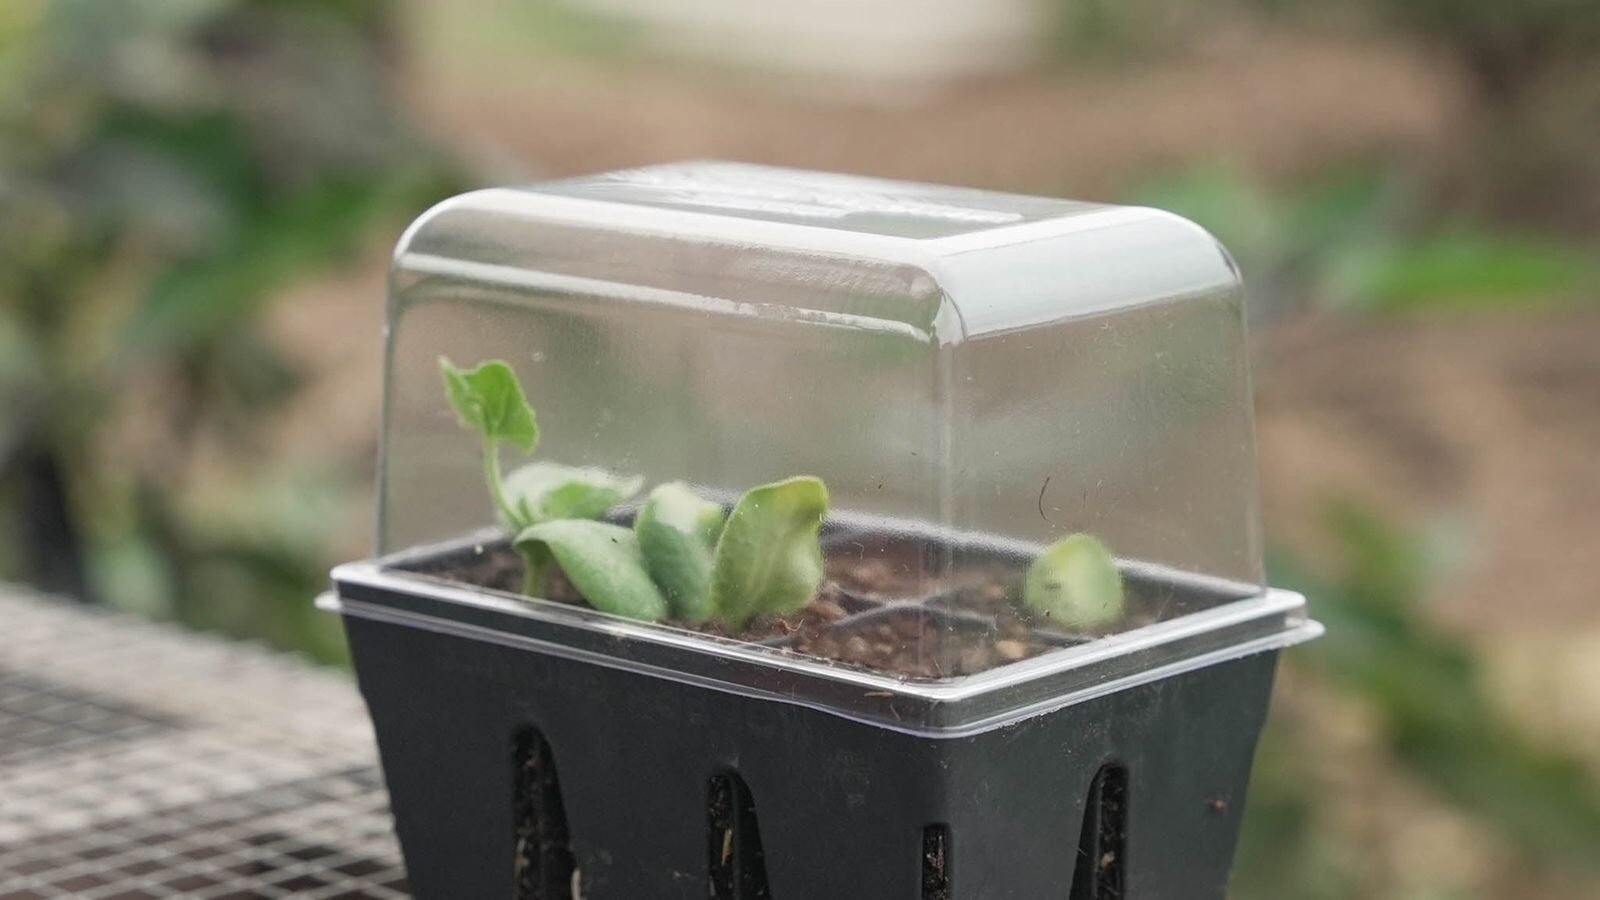
- Clear cover for humidity (prop dome, vented cloche, or a loose plastic bag with holes)
- Labels, gloves, and rain/filtered water
- A warm, draft-free spot: 20–25°C (68–77°F) for rooting
- Bright, filtered light (no midday scorch)
Step-by-step: clean separation without setbacks
- Hydrate and stage: Water the mother plant lightly the day before. This softens tissues and reduces stress.
- Unpot and expose: Gently ease the root ball out. Brush away mix from the crown to clearly see where each pup meets the mother.
- The safe cut: Slide your sterilized blade between mother and pup and cut as close to the mother as possible so the pup carries a small sliver (“heel”) of basal tissue. Work slowly—clean cut, no tearing.
- Tidy up: Trim off any mushy or torn bits. Keep the pup’s rosette intact.
- Brief callus: Let both cut surfaces air-dry 30–60 minutes in bright shade to reduce rot risk.
- Stage-1 potting (rooting): Set the pup in a small pot of gritty, fast-draining medium (see Mix 1 below). Position the base just on or slightly in the mix—never bury the crown. Firm gently.
- First sips: Lightly moisten the medium; don’t drench. For unrooted pups, avoid filling the central cup—mist the leaves instead to hydrate without inviting rot.
- Humidity, not soggy: Cover loosely with a vented dome/bag to keep humidity high, but open daily for airflow. Aim for 60–80% RH.
- Light and warmth: Bright, filtered light and 20–25°C are your rooting accelerators.
- Patience check: Rooting commonly initiates in about 4 weeks. Perform a gentle tug test—resistance means roots. Once established, you can transition to your long-term bromeliad mix (Stage 2).
Tip: If the mother rosette is declining post-bloom (normal), leave it in place after you’ve taken the pups. It may support any remaining offsets until they’re ready.
Humidity hacks that actually work
- Vented dome discipline: Use a clear cover with a few holes or crack it open. High humidity + airflow beats a sealed sauna.
- Pebble tray booster: Set the pots on a tray of wet pebbles (pots above the water line). Gentle evaporation, zero soggy roots.
- Bag tent on sticks: Skewers or chopsticks create space so a loose plastic bag doesn’t touch the foliage; poke a few holes.
- Morning mist only: Light mist in the morning if air is dry; avoid wet leaves at night.
- Weekly reset: If you keep water in a rooted plant’s cup later, refresh it regularly to prevent stagnation.
Potting mixes that turbocharge establishment
Aim for loose, airy, and fast-draining. Think “orchid-style,” not heavy houseplant soil.
- Mix 1 (Stage-1 rooting, extra gritty)
- 40% medium orchid bark
- 30% coarse sand or pumice
- 20% perlite
- 10% sphagnum or coco fiber (lightly teased in)
Why: Max airflow around the base; moisture without clinging wetness.
- Mix 2 (All-purpose bromeliad)
- 40% fine bark
- 30% peat or coco coir
- 20% perlite
- 10% horticultural charcoal or coarse sand
Why: Stable yet airy; drains fast and resists souring.
- Mix 3 (Leaf-mold style)
- 50% peat/leaf-mold base
- 25% coarse sand
- 25% perlite/pumice
Why: Classic bromeliad balance—light, breathable, quick-draining.
Pro tip: Particle diversity (3–12 mm) prevents compaction and keeps oxygen at the root zone, which speeds establishment.
Aftercare timeline (Weeks 0–8)
- Week 0–1
- Environment: 20–25°C, bright filtered light, 60–80% RH
- Water: Keep the mix just barely moist; no standing water in the cup yet
- Weeks 2–3
- Signs: Pup stays perky; new leaf nub appears
- Feeding: Optional—very dilute fertilizer (1/10–1/8 strength) once
- Weeks 3–4
- Tug test: Mild resistance = roots forming
- If you used a gritty Stage-1 medium, you can pot up now to your long-term bromeliad mix
- Weeks 5–8
- Humidity: Gradually step down to typical indoor levels
- Watering: Continue light moisture in the mix; now you can add a small amount of clean water to the central cup—refresh regularly
- Light feeding: Very dilute every 2 weeks during active growth
Light, temperature, and placement refresher
- Light: Bright, indirect is the sweet spot; avoid harsh midday/afternoon sun in summer (roughly 50% shade outdoors with airflow)
- Temperature: 16–28°C ideal; for rooting, stay near 20–25°C; never below 10°C in winter
- Air: Good airflow helps prevent leaf spot and rot, especially under higher humidity
Troubleshooting (fast fixes)
- Pup flops or base browns
- Likely causes: Overwatering, cold, stagnant air
- Fix: Warm to 20–25°C, improve ventilation, let the top of the mix dry slightly between light waterings
- No roots after ~4–5 weeks
- Causes: Too cool, mix too wet or too dense, low light
- Fix: Add gentle bottom warmth, repot into a grittier mix, increase bright filtered light
- Pale or yellowing leaves
- Causes: Strong sun scorch, cup allowed to dry out too long (after rooting), or natural aging as the mother declines
- Fix: Filter the light; refresh cup water regularly once pups are rooted
- Spots on leaves
- Improve airflow, keep foliage dry late in the day; remove affected tissue. If needed, use an appropriate ornamental fungicide (many growers use copper-based products) following label directions.
Quick FAQs
- When exactly do I separate pups? Spring, at 10–12 cm tall, once they’ve formed a mini-rosette.
- Ideal rooting temperature? 20–25°C (68–77°F).
- How long until they root? Often around a month under warm, humid, bright-filtered conditions.
- What size pot? Start small (5–7 cm). Guzmania roots are modest—don’t oversize.
- How do I water? Keep the medium lightly moist; avoid soggy conditions. Once pups are rooted, you can keep a small amount of clean water in the central cup and refresh it regularly.
- Will the mother bloom again? No—after flowering she gradually declines while her pups become the next generation.
A note on meaning—and why it’s a giftable star
In Chinese, Guzmania is affectionately called “鸿运当头,” loosely “good fortune right on top,” a nod to its upright, auspicious red bracts. As a gift plant, it symbolizes prosperity and thriving business—no wonder those scarlet bracts light up offices and festive tables. Beyond the symbolism, the real magic is the handoff: each bloom cycle closes with a clutch of pups ready to carry the torch.
Set the stage with warmth, filtered light, airy mixes, and smart humidity—and your Guzmania insignis pups will sprint through establishment and into their own spectacular show.