Your Cymbidium Orchid has just wrapped its winter-to-spring show—now’s the perfect time to turn that applause into action. Division right after blooming keeps clumps vigorous, refreshes tired media, and sets you up for stronger spikes next season. Think of this as a calm, methodical clinic: when to cut, how big to make each division, how to keep everything sterile, what to repot into, and how to coax fast new roots under bright, cool conditions.
What you’ll be working with
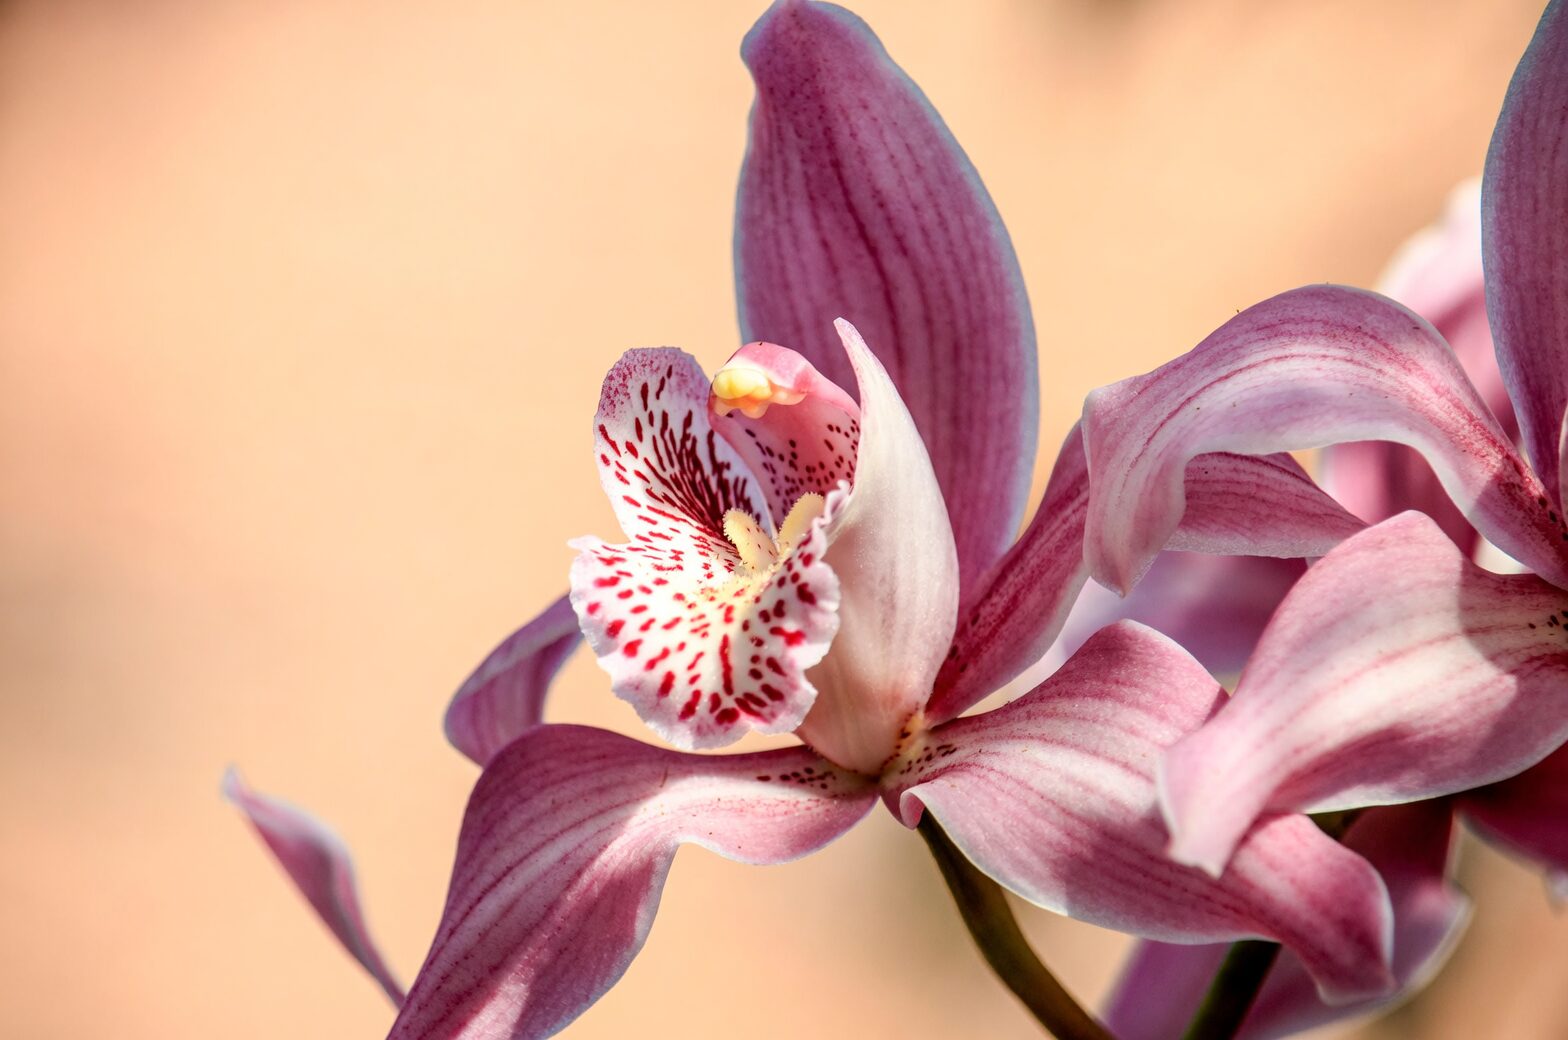
Cymbidium spp. (Boat Orchids) are sympodial, clump-forming orchids with water-storing pseudobulbs. New growths (“leads”) emerge from the base and flower when mature. The division sweet spot is right after flowering—before new roots and shoots get large.
When to divide (and when not to)
- Best window: Immediately after flowering, often spring. Cut spent spikes first so plants don’t waste energy.
- Signs it’s time: The mix has broken down, the pot is jammed with roots, growths are pressing the rim, or watering has become tricky (stays soggy or dries instantly).
- Avoid: Very hot spells, very cold spells, and while spikes are forming/opening.
Tools and prep (sterility is half the battle)

- Cutting tools: Very sharp knife or pruning shears.
- Sterilize:
- Between every cut, dip blades in 70% isopropyl alcohol or pass through a flame and cool.
- Alternatively, soak tools 10 minutes in a 1:9 bleach:water solution, then rinse and dry.
- Clean pots: Scrub and rinse; if reusing, a quick bleach dip and thorough rinse helps.
- Fresh medium: A free-draining, bark-based orchid mix. More on recipes below.
- Extras: Rhizome clips or soft ties to stabilize divisions, labels, and gloves.
Refresh your mix: what Cymbidiums like under bright, cool care
Aim for an airy, bark-based blend that drains fast but doesn’t desiccate overnight.
- Core ingredients: Medium to coarse orchid bark, with additions such as a small amount of long-fiber sphagnum (in moderation), charcoal, fern fiber, and porous minerals like perlite or zeolite.
- Two reliable recipes:
- Bright, cool greenhouse/porch: 60% medium bark + 20% coarse bark + 10% charcoal + 10% perlite/zeolite.
- Indoor, drier air: 60% medium bark + 15% perlite/zeolite + 15% charcoal + up to 10% sphagnum tucked lightly around new leads to buffer moisture.
- Pro tip: Pre-soak bark for a few hours so it wets evenly from day one.
- Avoid: Regular potting soil or compacted, waterlogged mixes.
Step-by-step: post-bloom division
1) Let the plant “set up” for repotting
- Let the potting mix dry slightly before you begin—this makes Cymbidium roots more flexible and less prone to snapping.
2) Unpot and clean
- Gently slide the clump out. If roots grip hard, flex the pot or cut it away.
- Tease out and discard the old mix. Pick off dead sheaths.
3) Trim the root system
- Healthy roots are plump and firm; dead or rotten roots are brown, hollow, or mushy—trim these away with sterile tools.
- Remove yellowing leaves and papery debris.
4) Plan the cut lines
- Identify “leads” (active new growths) and the run of connected pseudobulbs.
- Target divisions with 3–4 pseudobulbs each, including at least one firm backbulb to fuel recovery, plus an active lead if possible. Larger pieces reestablish faster; tiny pieces stall.
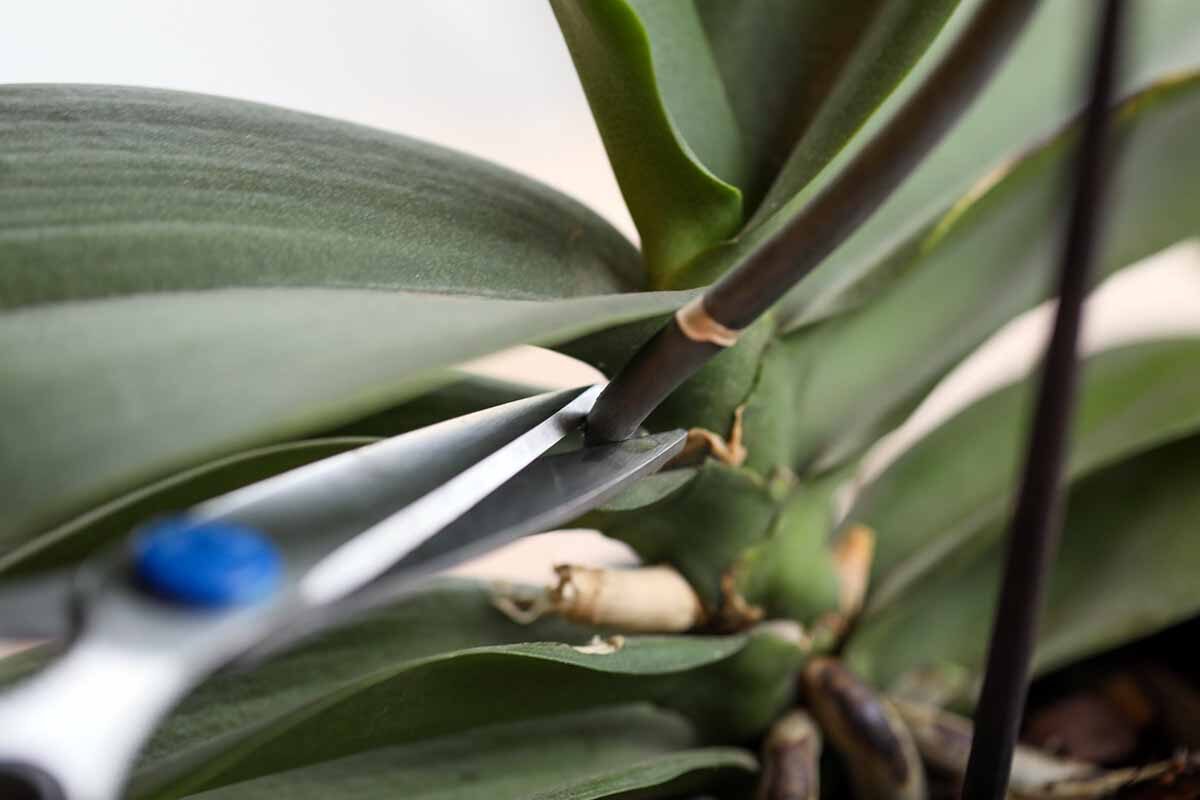
5) Make the cut
- Insert a sterilized knife between pseudobulbs and slice cleanly through the rhizome.
- Re-sterilize tools between each cut. Lightly dust big cut surfaces with ground cinnamon or a commercial fungicide, then let them air a few minutes.
6) Select the right pot
- Cymbidiums appreciate a tall pot that lets roots run: many growers like around 15 cm (6 in) wide and about 20 cm (8 in) deep.
- Choose a size that allows roughly two seasons of forward growth—not a cavern.
- Ensure generous drainage; slotted or well-holed pots are great.
7) Position and pot correctly
- Place a coarse layer of mix at the base.
- Seat the division so the oldest bulbs are toward the pot’s back wall and the new lead faces into open space to grow forward.
- Keep the pseudobulb bases just at or slightly above the finished media line—never bury them.
- Fill with fresh mix, gently working it among roots with a chopstick to remove voids.
8) Stabilize the plant
- Use rhizome clips, a bamboo stake, or soft ties. Wobble kills new roots—zero wiggle is the goal.
9) Water to settle
- Water thoroughly to settle the mix and flush fines. Let excess drain completely.
- Then keep the medium slightly moist—never sopping—while new roots form.
Fast-rooting protocol: bright, cool, moving air
- Light: Bright filtered light; gentle morning sun is ideal. In summer heat, give about 50–60% shade. In autumn, move brighter to support future spike initiation.
- Temperature: Cool-to-mild suits Cymbidiums best—roughly 10–25°C (50–77°F). Cool nights are especially helpful over the long run.
- Humidity: 70–80% if you can; pair humidity with gentle airflow to avoid leaf diseases.
- Watering: Keep evenly, lightly moist. Mist the surrounding air once or twice daily if it’s dry (don’t leave water sitting in leaf crowns).
- Feeding: Hold off fertilizer for 10–14 days after division. Then feed very dilute weekly during active new growth. Pause feeding in winter or if growth slows.
- Airflow: A small fan or a breezy porch is your secret weapon—constant, soft movement discourages rot and speeds recovery.
Troubleshooting common hiccups
- Division shriveling: Slight shrivel on older backbulbs is normal as roots reestablish. If all bulbs prune up, increase humidity and check that the plant is firmly anchored.
- Media stays wet too long: Increase airflow, move to brighter light, or repot into a coarser blend. Cymbidiums hate stale, soggy conditions.
- No new roots after 6–8 weeks: Brighten the light (without scorching), nudge nights cooler, and ensure the plant is rock-stable.
- Leaf spotting after repot: Improve ventilation, water early in the day, and avoid wet foliage at night. Remove affected tissue early. Persistent issues may be anthracnose, rust, or leaf spot—clean cuts and better airflow help.
- Pests on new growth: Check for scale, aphids, or whiteflies. Isolate and treat with horticultural oil or insecticidal soap; repeat to catch hatchlings.
Quick calendar for your divisions
- Week 0–1: Bright filtered light, cool nights, high humidity + airflow. Keep slightly moist. No fertilizer.
- Week 2–6: Resume dilute weekly feeding as new roots and leaves push. Maintain bright, cool, airy conditions.
- Week 6–12: Shift toward your regular Cymbidium rhythm:
- Spring/autumn: water about twice weekly; feed weekly in active growth.
- Summer heat: provide 50–60% shade; water more frequently (often morning and, in extremes, evening); maximize ventilation.
- Winter: keep above 10°C (50°F); stop feeding; water lightly every few days to keep the mix just moist, never soggy.
FAQs for a smooth split
- How many pseudobulbs per division?
- Aim for 3–4 pseudobulbs, with at least one active lead and a firm backbulb. Larger divisions rebound and flower sooner.
- Can I make single-bulb “backbulb” starts?
- Possible but slow and riskier. They often need a very humid, airy setup to sprout a new lead. For dependable results, stick to multi-bulb divisions.
- When will divisions bloom again?
- Timing depends on vigor and conditions. Well-grown, 3–4-bulb divisions under bright, cool care often return to form quickly; tiny pieces may take a season to bulk up.
Light, temperature, and the long game
Cymbidiums are cool-growing orchids: they thrive on bright light without scorching summer sun, cool-to-mild temperatures, steady moisture without sogginess, and lots of fresh air. Keep that quartet in balance—especially while your divisions are rooting—and you’ll watch plump new roots lace through fresh bark, new leaves arch up, and, in time, elegant sprays of waxy, often fragrant blooms return for another standing ovation.