Brush your hand across a sage bush on a mild spring morning and it releases that warm, savory perfume—earthy, peppery, a little wild. To keep Salvia officinalis (common or culinary sage) compact, aromatic, and generous with new leaves, think of pruning as a gentle spring ritual rather than a dramatic haircut. Light, well-timed trims keep this evergreen Mediterranean subshrub youthful without risking the “no-return zone” of old, leafless wood.
Below is your clear, confidence-boosting guide to spring shaping, post-bloom tidying, and long-term renewal—so your sage stays handsome on the outside and vigorous at its core.
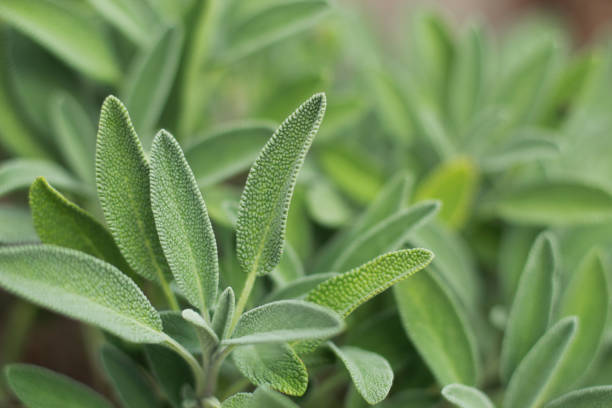
Meet the plant: why pruning lightly matters
Sage is a small, woody, evergreen subshrub in the mint family. Young stems are green; with age, they lignify (turn woody) and can get leggy. New growth springs from leafy, green sections and from live nodes—rarely from bare, old wood. That biology is the whole pruning strategy:
- Keep cuts in green, leafy growth.
- Avoid cutting hard into old, leafless wood.
- Refresh lightly and regularly, rather than “rescue” with drastic cuts.
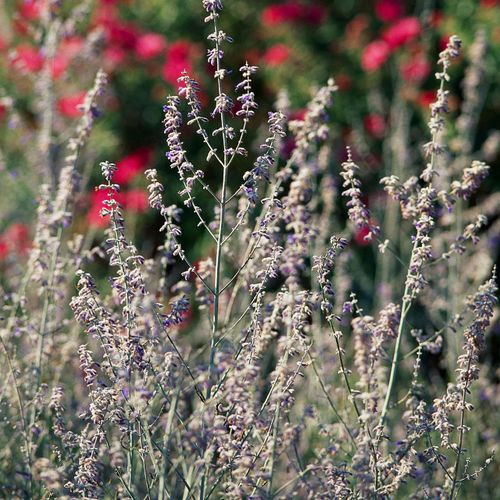
Typical size in gardens: about 30–90 cm tall and wide (often 40–60 cm). Expect early-to-late summer flower spikes in blues to purples (sometimes pink or white), adored by bees.
When to prune Salvia officinalis
Spring: the main, gentle prune
- Timing: mid to late spring, once hard frosts have passed and you can see fresh buds or new leaves along stems.
- Why now: the plant is waking, ready to push new shoots; light pruning channels that energy into bushy regrowth.
- What not to do: don’t hard-prune in late autumn or winter; damp-cold plus heavy cutting can set the plant back.
After flowering: a tidy trim
- Timing: late summer, after the main flush of blooms.
- Action: snip off spent flower spikes and lightly shorten the soft tips to keep a tidy dome.
- Benefit: encourages fresh leafy growth for late-season harvests and improves airflow.
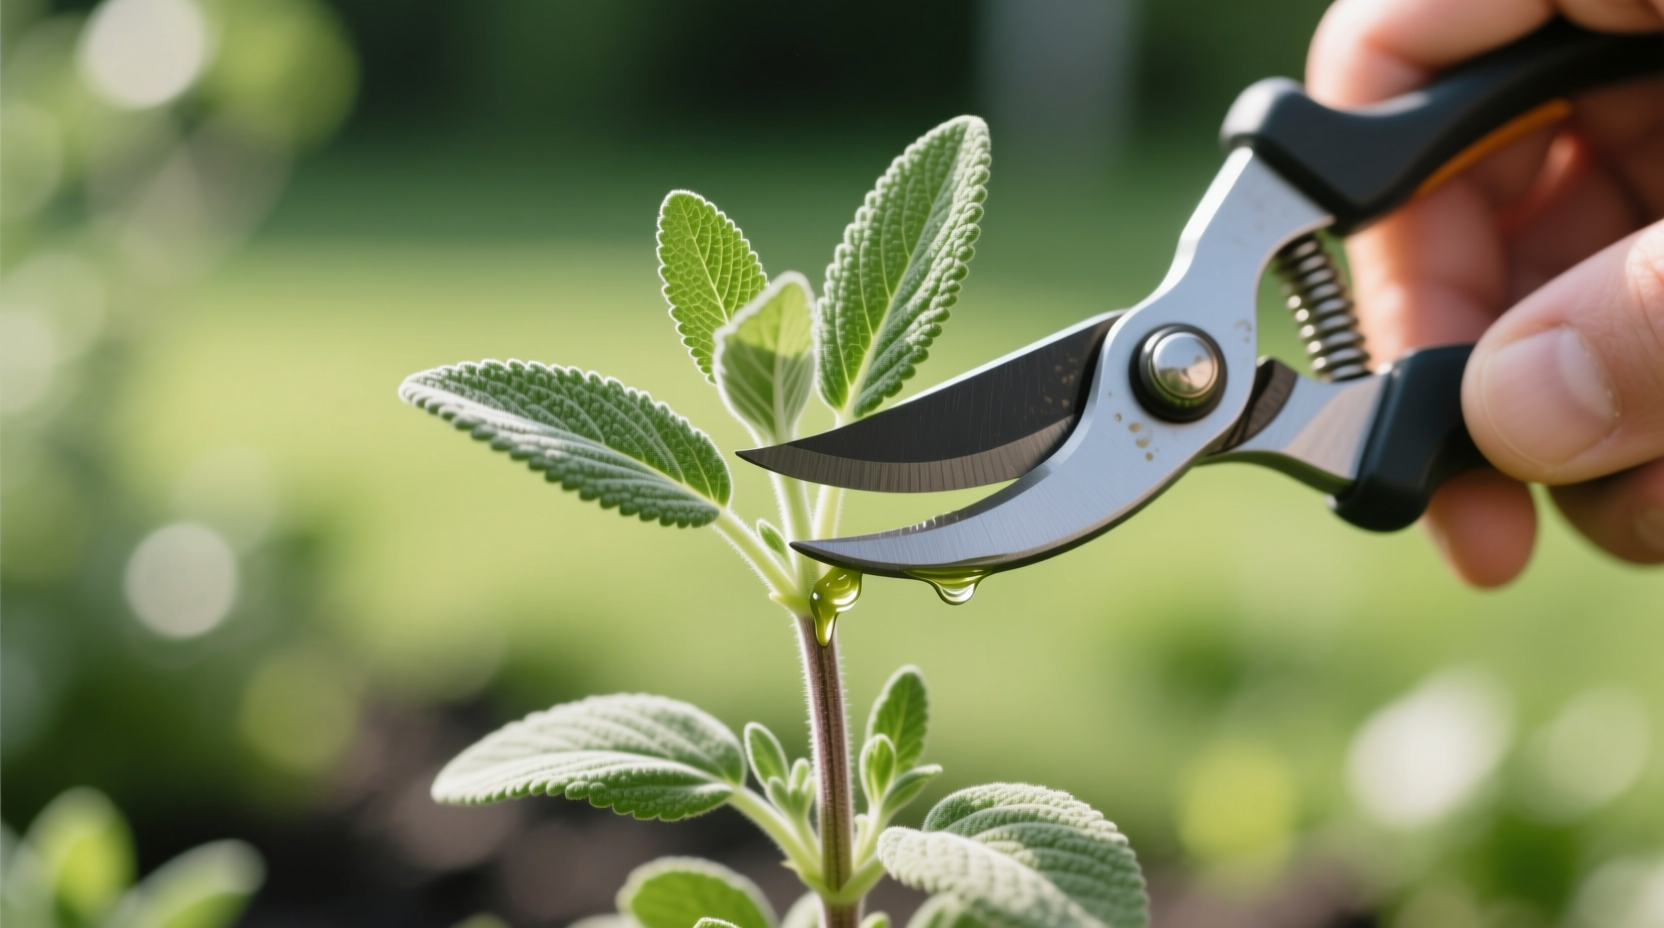
How to prune: step-by-step
Tools and setup
- Clean, sharp hand pruners.
- A dry, mild day (wet foliage wounds heal more slowly).
- A steady eye for green growth—always cut just above a pair of healthy leaves or a visible bud.
The spring refresh (10–30 minutes, depending on plant size)
- Wake-up check: scan for new leafy shoots along stems. If you don’t see active buds yet, wait a week or two.
- Dead and winter-burnt tips: remove these first, cutting back to live, green tissue.
- Shape lightly:
- Shorten each leafy stem by roughly 5–15 cm (2–6 in), staying in green growth.
- Aim to reduce by up to about one-third of the leafy length, not more.
- Open the center just a touch for airflow, but keep a natural, rounded outline.
- Old, bare wood: leave it alone. If a branch is woody and leafless for long stretches, trace back until you reach a lower point with live leaves or a visible bud—if none exist, do not cut hard. Consider replacing that stem via layering or plan to renew the whole plant with cuttings.

After-bloom tidy (quick and easy)
- Cut spent flower spikes at their base.
- If stems have flopped, shorten the season’s soft growth slightly, staying in green tissue.
Year-by-year: keeping sage young
- Years 1–2: pinch soft tips a couple of times in spring/early summer to build a dense, branching framework.
- Years 3–5: continue the gentle mid-to-late spring prune; thin a few congested green stems to improve airflow.
- Years 6–7: sage naturally grows woodier and less productive. Many gardeners renew now—either replace the whole plant or replant from your own cuttings for a seamless handoff.
Tip: Take softwood cuttings in late spring/early summer. It’s simple insurance and keeps your favorite flavor going strong.
Rescuing a leggy or frost-battered sage
- Stage the recovery: shorten leafy stems by up to one-third this spring, then repeat next spring. Avoid drastic cuts into bare wood.
- Encourage new bases: mulch lightly with grit for drainage, give full sun, and avoid heavy feeding—lush, floppy growth is counterproductive.
- If a plant is mostly bare wood with little green: layer a low, flexible stem into the soil to root a replacement, or start fresh from cuttings.
Partner care that makes pruning work
Sun and placement
- Full sun is flavor fuel: aim for 6+ hours daily. In very hot regions, light afternoon shade helps reduce stress.
Soil and drainage
- Fast-draining soil is non-negotiable. Amend heavy ground with coarse sand or grit.
- Slightly acidic to neutral pH (around 6.5–7.0) suits sage well.
Watering
- In-ground, established plants: drought-tolerant; water only during prolonged dry spells.
- Containers: water thoroughly, then let the top 2–3 cm (about 1 in) dry before watering again. Never let pots sit in water. Water sparingly in winter.
Feeding
- In beds: usually no fertilizer needed; too much nitrogen equals floppy growth and muted flavor.
- In pots: a light, general-purpose feed once in late spring/early summer (after the first year) is plenty.
Airflow and health
- Good spacing and that gentle spring prune improve airflow, which helps prevent powdery mildew.
- Watch for common nibblers like slugs or spider mites; healthy, sun-soaked plants shrug off most issues.
Harvest with the pruners
- Best flavor: snip leaves or sprigs in the morning once dew has dried, especially before peak bloom.
- Use the trimmings:
- Fresh in stuffings, pan sauces, and brown butter.
- Dry small bundles in a warm, dark, airy spot; store crisp leaves in airtight jars.
- Freeze chopped leaves—ice cube trays with a splash of water or oil work well.
Propagation and renewal: your 6–7 year rhythm
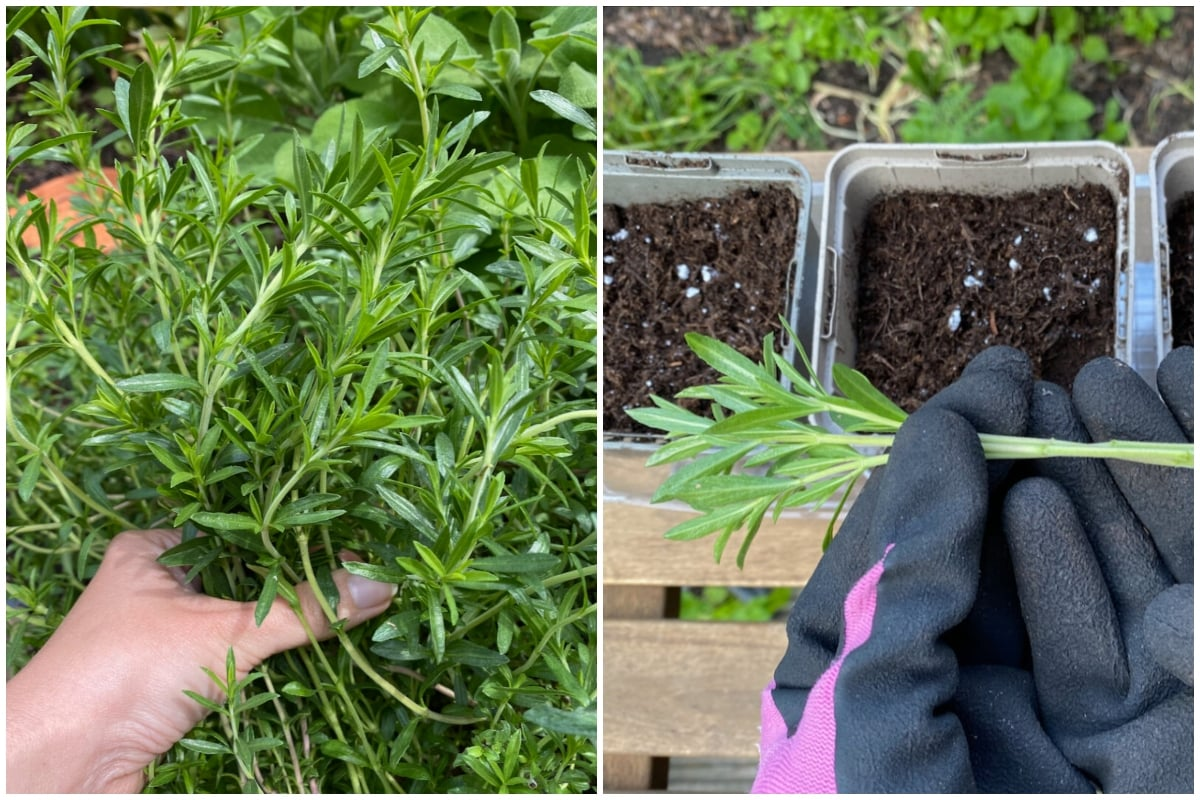
- Softwood cuttings (late spring to early summer): remove a 7–10 cm shoot, strip lower leaves, insert into a free-draining mix, and keep just moist in bright, indirect light. Rooting is typically quick.
- Layering: peg a flexible stem to the soil in spring or autumn; sever and pot once rooted.
- Division: possible on older clumps that have formed multiple crowns.
- Replace or replant every 6–7 years to keep your patch vigorous and flavorful.
Common mistakes to avoid
- Cutting into old, leafless wood expecting a flush of regrowth—sage may not oblige.
- Hard pruning in autumn or winter—invites cold-and-damp setbacks.
- Overwatering or poor drainage—prime causes of root rot.
- Heavy feeding—creates soft, floppy growth and muted aroma.
- Deep shade—fewer leaves, fewer flowers, and less flavor.
Quick seasonal checklist
- Spring: light prune; start cuttings; for pots, a light feed.
- Summer: harvest often; deadhead after blooms; water containers when the surface dries.
- Autumn: reduce watering, tidy lightly, try layering; no hard cuts.
- Winter: shelter pots from severe cold and, especially, winter wet; water sparingly.
A brief note on symbolism
Sage has long symbolized wisdom, longevity, and good health—echoing its Latin namesake, “salvere,” meaning “to heal” or “to save.” These associations come from centuries of culinary and traditional medicinal use, not from horticultural properties. They’re lovely lore to savor while you prune, but it’s the plant’s biology—new growth from green, not old wood—that should guide your shears.
With a gentle spring trim, a post-bloom tidy, and a renewal plan every 6–7 years, Salvia officinalis will repay you with tidy mounds of silvery foliage, nectar-rich summer spires, and a kitchen’s worth of aromatic leaves—all season, every season.