
Are you a holly enthusiast looking to expand your plant collection and add a touch of evergreen charm to your garden? Look no further! Propagating holly (Ilex spp.) from cuttings is a rewarding way to multiply these iconic shrubs and trees, known for their glossy, spiny leaves and vibrant berries that bring life to winter landscapes. Whether you’re a seasoned gardener or a beginner, this guide will walk you through the process step-by-step, making it as easy as pie—well, maybe not pie, but certainly a delightful gardening adventure.
Understanding Holly: An Evergreen Gem
Before we dive into propagation, let’s take a moment to appreciate the allure of holly. With over 400 species in the Ilex genus, hollies can be either evergreen or deciduous, varying from compact shrubs to towering trees. Their glossy leaves, often with spiny edges, are a natural defense against browsing animals, while the striking red berries provide essential winter food for birds. Whether you’re drawn to American holly (Ilex opaca) or the classic European holly (Ilex aquifolium), these plants are a staple for adding year-round interest to gardens.
Why Choose Cuttings?
Holly can be propagated by seeds or cuttings, but the latter is generally more reliable and faster. Seed propagation can take years and is often unpredictable due to the seed’s tough outer coating and lengthy germination period. In contrast, cuttings offer a quicker route to developing new plants that are true to the parent, ensuring you maintain the desired characteristics of your favorite holly variety.
Step-by-Step Guide to Propagating Holly from Cuttings
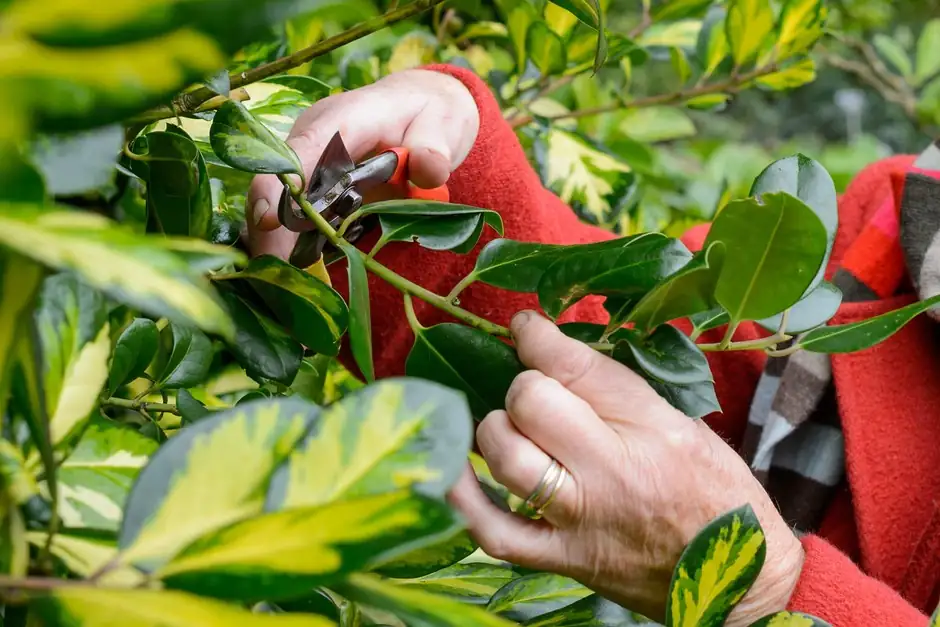
Step 1: Collecting Cuttings
Timing is everything. The best time to take holly cuttings is during the plant’s dormant season in late fall to early winter. This is when you’ll be dealing with hardwood cuttings, which are more likely to root successfully.
- Tools Needed: Sharp pruning shears, a clean container or pot, and rooting hormone.
- What to Look For: Choose healthy, disease-free branches from the current year’s growth. Cuttings should be about 10-15 cm (4-6 inches) long.
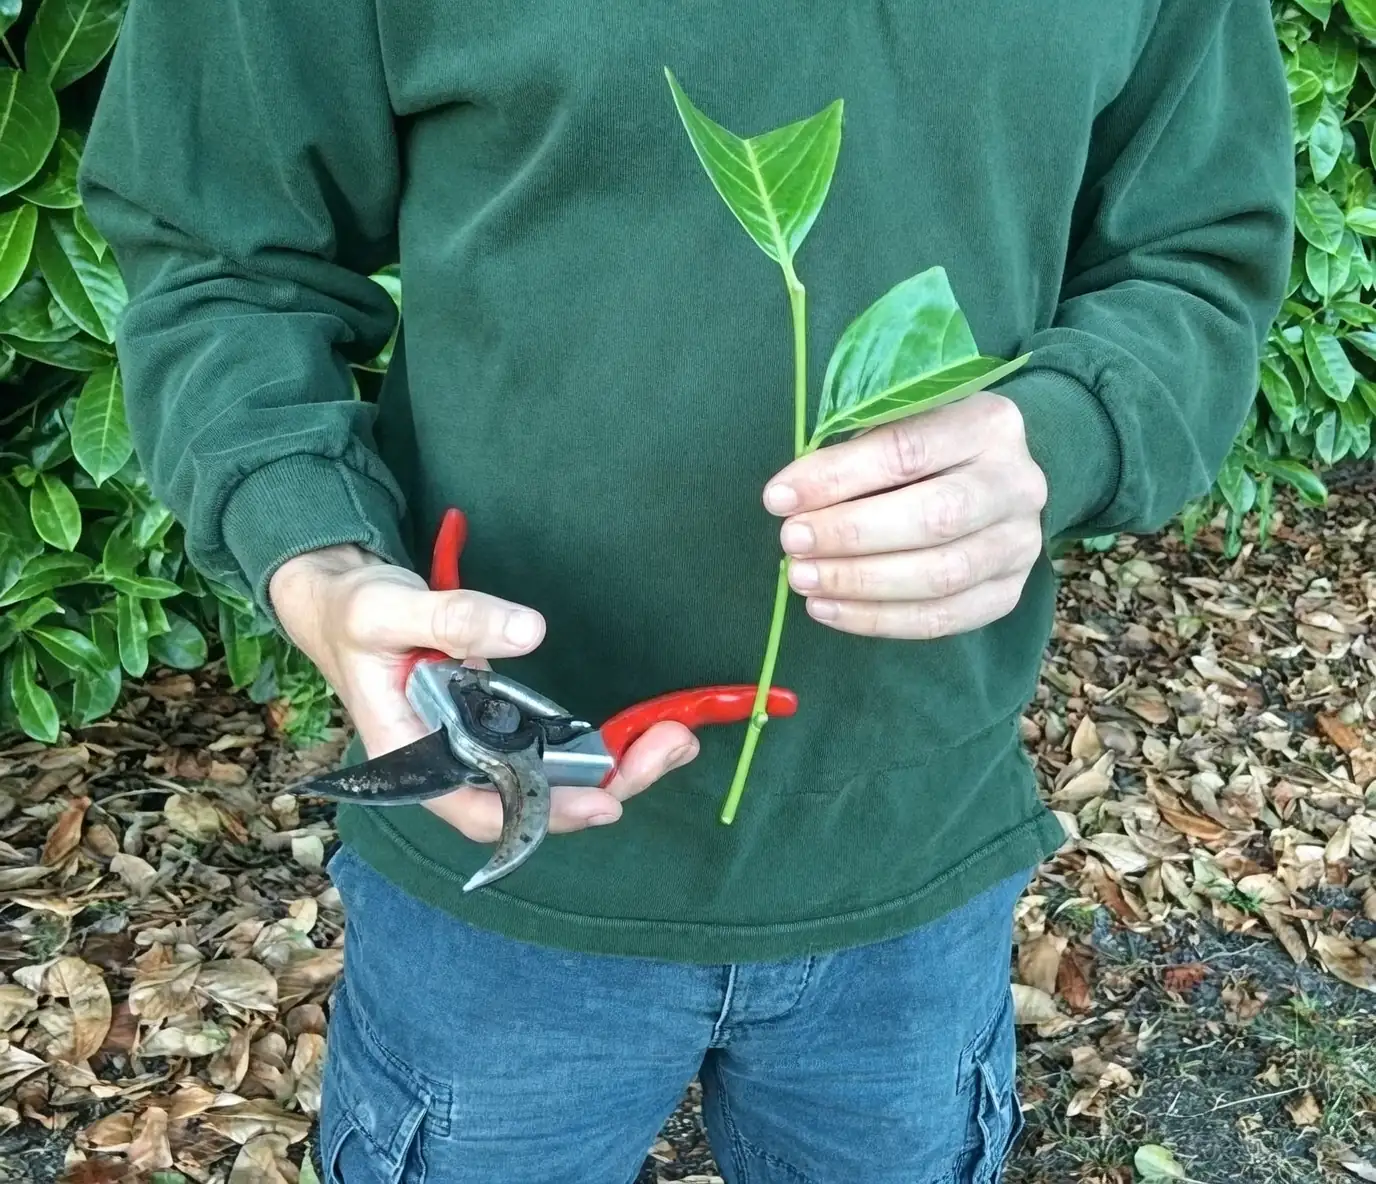
Step 2: Preparing the Cuttings
Once you’ve gathered your cuttings, it’s time to prepare them for planting.
- Leaf Removal: For deciduous holly, your cuttings won’t have leaves, but for evergreen varieties, remove all but the top two sets of leaves.
- Cut Above Bud Union: Make a clean cut just below a bud union (where leaves or buds meet the stem)—this is where new roots are likely to form.
Step 3: Rooting the Cuttings
To encourage rooting, use a rooting hormone that contains indole-3-butyric acid (IBA) at a concentration of about 1-2%. This will enhance root formation.
- Dipping: Dip the cut end of each cutting into the rooting hormone.
- Planting: Insert the cutting into a pot filled with a well-draining mix of potting soil and sand. Ensure the bud union is buried beneath the surface.

Step 4: Creating the Ideal Environment
Hollies thrive in moderate to high humidity, which is crucial for rooting cuttings.
- Humidity: Cover the pot with a clear plastic bag or use a propagator to maintain humidity, but ensure there’s some ventilation to prevent mold.
- Light: Place the pot in a location with bright, indirect light. Too much direct sunlight can scorch the cuttings.
Step 5: Patience and Care
Rooting can take anywhere from 4 to 6 weeks, sometimes longer depending on conditions.
- Watering: Keep the soil consistently moist but not soggy.
- Monitoring: Check cuttings regularly for signs of rooting. Once roots develop, remove the plastic cover to acclimate the young plants.
Final Thoughts: Your Holly Journey Begins
Propagating holly from cuttings is not just a gardening task; it’s an opportunity to nurture new life and extend the beauty of your garden. Imagine the satisfaction as you watch your cuttings transform into thriving plants, ready to grace your landscape or share with fellow garden lovers. With a little patience and care, you’ll soon have a collection of hollies that stand as symbols of endurance and hope, shining brightly even in the coldest months.

So, roll up your sleeves, gather your tools, and embark on this botanical journey with confidence. Happy propagating!