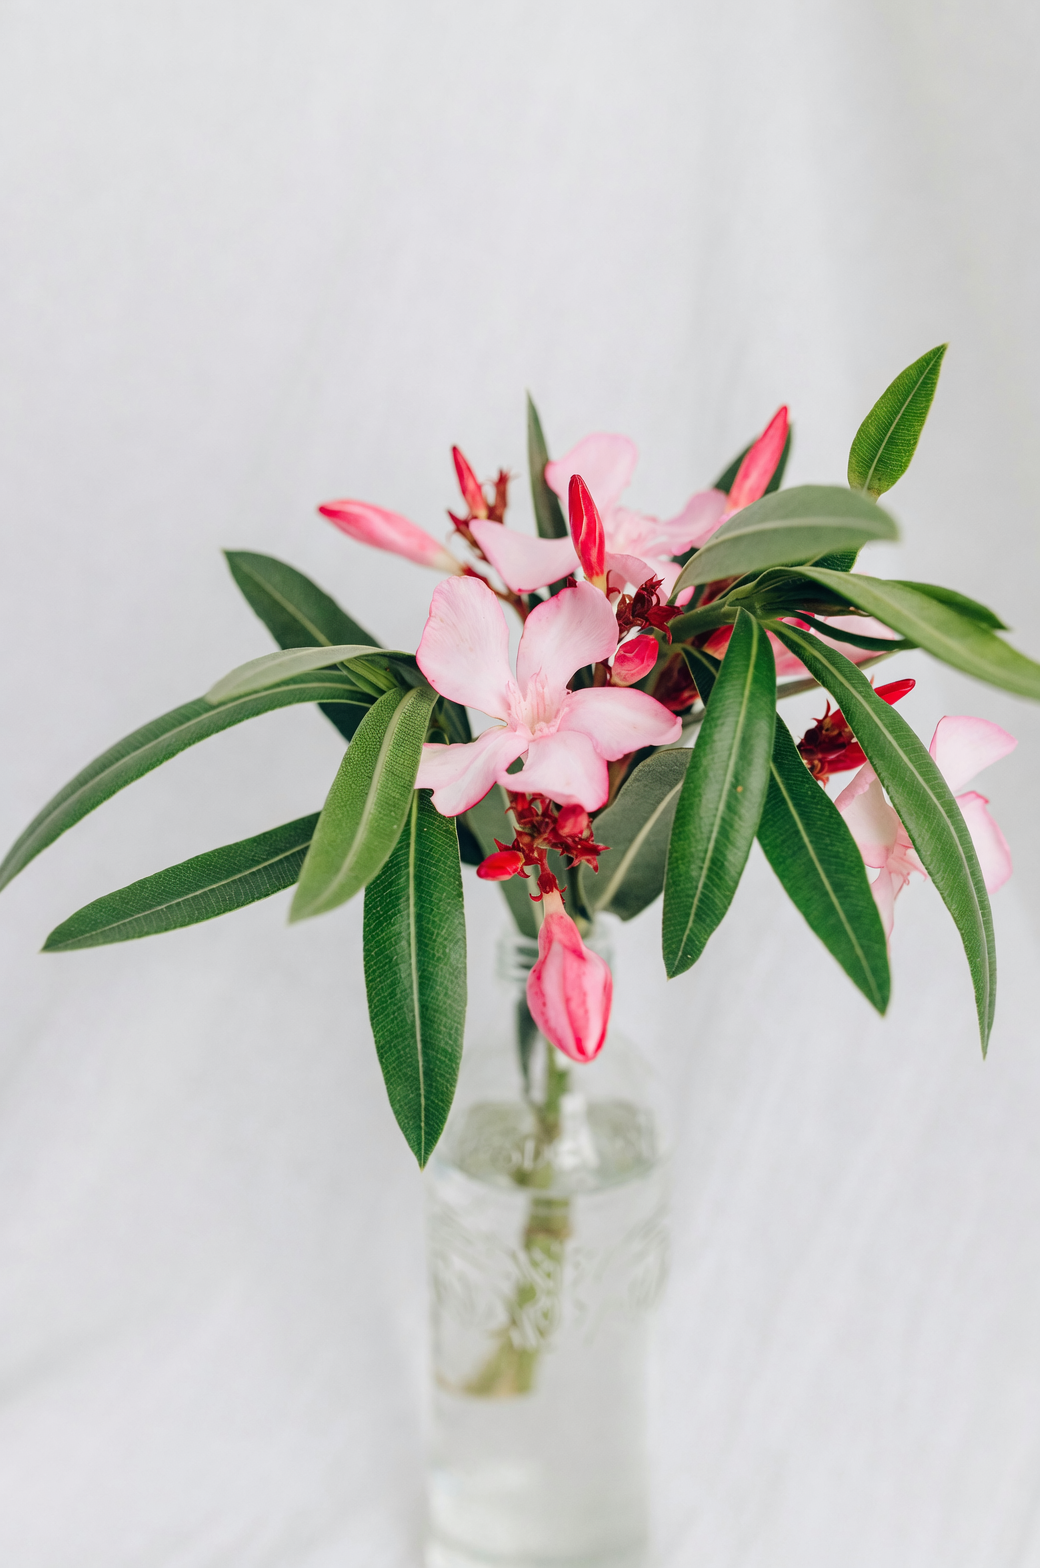
Looking to add a touch of Mediterranean flair to your garden? Oleander (Nerium oleander), with its vibrant blooms and hardy nature, might just be the perfect plant for you. Whether you’re an experienced gardener or a novice with a budding interest, propagating oleander from stem cuttings is an enjoyable and rewarding endeavor. Let’s delve into this step-by-step guide to help you successfully propagate oleander and cultivate healthy new plants.
Why Propagate Oleander?
Oleander is prized for its evergreen beauty and resilience, thriving in conditions where many other plants might struggle. With its ability to withstand heat, drought, and pollution, it’s no wonder gardeners love it. But why propagate instead of purchase?
- Cost-Effectiveness: Creating a lush oleander hedge from scratch can be expensive. Propagation offers a budget-friendly alternative.
- Unique Varieties: Perhaps you’ve spotted a particularly stunning oleander in a neighbor’s garden. Propagation allows you to clone that exact beauty for your own space.
- Gardening Satisfaction: There’s something deeply satisfying about nurturing a plant from cutting to full bloom. It’s a testament to your green thumb!
Getting Started: Tools and Safety
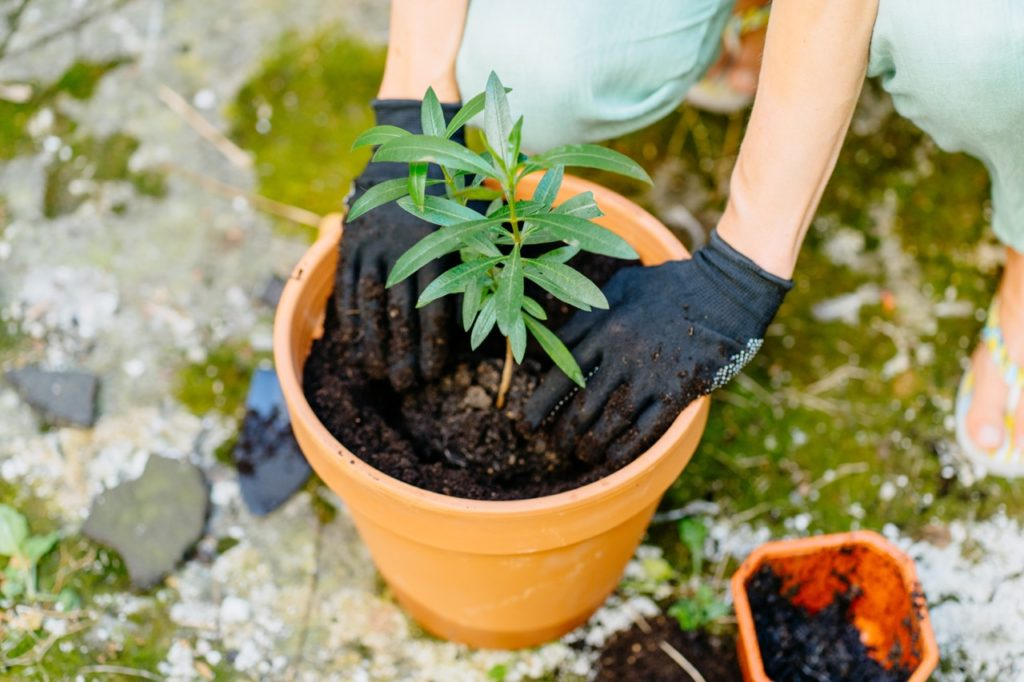
Before diving into propagation, it’s crucial to emphasize safety. Oleander is highly toxic, containing compounds that can cause severe reactions if ingested or if sap contacts skin or eyes. Always wear gloves, long sleeves, and safety glasses when handling the plant.
Tools You’ll Need
- Sharp, clean scissors or a knife
- Protective gloves and eyewear
- Rooting hormone (optional but beneficial)
- Small pot with well-draining potting soil
- Transparent glass or jar (if rooting in water)
- Clear plastic bag (to create a mini greenhouse effect)
Step-by-Step Propagation Guide
1. Select Your Cutting
Choose a healthy, 15-20 cm (6-8 inch) stem from your oleander plant. Ideally, select from new tip growth or semi-woody sections. Cut just below a leaf node, as this is where roots are most likely to develop.
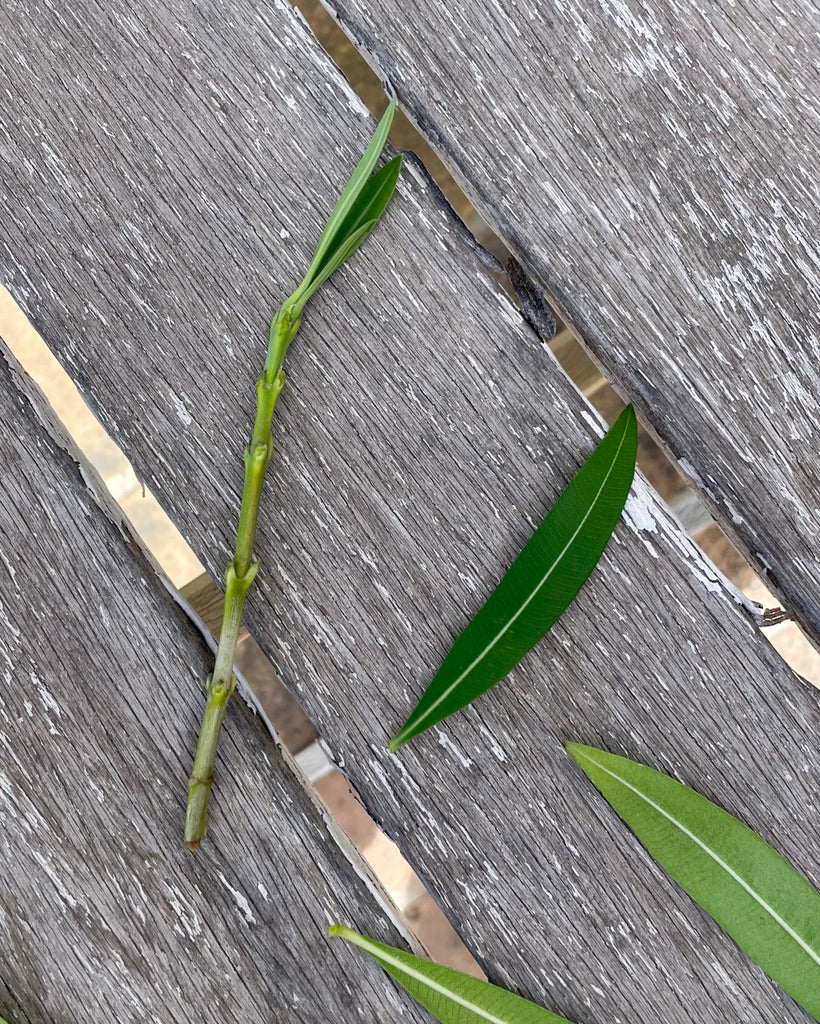
2. Prepare the Cutting
Remove all the lower leaves from the cutting, leaving only the top few intact. This minimizes water loss and directs energy to root development.
3. Rooting Methods
You have two primary options for rooting your oleander cutting:
In Water: Place the cutting in a transparent glass filled with lukewarm water. Ensure the leafless part of the stem is submerged. Change the water every few days to prevent stagnation, and watch for roots to form in 4-6 weeks.
In Soil: Dip the cut end of the stem into rooting hormone powder, then plant in a pot filled with rich, organic potting soil. Keep the soil slightly moist and cover the pot with a clear plastic bag to maintain humidity. Position in a warm, sunny location.
4. Care During Rooting
Regardless of your chosen method, place the cutting in a bright spot with indirect sunlight. Maintain consistent moisture, and if using soil, ensure good drainage to prevent rot.
5. Transplanting
Once roots have developed (typically after a couple of months), it’s time to transplant your new oleander into a larger pot or directly into your garden. Ensure it receives full sun for the best growth and flowering.
Tips for Success
- Timing: Late summer or early fall is ideal for taking cuttings when the plant is in full bloom.
- Environment: Oleander prefers well-drained soil and full sun. It can tolerate partial shade but may not bloom as profusely.
- Patience: Rooting can take time. Don’t rush the process; let nature take its course.
Oleander, with its enchanting blooms ranging from white to deep red and even candy-striped varieties, is a testament to the beauty and resilience of nature. By following these steps, you can propagate oleander successfully, adding a vibrant, enduring splash of color to your garden—just remember to handle with care!