


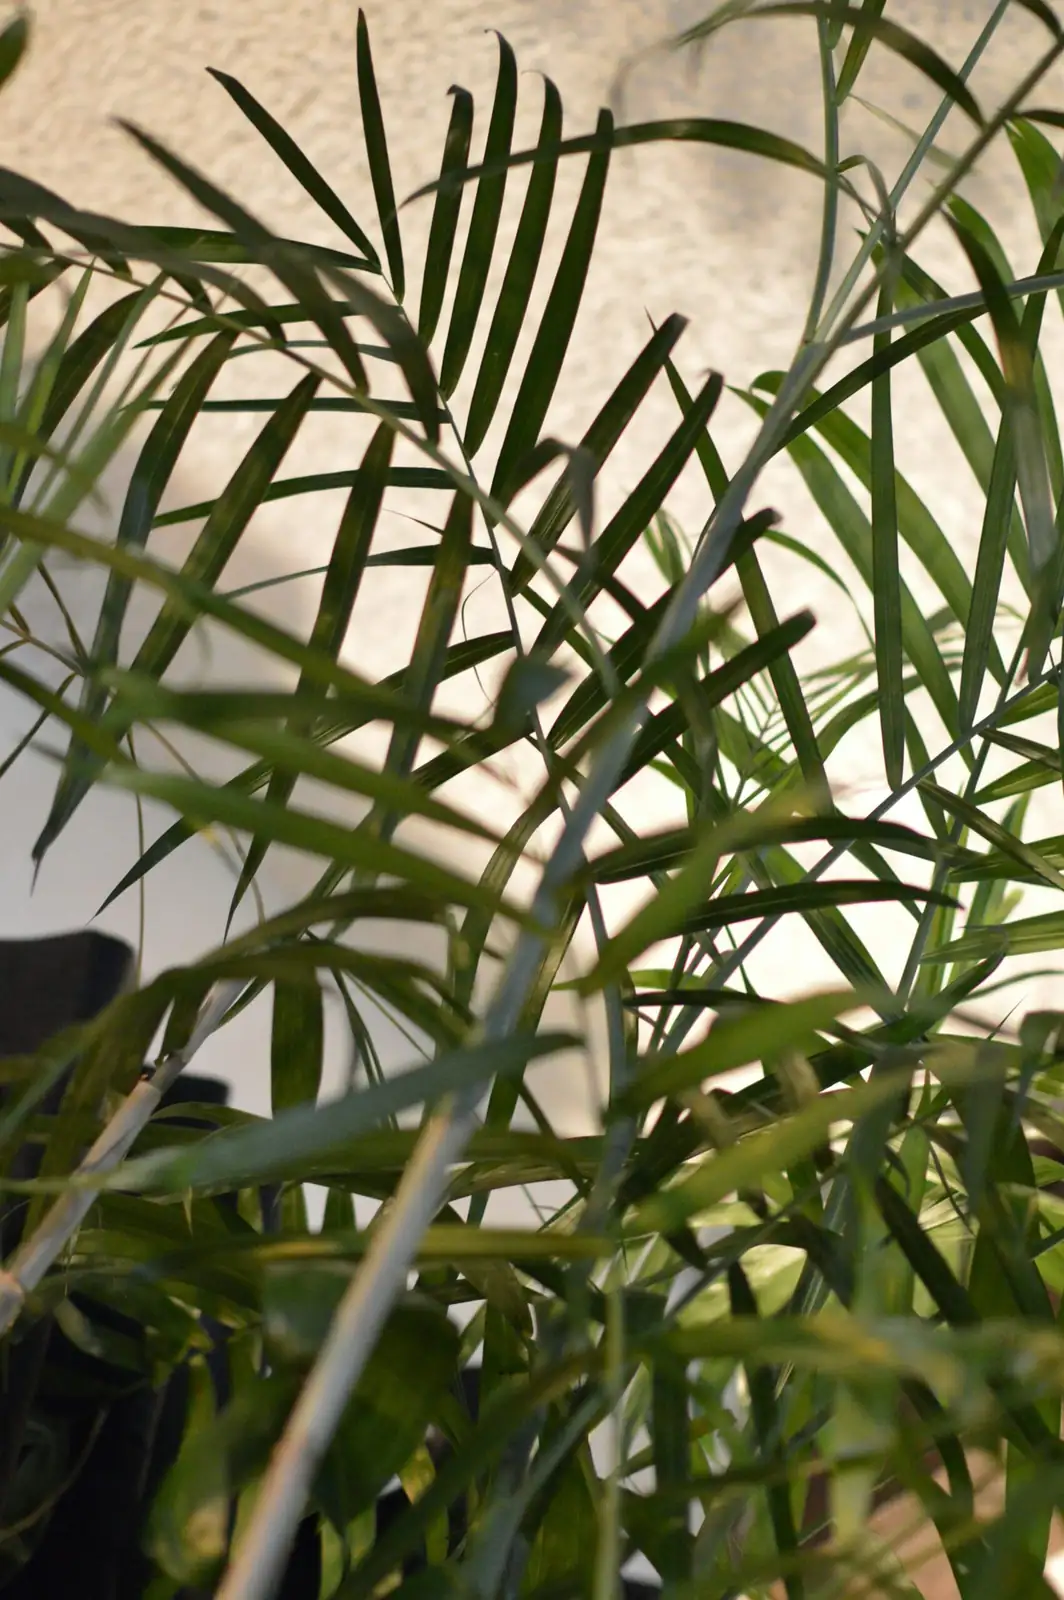
Think of Zamia furfuracea (the Cardboard Palm) as a sculptural, slow-motion athlete: a compact caudex, radiating roots, and stiff, feathered fronds that love bright light but hate wet feet. Nail the pot shape, tune the grit, and you’ll have a long-lived, low-drama companion that looks immaculate for years.
Container geometry: shape, size, and stability
Why shallow-and-wide wins
Cardboard Palm roots spread laterally from a thickened base (caudex) rather than plunging deeply. A shallow, broader container:
- Matches the root plate’s spread
- Lowers the plant’s center of gravity (no more tippy pot when fronds lengthen)
- Dries evenly, reducing cold/wet rot risk
Tip: Aim for containers within 15–40 cm (6–16 in) diameter as the plant matures. Start smaller, then size up gradually.
Material matters
- Terracotta or unglazed ceramic: porous, speeds evaporation—great for bright rooms and cooler seasons.
- Plastic or glazed ceramic: slows drying—safer in very hot, arid sites but monitor closely in cool rooms.
How much bigger when repotting?
- Size up modestly—one jump (about 2–5 cm / 1–2 in wider). Oversizing can hold excess moisture around slow-growing roots.
- Keep the caudex at the same soil line; never bury the crown.
The mix, decoded: grit and perlite ratios that keep roots happy

Zamia furfuracea wants a very free-draining blend. Use this dependable base formula by volume:
- 2 parts peat- or leaf-mold–based potting mix
- 1 part coarse mineral fraction (coarse sand, grit, or perlite)
That 2:1 “air to sponge” balance delivers fast drainage with just enough moisture retention for a slow grower.
Choose your coarse fraction (and why)
- Perlite (3–6 mm): ultralight pores and capillary breaks; reduces compaction.
- Pumice or horticultural grit (2–6 mm): adds durable structure and weight for stability.
- Coarse sand (2–4 mm): economical, but ensure it’s genuinely coarse to avoid clogging.
- Pine bark fines (3–9 mm): optional 10–20% of the total mix for extra aeration and microbially active structure.
Example recipes (by volume):
- Bright-room “classic”: 2 parts potting mix + 0.5 part perlite + 0.5 part pumice/grit
- Balcony/sunny window: 2 parts potting mix + 0.75 part pumice/grit + 0.25 part perlite (adds heft for wind/lean)
- Cool-season safety: stay within the 2:1 guideline but edge toward the coarser end (up to ~40% of total as coarse materials) to avoid lingering moisture in cool rooms
Particle-size note: Think chunky. Aim for 2–6 mm for the mineral bits so they don’t sift into fines and suffocate roots.
What to avoid:
- Heavy, peat-only blends that slump and stay wet
- Dense loam without added coarse material
- “Drainage layers” of pebbles (they create a perched water table; see hacks below)
Drainage hacks that actually work
- Use pots with multiple, generous drainage holes. If they’re small, widen slightly (safely) or choose a better pot.
- Line holes with a square of mesh or a coffee filter to keep mix in, water out.
- Elevate on pot feet so runoff escapes; never let the pot sit in a saucer of water.
- Water in cycles: moisten once, wait 30–60 seconds, then water again to fully wet the profile and flush salts without leaving pockets of dry mix.
- Top-dress lightly (0.5–1 cm) with grit if you want a clean finish and stability—but keep the caudex shoulder exposed for airflow.
- Skip thick gravel layers. If you must improve flow in a decorative cachepot, keep the plant in a grower pot and rest it on an inverted saucer or riser inside the cover pot.
The timing puzzle: when to repot a slow grower without stalling it
Best season
- Early spring is the sweet spot. Warmer, brighter days help roots re-establish.
How often
- Small plants: about every 2 years
- Larger specimens: every 3–4 years
Signs it’s time
- The mix collapses or repels water (goes hydrophobic)
- Roots circle densely or poke from drainage holes
- The plant becomes top-heavy or tippy
- Water either lingers for days in cool weather or rushes straight through due to spent structure
- Salt crusts form persistently on the surface
Technique that avoids setbacks
- “Slip-pot” if the mix is still good: lift the root ball intact and set it into a slightly wider pot, backfilling with fresh mix.
- Full refresh if the mix is exhausted: tease away only the outer, spent layer; avoid aggressive bare-rooting.
- Keep the caudex at the same depth; don’t mound mix against the stem.
- Aftercare: water once to settle, then let the top layer dry before the next drink. Hold fertilizer for 4–6 weeks while new roots knit in. Provide bright light with good airflow.
Water, light, temperature: tune them to your mix
Light
- Bright light to full sun indoors suits this cycad; it also tolerates bright shade.
- Behind glass, protect from harsh, scorching midday sun.
- Rotate the pot every few weeks for an even crown.
Watering rhythm
- In active growth, water thoroughly, then let the top layer of mix dry before watering again—lightly moist, never soggy.
- Reduce in autumn as temperatures drop.
- In winter, keep it on the dry side. Cold + wet soil equals rot in cycads.
Temperature and airflow
- Ideal: 13–24°C (55–75°F). Keep above 2°C (36°F); freezing can damage leaves.
- Normal home humidity is fine; occasional misting or leaf-wiping helps keep foliage clean.
- Good ventilation discourages leaf spot and scale.
Fertility, pruning, and quick care notes
- Fertilize monthly in spring–summer with a balanced feed (for example NPK 20-20-20) at label rates. Skip in winter if growth slows.
- Pruning: remove yellowing or damaged older leaves at the base with clean tools; don’t nick the caudex.
- Pests: scale is the classic nuisance. Wipe off and treat with horticultural oil or insecticidal soap, repeating as needed. Improve airflow and avoid keeping the crown wet late in the day.
- Safety: all parts are toxic if ingested—especially the seeds. Keep away from children and pets.
Propagation and potting for pups

- Offsets (pups): best separated in April–May. Minimize wounding, let cuts dry and callus, then root in clean sand at about 26–30°C (79–86°F). Pot on into your cycad mix once well-rooted.
- Seeds: sow indoors in spring, cover with ~2 cm (0.8 in) of mix, and keep warm (24–30°C / 75–86°F).
Quick recipe cheat sheet
- Apartment standard (most homes)
- 2 parts peat/leaf-mold potting mix
- 0.5 part perlite + 0.5 part pumice/grit
- Sunny window/balcony anchor
- 2 parts potting mix
- 0.75 part pumice/grit + 0.25 part perlite
- Slightly heavier, resists tipping, drains fast
- Cool-room winter saver
- Stay within the 2:1 guideline; use up to ~40% coarse material (more pumice/grit, less fine peat) to prevent cold wetness
Remember: the crown must breathe—never bury the caudex. Use a shallow, wide pot with unapologetically chunky mix, and let light and air do the rest. Get those three right, and your Cardboard Palm’s neat, architectural look will hold steady for years, with zero drama and maximum poise.